
I have always loved how scent can completely change the feeling of a space. Walking into a room that smells softly of lavender, eucalyptus, or citrus instantly makes everything feel calmer and more intentional.
But after a while, constantly refilling diffusers or relying on plug-ins started to feel a bit unnecessary and cluttered.
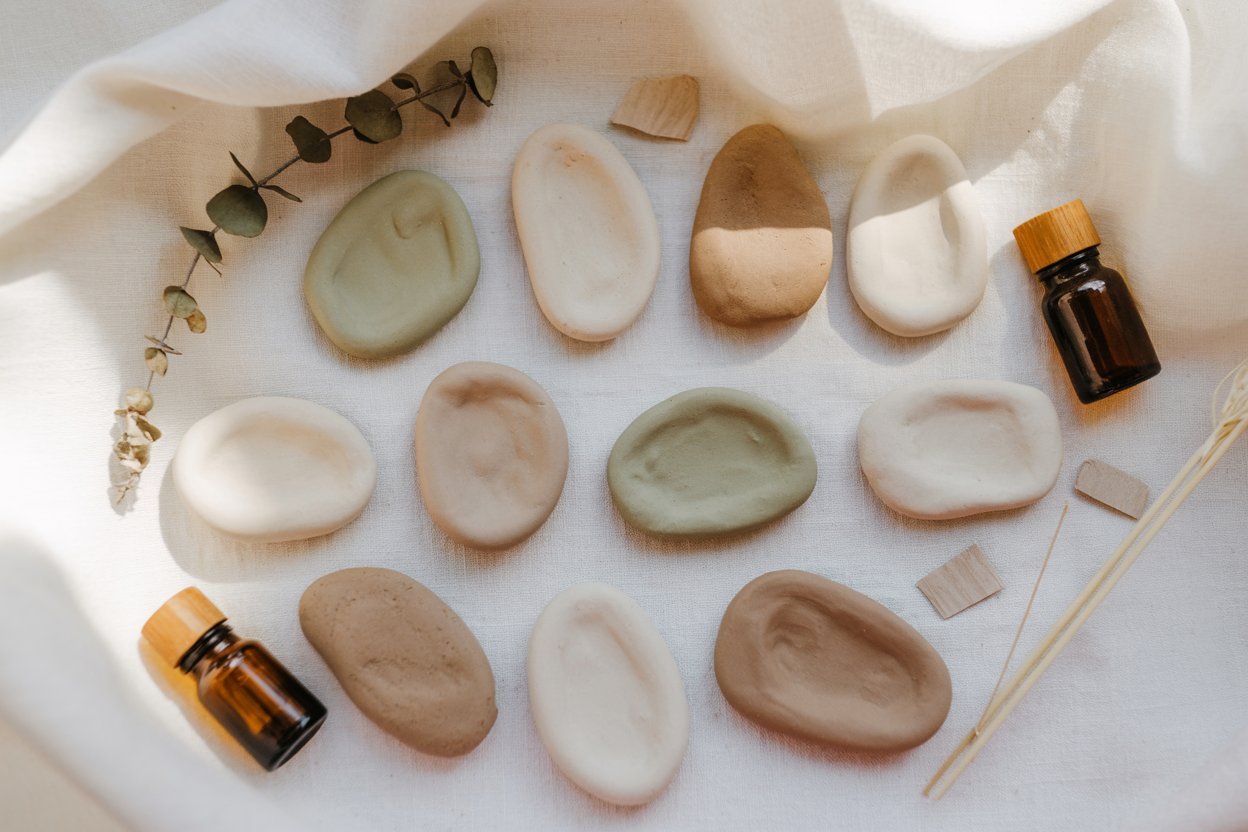
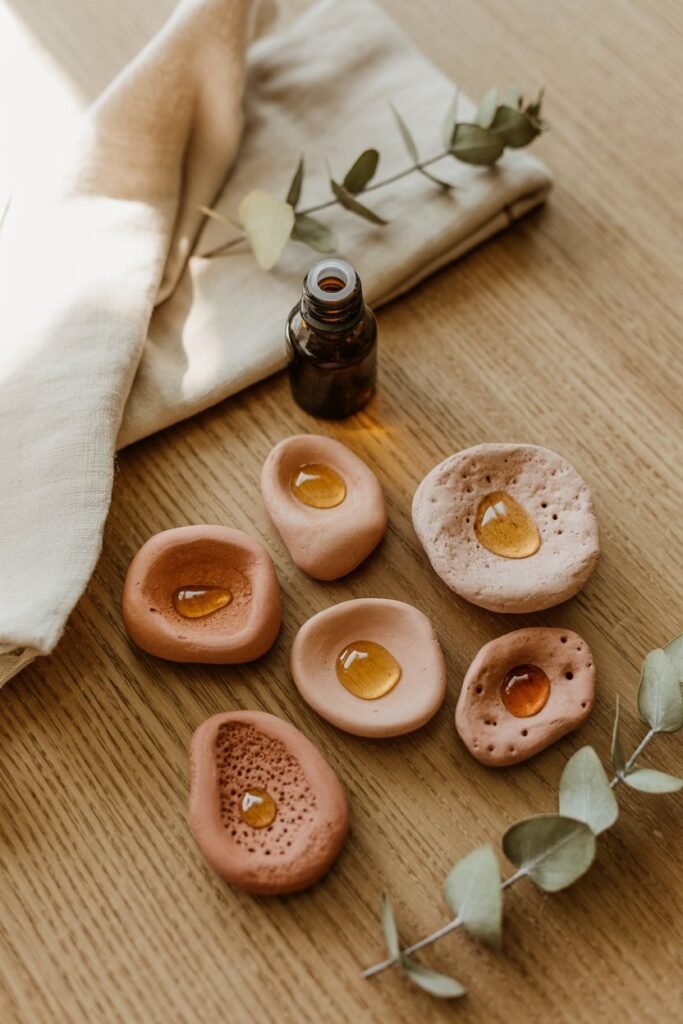
That is what inspired me to try clay diffuser stones.
These little handmade pieces are both beautiful and practical.
They absorb essential oils and slowly release the scent into the air, creating a gentle, long-lasting fragrance without electricity or artificial ingredients.

I love placing them on my nightstand, tucking them into drawers, or keeping a few in my workspace for a subtle, calming aroma throughout the day.
What I love most about this DIY is how simple and creative it is. Using air-dry clay means there is no oven, no complicated tools, and no pressure to make everything perfect.
In this tutorial, I will walk you through exactly how I make my clay diffuser stones step by step, from shaping the clay to adding essential oils.
Get My Beginner’s Guide to Making & Selling Your Clay
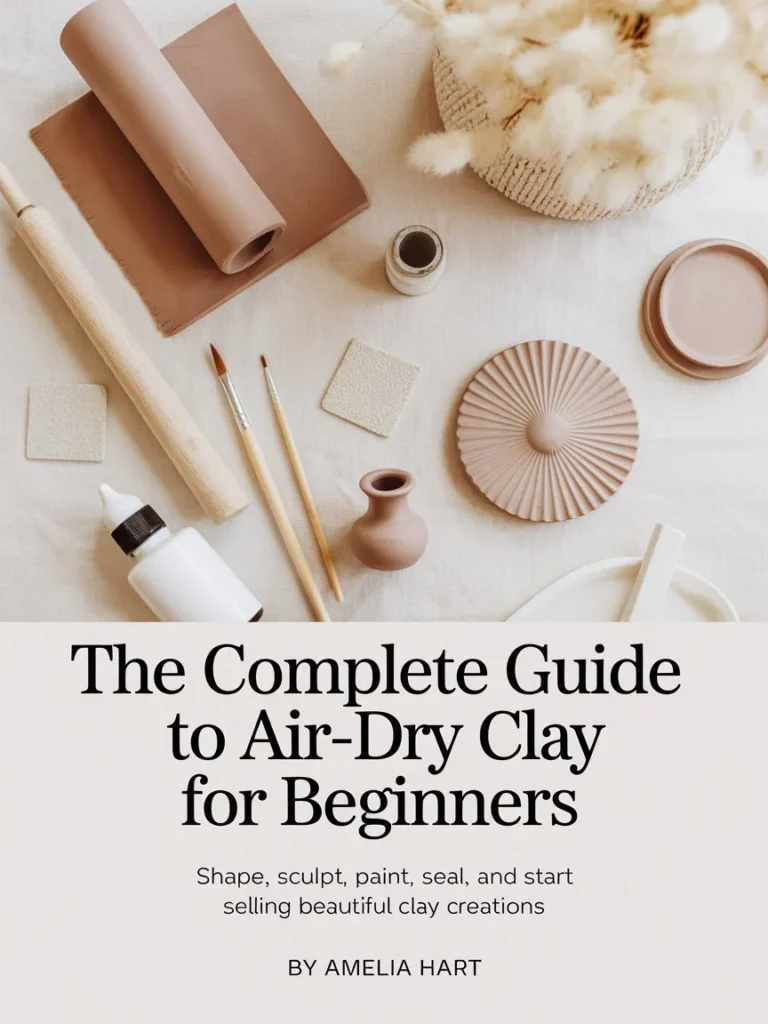
Create Beautiful Clay Pieces Even If You’re a Beginner
Create smooth, beautiful clay pieces even as a complete beginner.
With 50+ projects you can start today, you’ll learn to craft stunning creations, follow simple step-by-step instructions, and achieve results you’ll be proud to show off.
All without wasting supplies.
Supplies You’ll Need (Available on Amazon)
Here’s everything you’ll need to get started. Keep it simple — these are affordable, easy-to-find materials:
- Air Dry Clay (white or natural tone)
- Rolling Pin or Smooth Bottle
- Clay Cutter or Butter Knife
- Essential Oils (lavender, eucalyptus, orange, or peppermint)
- Fine Sandpaper (optional, for smoothing)
- Parchment Paper or Wax Paper (to dry the stones on)
- Acrylic Paint or Natural Pigments
- Soft Brush or Dropper Bottle (for applying oils later)
Step-by-Step: How to Make Clay Diffuser Stones
1. Prepare the Workspace
Before I begin, I always take a moment to set up my workspace properly.
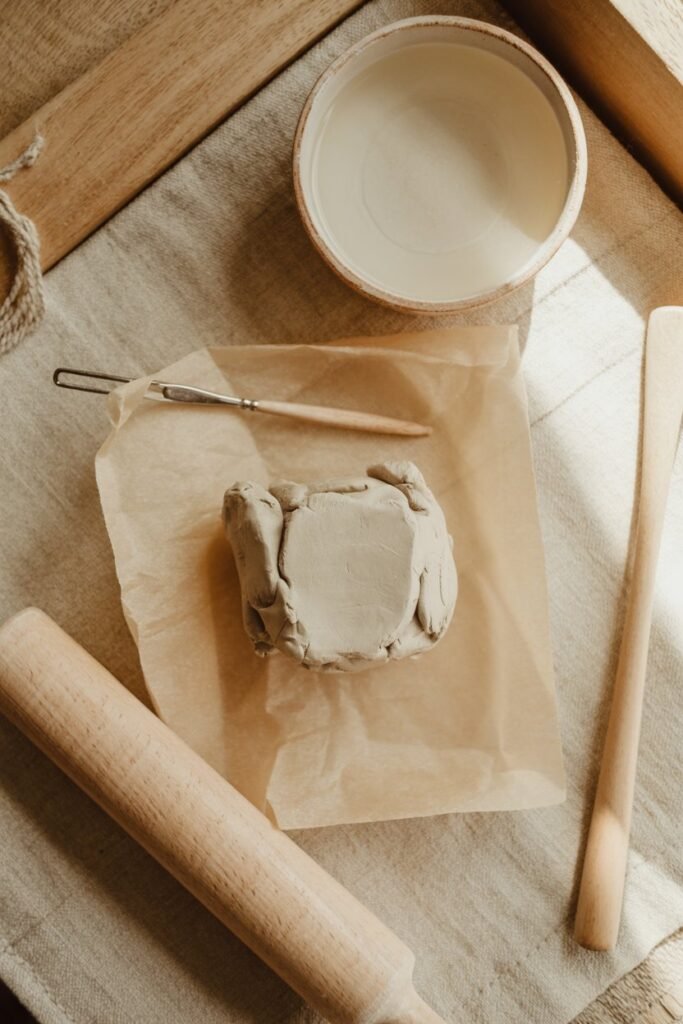
I lay down a sheet of parchment or wax paper on a flat surface so the clay does not stick and cleanup stays simple.
Having a clean, protected surface makes the whole process feel more enjoyable and stress free.
I keep all my tools nearby and place a small bowl of water within reach. I use the water constantly as I work, dipping my fingers in to smooth edges, soften seams, and gently blend the clay.
This small step makes a big difference in achieving that relaxed, handmade finish that I love.
2. Soften and Shape the Clay
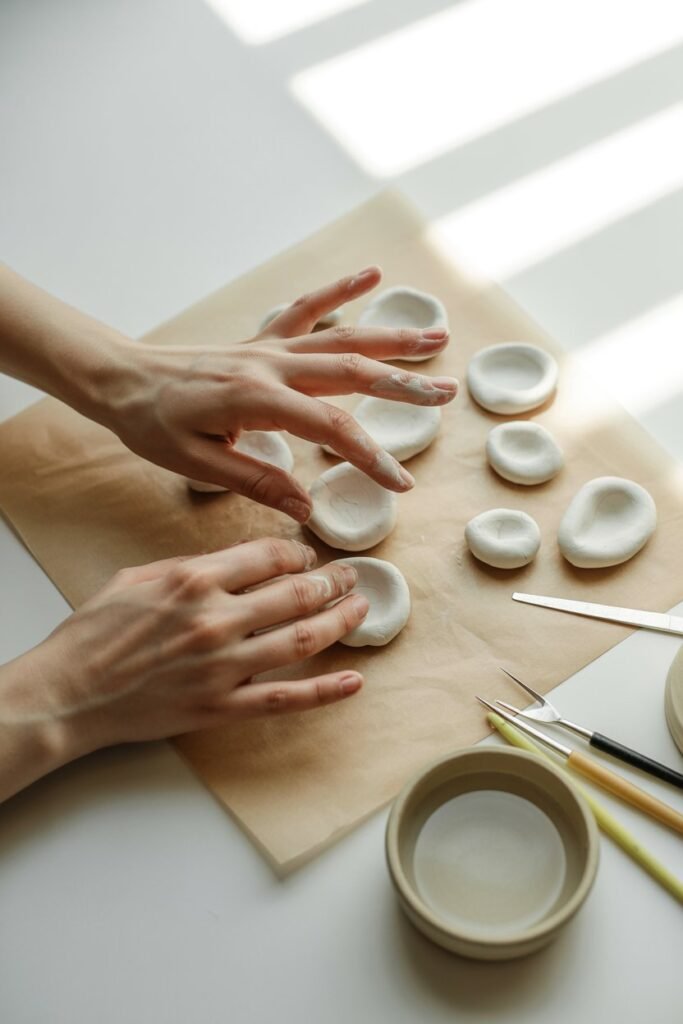
Take a small piece of air dry clay and knead it until it feels soft and pliable. Roll it into a smooth ball and flatten slightly with your hand or a rolling pin until it’s about ½ inch thick.
You can form different shapes depending on your style:
- Pebbles or stones: Roll irregular oval shapes for a natural, organic look.
- Discs: Use a round cutter for uniform shapes ideal for trays or dishes.
- Decorative designs: Stamp or carve patterns, leaves, or initials for a personal touch.
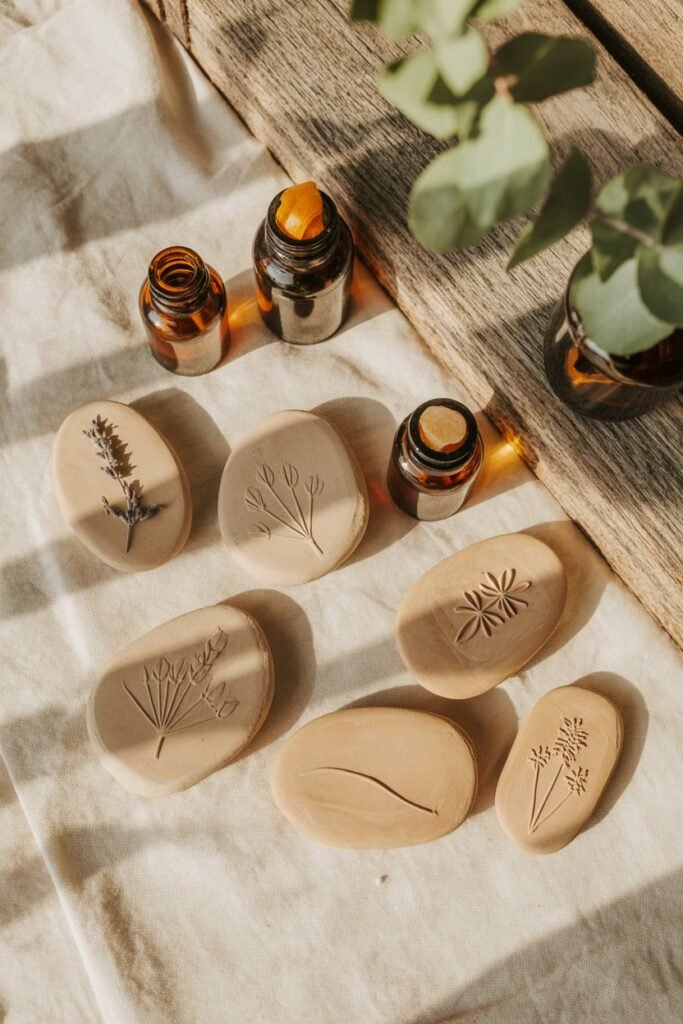
3. Create Texture (Optional)

If you are drawn to a more rustic, organic look, this is where you can really have fun with the clay.
Before the pieces begin to dry, gently press textured fabrics, lace, or even real leaves into the surface.
I love this step because it turns each stone into something truly one of a kind.
The added texture is not just decorative. It actually creates more surface area, which helps the clay absorb and release essential oils more effectively.
The result is a diffuser stone that looks naturally beautiful and works even better, blending function with that soft, handmade charm.
4. Let the Clay Dry Completely
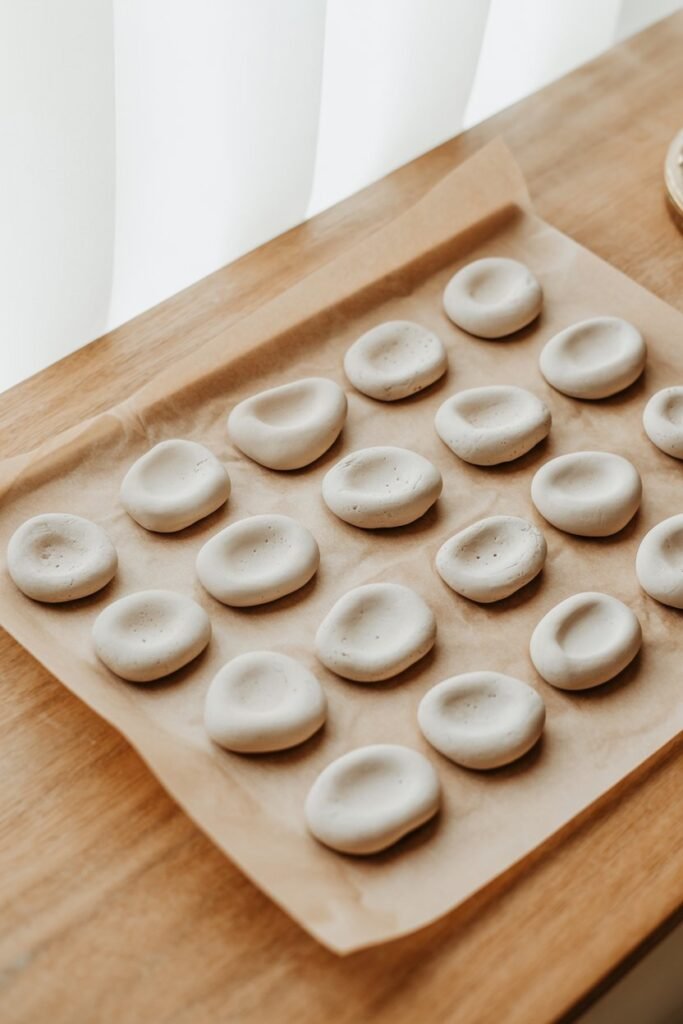
Place the shaped pieces on parchment paper in a cool, dry spot.
Let them dry for 24–48 hours, flipping them halfway through to ensure even drying. Avoid sunlight or heat, which can cause cracks.
Once dry, the clay should feel hard and chalky perfect for absorbing essential oils.
5. Smooth and Finish
Use fine sandpaper to smooth out any rough edges once they’re completely dry. Wipe off any dust with a damp cloth.
You can leave them natural for a minimalist matte look, or lightly tint them with acrylic paint or natural clay pigments.
Avoid glossy sealants you want the clay to stay porous so it can absorb oils.
6. Add Essential Oils
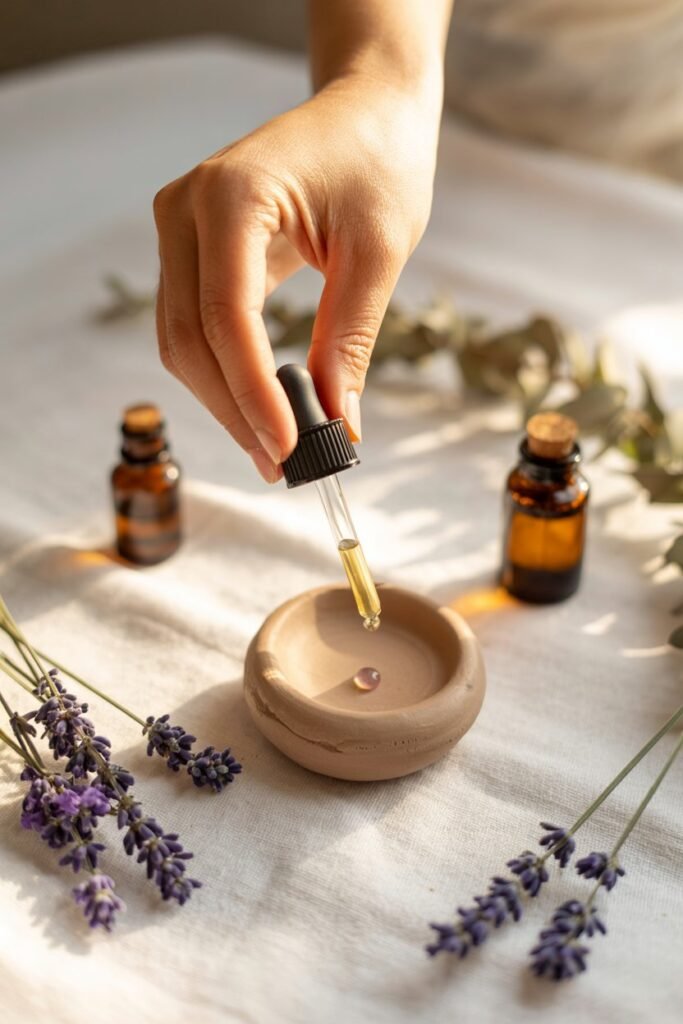
Now for the fun part: scenting your stones.
Add 2–3 drops of your chosen essential oil directly onto each clay piece using a dropper or brush.
Let the clay absorb the oil completely before handling.
The fragrance will slowly release over several days. When the scent fades, simply add a few more drops to refresh it.
How I Use My Clay Diffuser Stones
Clay diffuser stones are one of those simple things I reach for again and again.
I love how easily they fit into different spaces around my home while adding a soft, natural scent.
I keep one on my nightstand with lavender or chamomile to help me relax at night.
On my desk, I use peppermint or citrus for a gentle boost of energy during the day.
A few stones in the closet with eucalyptus keep everything smelling fresh, and a small one in the car works perfectly for a clean, subtle scent.
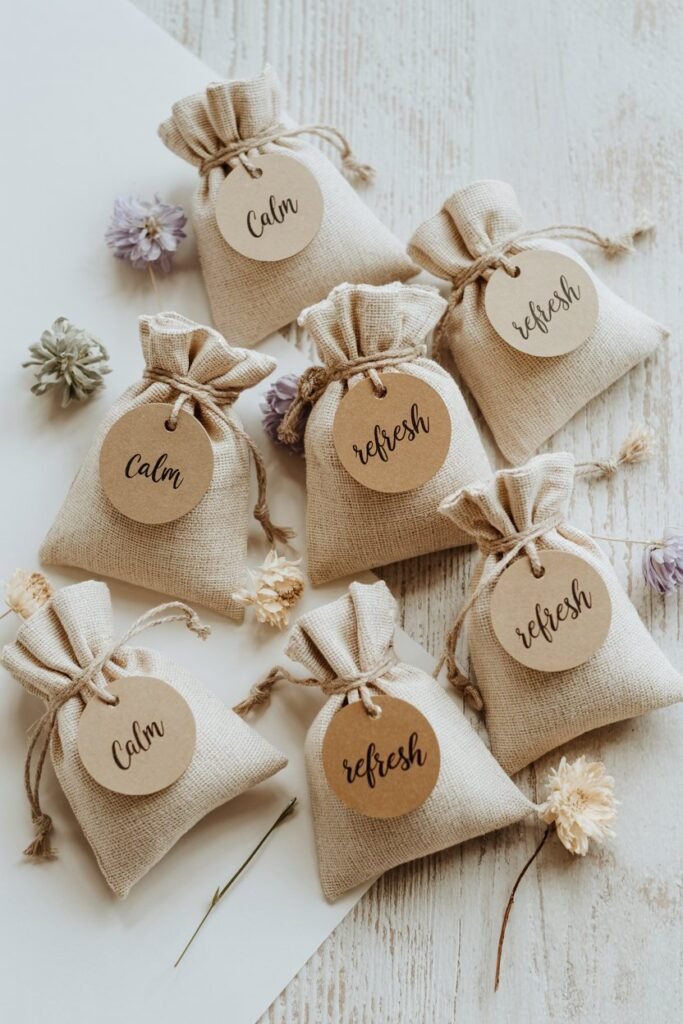
They also make lovely handmade gifts. Packaged in a linen bag with a favorite essential oil, they feel thoughtful, practical, and beautifully simple.
Creative Variations
Once you feel confident with the basics, it’s fun to get creative and make your clay diffuser stones truly your own:
Colored Clay Stones: Add a few drops of natural pigment or acrylic paint to your clay before shaping. This gives soft pastel or earthy tones that complement your home décor.
Stamped Words & Patterns: Press alphabet stamps or small shapes into the clay. Words like “calm,” “breathe,” or “love” add a personal, mindful touch.
Marbled Clay Effect: Combine two different clay colors and gently twist them together. Each stone ends up with a one-of-a-kind, swirled design that’s naturally artistic.
Hanging Diffusers: Create a small hole through the top and thread twine or ribbon. These can hang in your car, closet, or even near a window to gently scent the air.
Tray Diffusers: Group several small stones in a decorative dish. Refresh them with essential oils whenever you want a subtle, long-lasting aroma in a room.
These twists make your diffuser stones functional pieces of art that fit your style while filling your space with your favorite scents.
Tips for Long-Lasting Scent
- Keep it porous: Avoid sealing the clay. The stones need to stay absorbent so they can hold and release essential oils effectively.
- Refresh regularly: Reapply your favorite oils every few days or whenever the scent fades. A few drops go a long way.
- Store carefully: Keep unscented stones in an airtight container until you’re ready to use them. This preserves their absorbency.
- Choose quality oils: High-quality essential oils not only smell better but last longer on your stones.
- Switching scents: Want a new aroma? Let the stones air out for a few days to release the old scent before adding a new oil.
With a little care, these handmade stones can be a lasting, beautiful addition to your home both functional and decorative.
Conclusion: Natural Scent, Handmade Beauty
DIY clay diffuser stones are one of those projects that perfectly combine simplicity, beauty, and practicality. In less than an hour, you can create elegant, reusable stones that gently fill your home with calming natural scents no plug-ins, no plastic, no fuss.
They make wonderful handmade gifts and a stylish addition to any room. With just air dry clay and your favorite essential oils, you can transform any small corner into a serene, fragrant retreat.
So gather your supplies, roll up your sleeves, and start crafting your first batch of clay diffuser stones today — your home will thank you with every breath of fresh, aromatic air.

This guide is really helpful. Thanks dear Amelia Hart