How to Seal Air Dry Clay (Step-by-Step Guide for Beginners)
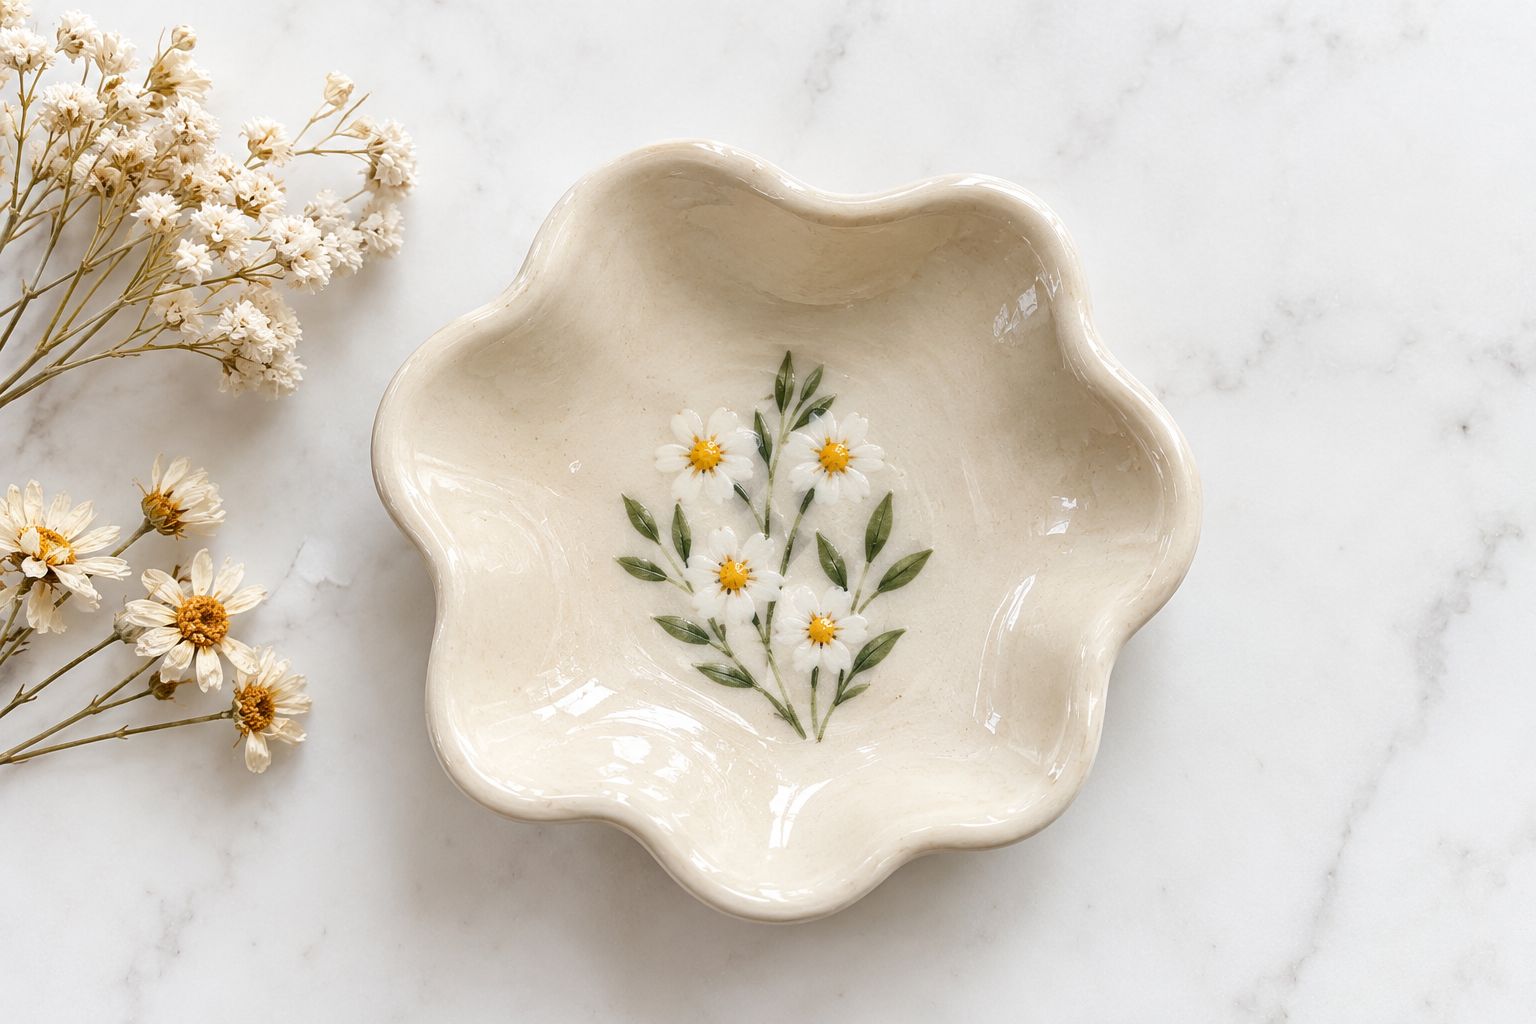
When I first started working with air dry clay, I was focused almost entirely on shaping and painting my projects. I wanted to make little dishes, ornaments, trays, and decorative pieces that looked smooth and polished.
What I didn’t understand at first was that the project isn’t necessarily finished when the clay dries.
A suitable sealer can help protect the surface, preserve painted designs, and give your finished piece the look you want. But choosing the right sealer and applying it at the right time matters.
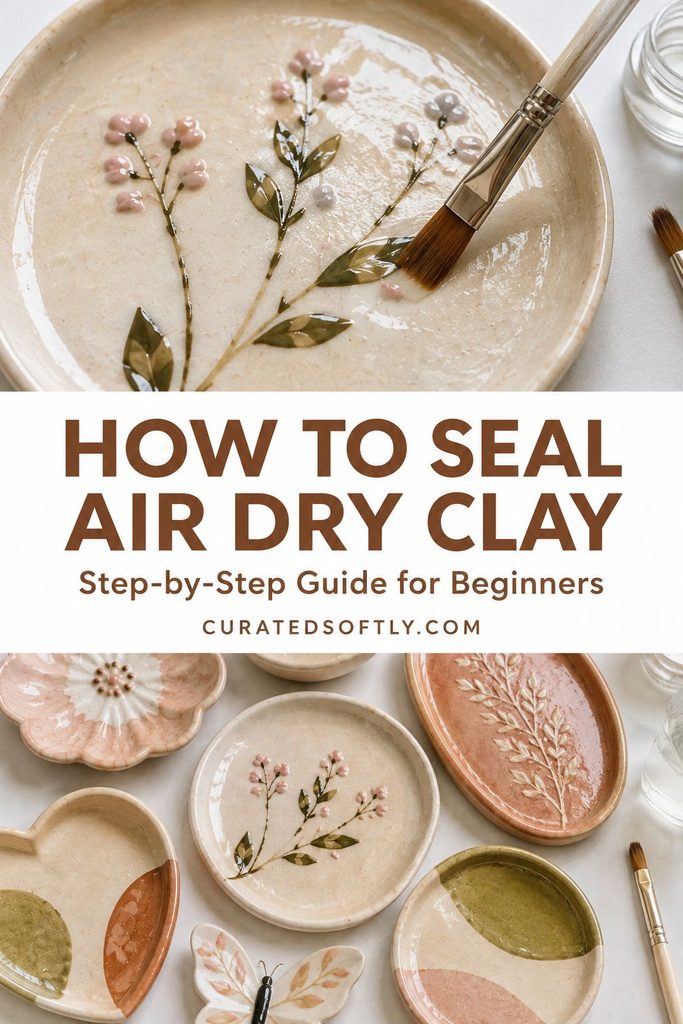
If you’ve been wondering how to seal air dry clay, this guide walks you through the entire process, from preparing your dried clay to choosing a finish and applying it correctly.
Does Air Dry Clay Need to Be Sealed?
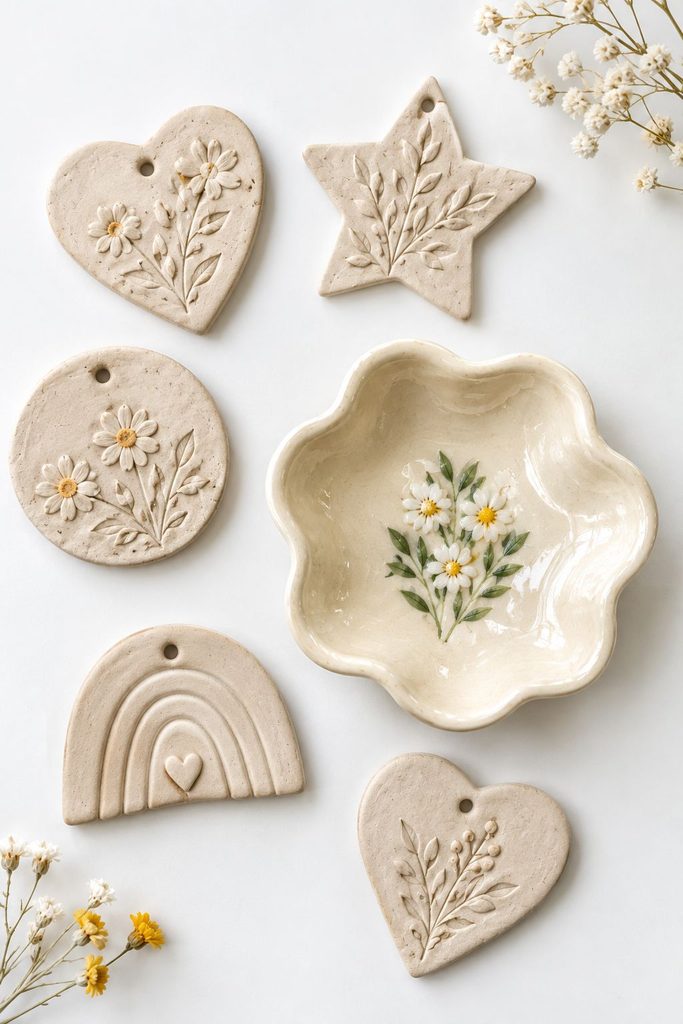
Air dry clay does not always have to be sealed.
For example, a small decorative sculpture that will stay indoors and be handled very little may be perfectly fine without a finish.
However, sealing can be useful when you want to:
- Protect the surface from dirt and everyday handling
- Add a matte, satin, or glossy finish
- Protect painted designs
- Reduce the effect of occasional moisture
- Give decorative pieces a more finished appearance
- Make the surface easier to clean gently
It’s important to understand what a sealer can and cannot do.
Sealing does not repair structural cracks or make every air dry clay project completely waterproof. The clay needs to be properly mixed, shaped, and dried before you apply a finish.
When Should You Seal Air Dry Clay?
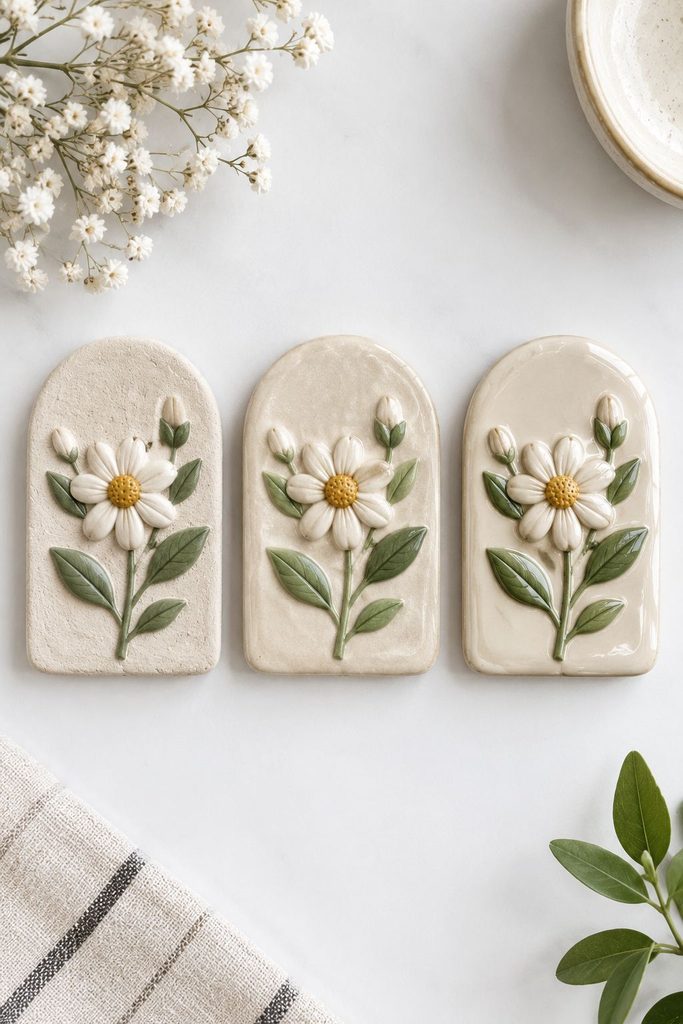
The most important rule is simple:
Make sure the clay is completely dry before sealing it.
The outside of a thick piece can feel hard while moisture is still trapped inside. If you seal it too early, that moisture may remain underneath the finish.
Drying time varies depending on:
- The thickness of the piece
- The type and brand of clay
- Room temperature
- Humidity
- Air circulation
- How much water was used while working with the clay
Small, thin pieces may dry relatively quickly, while thick sculptures or trays can take considerably longer.
Don’t rely only on the surface feeling firm. When possible, allow thicker projects extra drying time before applying paint or sealer.
Want To Level Up Your Air-Dry Clay?
If you’ve been wanting to make more beautiful air-dry clay pieces but aren’t sure what to create next, I made this guide for you.
Air Dry Clay For Beginners – Beginner To Expert Fast gives you 30 fun projects with easy-to-follow instructions and step-by-step photos, so you can create with more confidence.
Instant digital download • $9.99 • Create at your own pace
What Can You Use to Seal Air Dry Clay?
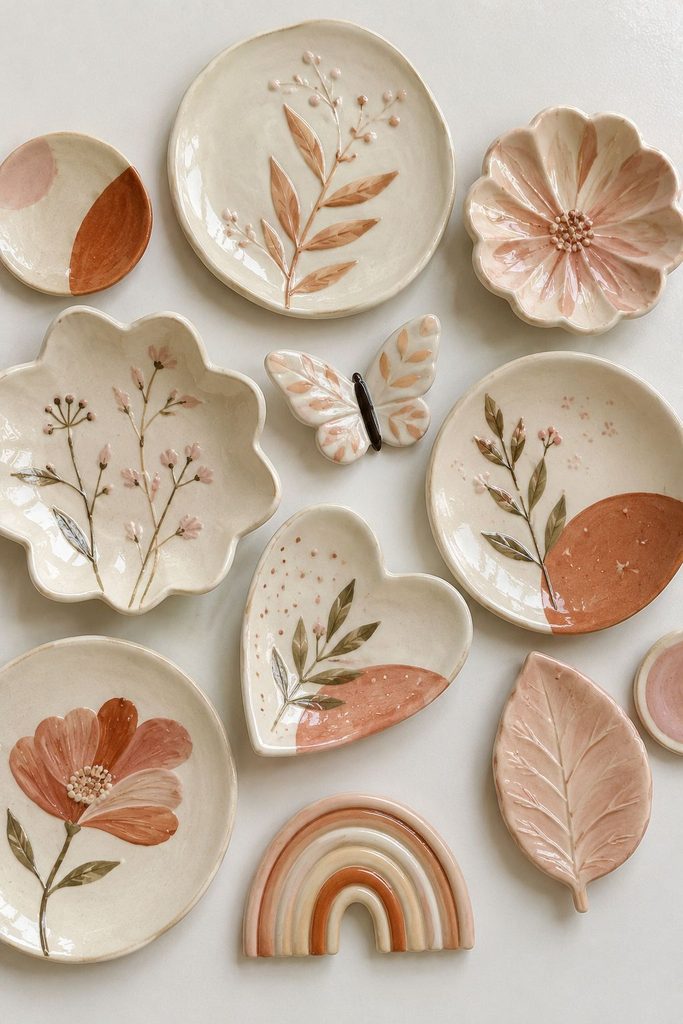
There are several types of finishes that can work for air dry clay.
The best option depends on the project and the appearance you want.
1. Mod Podge
Mod Podge is one of the easiest options for beginners.
It comes in different finishes, including matte and gloss, so you can choose between a softer natural appearance and a shinier surface.
It’s particularly useful for:
- Ornaments
- Small decorative pieces
- Painted clay projects
- Wall decor
- Beginner crafts
Because it is brush-applied, you need to use thin coats and avoid repeatedly brushing over areas that have started to dry.
2. Clear Acrylic Spray Sealer
Acrylic spray sealer can create an even finish without the brush marks that sometimes occur with liquid sealers.
It’s useful when you’re sealing several small pieces or want a relatively smooth surface.
Spray sealers are available in finishes such as:
- Matte
- Satin
- Gloss
Always use spray products according to the manufacturer’s instructions and work in an appropriate well-ventilated area.
3. Polycrylic
Water-based protective finishes such as polycrylic can provide a durable coating for decorative indoor projects.
They can be a good choice for pieces that will receive more handling than a simple ornament.
Apply thin coats and allow each coat to dry according to the product instructions.
4. Epoxy Resin
Epoxy resin creates a thick, hard, glossy surface and is sometimes used on projects such as decorative trays and coasters.
However, resin is more advanced than a simple brush-on sealer.
It requires careful mixing, appropriate ventilation, protective equipment, and attention to the manufacturer’s instructions.
Uncured resin should not come into contact with your skin, and you should never assume that a resin-coated clay item is automatically food-safe.
For beginners, a simple clay sealer is usually easier to work with.
Do you want a blog or website like mine?
Dreaming of starting a blog, whether it’s crafts, recipes, home decor, travel, or whatever’s on your mind? I taught myself everything it took to build curated softly on a budget, and I can help you skip the guesswork. Yours could be live in a matter of days, not someday, without breaking the bank.
Supplies You Will Need
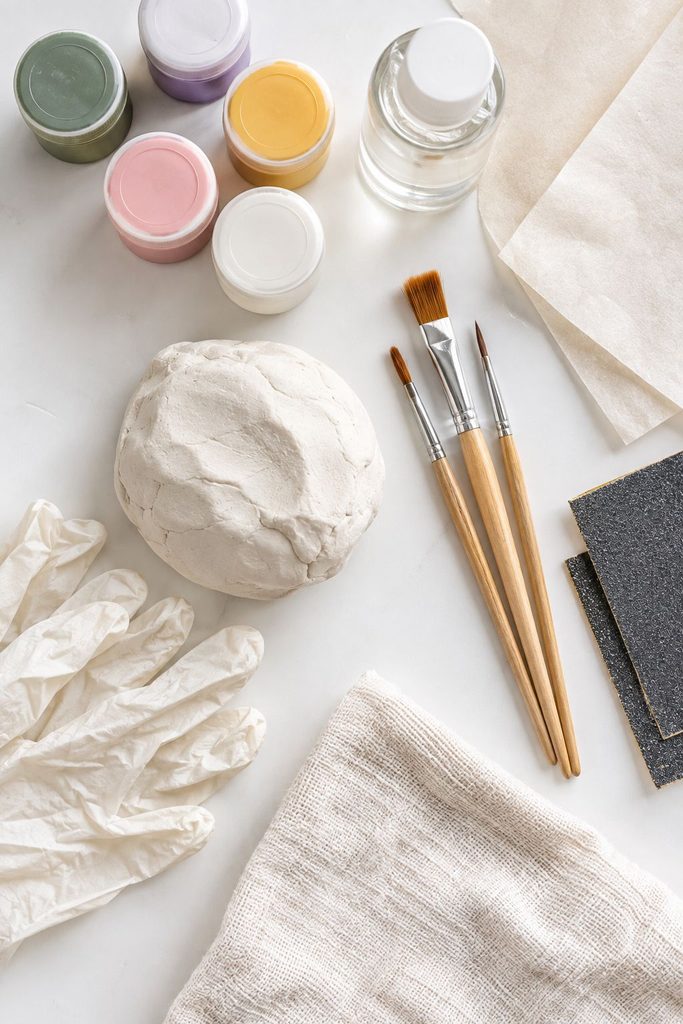
These are the basic materials you’ll need to prep, paint, and seal air dry clay. Everything listed is affordable and easy to find on Amazon:
Acrylic Paints (if you plan to decorate your clay before sealing)
Mod Podge, or clear acrylic spray sealer
Disposable Gloves (helpful when using spray sealers or resin)
Step 1: Make Sure Your Clay Is Completely Dry
Before doing anything else, inspect your project.
It should be firm throughout rather than soft or cool and damp in thicker areas.
Pay particular attention to:
- The bottom of trays
- Thick handles
- Sculptural sections
- Areas where several pieces were joined
- The center of thick projects
If you’re unsure, give the piece additional drying time.
It’s much easier to wait another day than to seal a project before it’s ready.
Step 2: Smooth the Surface
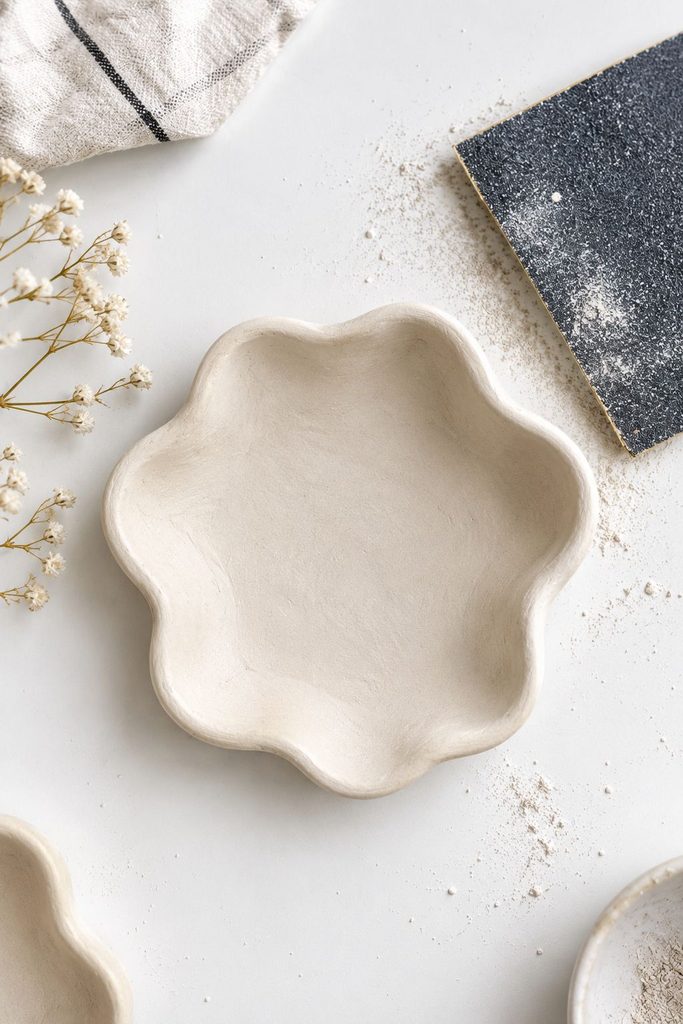
Once your clay is completely dry, look for rough edges, bumps, or small imperfections.
Use fine-grit sandpaper to gently smooth the surface.
You don’t need to aggressively sand the entire project. The goal is simply to refine areas that need attention.
After sanding, remove all the dust.
A soft dry brush or clean cloth works well for this.
Dust left on the surface can become trapped beneath the sealer and affect the final finish.
Step 3: Paint Your Clay Before Sealing
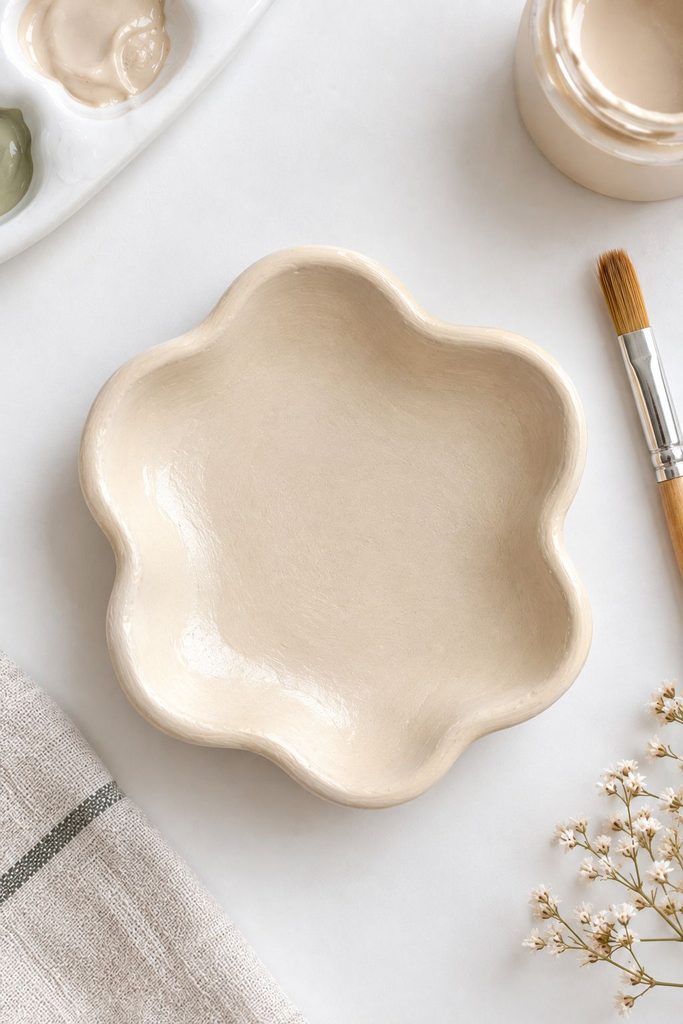
If you want to add color, paint the completely dry clay before applying the final protective finish.
Acrylic paint is a popular choice for decorative air dry clay because it dries relatively quickly and is easy to layer.
For the cleanest result:
- Apply a thin layer of paint.
- Allow it to dry completely.
- Add another thin layer if needed.
- Let the final coat dry before sealing.
Avoid applying one thick layer of paint to cover everything at once.
Thin coats generally give you better control and help preserve the details of your design.
For more painting techniques, see my guide on How to Paint Air Dry Clay: A Step-by-Step Guide.
Step 4: Choose Your Finish
Before opening your sealer, decide how you want the finished piece to look.
For a natural look
Choose a matte finish.
This is especially nice for minimalist decor and projects where you want the texture of the clay to remain visible.
For a subtle sheen
Choose a satin finish.
It gives the piece some shine without the highly reflective appearance of a gloss finish.
For a shiny finish
Choose a gloss sealer.
Gloss finishes can make colors look more vibrant and give decorative pieces a polished appearance.
Step 5: Apply the First Coat
If you’re using a brush-on sealer, use a clean, soft brush or foam brush.
Apply a thin, even layer over the surface.
Try not to repeatedly brush the same area once the product starts to set.
Too much product can cause:
- Drips
- Uneven patches
- Cloudy areas
- Visible brush marks
- Longer drying times
A thin first coat is usually better than trying to achieve complete coverage immediately.
Step 6: Let the First Coat Dry
Allow the first coat to dry according to the manufacturer’s instructions.
Don’t rush this step.
Drying and curing times vary considerably between products, so use the instructions on your specific sealer rather than relying on a universal number of minutes or hours.
Once the coat has dried, inspect the surface.
If it looks even, continue with another thin coat if the product instructions recommend additional coverage.
Step 7: Add Additional Coats
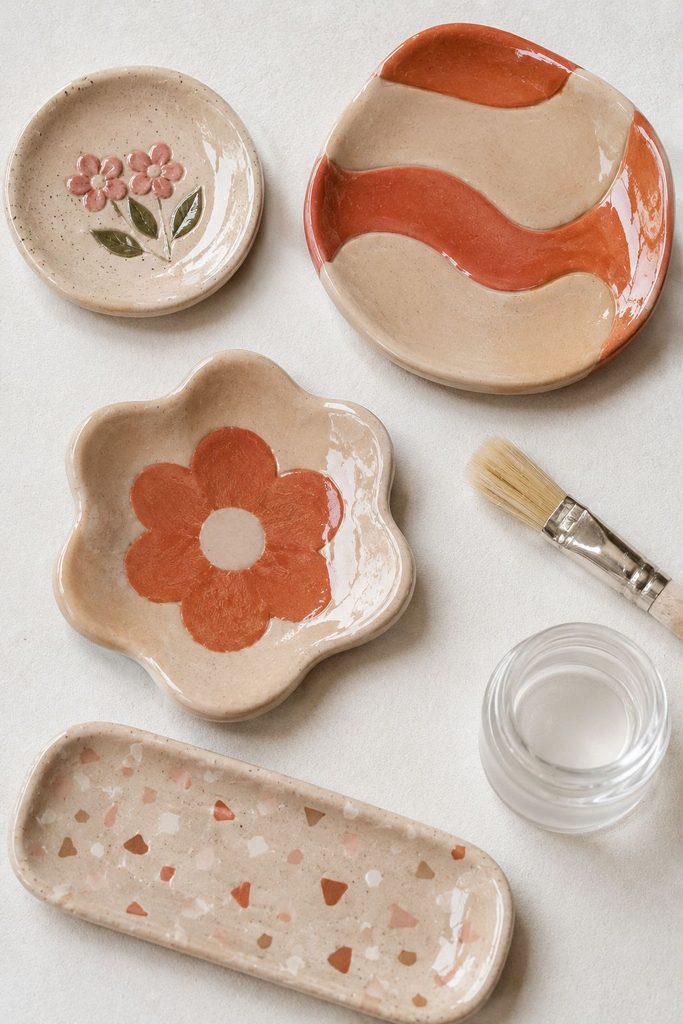
Most decorative projects benefit from more than one thin coat.
Apply the next layer in the same controlled manner.
Allow each coat to dry before adding another.
The exact number of coats depends on:
- The product you’re using
- The surface of your project
- The desired finish
- How much handling the item will receive
Avoid applying several heavy coats simply because you want more protection.
Thin, properly dried layers usually produce a cleaner result.
Step 8: Allow the Finished Piece to Cure
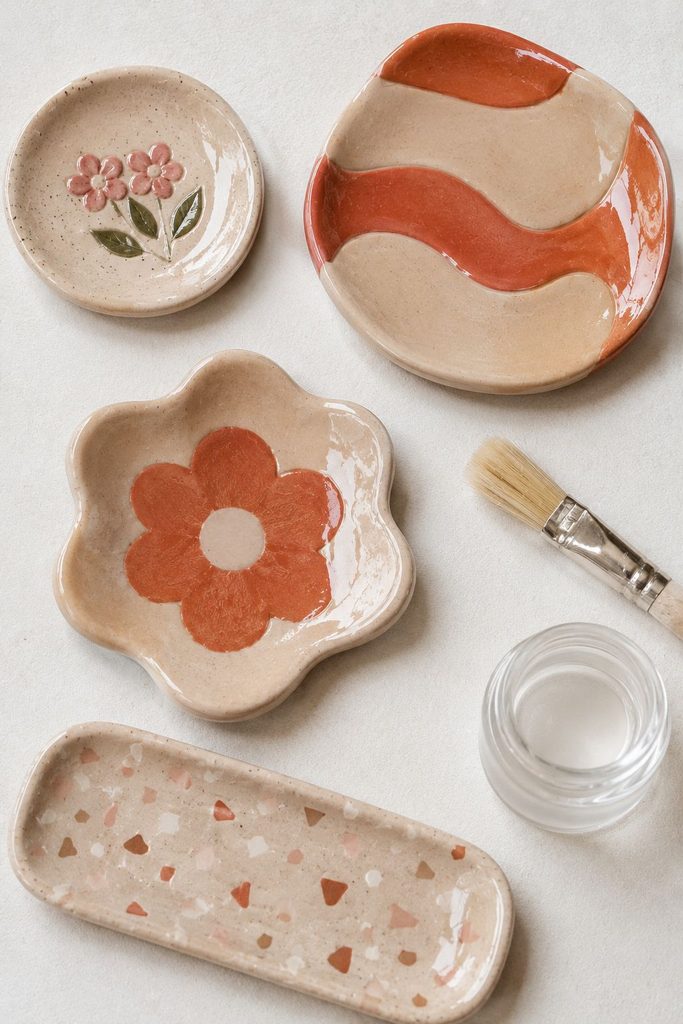
Once you’ve applied the final coat, leave your project somewhere clean and undisturbed.
Drying and curing aren’t always the same thing.
A surface can feel dry while the finish underneath is still becoming harder.
Follow the curing instructions for your specific product before handling the piece heavily or exposing it to moisture.
How to Avoid Brush Marks When Sealing Air Dry Clay
Brush marks can be frustrating, especially on smooth projects.
A few habits can help.
Use a suitable brush
A soft, clean brush or foam brush is usually easier to control than a stiff brush.
Apply thin coats
Heavy coats are more likely to leave visible marks and uneven areas.
Don’t keep brushing
Once the sealer begins to dry, repeatedly brushing over it can make the surface worse.
Work methodically and leave each section alone once you’ve covered it.
Work in good lighting
Bright, even lighting makes it easier to see missed spots and uneven coverage before the sealer dries.
Can You Seal Painted Air Dry Clay?
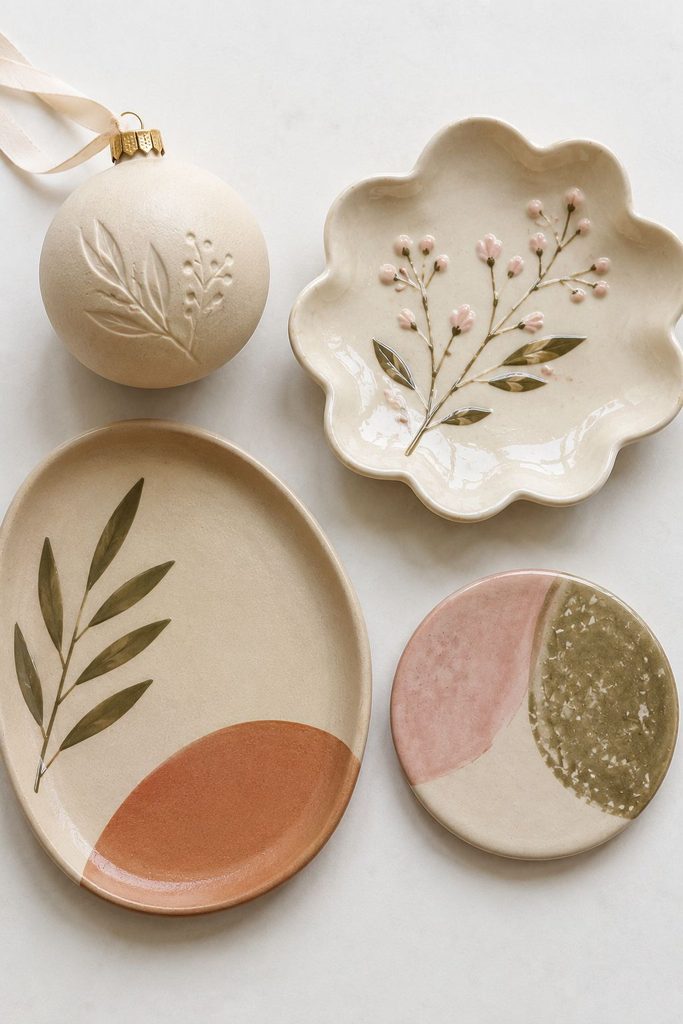
Yes.
In fact, sealing painted clay is one of the most common reasons people add a protective finish.
Allow the acrylic paint to dry completely first.
Then apply your chosen sealer in thin coats.
A clear finish can help protect the painted surface from everyday handling and give the project the final appearance you want.
Always test your chosen sealer on a small sample first if you’re unsure how it will affect a particular paint or finish.
Can Sealed Air Dry Clay Get Wet?
A sealed piece may handle small amounts of occasional moisture better than an unsealed piece, but sealed air dry clay should not automatically be considered waterproof.
This is particularly important for:
- Jewelry dishes
- Coasters
- Plant pots
- Bathroom decor
- Kitchen items
Different sealers provide different levels of protection, and the underlying clay remains important too.
For projects that are likely to encounter moisture regularly, choose your materials carefully and follow the manufacturer’s recommendations for the specific sealer you’re using.
Can You Make Air Dry Clay Waterproof?
Not reliably in the same way as a material specifically manufactured to be waterproof.
A strong surface coating can significantly improve moisture resistance, but coating the outside does not necessarily protect every part of the clay.
Edges, undersides, cracks, holes, and uncoated areas can still allow moisture to reach the clay.
For that reason, I recommend treating sealed air dry clay as decorative rather than waterproof functional ware.
Do not use homemade or sealed air dry clay pieces for food preparation, food storage, or drinking unless the materials and finish are specifically certified for that intended use.
What Sealer Should You Use for Different Projects?
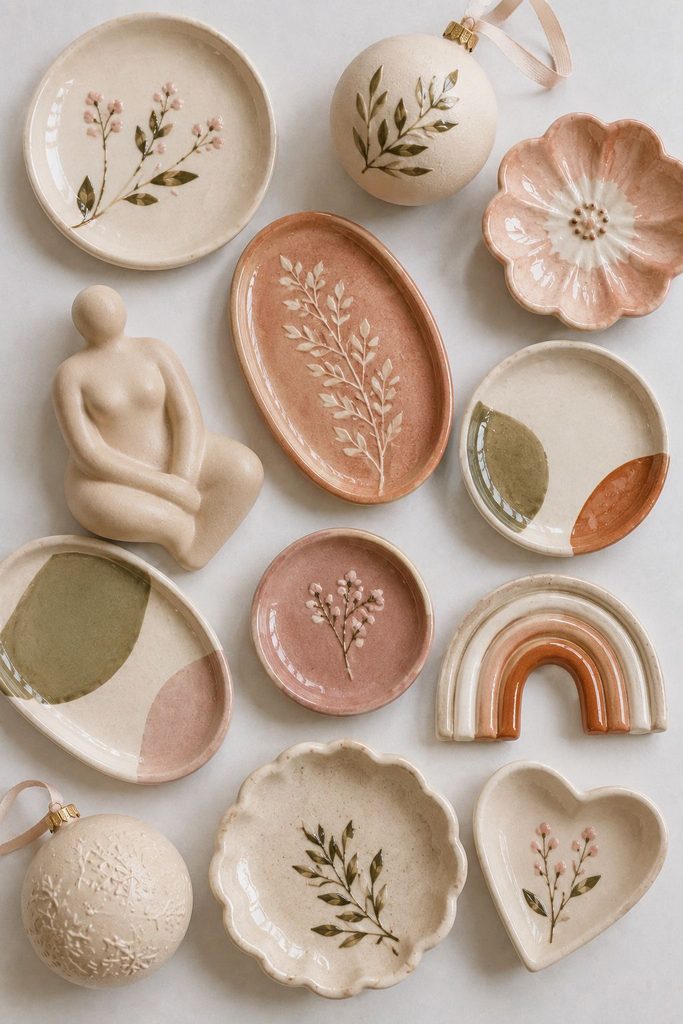
The easiest way to choose a sealer is to start with the project.
For ornaments
A matte or gloss Mod Podge-style finish can work well.
For painted decorative pieces
A clear acrylic sealer can help protect the paint while maintaining your chosen finish.
For small trays and jewelry dishes
A durable clear protective finish can be useful, especially if the item will be handled regularly.
Remember that these pieces should still be treated as decorative rather than waterproof containers.
For coasters
A harder protective coating may provide better surface resistance, but you should still follow the manufacturer’s instructions and understand the limitations of the clay underneath.
For beginner projects
Start with a simple brush-on or spray sealer rather than jumping straight into epoxy resin.
You’ll have fewer variables to manage and can learn how your clay and chosen finish behave.
Common Mistakes When Sealing Air Dry Clay
Sealing before the clay is dry
This is one of the biggest mistakes.
Give thick pieces plenty of time to dry before applying paint or sealer.
Applying the sealer too thickly
More product doesn’t automatically mean better protection.
Heavy coats can create drips, cloudiness, and uneven drying.
Sealing dusty clay
Dust trapped beneath the finish can ruin an otherwise smooth surface.
Always clean the project after sanding.
Painting and sealing too quickly
Both the clay and paint need to be dry before you move to the next stage.
Using the wrong finish for the project
A high-gloss finish might look beautiful on a colorful ornament but may not suit a minimalist piece where you want the natural texture to remain visible.
Treating sealed clay as waterproof
A protective coating improves the surface, but it doesn’t turn air dry clay into ceramic or another waterproof material.
Using resin without understanding the safety requirements
Epoxy resin requires more care than basic craft sealers. Read and follow the product’s safety, mixing, ventilation, and curing instructions.
Frequently Asked Questions
What is the best sealer for air dry clay?
There isn’t one universal best sealer. For simple beginner projects, a suitable Mod Podge-style finish or clear acrylic sealer can be easy to use. More durable finishes may be appropriate for projects that receive heavier handling.
Should I seal air dry clay before or after painting?
Paint the completely dry clay first, allow the paint to dry fully, and then apply the clear protective finish.
How many coats of sealer should I use?
Follow the instructions for your specific product. In many cases, multiple thin coats produce a better result than one thick coat.
How long should air dry clay dry before sealing?
It depends on the clay, project thickness, and environment. Small pieces may dry within a few days, while thick projects can take longer. Make sure the entire piece is dry before sealing.
Can Mod Podge seal air dry clay?
Yes, Mod Podge can be used as a finish for many decorative air dry clay projects. Choose the formula and finish appropriate for your project and follow the product instructions.
Can I use clear acrylic spray on air dry clay?
Yes. Clear acrylic spray can be used on suitable decorative clay projects. Apply it according to the manufacturer’s directions and use appropriate ventilation.
Does sealing air dry clay prevent cracks?
No. Sealing is a finishing step, not a solution for structural cracking. Cracks are more often related to the clay mixture, construction, thickness, drying process, or handling.
Can I use sealed air dry clay for food?
No. Do not assume that sealing makes an air dry clay project food-safe. For food-related items, use materials specifically designed and certified for that purpose.
Can I use sealed air dry clay outdoors?
I wouldn’t recommend exposing ordinary air dry clay projects to prolonged outdoor conditions. Humidity, rain, temperature changes, and moisture can damage the underlying material even when the surface has been coated.
Final Thoughts
Learning how to seal air dry clay is really about understanding the finishing process rather than simply covering a project with varnish.
Let the clay dry completely first. Smooth and clean the surface, paint it if you want to add color, choose a finish that suits the project, and apply thin coats according to the product instructions.
Most importantly, remember that a sealer is a protective finish, not a way to turn ordinary air dry clay into waterproof or food-safe material.
Once you get comfortable with the process, sealing becomes a simple final step that can make your handmade projects look cleaner, more polished, and better suited to everyday decorative use.
If you’re still learning the basics of air dry clay, continue with How to Make Air Dry Clay at Home, or learn how to prevent and repair common problems in How to Avoid Cracks in Air Dry Clay and How to Fix Cracked Air Dry Clay.