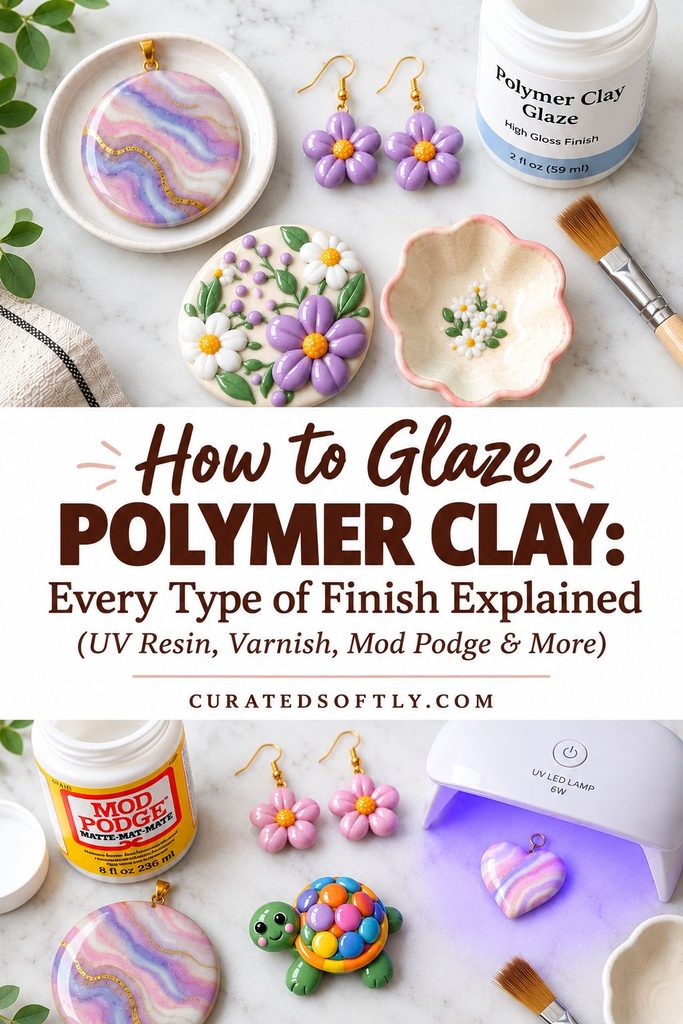
How to Glaze Polymer Clay: Every Type of Finish Explained (UV Resin, Varnish, Mod Podge & More)
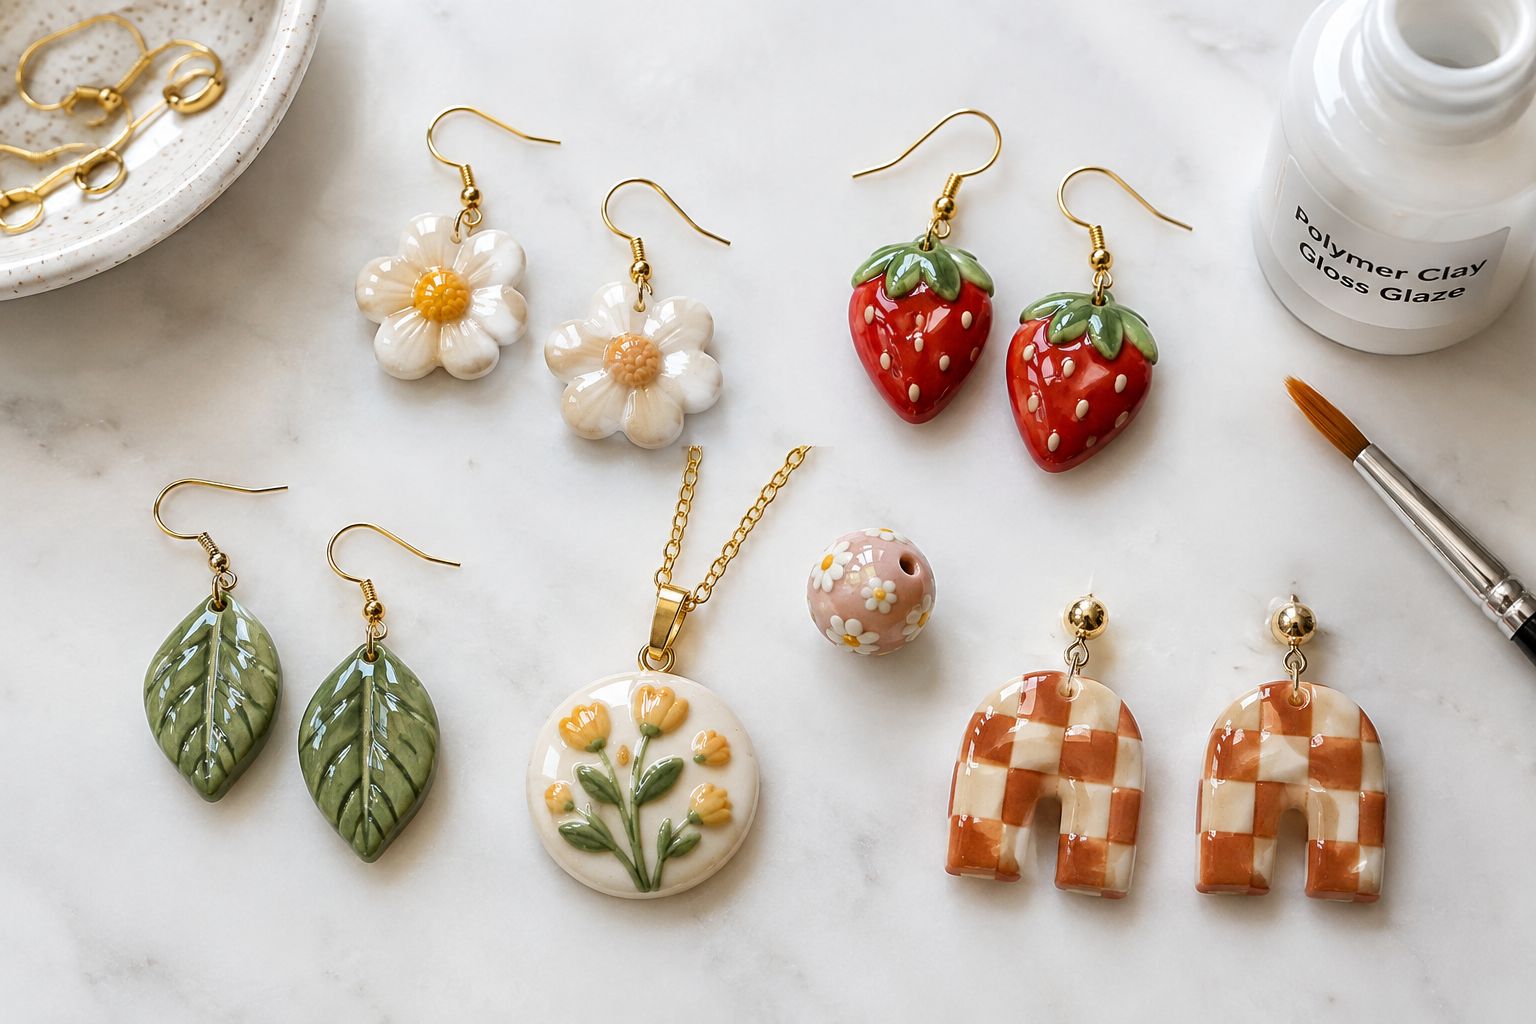
The first time I glazed a polymer clay piece, I grabbed whatever clear nail polish was sitting in my bathroom drawer and brushed it straight onto a set of earrings I’d just baked. Within a week, the polish had yellowed, gone tacky in the humidity, and started peeling at the edges. I learned the hard way that “clear and glossy” isn’t the same thing as “made for this job.”
Since then I’ve tested nearly every finish you can put on polymer clay, brush-on glazes, spray sealants, UV resin, two-part epoxy, even Mod Podge, and they are absolutely not interchangeable. Some are perfect for jewelry you’ll wear every day.
Others will ruin a piece within weeks. This guide walks through every major option, what it’s actually good for, and how to apply it so your finished pieces look as professional as the projects you’ve been admiring on Pinterest.
If you’ve made my Polymer Clay Earrings, my Polymer Clay Lighter Case, or my DIY Polymer Clay Bead Bracelet, this is the finishing step I’d recommend adding to all three.
Why Glazing Polymer Clay Matters
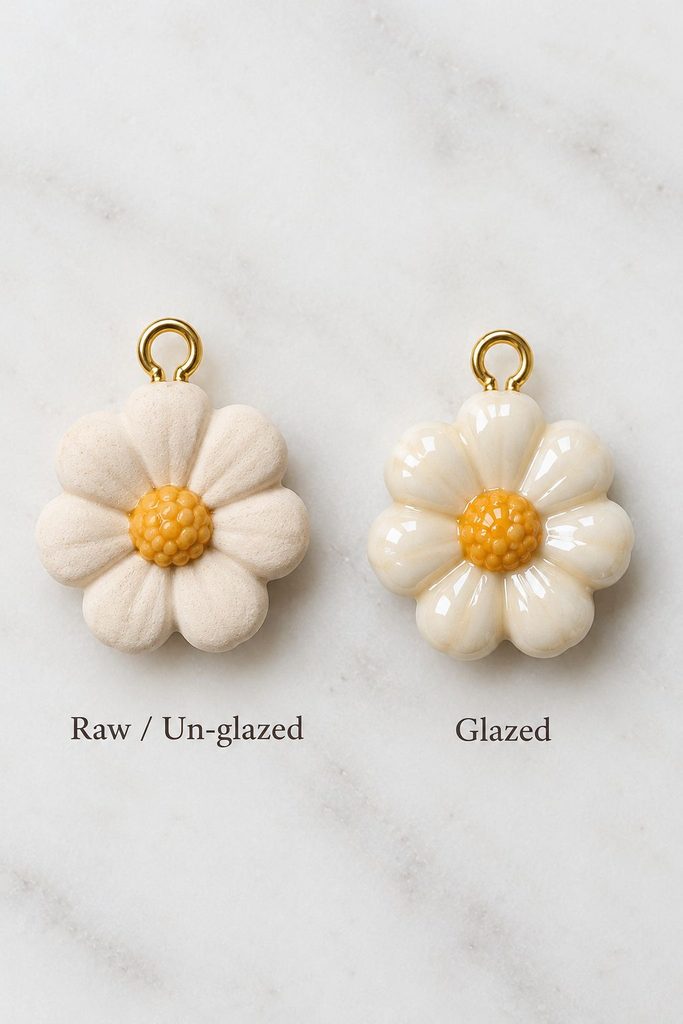
Baked polymer clay actually has a somewhat matte, slightly porous surface right out of the oven, even the glossy-looking varieties.
A glaze does three things at once: it protects the surface from scuffs and fingerprints, it deepens the color so your piece looks richer than it did unfinished, and it gives you control over the final sheen, whether you want a glassy high shine or a soft satin finish.
Skipping this step isn’t the end of the world for something like a decorative dish that just sits on a shelf, but for anything handled often, jewelry, keychains, phone accessories, a good glaze is the difference between a piece that looks great for years and one that dulls and picks up dirt within weeks.
Do a Little Prep First
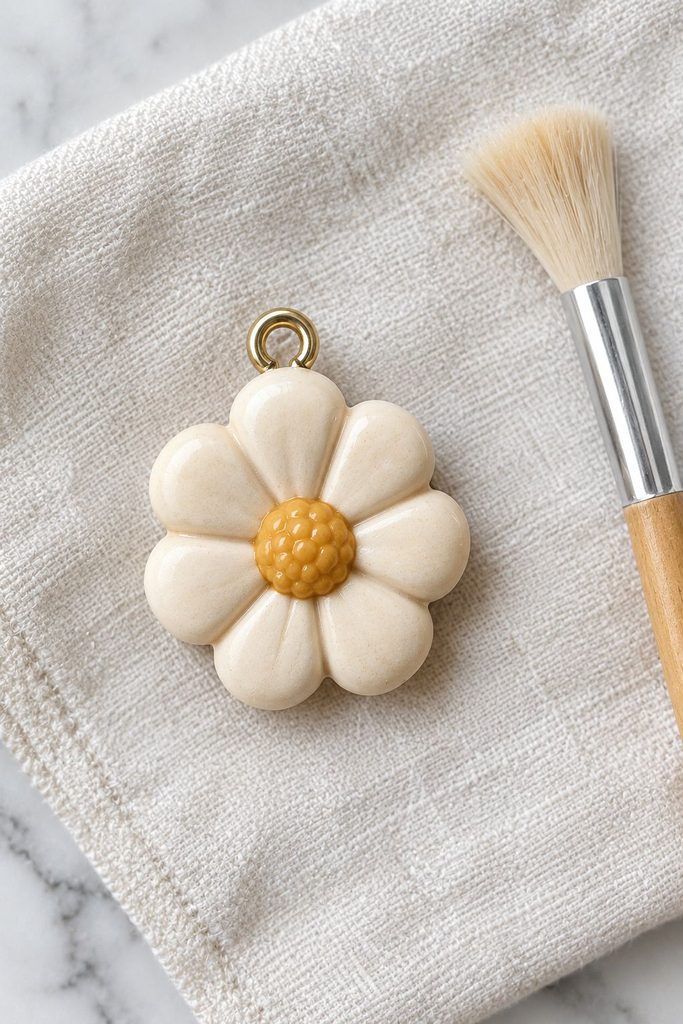
A glaze only ever looks as good as the surface underneath it. Before you glaze anything, make sure the piece is completely baked and cooled, free of dust, and free of fingerprints or oily residue from handling it.
Wipe the piece down with a lint-free cloth, and if you’ve painted or added mica powder details, make sure everything is fully dry and set before adding a glaze on top. Any dust or oil trapped underneath a glaze becomes permanent and visible the moment it dries.
Brush-On Polymer Clay Glazes
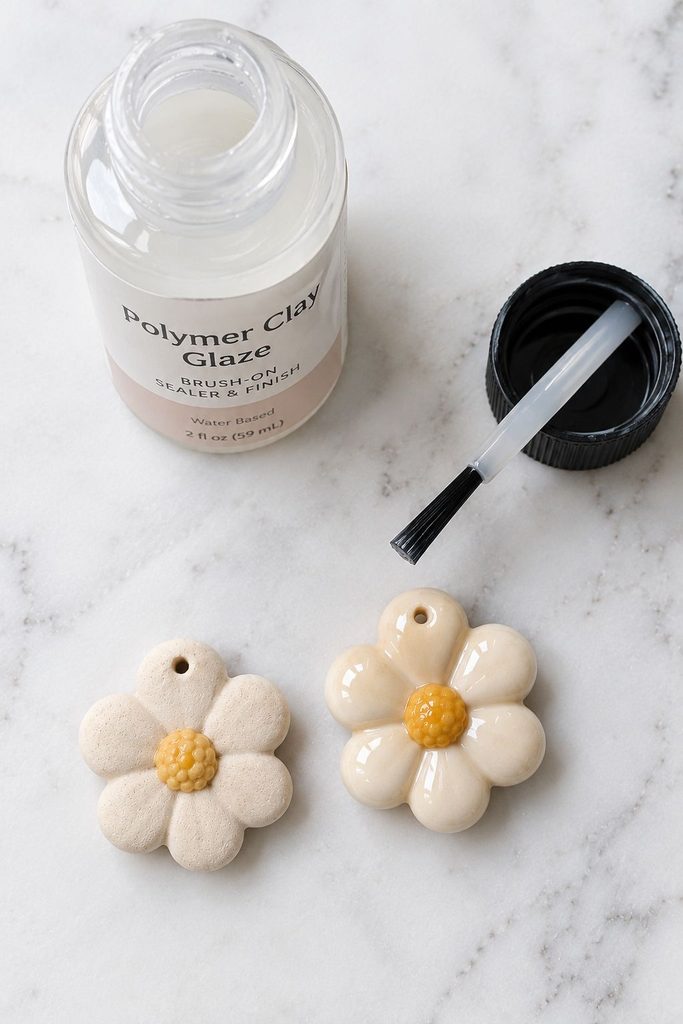
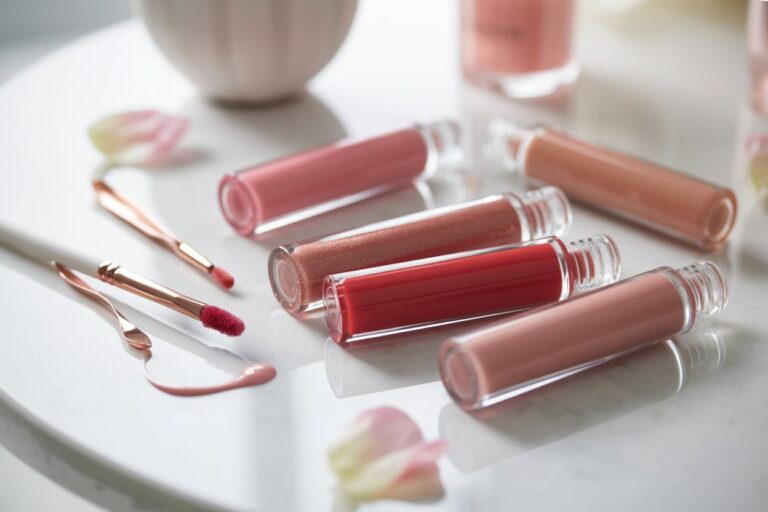
What it is: A liquid clear coat, usually a specific polymer clay formula like Sculpey Gloss Glaze or Americana Gloss Enamel, brushed directly onto the baked piece.
Best for: Small decorative pieces, beads, and figurines where you want an easy, low-cost glossy or satin finish.
Pros: Inexpensive, widely available at craft stores, easy to apply with a small brush, no mixing required.
Cons: Can develop a tacky or sticky surface over time, especially in humid climates, this is one of the most common complaints with brush-on glazes. Not ideal for jewelry that gets handled constantly.
How to apply it: Brush a thin, even layer over the fully cooled piece, working in one direction to avoid streaks. Let it dry according to the package instructions, usually a few hours, then apply a second thin coat if you want extra shine. Avoid thick coats, they take much longer to dry and are more likely to stay tacky.
Spray Sealants and Varnish
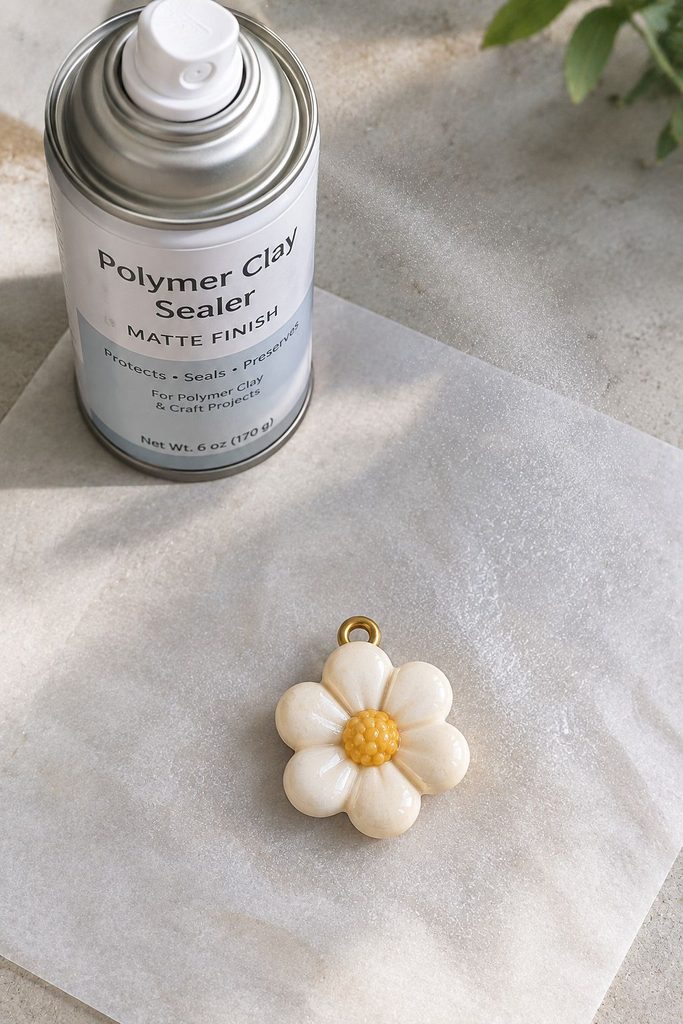
What it is: An aerosol or brush-on varnish not specifically made for polymer clay, but compatible with it, such as a matte or gloss acrylic sealer.
Best for: Larger pieces, decorative items, or anything where you want an even coat over a big surface area quickly.
Pros: Fast, even coverage, dries quickly, available in a range of finishes from matte to high gloss.
Cons: Some spray sealants react poorly with certain polymer clay brands and can turn cloudy or stay slightly tacky, always test on a scrap piece first.
How to apply it: Spray from about 8 to 10 inches away in a well-ventilated area, using light, even passes rather than one heavy coat. Let each coat dry fully before adding another, two light coats almost always look better than one heavy one.
UV Resin
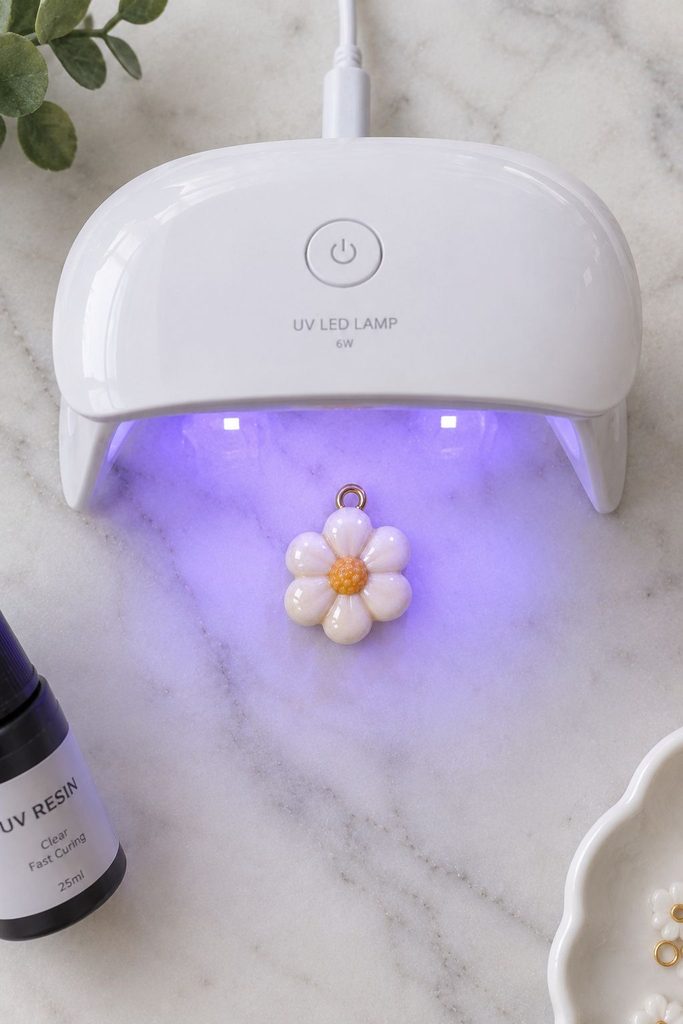
What it is: A resin that cures under UV light rather than air-drying, applied as a liquid and hardened in minutes under a UV lamp or direct sunlight.
Best for: Jewelry and small accessories where you want a thick, glassy, dome-like shine, this is the finish behind that deep, glossy look you see on a lot of handmade earrings and pendants.
Pros: Extremely durable once cured, doesn’t yellow as quickly as some other options, cures fast so you’re not waiting hours or days.
Cons: Requires a UV lamp for reliable curing indoors, can be sticky and difficult to work with until you get used to it, and needs to be applied carefully since it self-levels and can drip off the edges of a piece if you use too much.
How to apply it: Apply a small amount to the surface with a toothpick or small tool, spreading it just to the edges without letting it drip over. Cure under a UV lamp for the time specified on the product, usually 1 to 3 minutes, or in direct sunlight for a longer period if you don’t have a lamp.
Two-Part Epoxy Resin
What it is: A resin and hardener mixed together, then applied and left to cure over several hours to a couple of days without needing UV light.
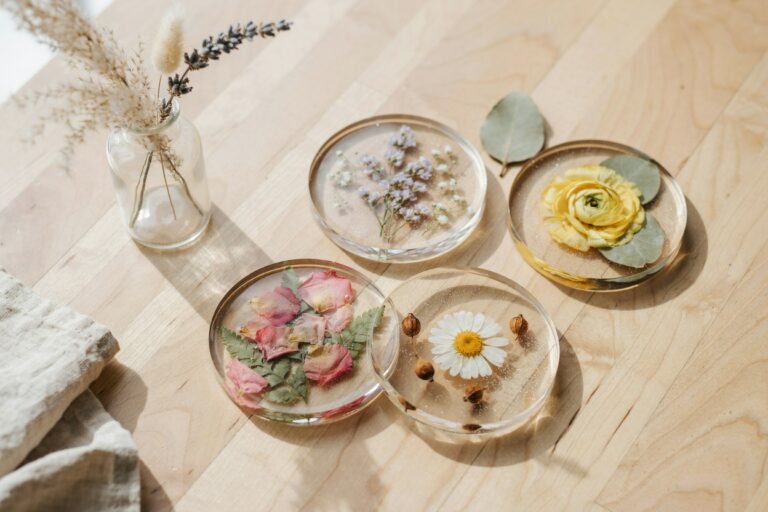
Best for: Coating larger, flatter pieces where you want maximum depth and a glass-like finish, like coasters, trinket dishes, or larger pendants.
Pros: Extremely glossy and durable finish, works without any special equipment, cures at room temperature.
Cons: Long cure time, precise mixing ratios matter a lot, and it’s messier to work with than the other options here, self-leveling resin can also drip off the edges of a piece if you’re not careful with the amount used.
How to apply it: Mix the resin and hardener exactly according to the product’s ratio, stirring slowly to avoid introducing air bubbles. Pour or brush a thin layer onto the piece, then use a heat gun briefly and carefully to pop any remaining bubbles at the surface. Let it cure undisturbed, ideally under a dust cover, for the full time listed on the product.
Mod Podge
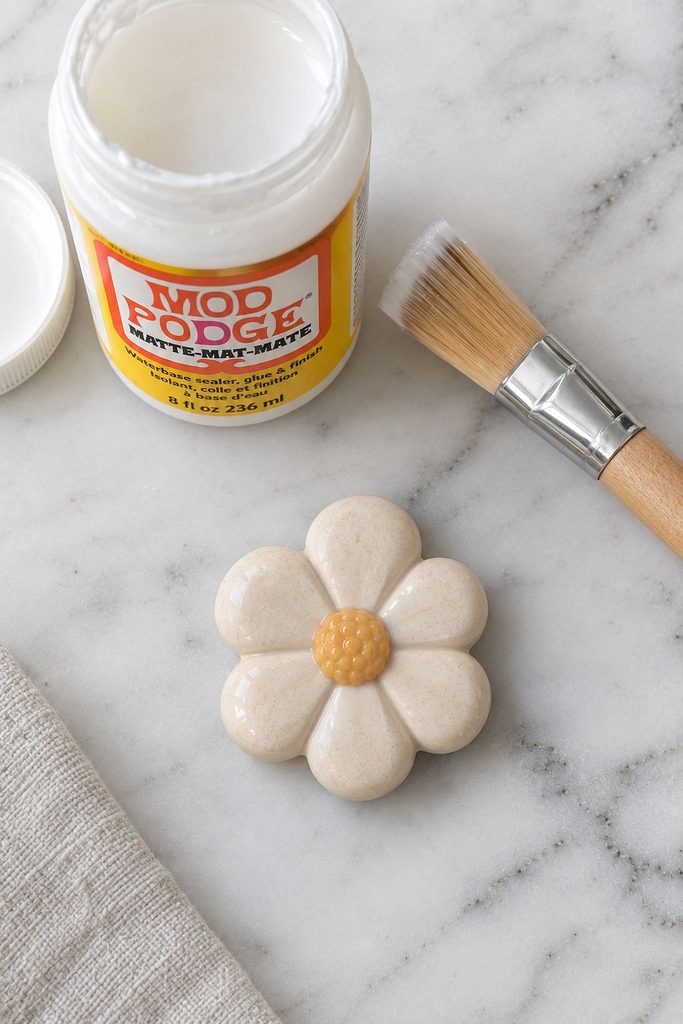
What it is: A craft glue and sealant hybrid, originally designed for decoupage projects, sometimes used as a cheap alternative glaze for polymer clay.
Best for: Low-stakes craft projects, kids’ projects, or pieces that won’t be handled often.
Pros: Very cheap, widely available, easy to apply with a basic craft brush.
Cons: Not actually designed for polymer clay, and it shows, it tends to stay tacky longer than dedicated glazes and doesn’t hold up nearly as well over time or with handling.
How to apply it: If you do use it, apply a very thin coat with a soft brush and allow significantly longer drying time than the label suggests, at least a full 24 hours before handling the piece again.
What About Clear Nail Polish?
I mentioned my own experience with this at the start of this guide for a reason.
Clear nail polish is not designed for polymer clay, and while it can work in a pinch for a piece you don’t expect to keep long-term, it tends to yellow, chip, and turn tacky faster than any of the options above.
If it’s genuinely all you have on hand, treat it as a temporary fix rather than a real answer.
Choosing the Right Glaze for Your Project
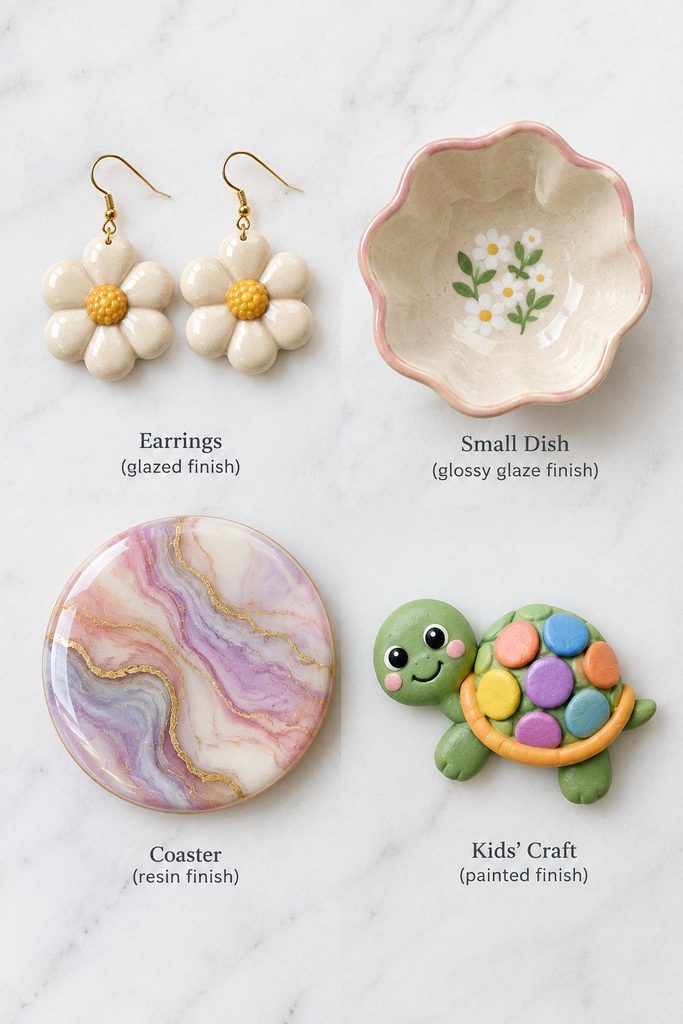
Jewelry worn often (earrings, rings, bracelets): UV resin holds up the best to daily handling and won’t turn sticky the way brush-on glazes can.
Decorative pieces (dishes, figurines, ornaments): A brush-on polymer clay glaze or spray sealant is usually enough, since these pieces aren’t handled constantly.
Larger flat surfaces (coasters, trays): Two-part epoxy resin gives you the thick, glassy look these pieces usually call for.
Kids’ projects or one-off crafts: Mod Podge is fine here, since the finish doesn’t need to last for years of daily wear.
Common Mistakes to Avoid
Glazing before the piece is fully cooled. Applying any glaze to a piece that’s still warm from the oven can cause bubbling or an uneven finish.
Applying too thick a coat. This is the number one reason glazes stay tacky. Thin, even coats, even if it takes two or three of them, always outperform one thick layer.
Skipping a scrap test. Different polymer clay brands react differently to certain glazes. Always test a new product on a scrap piece before committing to your finished project.
Rushing the cure time. Whether it’s a brush-on glaze, spray sealant, or resin, cutting the dry or cure time short is the fastest way to end up with a sticky or damaged surface.
Frequently Asked Questions
Do I have to glaze polymer clay at all? No, it’s optional, but it protects the surface and improves the color and shine, especially for anything that will be handled regularly.
Can I use the same glaze on air dry clay and polymer clay? Not always. Some glazes made specifically for one type don’t perform the same way on the other, always check the product label or test on a scrap piece first.
Why did my glaze stay tacky? This is almost always caused by applying too thick a coat or not allowing enough dry or cure time. It can also happen with certain glaze and clay brand combinations, which is why testing on scrap clay matters.
Which glaze lasts the longest on jewelry? UV resin tends to hold up the best over time for pieces that get worn and handled often, since it cures into a hard, glass-like layer rather than staying as a soft topcoat.
Final Thoughts
Glazing is one of those steps that’s easy to skip when you’re excited to finish a project, but it’s also the step that decides whether your piece still looks good six months from now or starts peeling and yellowing after a few wears.
The good news is you don’t need every product on this list, just the right one for what you’re making.
If I had to keep only one on hand, it would be UV resin for anything wearable and a basic brush-on glaze for everything else. Start there, test on scrap clay before committing to a finished piece, and you’ll get a result that actually holds up.
Have you tried one of these finishes on a polymer clay project? I’d love to hear which one worked best for you.