
How to Make Polymer Clay Earrings (Beginner-Friendly, Studio-Quality Results)
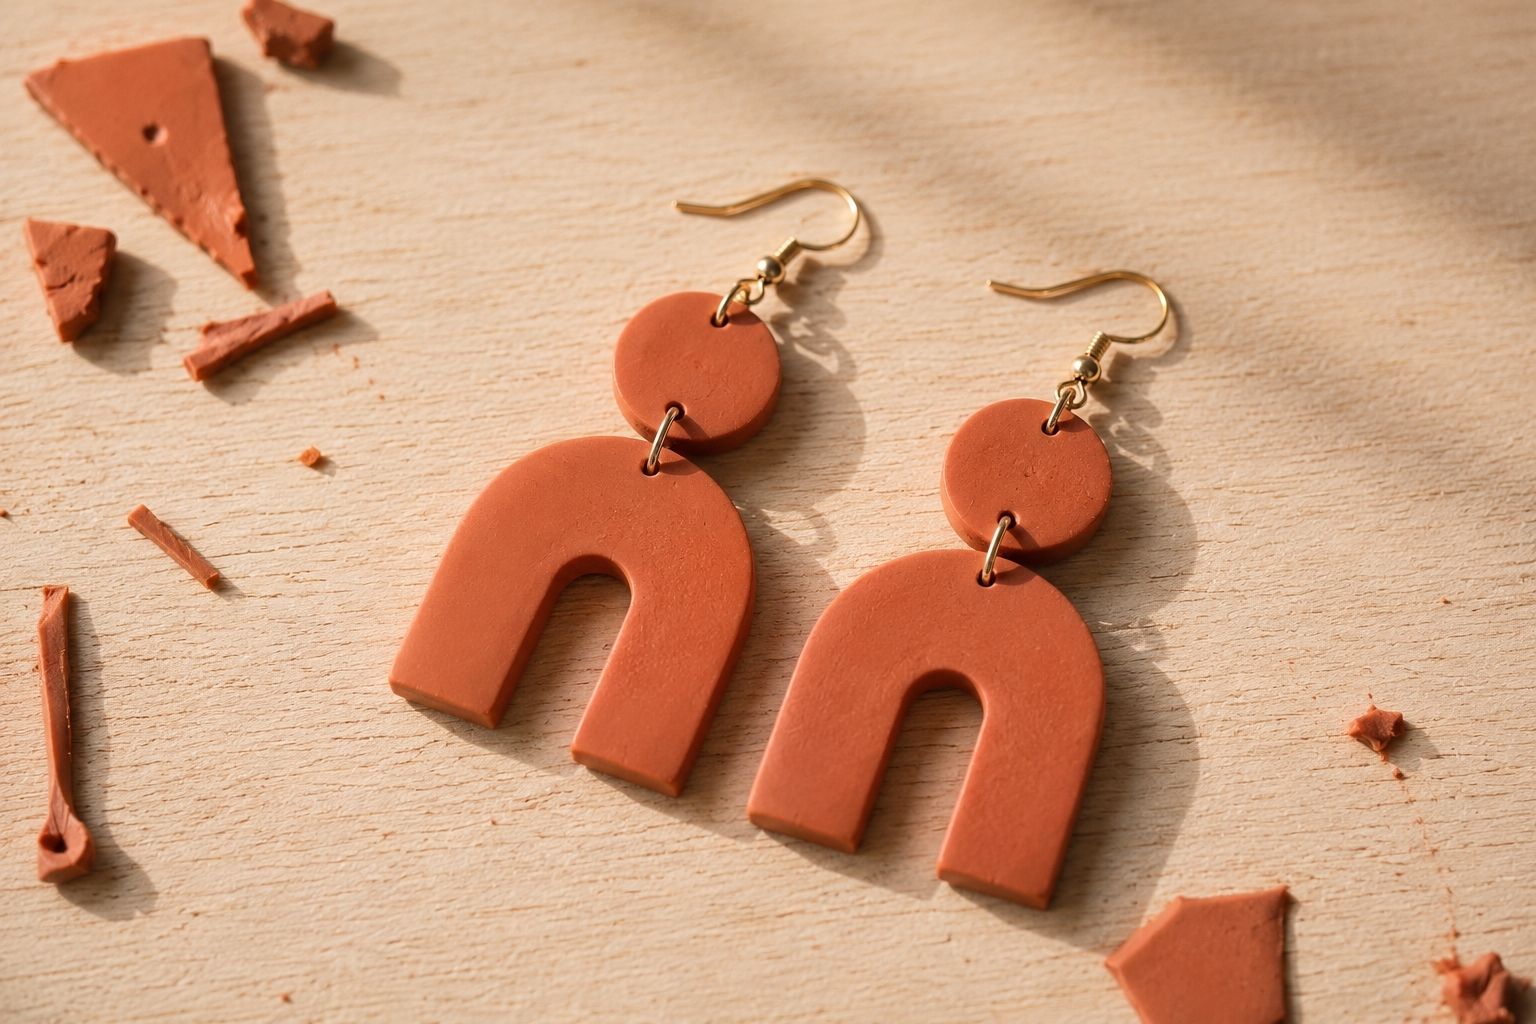
Earrings were the project that finally made me understand why people get so pulled into working with polymer clay. There’s something different about making jewelry versus a trinket dish or a magnet, it’s small, it’s wearable, and a finished pair feels disproportionately impressive for how little time they actually take once you know what you’re doing.
The first pair I ever made, a simple pair of mismatched geometric shapes I didn’t even plan out ahead of time, are still the ones I reach for most often. There’s a particular kind of pride in wearing something you made yourself out of a lump of clay that started the afternoon as nothing in particular.
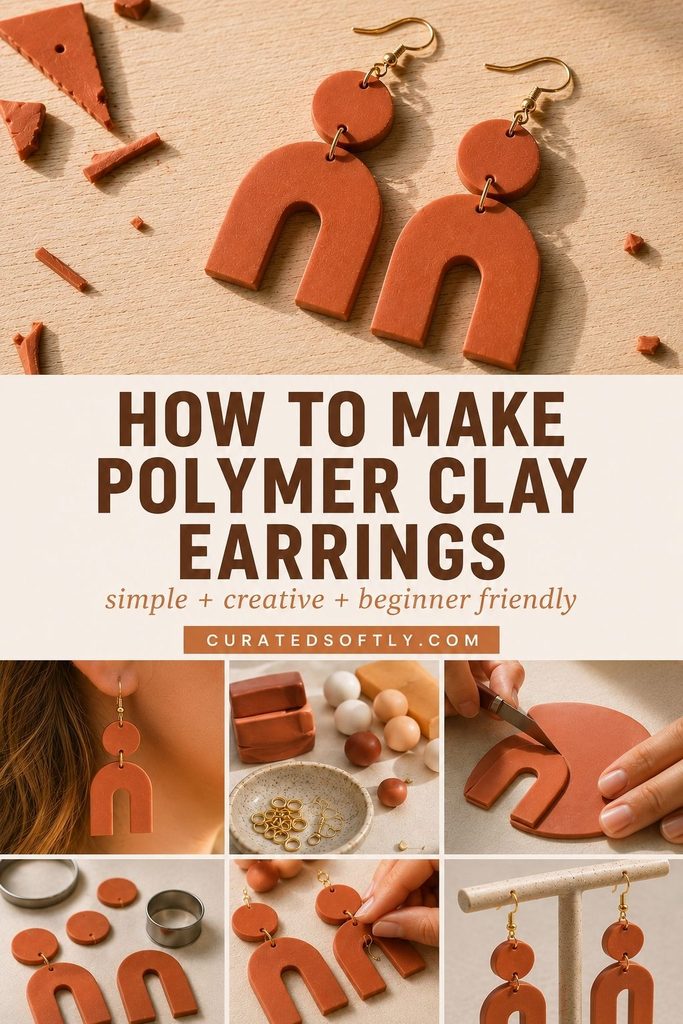
That’s really what kept me making more, not just the finished product, but how quickly a small pile of scraps turns into something genuinely wearable.
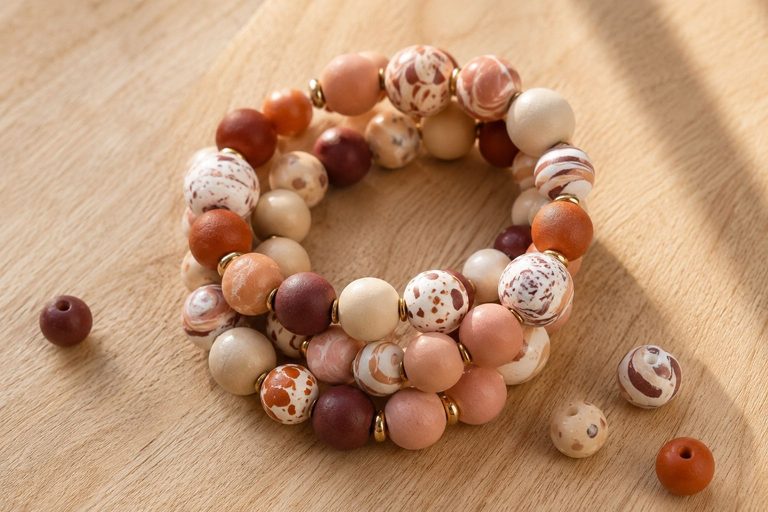
If you’ve already made my polymer clay bead bracelet or my lighter case, you’re going to recognize a lot of this process. Same conditioning, same curing basics, just applied to flat cutout shapes instead of rolled beads or a wrapped object.
If earrings are your very first polymer clay project, don’t worry, I’ll walk through everything from the ground up, and once you’re comfortable here, my image transfer tutorial is a natural next step for adding printed designs to future pairs.
Why This Project Is Worth Trying
- No sculpting talent required, most designs rely on simple cutout shapes
- A small amount of clay makes several pairs
- Fast turnaround, rolling to baking usually takes under an hour of active time
- Endlessly customizable in color, shape, and pattern
- A genuinely giftable, professional-looking finished product
The Science Behind Why Cured Clay Holds Its Shape
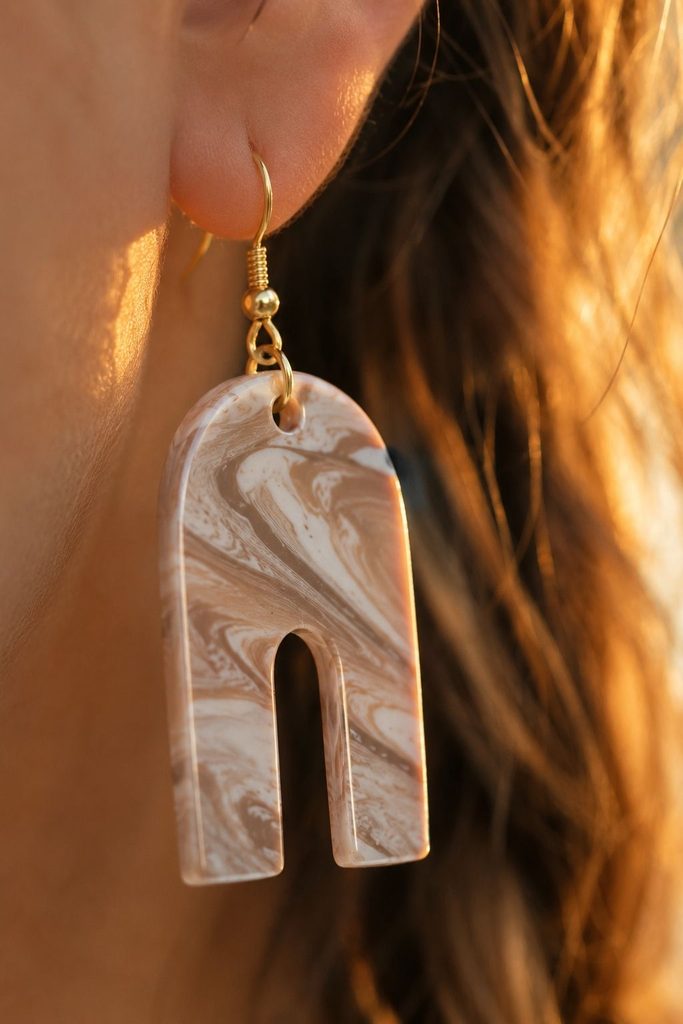
Polymer clay cures through a process called plasticization rather than simple air drying. As it heats in the oven, the resin particles suspended in the clay soften and permanently fuse together, locking the shape in place.
This is different from air dry clay, which hardens purely by losing moisture, and it’s why polymer clay pieces don’t shrink, warp, or crack from humidity the way an air dry piece sometimes can.
For earrings specifically, this matters because thin, flat pieces are more fragile than a rounded bead or a wrapped case. A fully cured earring resists snapping or chipping under normal handling; an under-cured one, even if it feels hard right out of the oven, can remain more brittle than it should be.
Choosing Your Materials
Clay firmness. A firmer clay holds crisp, clean cutout edges better than a very soft one, which can distort slightly when you lift a shape off the work surface. For earrings, where clean edges matter more than they might for a rounded bead, I’d lean toward a firmer clay.
Earring hardware. Look for hypoallergenic findings, stainless steel or titanium earring hooks specifically, rather than standard nickel-plated ones.
A significant number of people react to nickel, and since earrings sit against pierced skin for extended periods, this is one project where hardware quality genuinely matters more than it might for a bracelet.
Cutters vs. hand-cutting. Small metal or plastic cutters give the cleanest, most consistent shapes and are worth the small investment if you plan to make more than one or two pairs. A craft knife works fine for simple geometric shapes but takes more practice to get symmetrical results freehand.
Planning Your Shapes and Layout
Before cutting into your rolled clay, it helps to sketch or at least mentally map out your shapes, especially if you’re making more than one pair in a session.
Simple shape ideas for beginners: circles, teardrops, simple arches, and basic geometric shapes like triangles or hexagons all cut cleanly and look intentional even as a first attempt. More organic, hand-cut shapes take more practice to get symmetrical between the left and right earring.
Sizing for comfort. Larger, heavier shapes look striking but can pull uncomfortably on the earlobe over a full day of wear.
If this is a first pair, or a pair meant for everyday use rather than a special occasion, I’d keep the finished shape on the smaller side, roughly the size of a thumbnail or slightly larger, and save bigger statement shapes for pieces you know will be worn for shorter stretches.
Cutting from one sheet. Always roll a single sheet of clay large enough for an entire pair and cut both shapes from it together, rather than rolling two separate batches. This is the single easiest way to guarantee a matched color and thickness between the two earrings.
Storing Leftover Clay
Earrings use a relatively small amount of clay per pair, so you’ll likely have leftovers from most blocks. Wrap unused clay tightly in plastic wrap or wax paper, keeping different colors separated to avoid color transfer between wrapped pieces stored next to each other.
Stored this way in a cool spot out of direct sunlight, polymer clay generally stays workable for months, sometimes longer, since it cures with heat rather than drying out from air exposure the way air dry clay does. Avoid storing it against certain plastics like some vinyl bags, a chemical reaction between the two can make the clay permanently sticky.
How Climate Affects Working With This Clay
Polymer clay doesn’t dry out from air exposure, it only cures with heat, but climate still affects how workable it feels while you’re cutting and shaping.
Warmer environments soften clay faster, which can be genuinely helpful for conditioning but can also make clean, sharp cutter edges harder to achieve since the clay is more prone to dragging or smearing slightly at the cut line. If your space runs warm, a few minutes in the fridge before cutting can firm the clay back up for crisper edges.
Cooler environments keep clay firmer for cleaner cuts but can make the initial conditioning step take longer and more effort. Warming the clay briefly in your hands before kneading, rather than forcing a cold, stiff block, makes this easier.
Supplies You Will Need
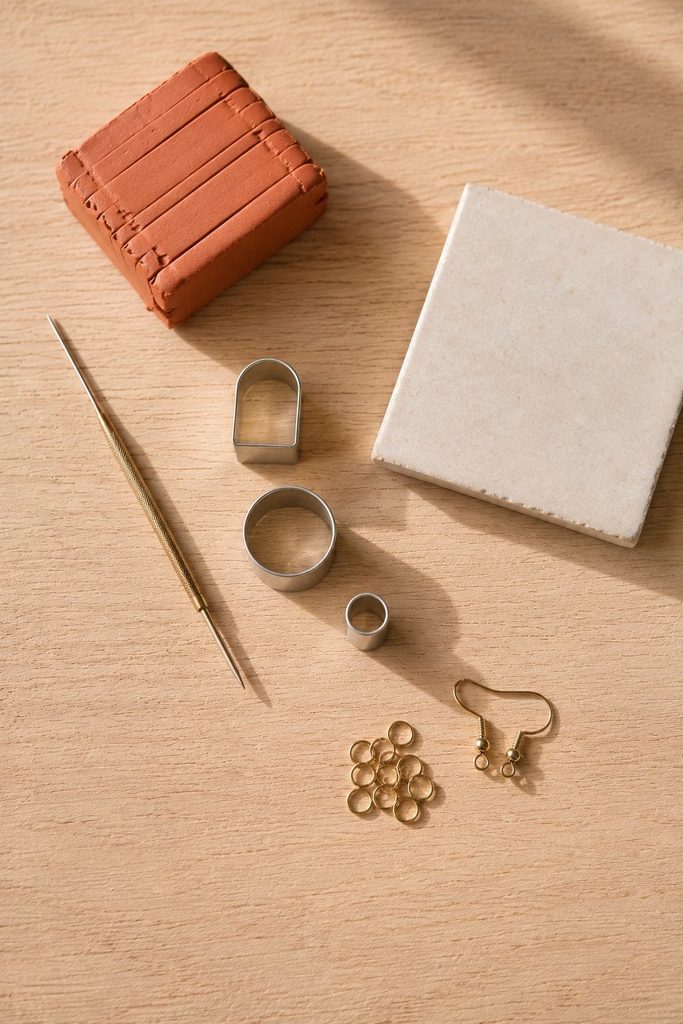
- Polymer clay in your choice of colors
- A rolling pin or acrylic roller (or a pasta machine, if you have one dedicated to craft use)
- Small clay cutters
- A needle tool or small drill bit, for hanging holes
- A ceramic tile or oven-safe glass surface for baking
- Earring hooks or posts (hypoallergenic recommended)
- Jump rings and jewelry pliers
- Optional: sandpaper and clear polymer glaze
Step 1: Condition Your Clay
Knead your clay for several minutes until it’s soft, warm, and free of cracks. Well-conditioned clay is especially important for earrings, since cracks or air bubbles are much more visible on a thin, flat cutout than they would be on a rounded bead.
Step 2: Roll to an Even Thickness
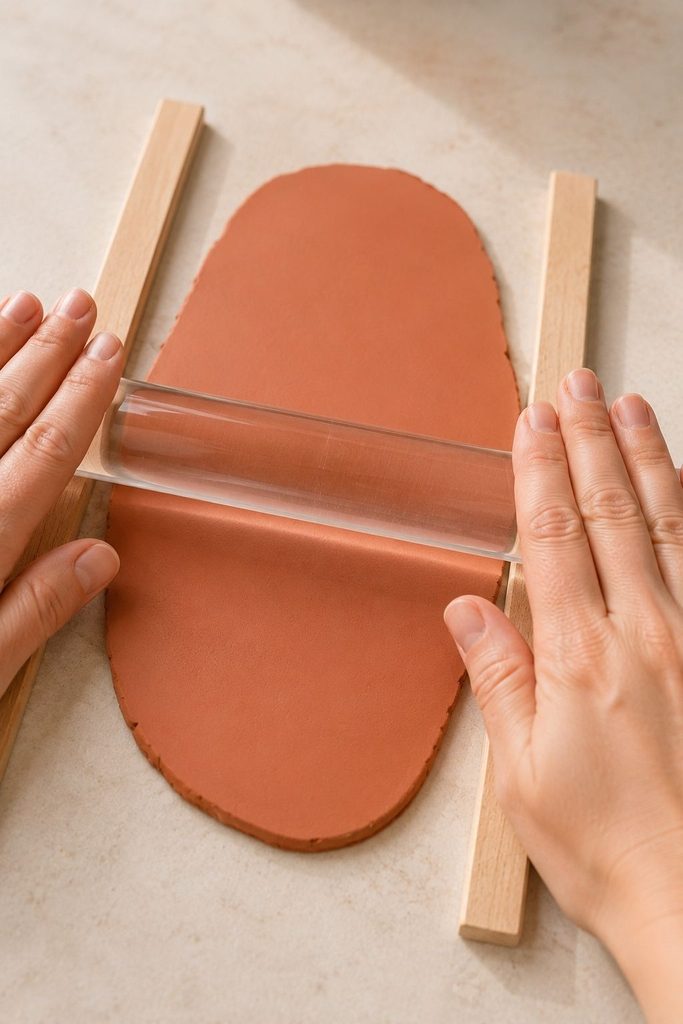
Roll your clay out to a consistent thickness, generally around 1/8 inch works well for earrings, thin enough to stay lightweight for comfortable wear, thick enough to resist snapping.
If you have a pasta machine set aside specifically for craft use, it gives a more consistently even sheet than hand-rolling alone.
Step 3: Cut Your Shapes
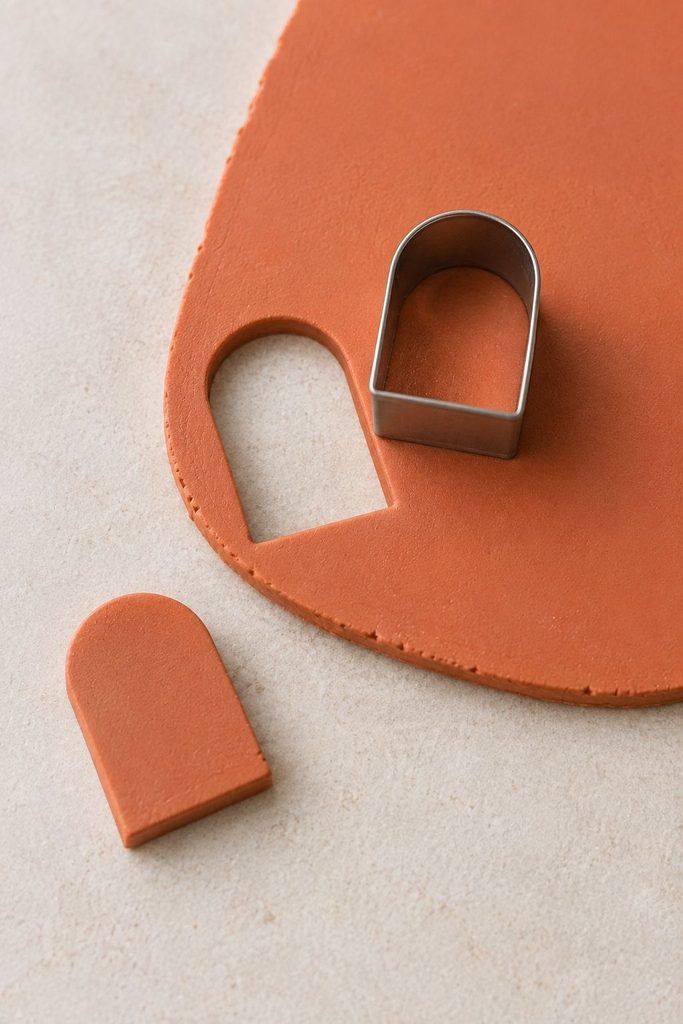
Press your cutters firmly and evenly into the rolled sheet, or use a craft knife for custom shapes. Cut a few extra pieces beyond what you need, it’s common for one or two shapes in a batch to come out slightly imperfect, and having spares means you’re not stuck with a mismatched pair.
Step 4: Pierce the Hanging Holes
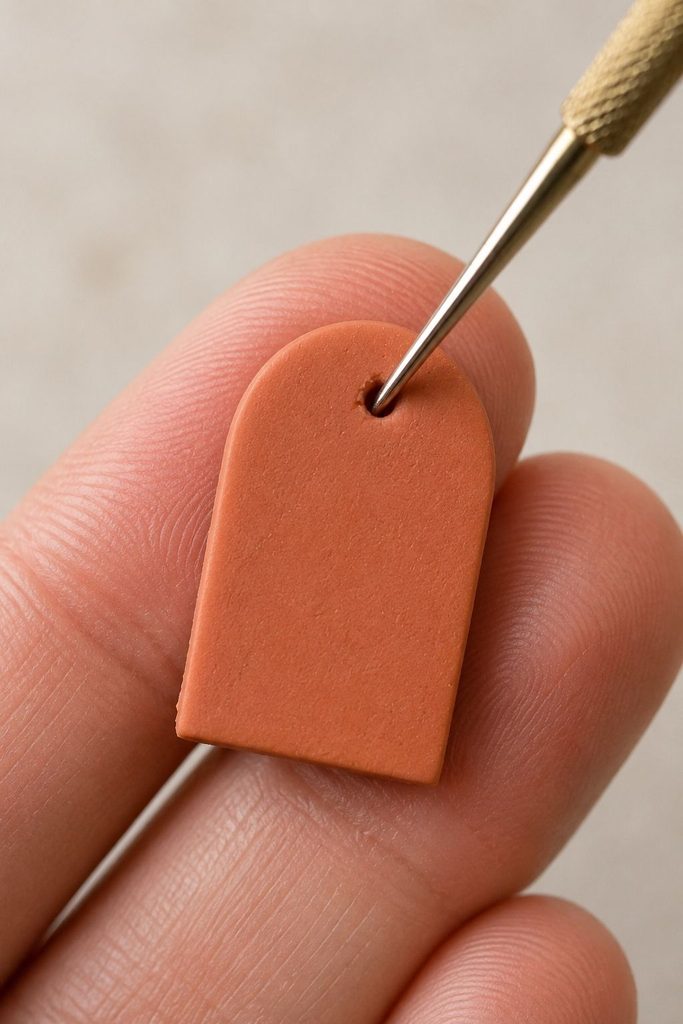
Using a needle tool, pierce a small hole near the top of each shape where the jump ring will attach. Keep the hole a consistent distance from the edge across your whole batch, uneven placement is one of the most common things that makes a finished pair look slightly off once worn.
Step 5: Add Texture or Detail (Optional)
- Marbling: partially blend two or three clay colors before rolling for a swirled effect
- Stamped texture: press a texture stamp into the rolled sheet before cutting your shapes
- Layered cutouts: press a smaller shape in a contrasting color onto the base shape for a two-tone look
- Carved detail: use a needle tool to carve simple lines or patterns into the surface before baking
Step 6: Let Pieces Rest
Set your cut shapes on a ceramic tile and let them sit undisturbed for 15 to 20 minutes before baking. This firms them up slightly and reduces fingerprints or edge distortion from handling.
Step 7: Bake According to Your Clay’s Instructions
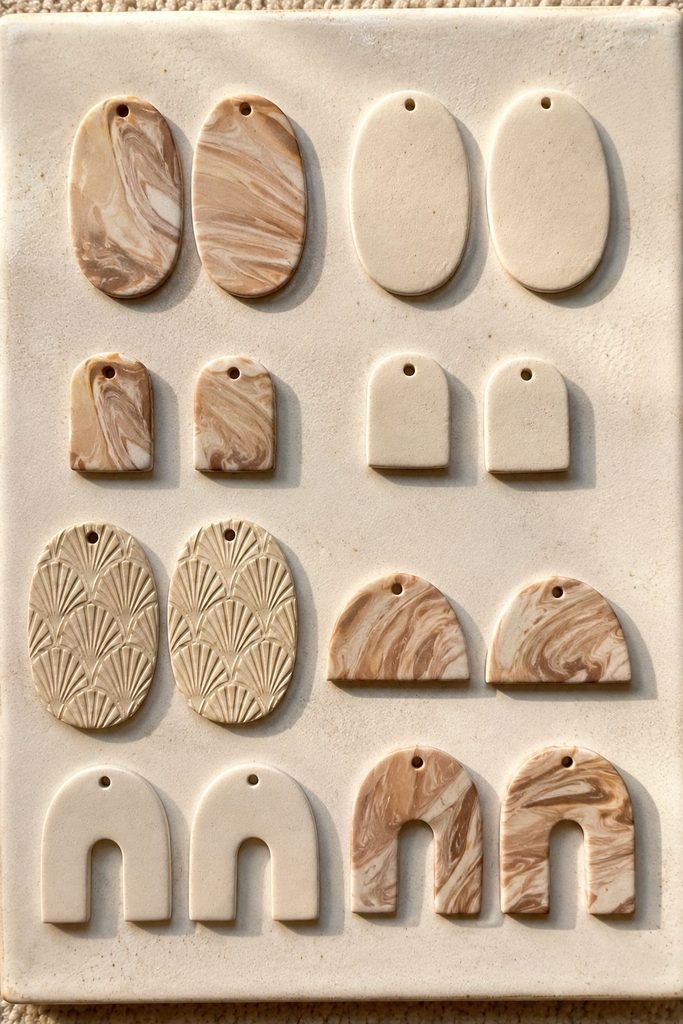
Bake on your ceramic tile following the temperature and time listed on your clay’s packaging, most oven-bake polymer clays cure in the 265-275°F range for roughly 15-30 minutes depending on thickness, but always follow your specific brand’s guidance over a general estimate.
Let pieces cool completely on the baking surface before handling.
Step 8: Sand and Seal (Optional)
Once cooled, a light pass with fine sandpaper smooths any rough cut edges. A thin coat of clear polymer-safe glaze adds shine and a bit of extra durability against everyday wear and contact with skin and hair.
Step 9: Attach the Hardware
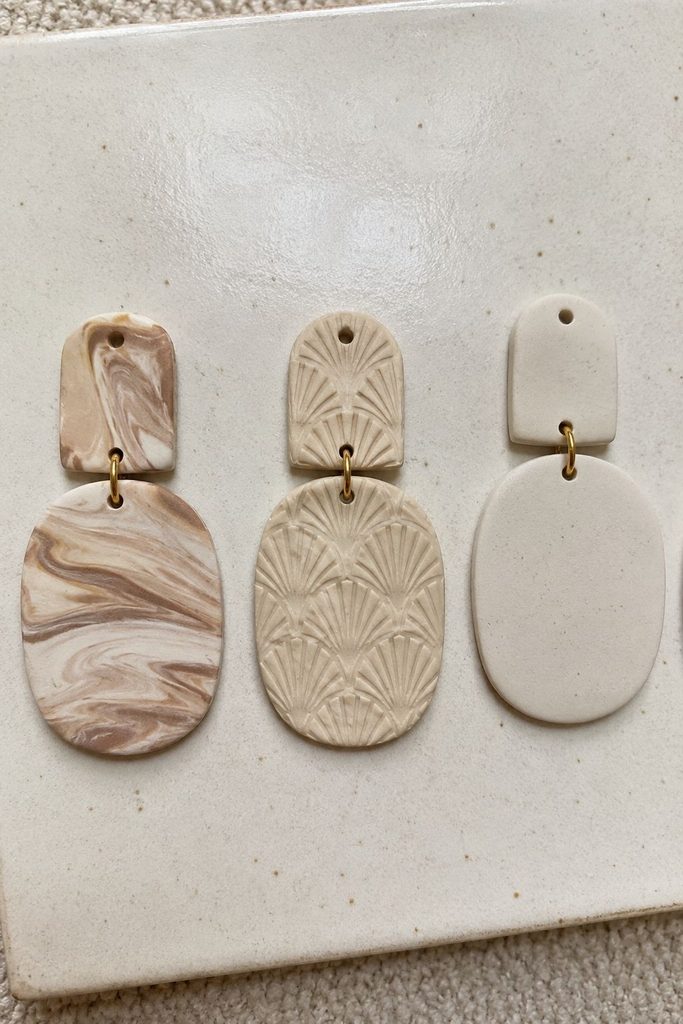
Open a jump ring sideways (twisting rather than pulling apart, which keeps the ring’s shape intact), thread it through the pierced hole and onto your earring hook, then close it firmly.
Repeat for the second earring, double-checking that hole placement and hook attachment match closely between the pair.
Troubleshooting Common Problems
Edges look rough or uneven after cutting. This usually means the clay wasn’t rolled to a fully even thickness, or the cutter wasn’t pressed straight down. A light sand after baking can clean up minor roughness.
The piece cracked near the hanging hole. Holes placed too close to the edge are more prone to cracking, both before and after baking. Leave a bit more margin between the hole and the shape’s edge next time.
Pieces warped slightly during baking. This can happen if pieces were rolled unevenly in thickness, or if they were moved on the baking tile before they’d cooled. Bake on a flat, stable tile and let pieces cool undisturbed.
Colors don’t match between the two earrings in a pair. This usually comes from cutting shapes from two different rolled sheets rather than the same one. Roll a single sheet large enough for both earrings and cut them from it together.
The jump ring won’t stay closed. Twisting the ring open and closed, rather than pulling it apart and squeezing it shut, keeps its shape true and makes it far more likely to close securely.
A Note on Sensitive Ears
If you or the person you’re making these for has sensitive ears, hypoallergenic hooks (surgical steel or titanium) are worth the small extra cost over standard plated findings.
Nickel sensitivity is common, and earrings sit against pierced skin for hours at a time, longer and more direct contact than most other jewelry, which makes hardware quality matter more here than it does for a bracelet or necklace.
Caring for Finished Earrings
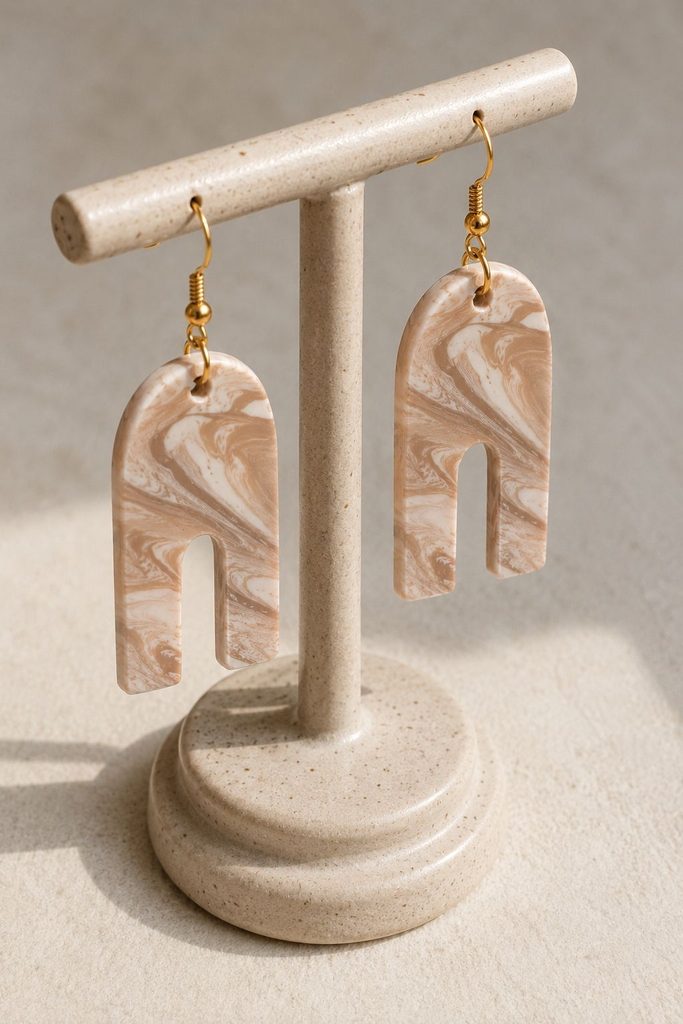
- Remove before swimming, showering, or sleeping to protect both the clay finish and the hardware
- Avoid leaving them in direct sun or a hot car for extended periods, prolonged heat can soften cured clay
- Store in a small dish or jewelry box rather than tossed loose in a bag, to avoid chips or scratches
- Wipe gently with a soft, dry cloth if needed, rather than washing with water
Variations and Gift Ideas
- Matching sets for a friend or family member, made from the same rolled sheet for a perfectly coordinated pair
- Seasonal shapes and colors, easy to swap for holidays or specific occasions
- Stud version, using flat-back earring posts instead of hooks for a more minimal, everyday look
- Layered dangles, connecting two or three small shapes with jump rings for a longer, more statement-style earring
Once you’ve made one pair, the process goes quickly, this is an easy project to batch if you’re making several pairs as gifts.
Frequently Asked Questions
Are polymer clay earrings safe to wear all day?
Fully cured clay itself is generally well tolerated. Most reactions people have to earrings come from metal findings rather than the clay, so choosing hypoallergenic hardware is the more important safety consideration.
How do I keep a pair perfectly matched?
Roll a single sheet of clay large enough for both earrings and cut both shapes from it before baking, rather than rolling and cutting them separately.
Can I make lightweight earrings for stretched or sensitive ears?
Rolling your clay thinner, closer to 1/16 inch, reduces the finished weight, just be a little more careful during handling since thinner pieces are more fragile before and immediately after baking.
Do I need a pasta machine to get an even thickness?
No, a rolling pin with thickness guides (thin wooden dowels or rulers placed on either side of the clay as a rolling guide) works well for hand-rolling an even sheet without specialty equipment.
How long do polymer clay earrings last?
Fully cured, well-cared-for pieces can last for years. The earring hardware will typically show wear before the clay itself does.
Final Thoughts
Polymer clay earrings are one of the most rewarding small projects you can make, quick, inexpensive, and genuinely wearable the same day.
Focus on even rolling and consistent hole placement, choose hardware that’s kind to sensitive ears, and you’ll likely find yourself with a small collection before long.
If you’re new to polymer clay overall, my bead bracelet tutorial and lighter case tutorial cover the same conditioning and curing fundamentals in more depth, and my image transfer tutorial is a great next step for adding printed designs to your earring shapes.



One Comment