
Leaf Imprint Jewelry Dish: An Easy Air Dry Clay Tutorial
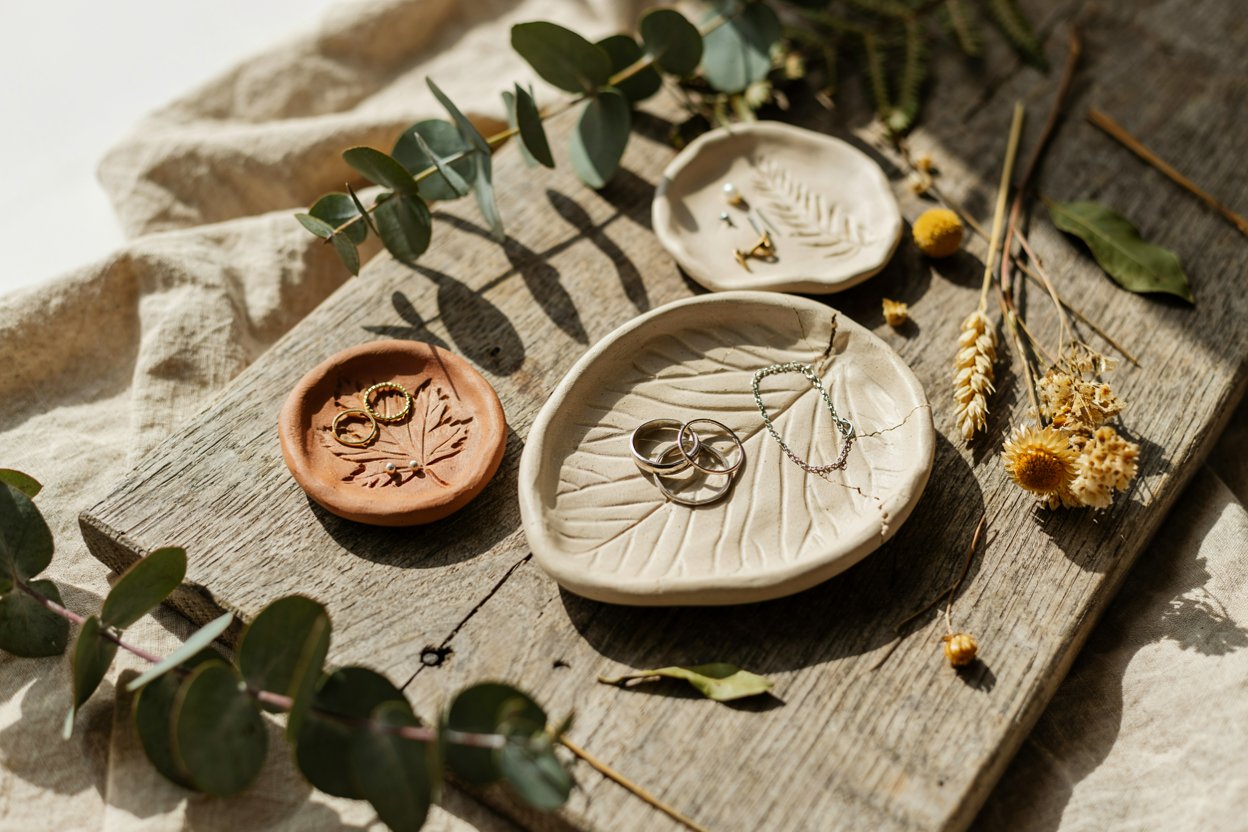
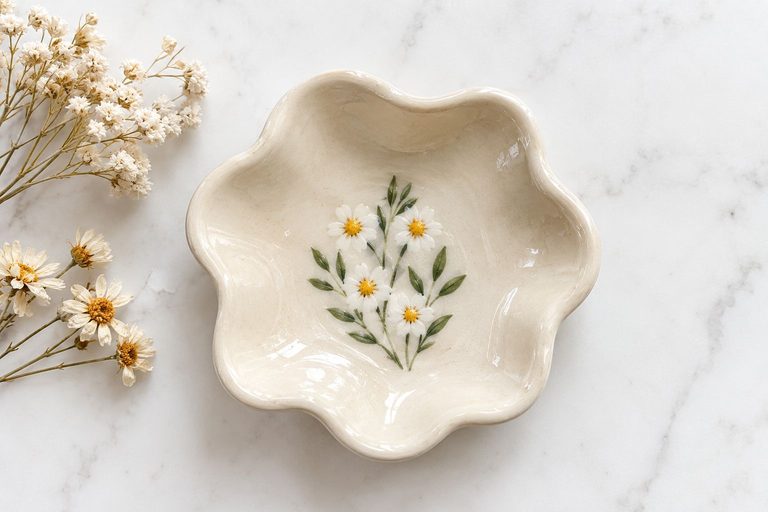
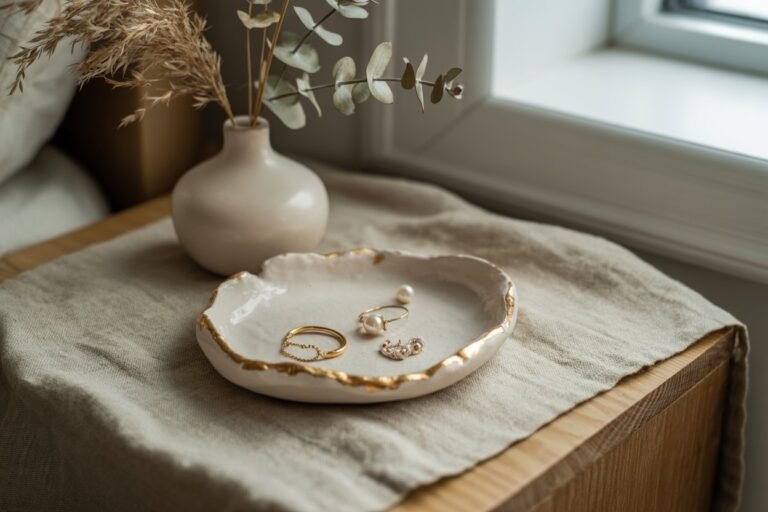
There’s something about a little handmade jewelry dish that makes a bedside table feel instantly more put together. I’ve made plenty of plain clay dishes over the years, but the ones I keep reaching for are the ones with a little detail pressed into the surface.
This leaf imprint jewelry dish is one of my favorites.
The idea is wonderfully simple: you roll out air dry clay, press a real leaf into the surface to capture its veins and texture, then shape the clay into a shallow dish.
Once it has dried completely, you can leave it natural for a soft earthy look or add paint to make the leaf pattern stand out even more.
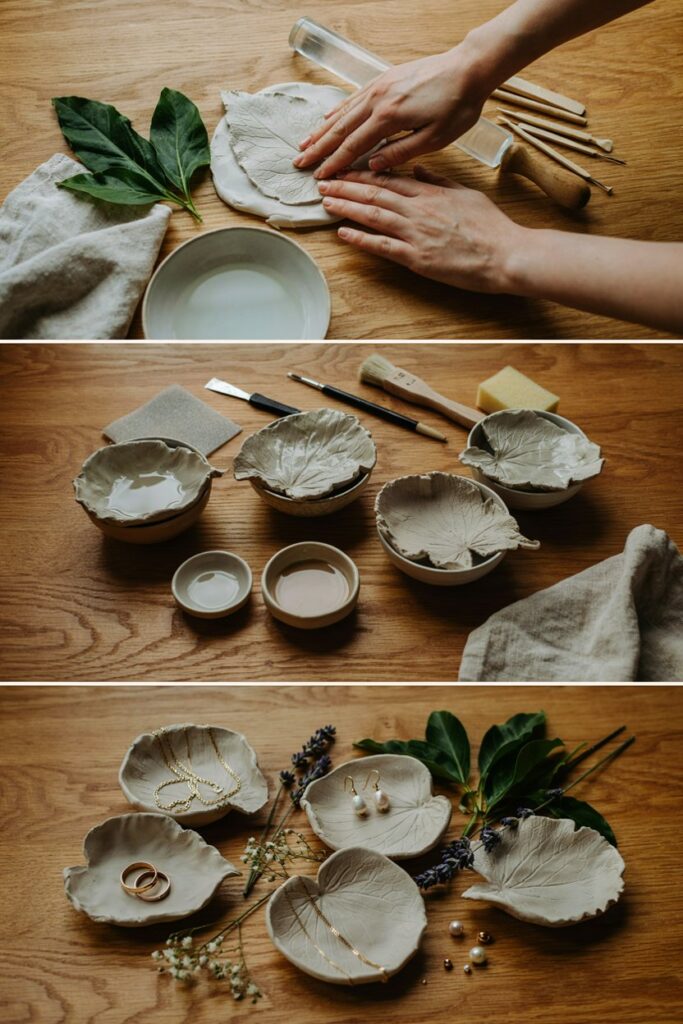
I especially like using leaves with clearly defined veins because they create a surprisingly detailed impression without needing any special clay stamps or expensive tools.
And you don’t need to be particularly experienced with air dry clay to make one. If you can roll clay evenly and gently press a leaf into it, you can make this project.
I’ve made plenty of plain clay dishes over the years, but the ones I keep reaching for are the ones with a little detail pressed into the surface. If you like the idea of clay jewelry pieces generally, my air dry clay jewelry ideas post has a few more directions to take this in.
Why I Love This Leaf Imprint Jewelry Dish
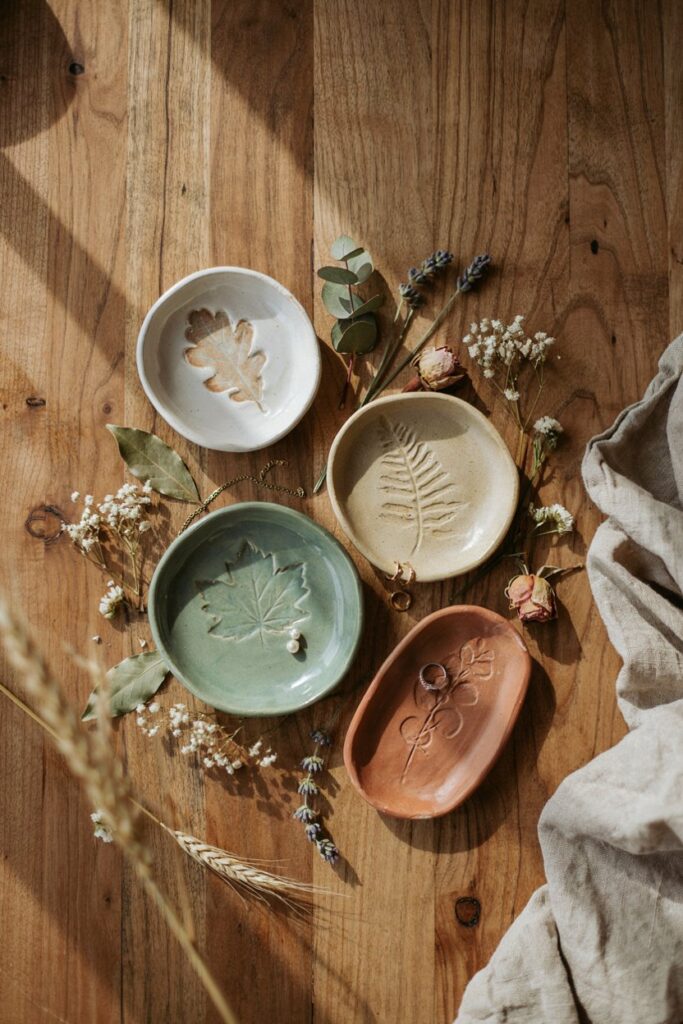
The first reason I keep making these is that every one turns out slightly different.
Even if I use the same clay and the same basic dish shape, the leaf itself changes the finished piece. A eucalyptus leaf gives you a completely different pattern from a fern, maple leaf, herb leaf, or any other textured leaf you happen to find.
It also looks much more complicated than it actually is.
The leaf does most of the decorating for you. Instead of trying to paint an intricate botanical design by hand, you’re transferring the natural veins directly into the clay.
You Don’t Need Many Supplies
This is one of those projects where I can pull almost everything together from my regular craft supplies.
You need:
- Air dry clay
- A real leaf with visible veins
- Rolling pin
- Small bowl or dish for shaping
- Plastic wrap
- Clay knife
- Fine sandpaper
- Acrylic paint
- Clear sealer
- Small paintbrush
- Parchment paper or a smooth work surface
You can absolutely make this without buying a special leaf-imprinting tool. The real leaf is the texture tool.
What Kind of Leaf Works Best?
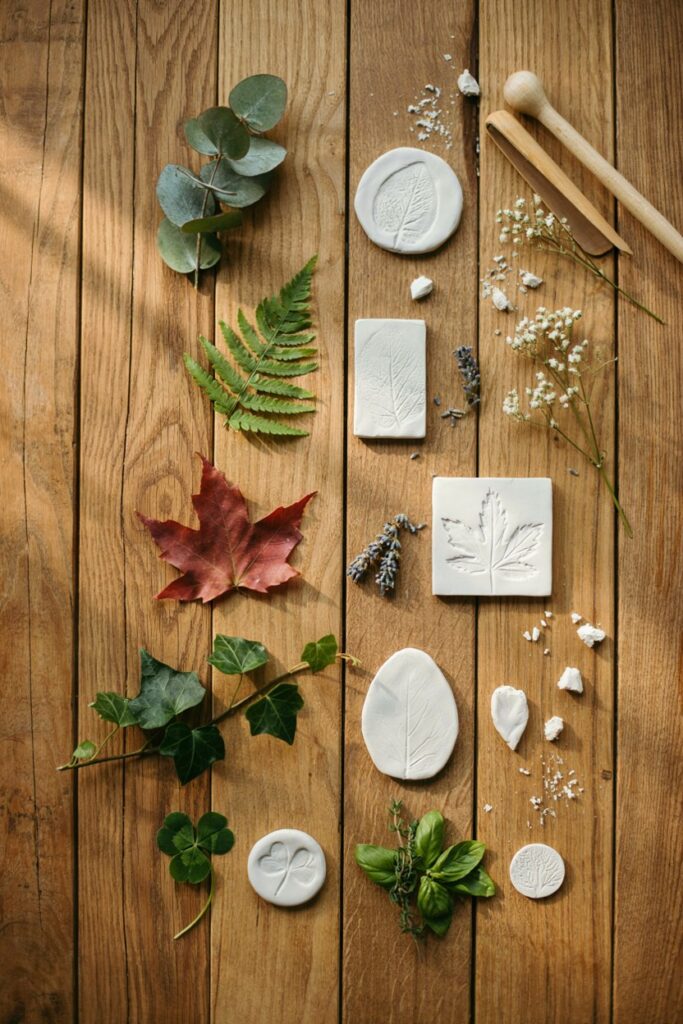
This is the part I would pay the most attention to before starting.
Not every leaf creates a good imprint.
I prefer leaves that have noticeable veins and a relatively flat surface. A leaf that’s too thick, curled, dry, or delicate can be difficult to press evenly into the clay.
Some good options include:
- Fern leaves
- Eucalyptus leaves
- Maple leaves
- Ivy
- Small herb leaves
- Lemon leaves
- Clover
- Small leaves from garden plants with prominent veins
I’ve found that medium-sized leaves are usually easiest to work with because they give you enough surface area for a pretty botanical imprint without taking over the entire dish.
You can also experiment with several different leaves before deciding which pattern you like best.
You can absolutely make this without buying a special leaf-imprinting tool. The real leaf is the texture tool. Newer to air dry clay? My beginner tips guide and how to avoid cracks post cover the basics that make projects like this one go smoothly.
How to Make a Leaf Imprint Jewelry Dish
Step 1: Prepare Your Work Surface
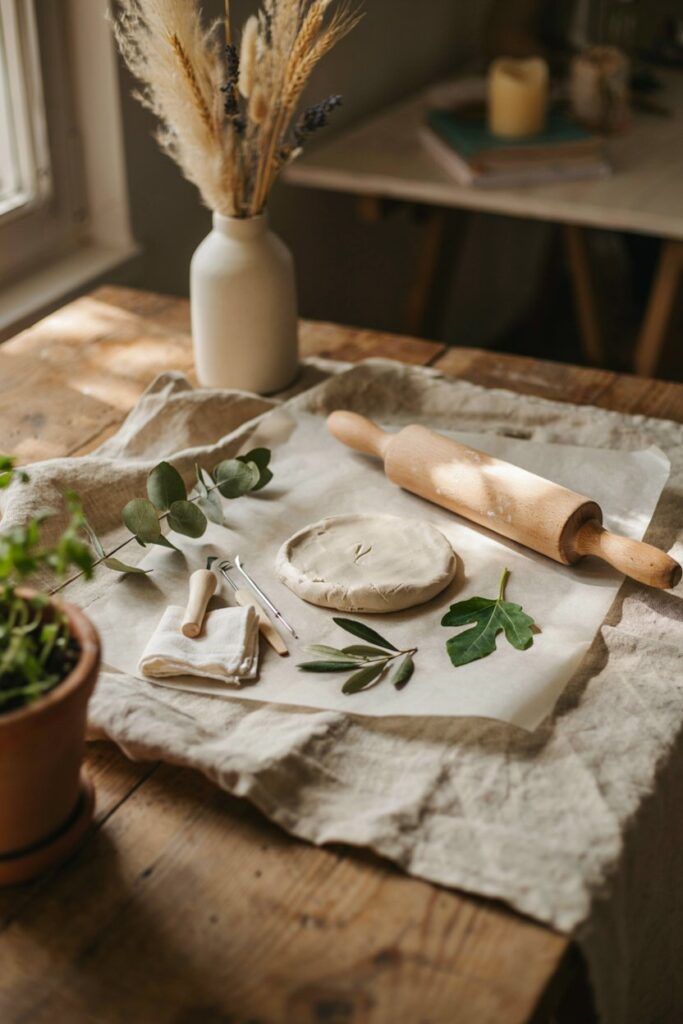
Before touching the clay, I like to cover my work surface with parchment paper or another smooth, clean surface.
This matters more than it sounds.
Air dry clay picks up tiny crumbs, dust, fibers, and bits of dried clay surprisingly easily. If you’re making a piece that will have a detailed leaf imprint, anything stuck underneath the clay can show up in the finished surface.
Make sure your leaf is clean too.
If you’ve picked it directly from outside, gently wipe away any dirt or debris without soaking it.
Step 2: Condition the Air Dry Clay
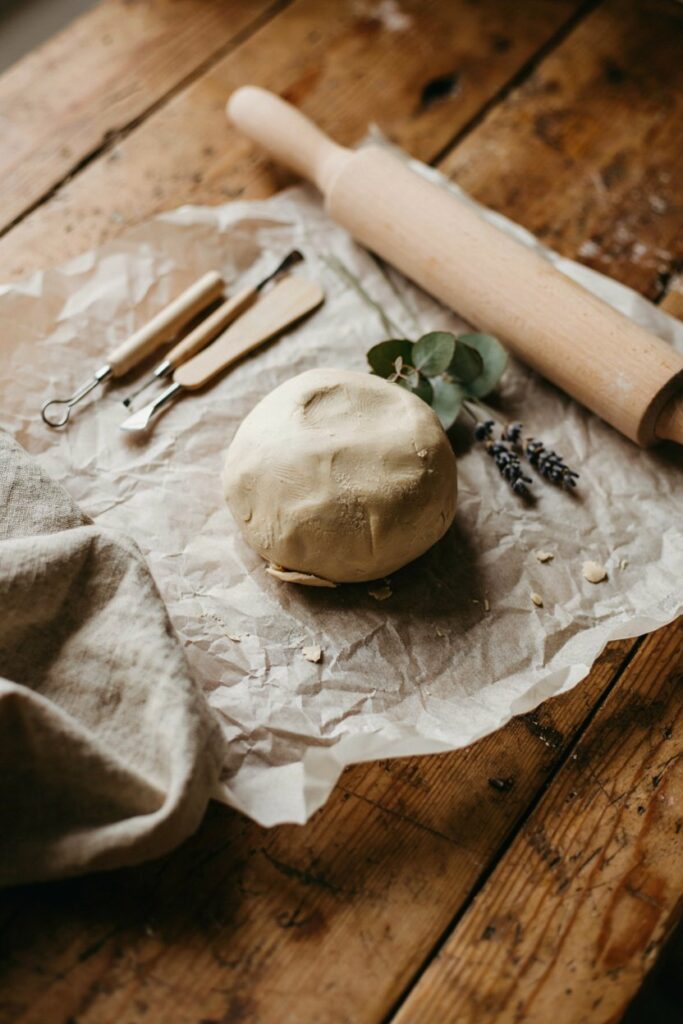
Take a piece of air dry clay and knead it gently between your hands.
You don’t need to work it for ages, but you want the clay to feel smooth and flexible before rolling it out.
If the clay has become slightly firm from being stored for a while, spend a little extra time working it before you start.
I prefer to soften the clay before rolling rather than trying to fix cracks once the dish has already been shaped.
Step 3: Roll the Clay Evenly
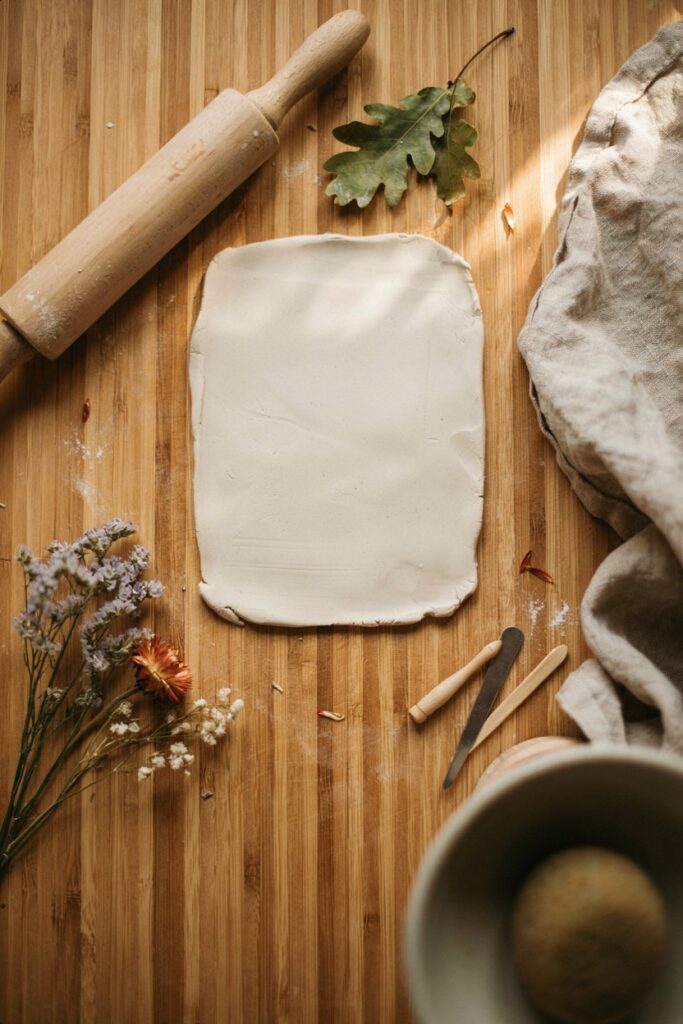
Place the clay onto your work surface and roll it into a flat sheet.
For a small jewelry dish, I aim for roughly ¼ inch thick.
You don’t need to obsess over an exact measurement, but try to keep the thickness reasonably consistent from the center to the edges.
If one side is much thinner than the other, it can dry at a different rate and become more prone to warping or cracking.
Roll slowly and check the clay from different angles as you go.
Step 4: Place the Leaf on the Clay
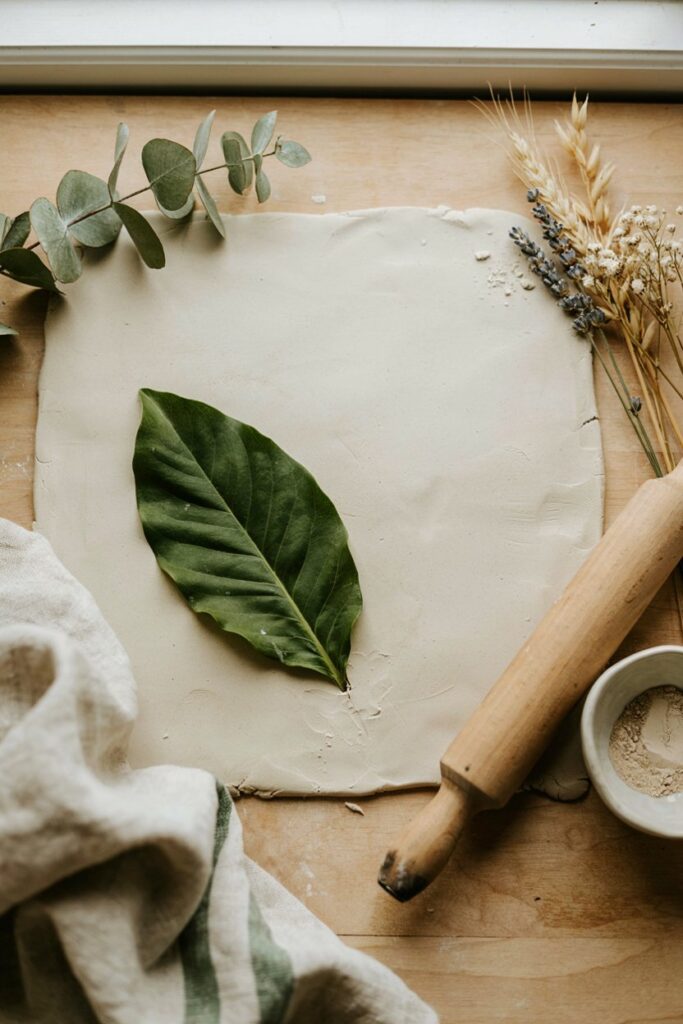
Choose the side of the leaf that has the strongest visible veins.
Place the leaf vein-side down against the rolled clay.
This is important because you want the raised veins to press into the clay and leave their pattern behind.
Gently position it where you want the design to appear.
For a centered dish, I usually place one leaf toward the middle. If you’re making a larger dish, you can experiment with two or three smaller leaves arranged into a botanical pattern.
Step 5: Press the Leaf Into the Clay
This is where I slow down.
Place a piece of parchment paper over the leaf and clay if you want to protect the surface, then gently roll over the leaf with your rolling pin.
You don’t need to crush it into the clay.
The goal is even pressure, not force.
Roll over the leaf once or twice, then carefully lift the parchment and check your imprint.
If some veins aren’t visible, reposition the leaf and press that area again.
I find this works much better than pressing extremely hard from the beginning.
Step 6: Carefully Remove the Leaf
Once you’re happy with the impression, carefully peel the leaf away from the clay.
Start at one edge and slowly lift it rather than pulling straight upward.
This helps prevent the leaf from dragging across the clay and blurring the veins.
You should now have a beautiful natural leaf pattern pressed directly into the surface.
If a tiny piece of leaf sticks to the clay, use the tip of a clay tool to gently lift it away.
Don’t worry if the imprint isn’t perfectly symmetrical.
That’s actually part of what makes these dishes look handmade.
Step 7: Cut the Jewelry Dish Shape
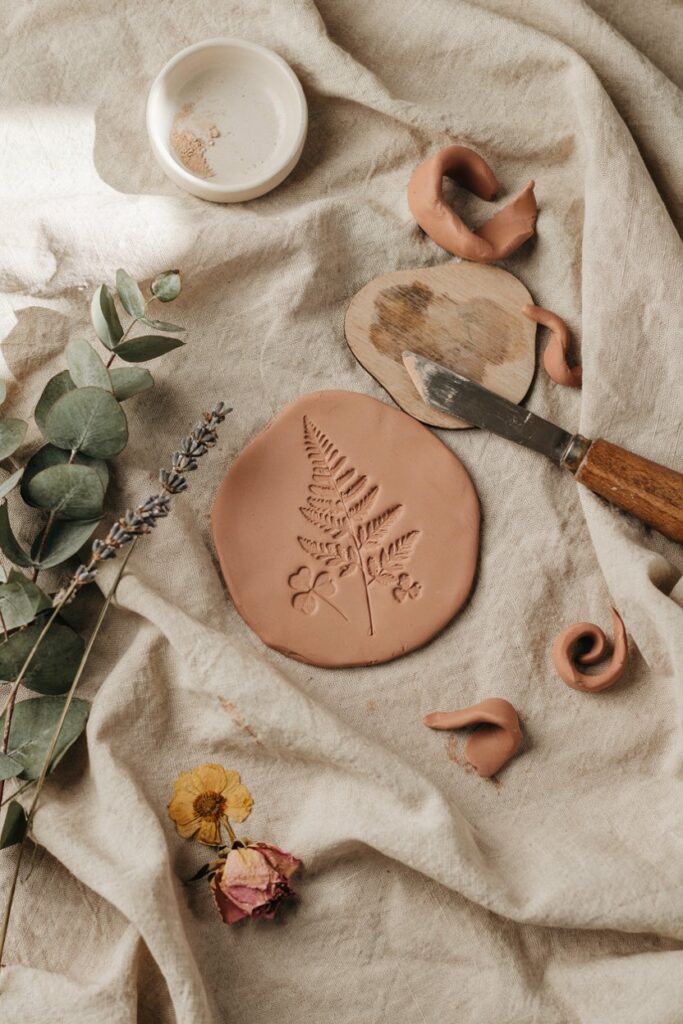
Use a small bowl, cookie cutter, or another round object as a guide to cut your clay into the size you want.
A jewelry dish doesn’t need to be perfectly circular.
In fact, I often prefer a slightly organic shape with a gently uneven edge because it makes the finished piece look more like handmade pottery.
Use a clay knife or trimming tool to remove the excess clay around your shape.
Step 8: Shape the Edges Into a Dish
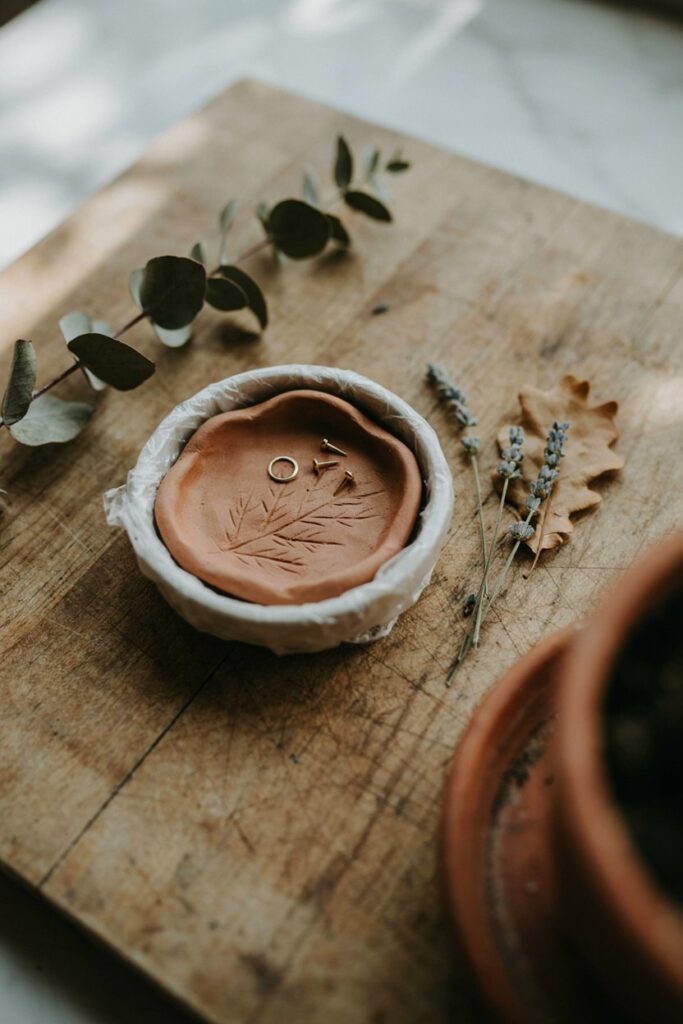
Now place a piece of plastic wrap over a small bowl.
Gently lift your clay circle and place it inside the bowl.
Press it down carefully so the center sits against the bottom and the edges curve naturally upward.
Don’t force the clay tightly against the bowl.
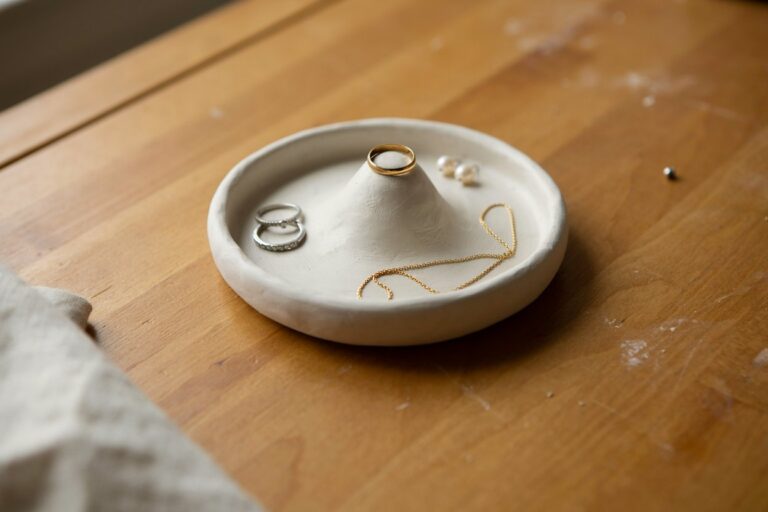
You want a shallow dish rather than a deep bowl, especially if you’re using it for rings, earrings, necklaces, or other small pieces.
Take a moment to smooth any obvious cracks around the edge.
If the clay begins cracking while you’re shaping it, don’t keep bending it. Smooth the area gently with a slightly damp fingertip and continue slowly.
Step 9: Let the Dish Dry Completely
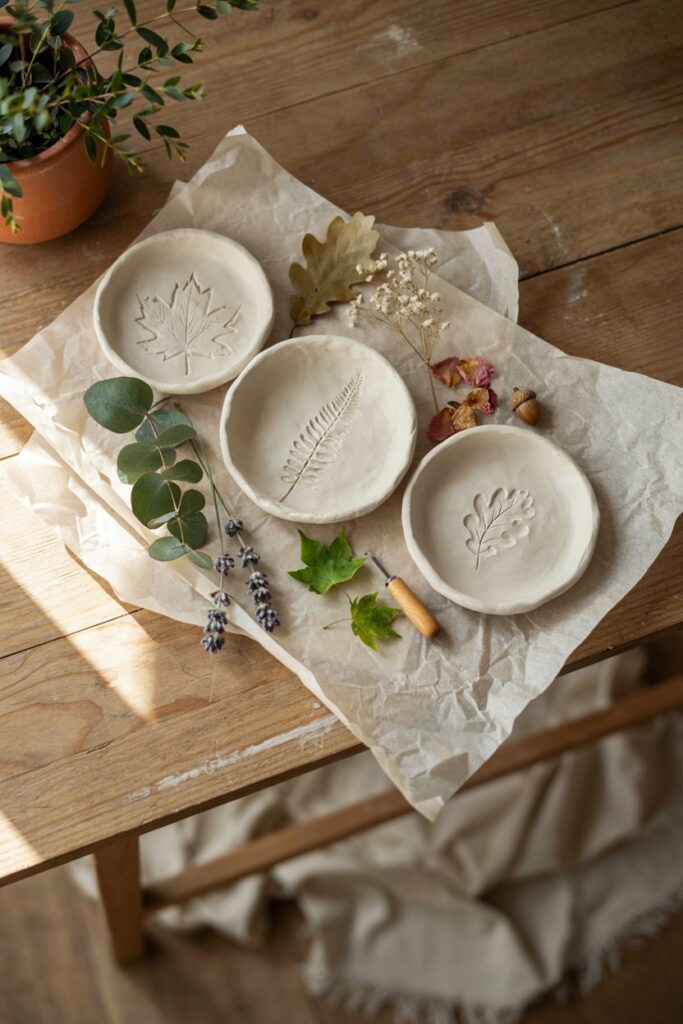
Leave the clay in the mold while it begins to firm up.
The drying time will depend on the clay brand, thickness, humidity, and size of your dish, so I don’t recommend relying on a specific number of hours alone.
Once the dish feels firm enough to handle, carefully remove it from the bowl and allow the underside to dry as well.
For a thicker jewelry dish, I prefer giving it several days rather than rushing this stage.
The outside can feel completely dry while the inside still contains moisture.
And I’ve learned the hard way that impatience here is one of the easiest ways to end up with cracks.
A Few Things I Would Do Differently If I Were Making This for the First Time
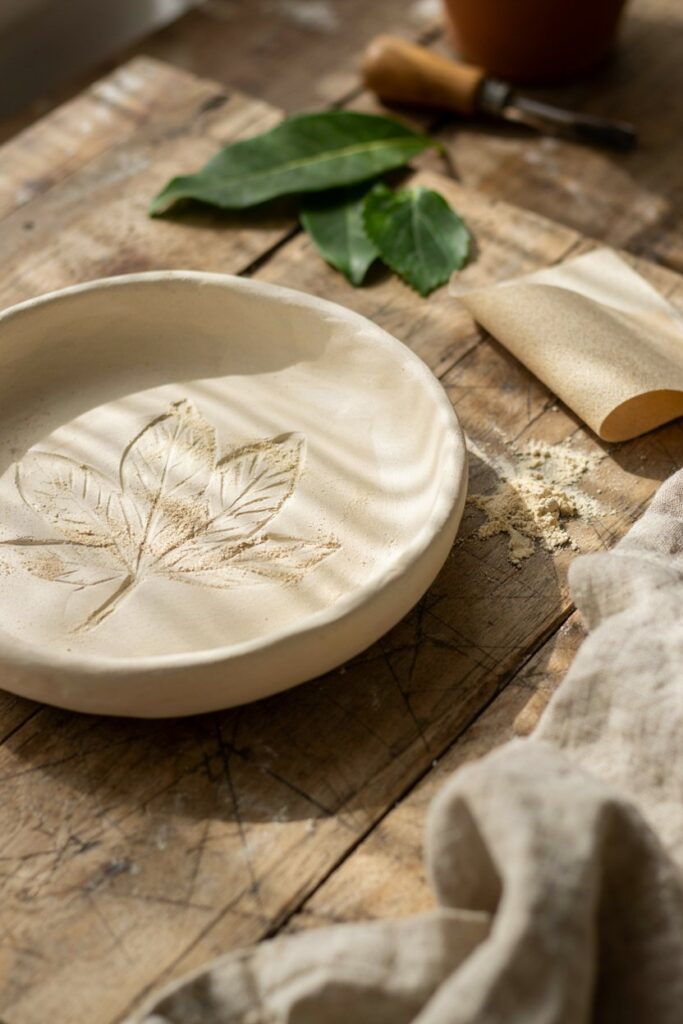
Don’t use a completely flat leaf. You need some vein definition for the imprint to show.
Don’t press too aggressively. Too much pressure can flatten the clay and make the leaf pattern muddy.
Don’t make the dish too thin. A very thin piece is more likely to warp or crack while drying.
Don’t move it around while it’s drying. Let the clay settle and harden naturally.
Don’t peel the leaf away quickly. Slow and gentle is much better for preserving those tiny vein details.
What If the Leaf Imprint Isn’t Deep Enough?
Don’t panic if your first impression looks subtle.
You can place the same leaf back over the existing imprint and gently press it again.
The trick is getting it into approximately the same position.
Alternatively, you can simply use a clay tool to emphasize a few of the larger veins manually.
I actually like a slightly subtle imprint because it gives the finished dish a more sophisticated look rather than making it appear overly stamped.
How I Like to Finish Mine
Once the dish is completely dry, I lightly sand the edges and any rough areas using fine-grit sandpaper.
Then I wipe away the dust before painting or sealing.
There are several beautiful ways you can finish a leaf imprint jewelry dish.
Natural Clay Finish
Leave the dish its original clay color and apply a suitable clear sealer.
This is probably my favorite option for a minimalist home.
The leaf texture becomes the main decoration, and the finished piece has that soft handmade pottery look.
White With a Dark Leaf Imprint
Paint the entire dish a warm white or cream.
Once dry, use a small brush to carefully add a muted brown, taupe, or green tone into the recessed leaf veins.
Wipe away any excess from the raised surface so the color stays concentrated in the imprint.
Terracotta Finish
A warm terracotta or clay-colored paint looks beautiful with botanical textures.
I especially like this version with natural linen, dried flowers, and light wood.
Soft Sage Green
For something a little more colorful, a muted sage green makes the leaf pattern feel especially botanical without looking too bright.
Can You Use Any Leaf for This Project?
Not necessarily.
The best leaves have enough texture for the clay to capture.
A very thin leaf with barely visible veins may leave almost no impression.
On the other hand, an extremely thick leaf can create an imprint that’s too deep or difficult to remove cleanly.
I would test your leaf on a small scrap of clay first.
That takes about a minute and can save you from ruining the main piece you’ve already rolled out.
How to Make the Leaf Pattern Stand Out
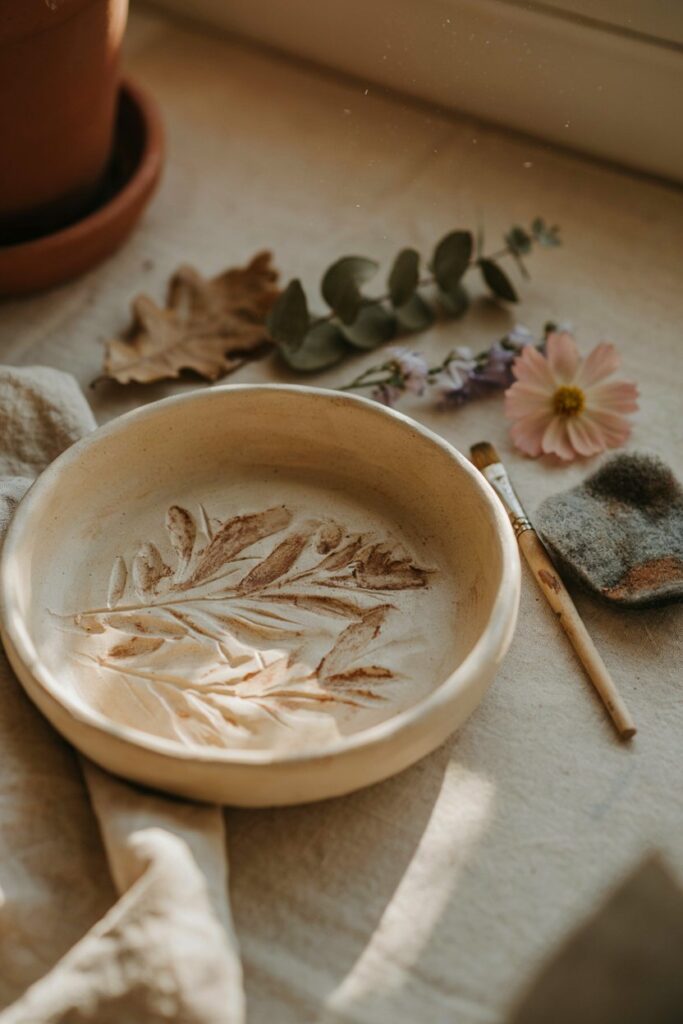
If you want the leaf imprint to be more noticeable, you don’t necessarily need to paint the entire dish a different color.
One of my favorite techniques is to use a slightly darker shade inside the recessed veins.
Once the base color is completely dry, dilute a small amount of acrylic paint with a tiny bit of water and brush it over the leaf imprint. Let it settle into the recessed areas for a moment, then gently wipe the raised surface with a slightly damp cloth or clean sponge.
The darker color stays inside the veins while the raised areas remain lighter.
It creates a subtle botanical effect that looks much more complicated than it actually is.
I would test this technique on a scrap piece of clay first, especially if you’re using a very detailed leaf.
How to Seal a Leaf Imprint Jewelry Dish
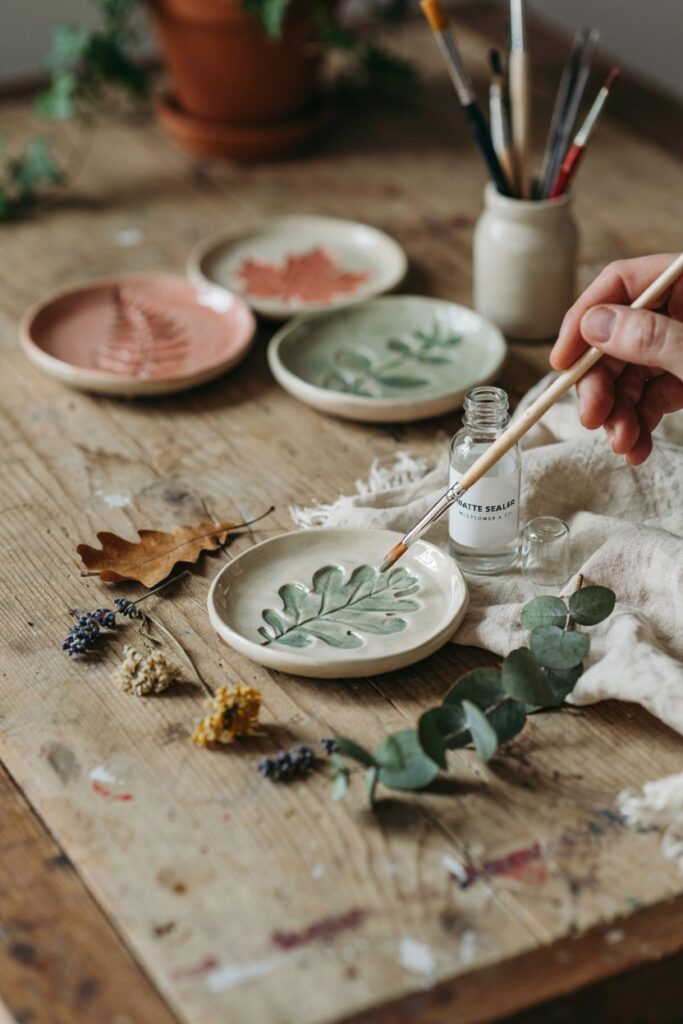
I recommend sealing your finished dish, particularly if you’re going to use it for jewelry that you handle regularly.
Once the paint and clay are completely dry, apply a suitable clear acrylic sealer or another sealant recommended for your specific air dry clay.
Use thin, even coats rather than one thick layer.
Pay attention to the edges and underside as well as the top surface.
I usually let one coat dry completely before deciding whether the dish needs another.
One Important Thing About Water
Even after sealing, I wouldn’t treat an air dry clay jewelry dish like waterproof ceramic.
This is a decorative and jewelry-storage piece, not something I would use for soaking wet objects or leave sitting in water.
If you’re making one as a gift, I’d include a small note reminding the recipient to keep it dry.
How to Make the Dish Look More Expensive
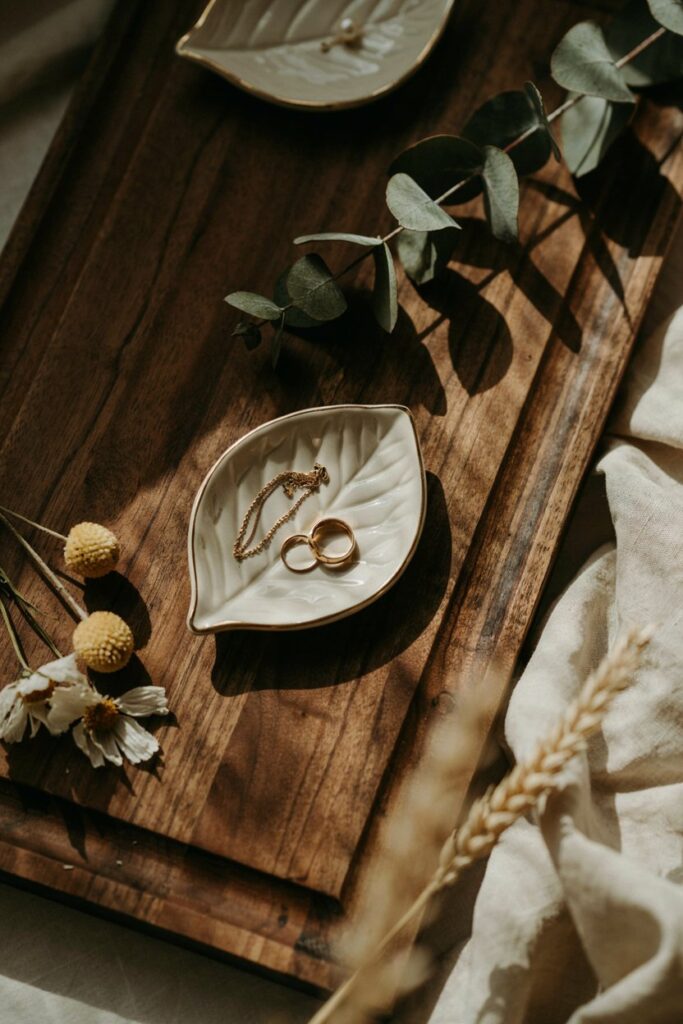
This is where I think the little finishing details make the biggest difference.
You don’t need elaborate painting or complicated decorations.
Keep the Color Palette Simple
Cream, warm white, muted sage, soft beige, terracotta, dusty pink, and warm brown all work beautifully with botanical textures.
Too many colors can take attention away from the leaf imprint.
Keep the Edges Slightly Organic
Don’t worry about making the rim perfectly symmetrical.
A gently uneven handmade edge often makes the dish look more like a small artisan pottery piece.
Use a Beautiful Leaf
The leaf is essentially your stamp, so it has a huge impact on the finished result.
I would rather spend five minutes finding an interesting leaf than spend twenty minutes trying to rescue a boring imprint afterward.
Add a Tiny Gold Detail
If you want something a little more decorative, paint a very thin gold line around the outer edge once the base coat is completely dry.
I prefer keeping the gold subtle.
The botanical imprint should still be the star.
What Can You Keep in a Leaf Imprint Jewelry Dish?
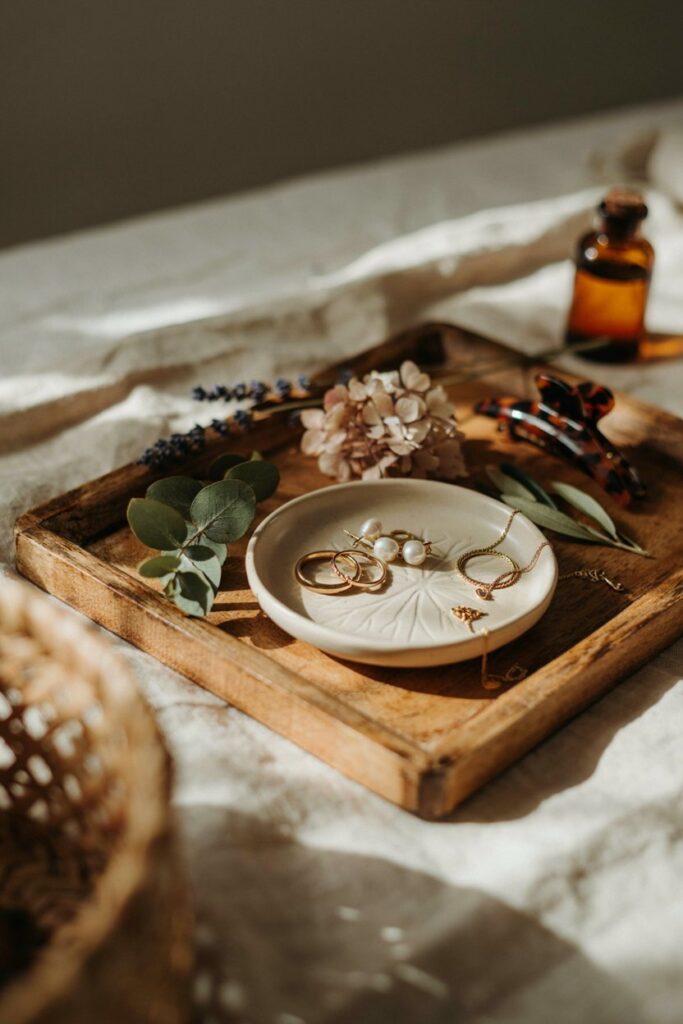
This little dish is useful for much more than rings.
I use mine for:
- Rings
- Earrings
- Studs
- Bracelets
- Hair clips
- Small necklaces
- Watch bands
- Keys
- Tiny keepsakes
- Bobby pins
I especially like having one beside the bed because it gives me somewhere to put the jewelry I’m wearing before going to sleep instead of leaving everything scattered across the nightstand.
Leaf Imprint Jewelry Dish Gift Ideas
This is also one of those handmade projects that makes a really nice small gift.
I’ve found that the dish feels much more personal when you choose a leaf that has some connection to the recipient.
For example, you could use a leaf from a favorite plant, garden, or even a botanical variety that reminds you of the person.
You don’t need to explain that it’s technically a simple project.
The finished piece has enough detail that it feels genuinely handmade and thoughtful.
Make a Matching Set
If you have several people to gift, make a batch at the same time.
You can use different leaves for each one while keeping the same clay and paint palette.
A set of three small botanical jewelry dishes in cream, sage, and terracotta would make a particularly pretty handmade gift collection.
A Few Leaf Imprint Variations to Try
Once you’ve made the basic version, there are quite a few ways to change the look.
Eucalyptus Leaf Dish
Use a long eucalyptus leaf and position it diagonally across the center.
This gives you a simple, elegant botanical pattern that works beautifully with neutral clay.
Fern Imprint Dish
Fern leaves create some of the most detailed impressions.
Instead of centering the entire fern, try placing only part of the leaf across one side of the dish.
Multiple Small Leaves
Use several small leaves and arrange them like a little botanical cluster.
Leave some open clay between each imprint so the design doesn’t become visually crowded.
Double-Leaf Design
Place two leaves facing opposite directions.
This works particularly well on a slightly larger jewelry dish.
Minimal Single Vein
For a more understated design, use a narrow leaf and create one simple imprint through the center.
This is especially pretty when the finished dish is left in its natural clay color.
What If My Clay Cracks While Drying?
A small crack doesn’t necessarily mean the entire project is ruined.
If the crack appears before the clay has completely dried, gently smooth it with a little water and blend the surrounding clay together.
If the piece has already dried, you can use a small amount of fresh air dry clay to fill the crack.
Press the fresh clay into the damaged area and smooth it carefully.
Let the repair dry completely before sanding and sealing.
The best way to prevent cracks, though, is to avoid making the clay excessively thin and allow it to dry gradually.
What If My Dish Warps?
Warping is usually more frustrating than a tiny surface imperfection because it can make the dish rock on a table.
One reason I like using a bowl as a mold is that it gives the clay some support while it begins drying.
Make sure the clay is reasonably even in thickness before placing it over the mold.
Also avoid moving the dish repeatedly while it is drying.
If one side dries much faster than another, the clay can pull and distort.
What If the Leaf Gets Stuck?
If your leaf is sticking firmly to the clay, don’t yank it away.
Try lifting one corner very gently and slowly peeling it back.
For particularly delicate leaves, placing parchment paper between your rolling pin and the leaf can help prevent the leaf from being pushed too deeply into the clay.
You can also use the tip of a clay tool to gently lift any tiny pieces that remain behind.
How Long Does a Leaf Imprint Jewelry Dish Take to Make?
The actual hands-on portion is fairly quick.
I usually allow around 20 to 30 minutes for shaping and imprinting, depending on how detailed I’m making the design.
The drying is the part that takes patience.
Depending on the clay, thickness, humidity, and size of the dish, it can take several days to dry completely.
I wouldn’t plan this as a project you start in the afternoon and expect to seal and gift that evening.
Give the clay enough time to dry all the way through.
More Air Dry Clay Projects to Try
- Air Dry Clay Jewelry Ideas
- Air Dry Clay Incense Holder Tutorial
- DIY Air Dry Clay Fridge Magnets
- Anthropologie-Inspired DIY Air Dry Clay Trinket Dish
Final Thoughts
This leaf imprint jewelry dish is one of those projects that reminds me why I like working with air dry clay so much.
You don’t need a kiln, a huge collection of tools, or particularly advanced skills to create something that looks genuinely special.
The best part is that the decoration is already there.
You simply find a beautiful leaf, press its natural veins into the clay, and let that texture become part of the finished piece.
I’ve made these with different leaves, different clay colors, and different finishes, and somehow the simplest versions are still the ones I like best.

One Comment