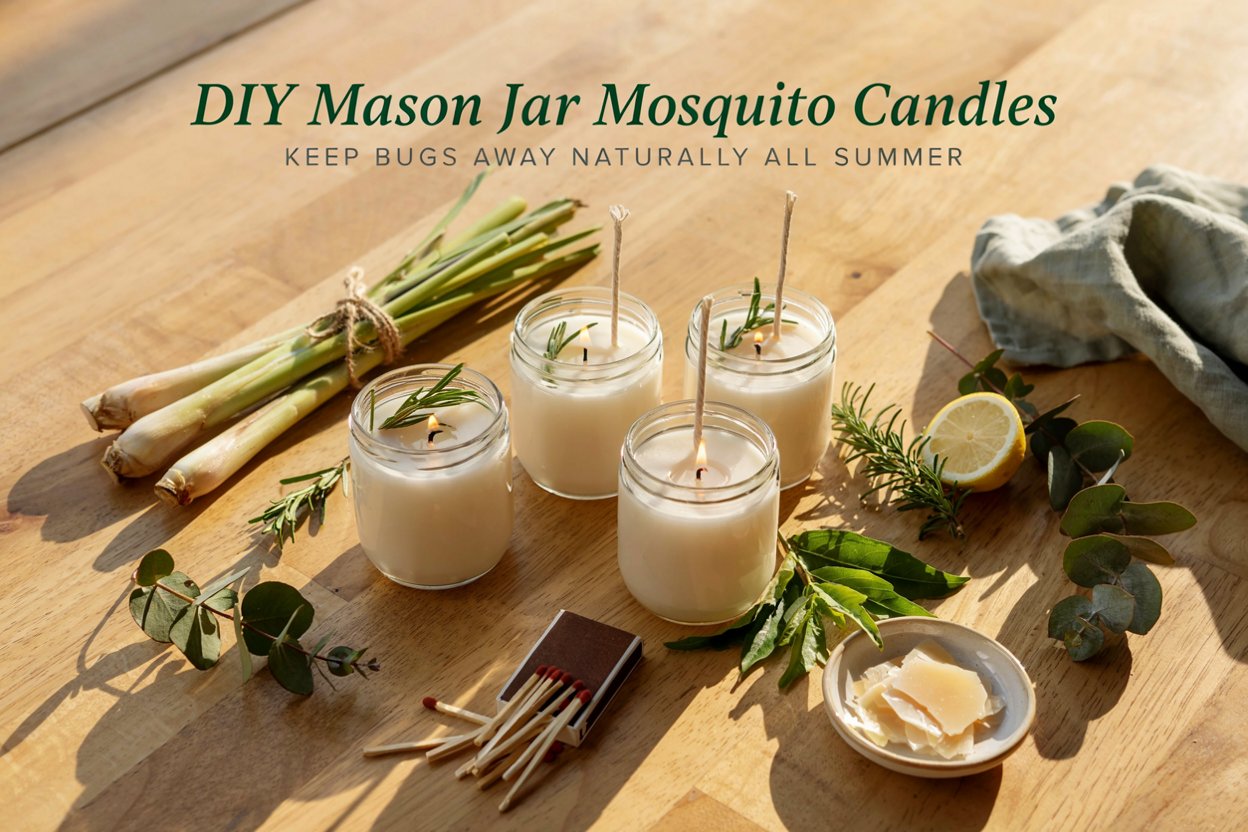
Every summer I’d buy citronella candles from the store, burn through them in a couple of evenings, and go back for more, until I finally sat down and worked out how much cheaper and more effective it is to just make a big batch myself.
A single batch of wax makes a dozen or more small mason jar candles, using the same citronella and essential oil blend the store-bought versions rely on, just at a fraction of the cost per candle.
The other advantage of making these yourself is control over strength. Store-bought mosquito candles are often fairly light on actual citronella oil, since fragrance oil is cheaper to formulate with.
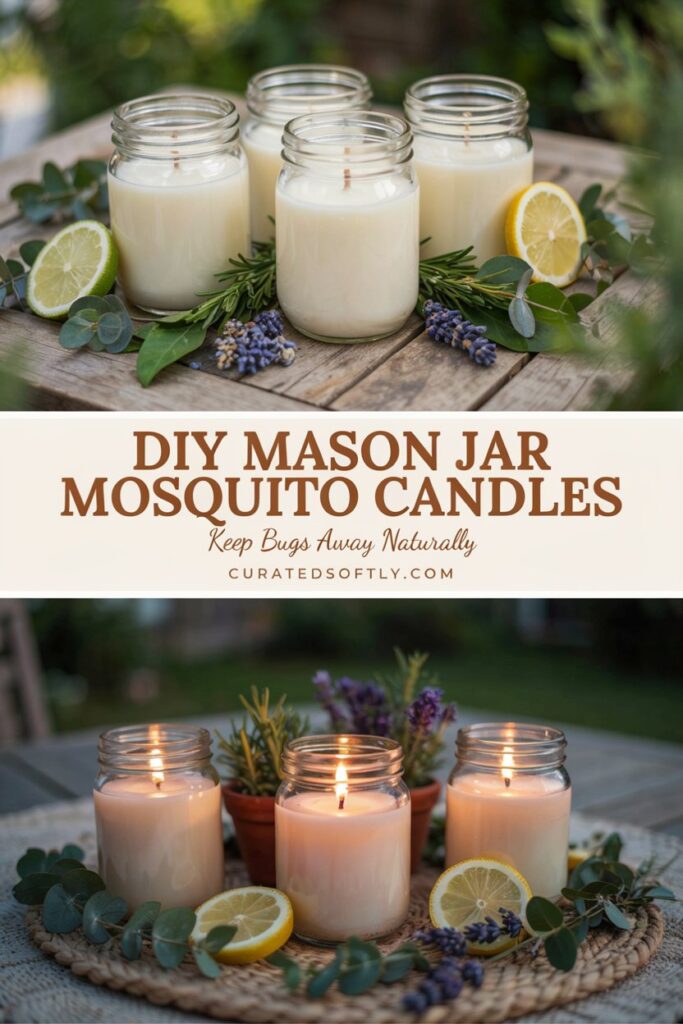
When you make your own, you can push the essential oil concentration higher for a genuinely stronger repelling effect, which matters a lot if you’re trying to actually keep bugs away from a patio table rather than just add a vague citronella scent to the air.
A quick safety note before you start: these candles use a higher concentration of essential oils than a typical decorative candle, and citronella and other insect-repelling oils are for the surrounding air only, not for direct skin application.
Keep them away from children and pets, never leave a burning candle unattended, and use them outdoors or in well-ventilated spaces given the stronger fragrance load.
Why This Method Works
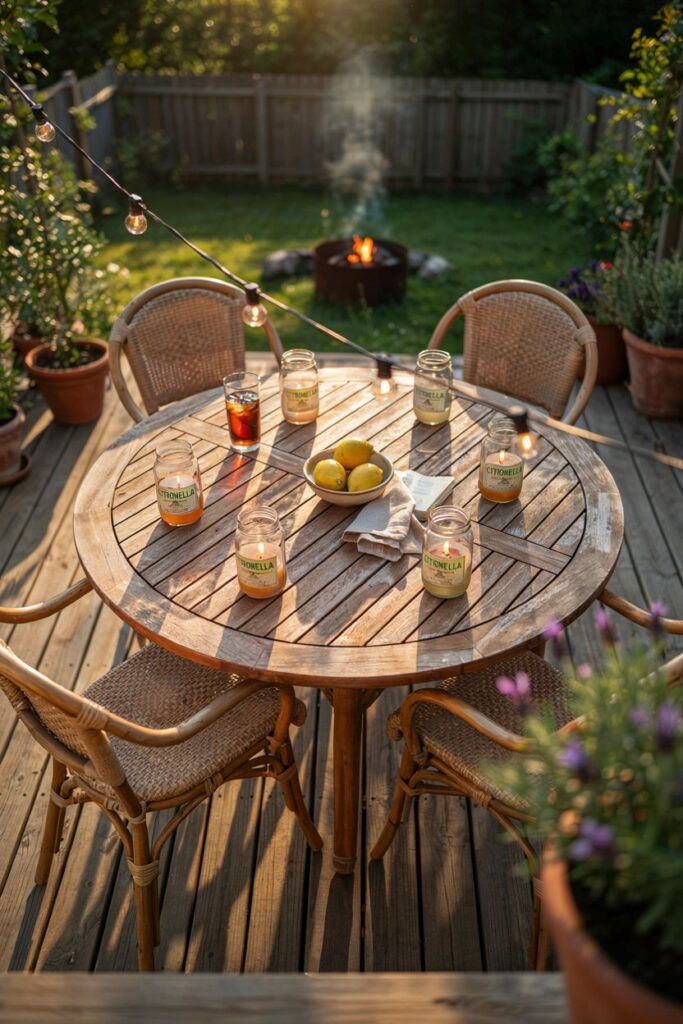
A higher citronella concentration than most store-bought versions. Making your own means you control the ratio, and pushing citronella oil to the higher end of a safe fragrance load gives you a genuinely stronger repelling effect than a lot of commercial candles.
Small mason jars are practical, not just cute. Individual small jars mean you can space several around a patio or yard rather than relying on one large candle to cover the same area, which is actually more effective for mosquito control since it creates multiple points of scent coverage.
Batching saves real money over time. Making a dozen or more of these from one batch of wax is significantly cheaper per candle than buying individual citronella candles all summer.
What Makes This Different From a Standard Decorative Candle
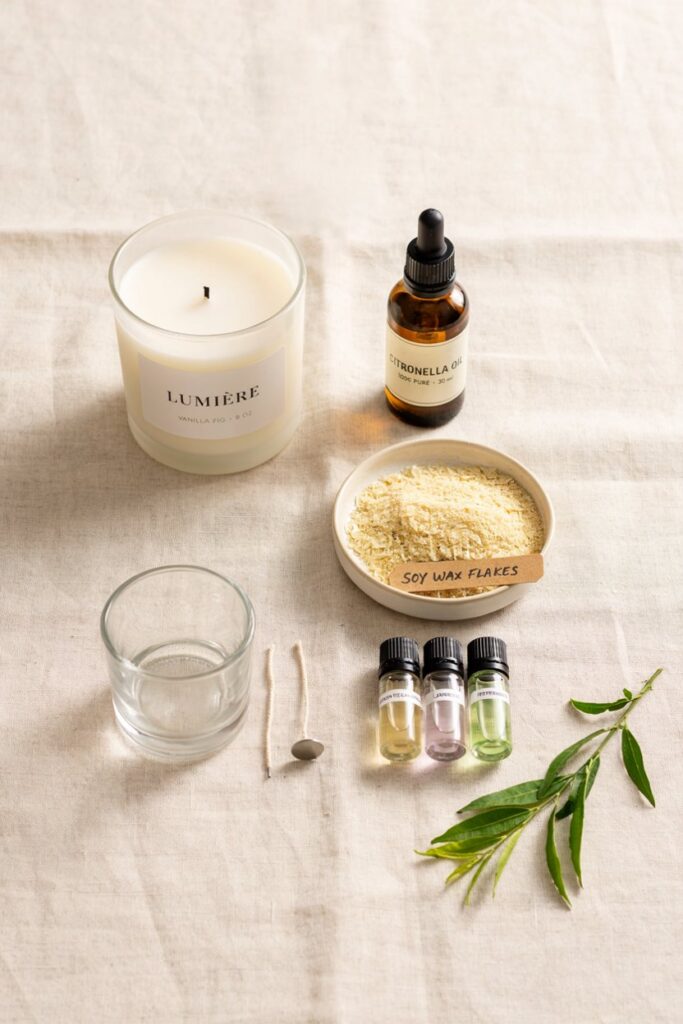
The main difference here is fragrance load. A typical decorative candle uses a fragrance oil concentration around 6 to 10 percent of the total wax weight, covered in more detail in my candle wax measurement guide.
Mosquito-repelling candles generally push toward the higher end of that range, and often blend citronella with complementary oils like lemongrass or eucalyptus, since a blend tends to be more effective and pleasant-smelling than citronella alone at a high concentration.
If candles aren’t your only line of defense against bugs this summer, my bug repellent lotion bars are a good complementary project for anyone actually out in the yard rather than just sitting near it.
The other consideration specific to this project is that these candles are meant to be burned outdoors, often for extended periods across a whole evening, so getting your wax measurement and wick size right matters more here than for a candle that only burns for an hour or two indoors.
An undersized wick won’t create enough of a melt pool to release the fragrance effectively into the surrounding air.
Materials You’ll Need
- Soy wax or a soy blend, which holds fragrance oil well and burns cleanly.
- Citronella essential oil. The primary repelling ingredient.
- Lemongrass or eucalyptus essential oil (optional, but recommended). Blending oils tends to smell more pleasant and can improve overall effectiveness compared to citronella alone.
- Small mason jars, 4 to 8 ounces each work well for this project.
- Pre-tabbed wicks, sized appropriately for your jar diameter. Check your wick supplier’s sizing chart, since an undersized wick is a common issue for candles that need a strong scent throw.
- A digital kitchen scale, for accurately measuring both wax and oil.
- A thermometer.
- A wick centering tool or a couple of clothespins, to hold the wick centered while the wax sets.
Substitutions I’ve Actually Tested
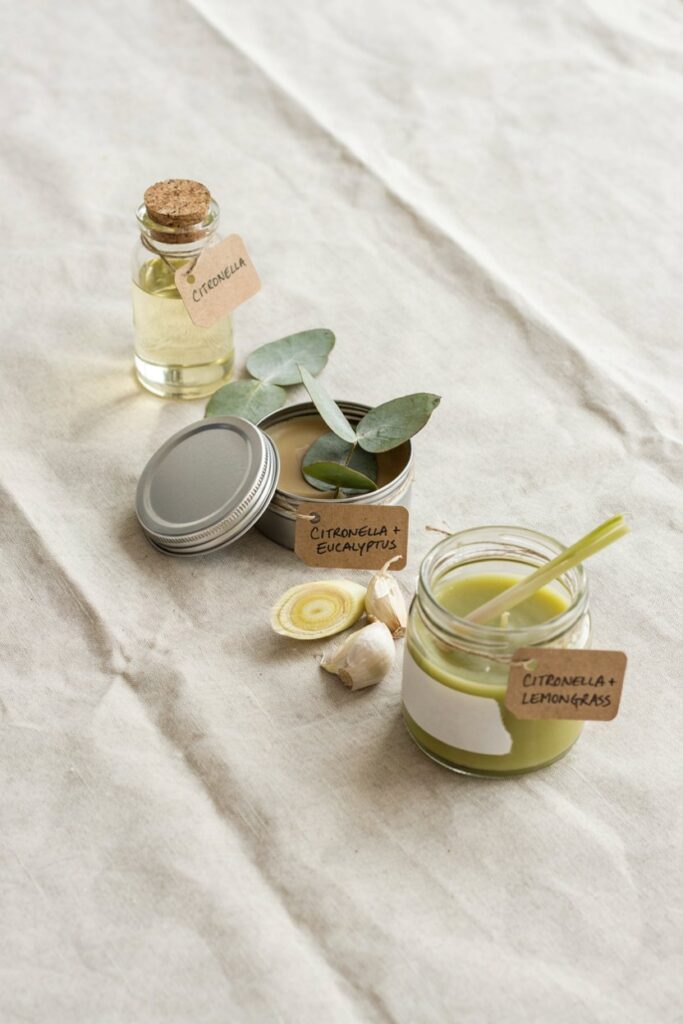
No lemongrass or eucalyptus oil? Straight citronella works fine on its own, just expect a more one-note scent compared to a blended version.
Want an even stronger repelling effect? You can push the essential oil concentration a bit higher than a standard fragrance load, since essential oils used for this purpose are generally the whole point of the candle rather than a background scent, but stay within your wax supplier’s maximum recommended fragrance load to avoid issues with the wax not setting properly or the candle smoking excessively.
No mason jars on hand? Any small, heat-safe glass container works, tea light tins, small glass votives, or repurposed candle jars are all fine substitutes.
Tools You’ll Need
- Double boiler or a heat-safe pouring pitcher
- Digital kitchen scale
- Thermometer
- Wick centering tool or clothespins
- Small mason jars
- A stirring utensil
How to Make DIY Mosquito Candles
Step 1: Calculate Your Wax Amount
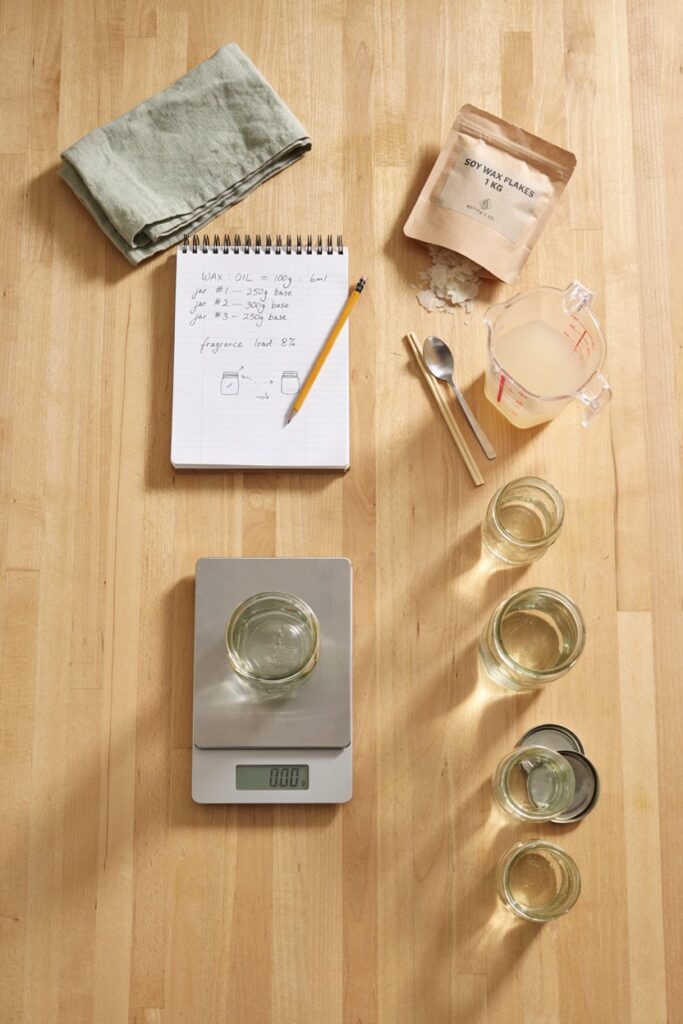
Measure the volume of one of your mason jars using the water method, then calculate your total wax needed across however many jars you’re making.
Since you’re making a batch of several small jars at once, this step saves you from either running short mid-pour or ending up with an awkward amount of leftover wax.
My DIY ice cream candles tutorial walks through this same multi-jar batch approach if you want to see it applied to a different project.
Step 2: Prepare Your Jars
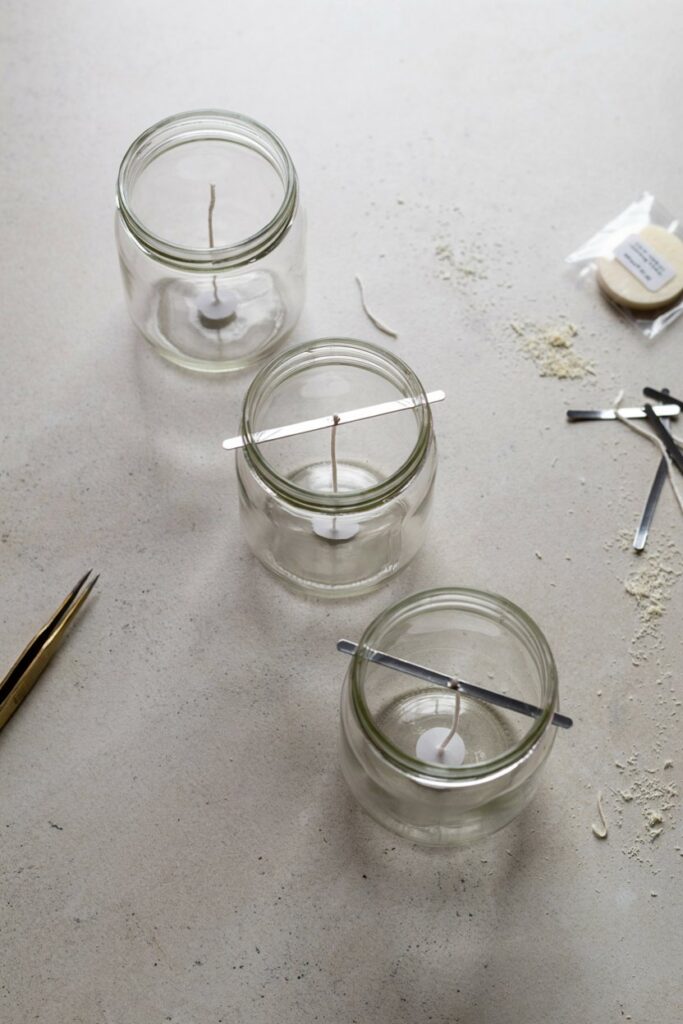
Attach a pre-tabbed wick to the center of the bottom of each jar, using a small dab of melted wax or wick adhesive to hold it in place.
Use your wick centering tool, or rest two clothespins across the top of the jar with the wick held between them, to keep the wick centered and upright while you work.
Step 3: Melt the Wax
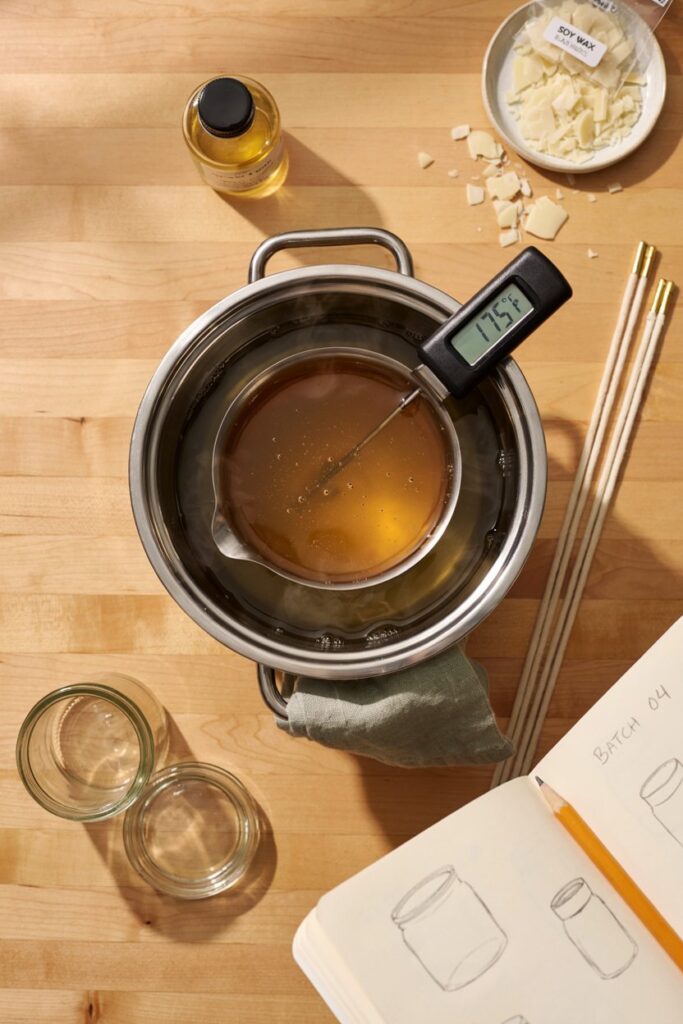
Melt your calculated wax amount in a double boiler or heat-safe pitcher, heating it to the temperature recommended by your specific wax’s packaging, usually somewhere in the 170 to 185°F range for soy wax, checked with your thermometer rather than estimated by eye.
Step 4: Add the Essential Oils

Once the wax reaches its recommended fragrance-adding temperature, usually a bit below its full melting temperature, remove it from heat and stir in your citronella and any additional essential oils.
Stir thoroughly and consistently for a full minute or two, since oil that isn’t fully incorporated can pool unevenly once poured, leading to some jars smelling much stronger than others in the same batch.
Step 5: Cool Slightly Before Pouring
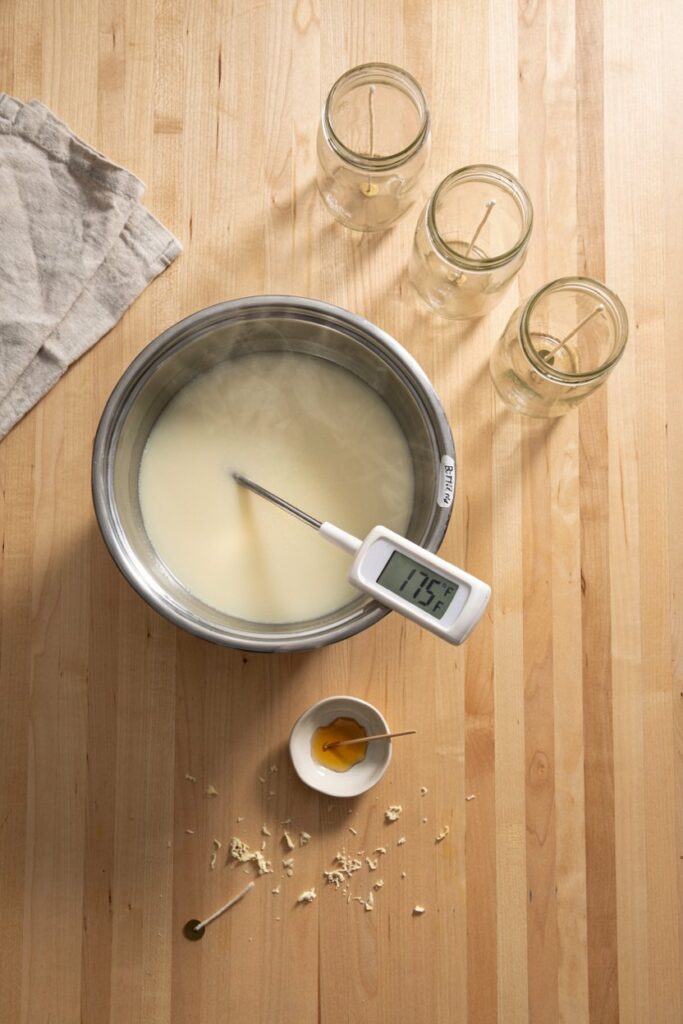
Let the wax cool to your wax’s recommended pour temperature, typically a bit lower than the fragrance-adding temperature, before pouring.
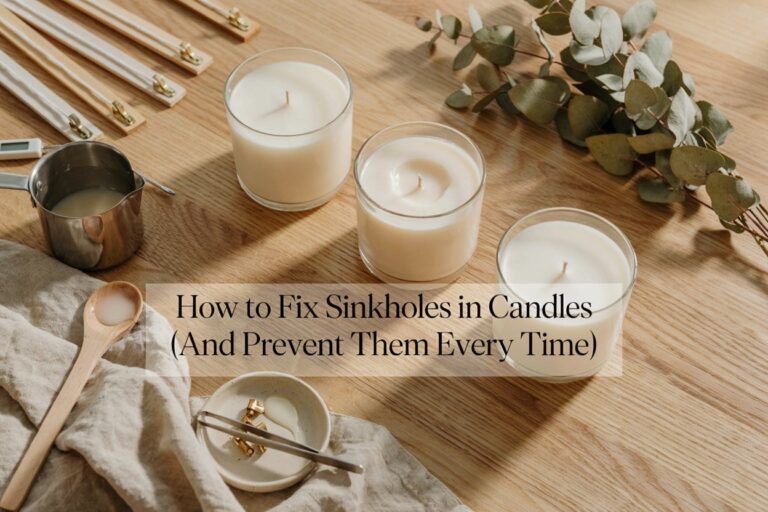
Pouring too hot increases the odds of a sinkhole forming later, something I cover fixes for in my post on how to fix sinkholes in candles, so it’s worth getting this step right the first time around.
Step 6: Pour Into the Jars

Slowly and carefully pour the wax into each prepared jar, leaving a small amount of space at the top rather than filling completely to the rim.
Keep the wick centered as you pour, adjusting with your centering tool or clothespins if it drifts.
Step 7: Let the Candles Cool Completely
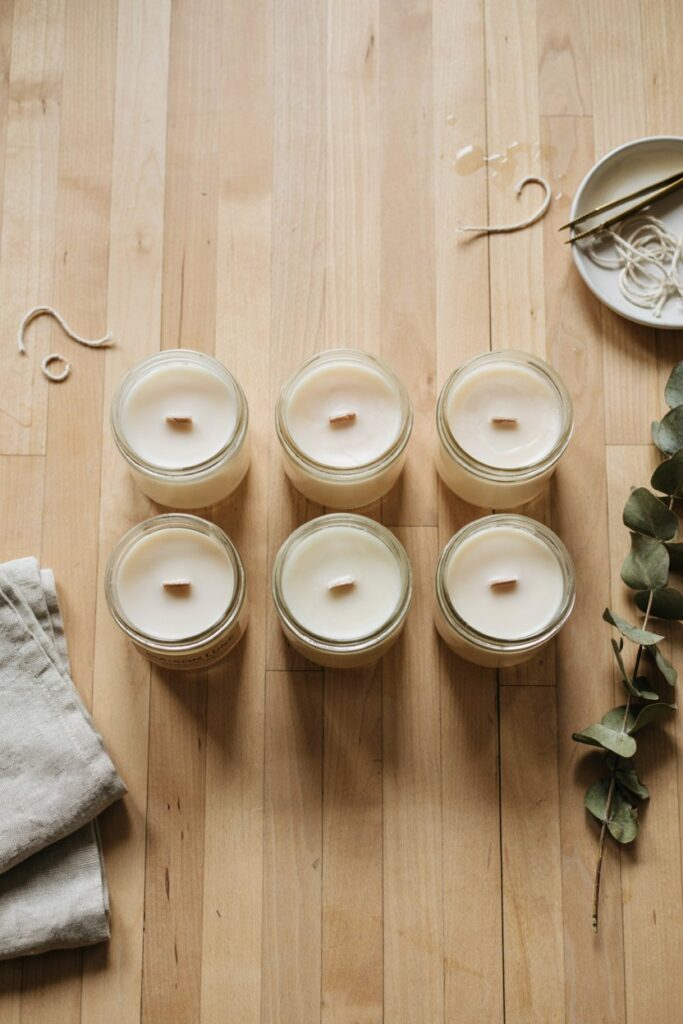
Let the candles cool undisturbed at room temperature, away from drafts, for at least 24 hours before trimming the wick or attempting to burn them.
Rushing this step is one of the more common reasons for an uneven burn later on.
Step 8: Trim the Wick and Test Burn
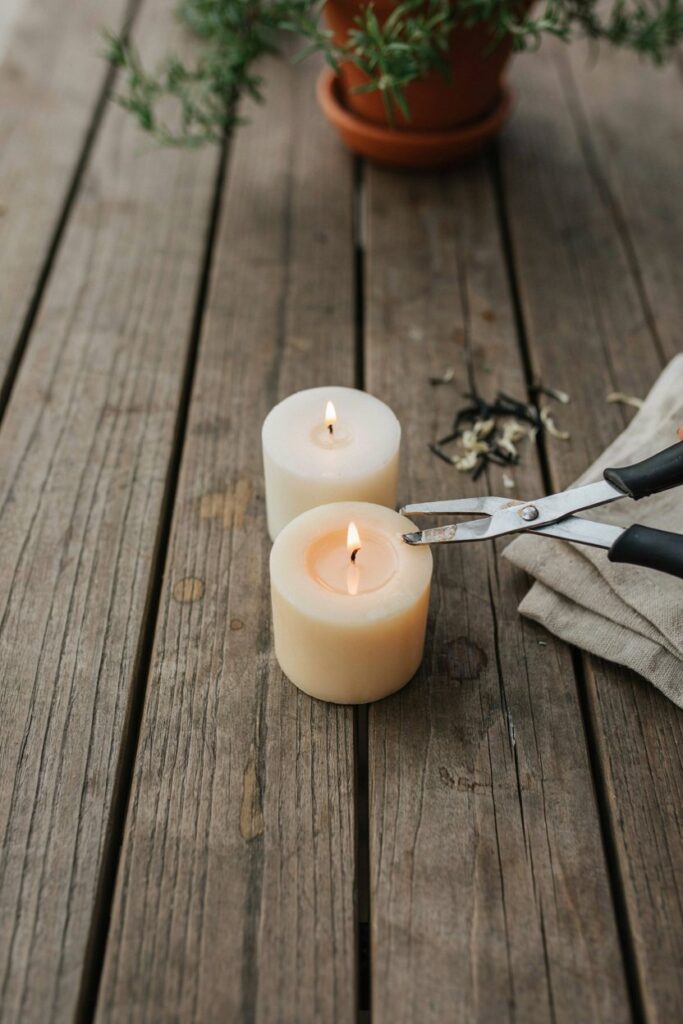
Trim each wick down to about a quarter inch before the first burn.
Do a test burn on one candle to check the melt pool size and scent throw before committing to burning the whole batch outdoors for an event.
Tips From Making a Lot of These Now
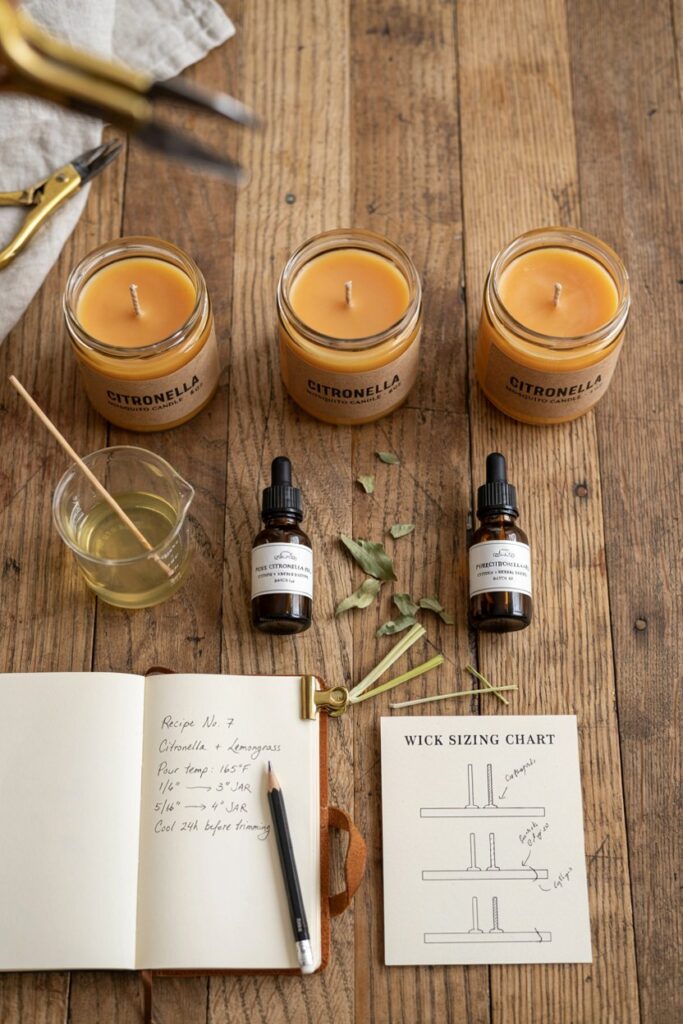
- Batch your jars in a set, don’t make just one at a time. This project is genuinely more efficient in bulk, both for the wax calculation and for the actual pouring process.
- Don’t skip the wick sizing step. An undersized wick is one of the most common reasons a homemade candle doesn’t throw scent as strongly as a store-bought version.
- Blend your oils rather than using citronella alone. It tends to smell more pleasant over a long evening and doesn’t lose any of the repelling effect.
- Keep your reserve wax on hand for sinkhole fixes. Since these are often poured in a big batch, at least one or two jars in a batch tend to need a small top-off.
- Test burn before an event. Don’t find out your wick is undersized the night you actually need these to work for a backyard party.
Mistakes I’ve Made So You Don’t Have To
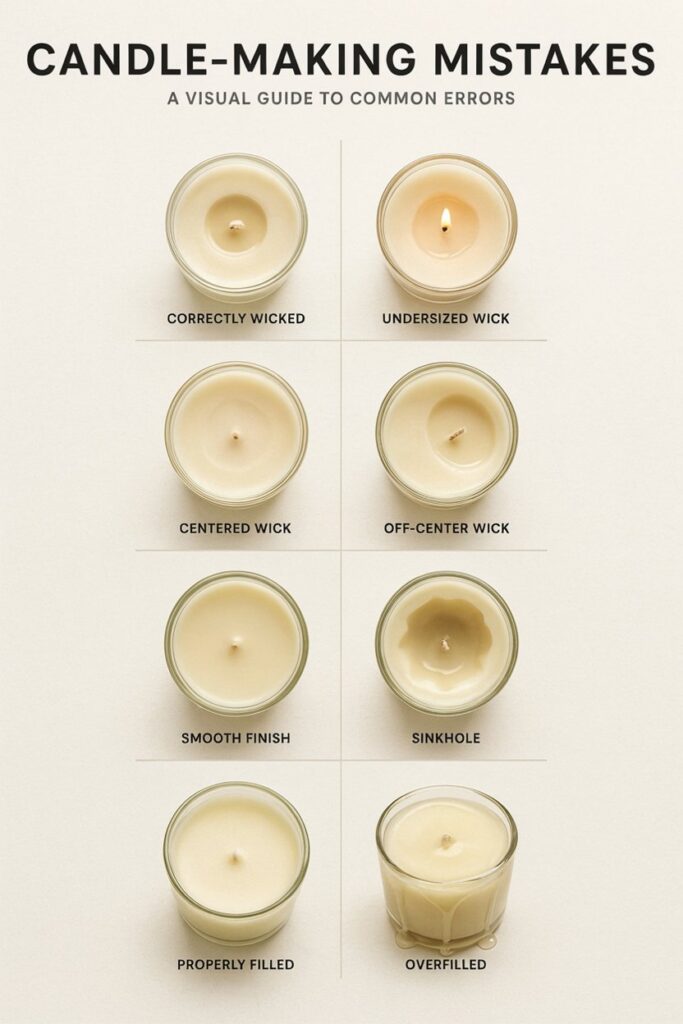
Using a wick that was sized for a smaller candle diameter. The melt pool never reached the edges of the jar, and the scent throw was noticeably weaker than I expected.
Not stirring the essential oils in thoroughly enough. Some jars in the same batch ended up much more strongly scented than others, since the oil hadn’t fully incorporated before pouring.
Pouring the wax too hot because I was in a hurry. Ended up with visible sinkholes in about half the batch, which needed a top-off fix afterward.
Filling the jars all the way to the rim. Left almost no room for the wick tab and made trimming and lighting them awkward.
Troubleshooting
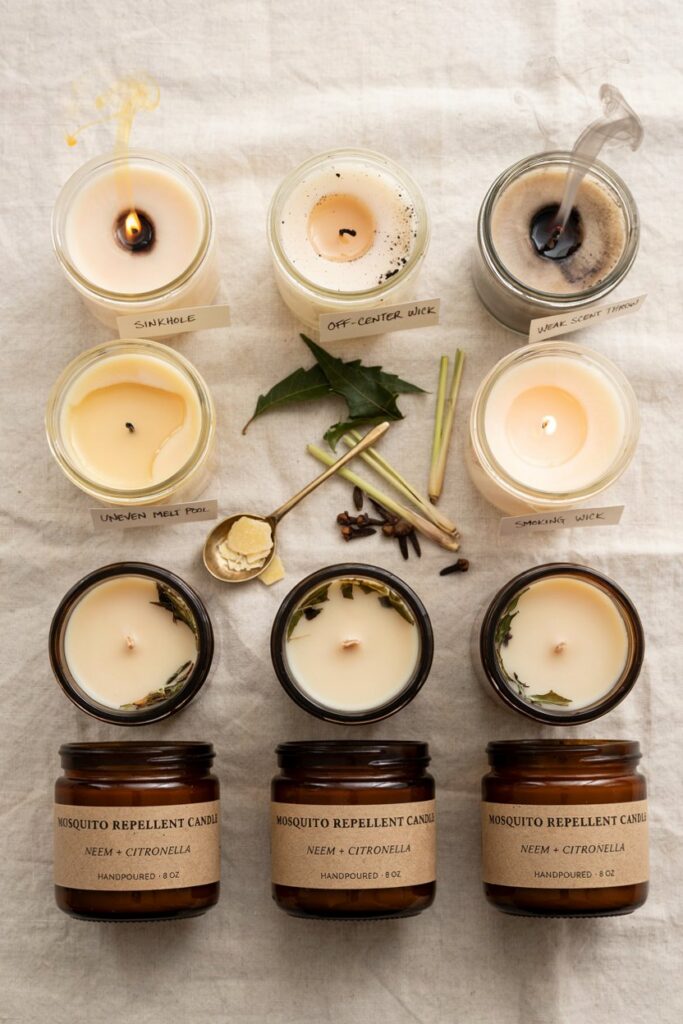
My candles don’t seem to be repelling mosquitoes very well. Check your essential oil concentration and whether your wick is properly sized.
A wick that’s too small won’t create a large enough melt pool to release fragrance effectively, even if your oil concentration is correct.
My post on making candles smell stronger covers several fixes for weak scent throw that apply here too.
The scent is inconsistent between candles in the same batch. This usually means the essential oils weren’t stirred in thoroughly before pouring. Stir for a full minute or two once the oils are added, and pour promptly afterward before anything can settle.
My candles have a sunken well in the middle. This is a common sinkhole issue, generally caused by pouring too hot or cooling too quickly. Fixing it just requires a small top-off pour once the candle has fully cooled, using a bit of matching reserved wax.
The wick keeps drifting off center while the wax sets. Use a proper wick centering tool, or rest two clothespins across the top of the jar with the wick held snugly between them, checking on it once or twice while the wax is still liquid.
My candles smoke more than expected when burning. This can happen if the wick is oversized relative to the jar, or if it wasn’t trimmed short enough before lighting. Trim to about a quarter inch and consider a slightly smaller wick size if smoking continues.
Variations and Design Ideas
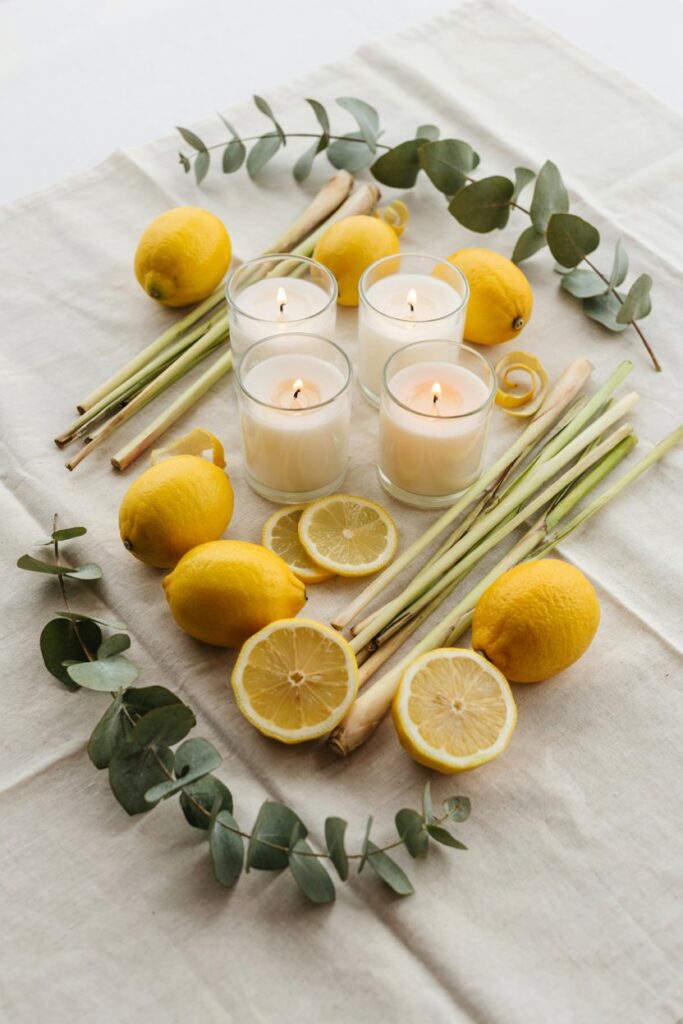
Layered Citrus Blend. Combine citronella with a bit of lemon eucalyptus oil for a brighter, more citrus-forward scent.
Decorative Add-Ins. Add dried lavender buds or small dried citrus slices around the inside edge of the jar before pouring for a decorative look, keeping them away from direct contact with the wick.
Tin Version. Pour into small metal tins instead of mason jars for a more portable, stackable option to bring along to outdoor gatherings.
Gift Sets. Package a few finished jars together with a ribbon and a tag for an easy handmade summer gift.
Storage and Care
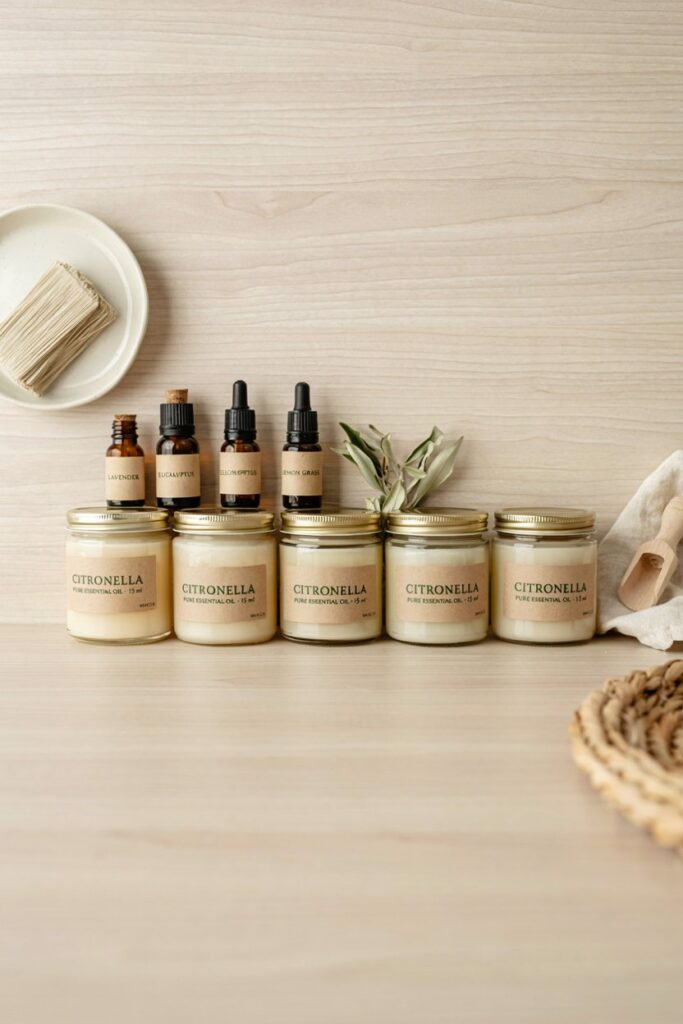
Store finished candles with their lids on in a cool, dry place out of direct sunlight, which helps preserve the scent strength until you’re ready to use them.
Keep away from children and pets both in storage and while burning, and always place on a heat-safe surface with the lid removed before lighting.
Frequently Asked Questions
Do homemade citronella candles actually work as well as store-bought ones? With a properly sized wick and a strong enough essential oil concentration, homemade versions can be just as effective, and often more so, since you control the fragrance load directly instead of relying on however a manufacturer formulated theirs.
Can I use these indoors? They’re best used outdoors or in well-ventilated spaces, both because of the stronger fragrance load and because mosquito control is generally more of an outdoor concern to begin with.
How long will one of these candles burn? This depends on jar size and wick choice, but a standard 4 to 8 ounce jar typically burns for somewhere in the range of 20 to 40 hours total, used in shorter sessions over multiple evenings.
Is citronella oil safe to use around pets? Concentrated essential oils, including citronella, can be irritating or harmful to some pets, especially cats.
Keep burning candles and any spilled oil out of reach, and consider researching your specific pet’s sensitivities before using heavily scented candles around them regularly.
Can I make these without essential oils if I have sensitivities to them? Not really for this specific purpose, since the essential oils are what create the repelling effect, not just the scent.
If you’re sensitive to strong essential oil concentrations, this may not be the right project, though my post on scenting candles without essential oils covers alternatives for candles made purely for fragrance rather than pest control.
Final Thoughts
This turned into one of my favorite batch projects specifically because it saves real money over a whole summer of buying replacements, and the stronger fragrance load actually seems to work better than most of the store-bought versions I used to buy.
If you ever want to turn a hobby like this into some extra income, my guide to selling candles on Etsy walks through what that actually looks like.
If you make a batch, let me know how strong you went with your citronella concentration, and whether you blended in any other oils.