Air Dry Clay vs Polymer Clay: Which Is Better for Beginners?
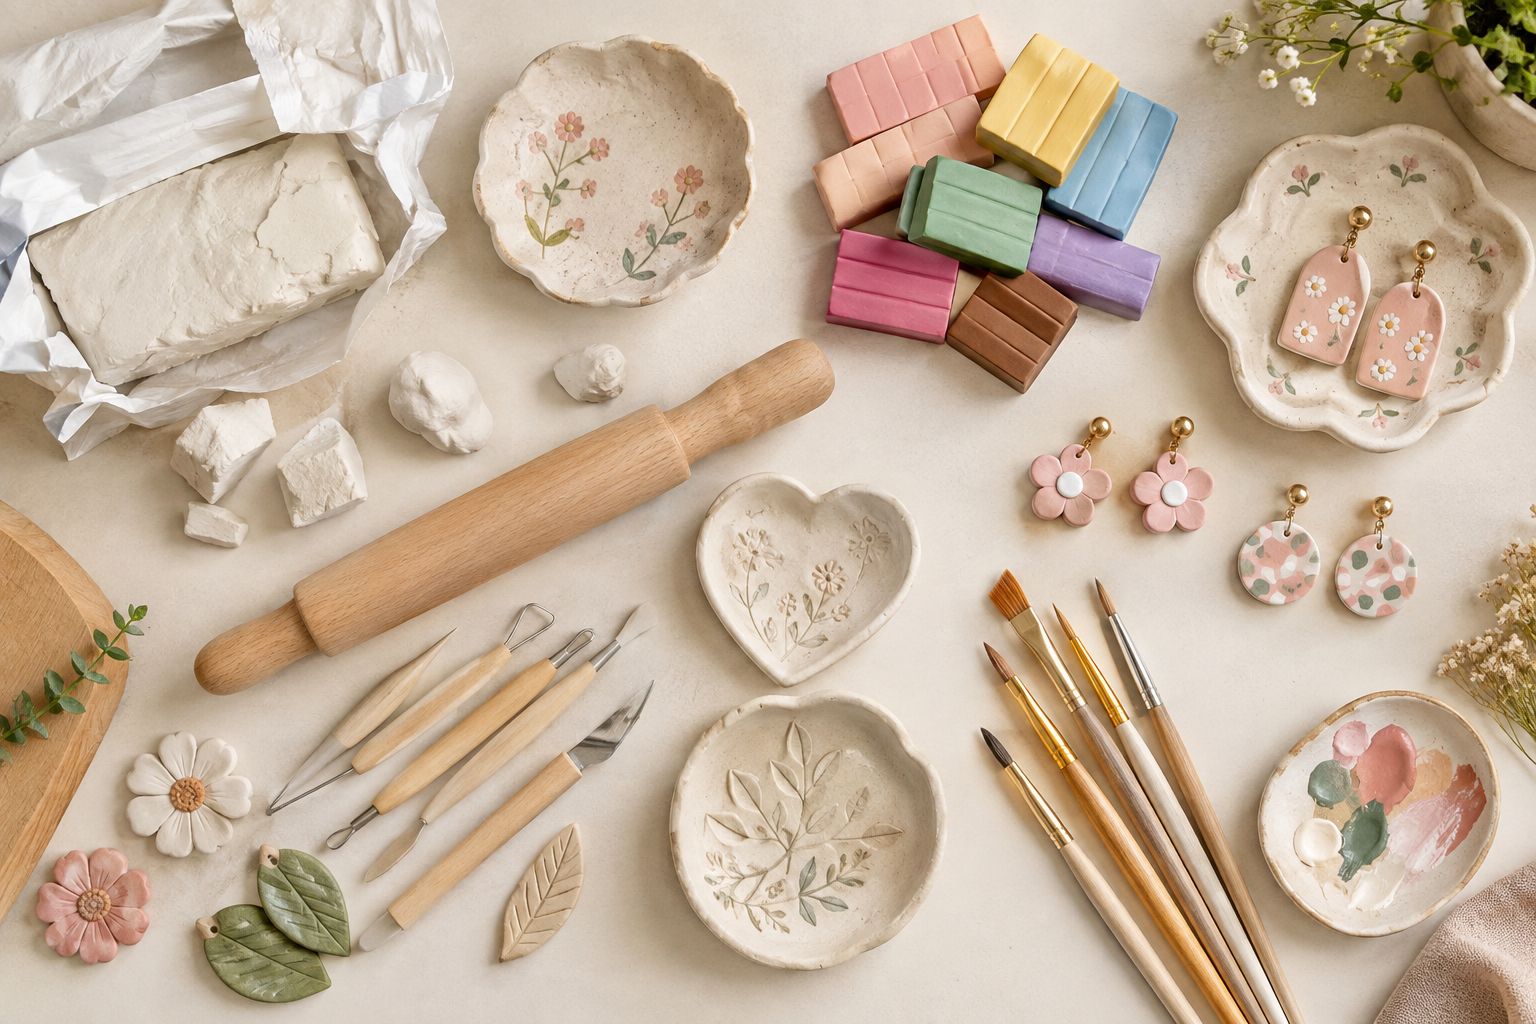
I still remember standing in the craft store aisle the first time I decided to try clay, staring at two nearly identical-looking packages and having absolutely no idea which one I actually needed.
One said air dry, the other said oven bake, and nothing on either package explained what that actually meant for someone who’d never touched clay in her life.
I ended up guessing, bought the wrong one for what I wanted to make, and learned the difference the hard way over the next few projects, mostly through a handful of cracked dishes and one memorably lopsided attempt at a set of earrings that never should have been made from air dry clay in the first place.
That guessing game is exactly why I wanted to write this post.
I’ve since seen the same confused look on other beginners’ faces in that same craft store aisle, or in comments and messages asking essentially the same question I once had no idea how to answer myself: which one do I actually buy?
It’s a reasonable thing to be unsure about, the packaging rarely explains the real tradeoffs, and most beginners don’t find out the difference until they’re already a few dollars and a ruined project into figuring it out the hard way, the same way I did.
Since then I’ve worked with both extensively, air dry clay for trinket dishes, coasters, and ornaments, polymer clay for earrings and smaller, more detailed pieces, and I get asked constantly which one someone should actually start with.
The honest answer is that it depends on what you’re making and how much patience you have for either drying time or an oven, so rather than just telling you to pick one, I want to actually walk through the real differences the way I wish someone had explained them to me that first day in the craft aisle.
The Core Difference
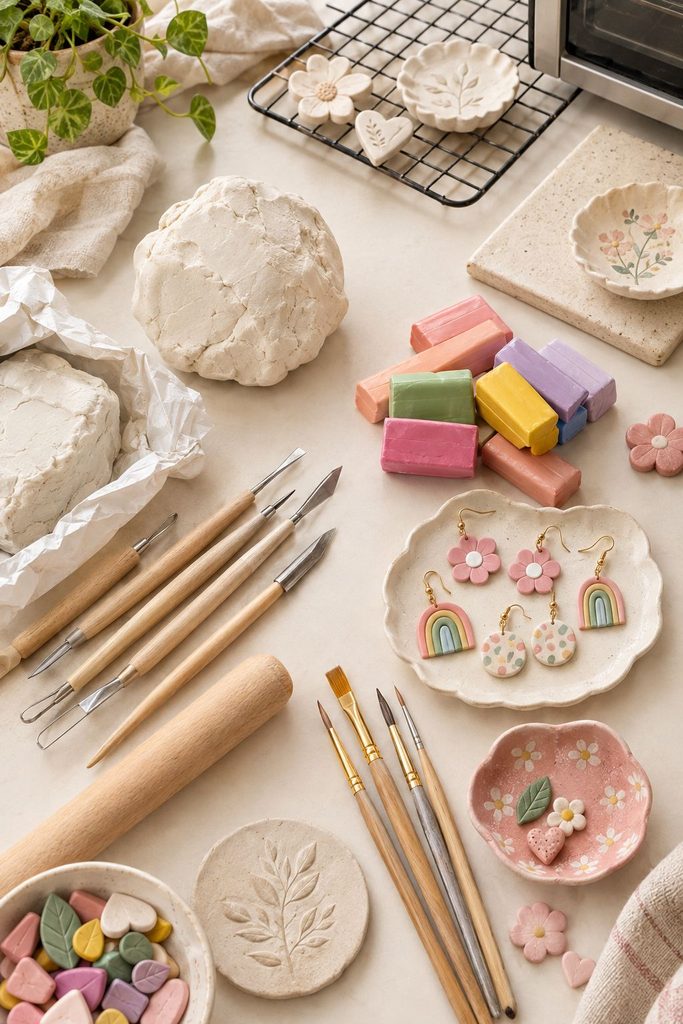
Air dry clay hardens through evaporation, the water in the clay slowly leaves the piece over 24 to 48 hours (or longer for thicker pieces) until it’s fully firm.
No heat, no special equipment, just time. Polymer clay, on the other hand, doesn’t dry at all on its own, it stays soft indefinitely until you bake it in a home oven, where heat actually cures the material into a hard, durable finish.
That single difference, evaporation versus heat-curing, is really the root of almost every other difference between the two.
Cost and Tools to Get Started
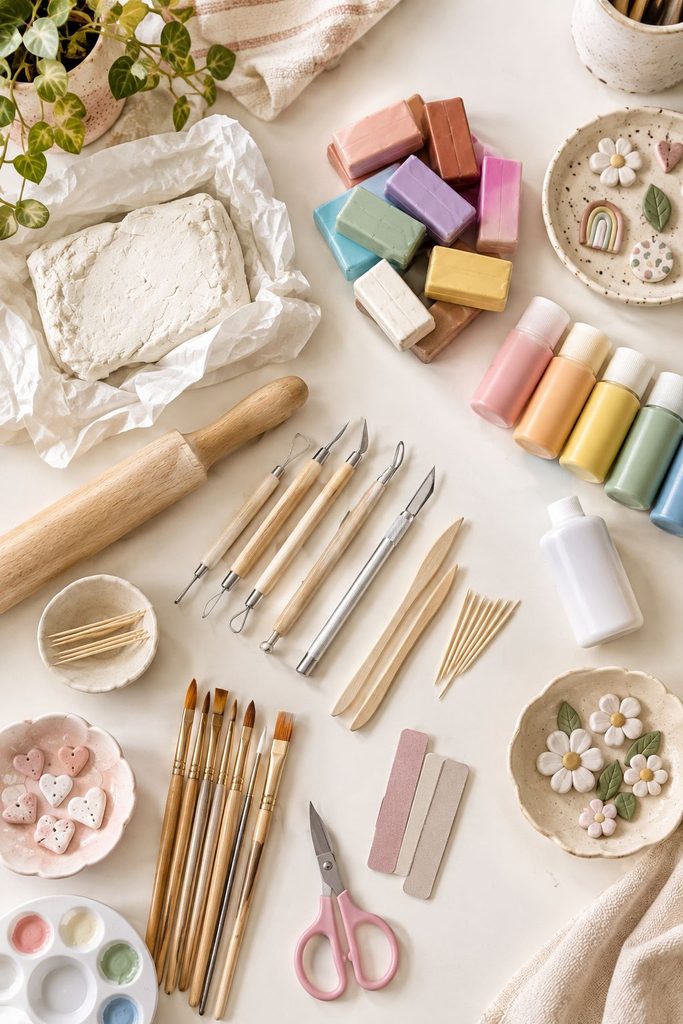
Air dry clay is the cheaper entry point by a good margin. A basic rolling pin, some cutting tools, paint, and a sealant is genuinely all you need, my 10 Essential Tips for Getting
Started post covers the full supply list, and none of it requires anything you don’t already have or can’t find cheaply.
Polymer clay needs all of that plus a dedicated oven-safe surface and a reliable way to monitor oven temperature, since baking it correctly matters a lot more than people expect.
It’s not an enormous extra cost, but it is a real one, and if you’re testing the waters before committing to a new hobby, air dry clay lets you start for less.
Drying and Curing Time
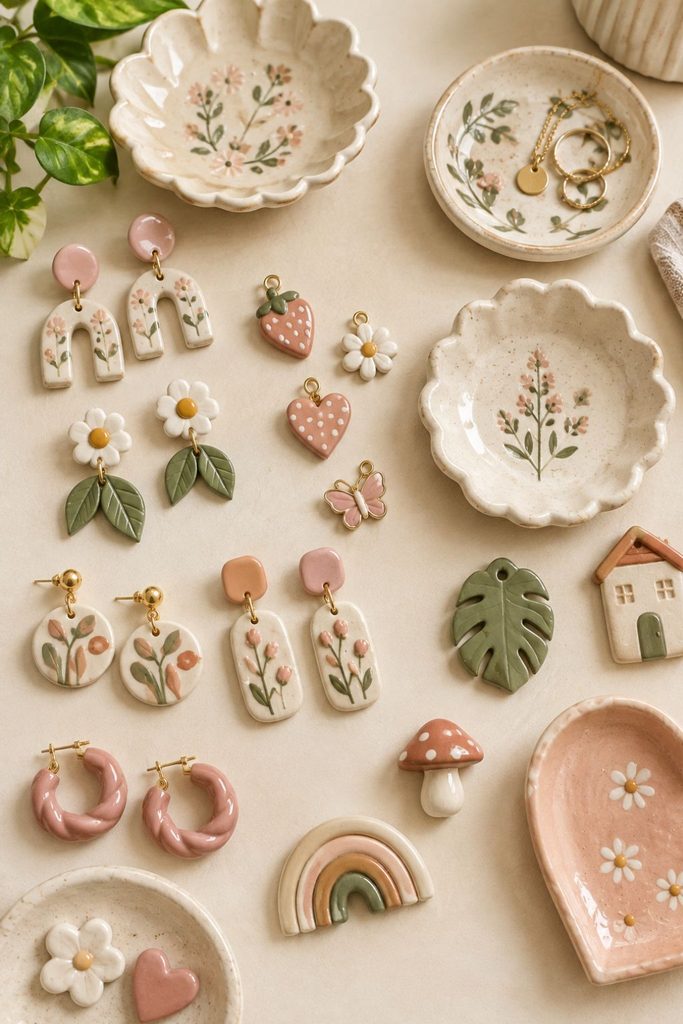
This is where the two materials genuinely feel like different hobbies. Air dry clay takes patience measured in a full day or two, and rushing it is a real risk.
I wrote a whole post on why clay cracks and how to safely speed up drying because the mechanics matter, the outer surface dries and shrinks faster than the interior, and that mismatch is what causes cracking if you push it too hard.
Polymer clay, once you’re ready to cure it, is done in well under an hour for most pieces.
My guide to baking polymer clay breaks down timing by thickness, a quarter-inch charm cures in about 30 minutes, while a full inch-thick piece needs closer to two hours.
If you want to start a project after dinner and have a finished piece by bedtime, polymer clay is the one that actually allows that.
Durability Once Finished
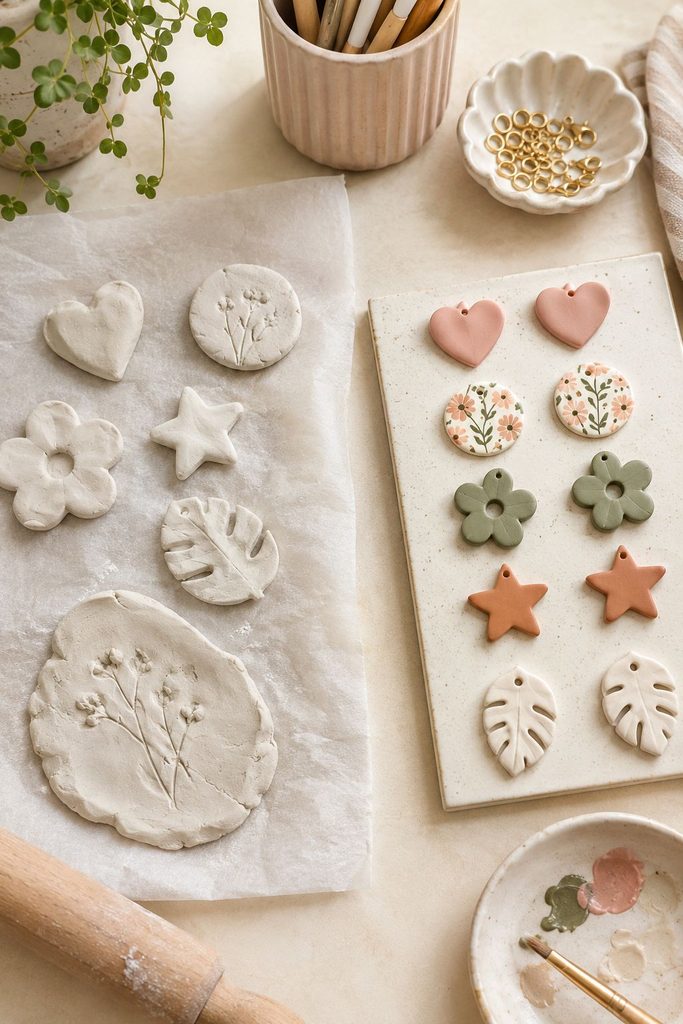
Polymer clay wins clearly here. Once properly cured, it’s genuinely durable, resistant to everyday bumps, and doesn’t require the same ongoing protection air dry clay does.
Air dry clay stays porous even after it fully hardens, which is exactly why sealing it isn’t optional if you want a piece to survive being handled, displayed, or given as a gift without absorbing moisture or slowly weakening over time.
That’s not a dealbreaker for air dry clay, plenty of my own pieces have held up for years, but it does mean an extra step and a bit more ongoing care than a polymer clay piece needs.
Working With the Material Itself
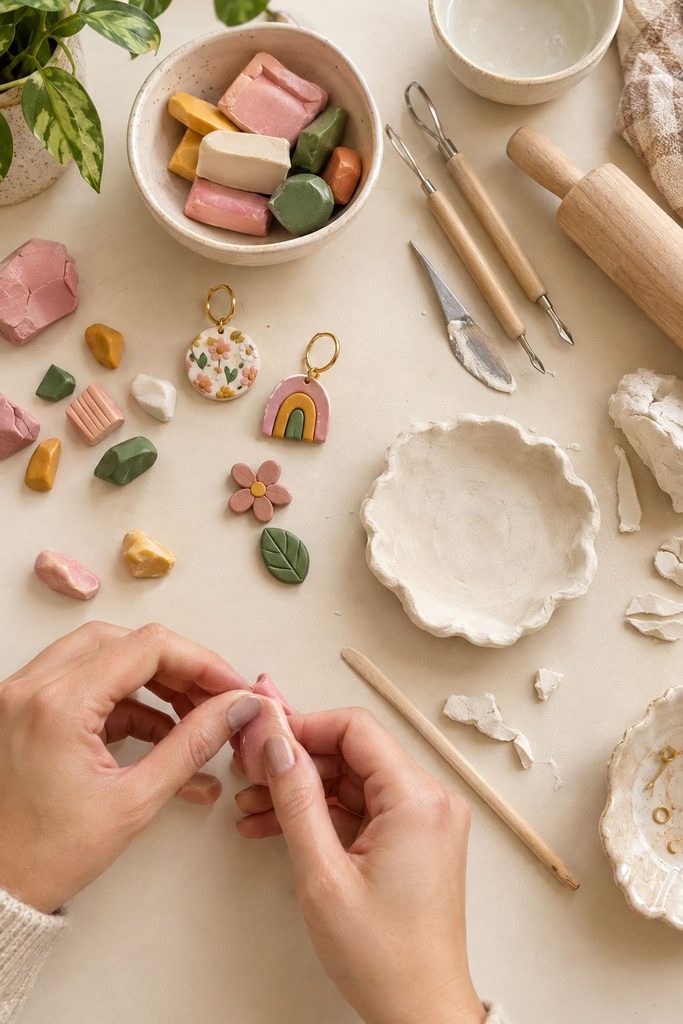
Air dry clay is generally softer and easier to shape by hand straight out of the package, which makes it more forgiving for a first attempt, if a shape doesn’t come out right, you can usually rework it before it starts to dry.
Polymer clay tends to be firmer and needs conditioning, working it with your hands until it softens and becomes pliable, before you can really shape it well, which is an extra step beginners don’t always expect.
That said, polymer clay holds fine detail exceptionally well once conditioned, which is part of why it’s the go-to for small, intricate work like earrings or miniatures.
Air dry clay can hold detail too, but it’s better suited to slightly larger, simpler shapes than to very fine, delicate detail work.
Painting and Finishing
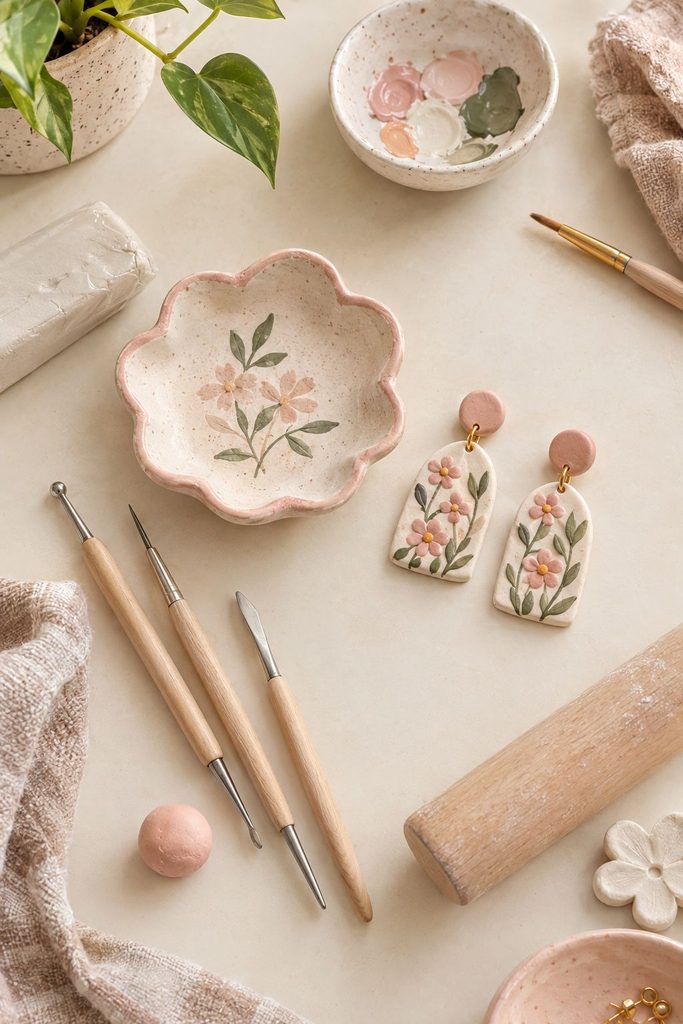
Both take paint well, but the process differs. My step-by-step guide to painting air dry clay covers waiting for full dryness before painting, and using the right paint for the material, acrylic works well, but not every paint adheres the same way.
Polymer clay can be painted after baking using a similar approach, though many polymer projects skip paint entirely and instead use clay that’s already colored before baking, mixing colors directly into the raw clay itself, which isn’t really an option with most air dry clay.
Which One Should You Actually Start With?
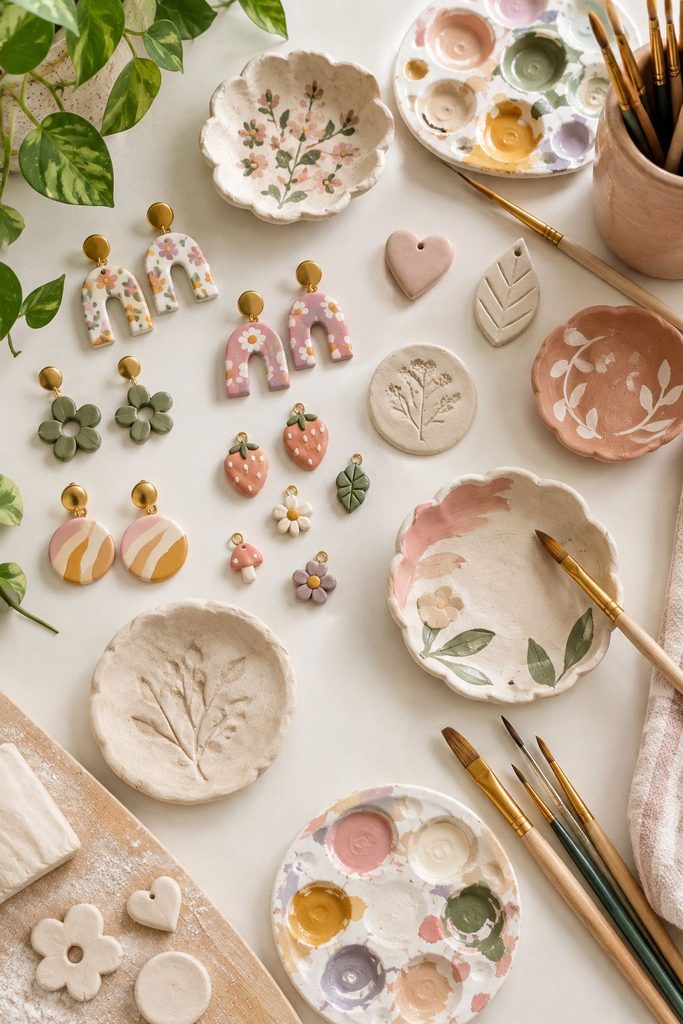
If you want to start today with materials you can find almost anywhere, want a lower-cost first project, or you’re making something like a trinket dish, coaster, or ornament, start with air dry clay.
If you’re excited about earrings, small figurines, or anything requiring fine detail and durability without a multi-day wait, polymer clay is worth the small extra investment in oven-safe tools.
Honestly, most people who stick with clay as a hobby end up using both eventually, they’re genuinely suited to different kinds of projects rather than one being a strictly better version of the other.
I still reach for air dry clay for anything home decor related, and polymer clay whenever I’m making jewelry.
Frequently Asked Questions
Can I use the same tools for both types of clay? Mostly yes, rolling pins, cutting tools, and basic sculpting tools work for either.
The main difference is that polymer clay projects need an oven-safe surface for baking, which air dry clay never requires.
Is one material safer for kids than the other? Air dry clay is generally considered the easier, lower-supervision option for younger kids since there’s no oven involved at any point.
Polymer clay is still kid-friendly with adult supervision during the baking step specifically.
Can I mix air dry clay and polymer clay in the same project? It’s not recommended, the two materials cure completely differently, and combining them in one piece can lead to uneven results or one material being damaged by the process the other needs (like oven heat affecting air dry clay).
Which one is better for selling handmade pieces? Both sell well, air dry clay tends to suit home decor items like trinket dishes and coasters, while polymer clay suits jewelry and smaller detailed pieces.
My Air Dry Clay Business Ideas post goes deeper into what actually moves in that category specifically.
If You Want to Go Deeper on Either Material:
- Start Your Air Dry Clay Journey with These 10 Essential Tips
- How to Dry Air Dry Clay Faster Without Cracking
- How Long to Bake Polymer Clay for Strong, Perfect Results
- How to Seal Air Dry Clay
Final Thoughts
There’s no wrong answer here, just a better fit depending on what you’re actually trying to make and how much waiting versus baking you’re willing to do to get there.
If I had to boil the whole comparison down to one piece of advice, it would be this: let the project pick the material, not the other way around.
A trinket dish doesn’t need polymer clay’s durability badly enough to justify the extra oven step, and a pair of detailed earrings will fight you the whole way if you try to force air dry clay into that role.
Give yourself permission to eventually own both.
They’re inexpensive enough that there’s no real downside to keeping a block of each on hand, and once you’ve made a few projects with both, you’ll start reaching for whichever one fits without even having to think it through the way I once did in that craft store aisle.