10 Fall Air Dry Clay Projects You’ll Love This Season
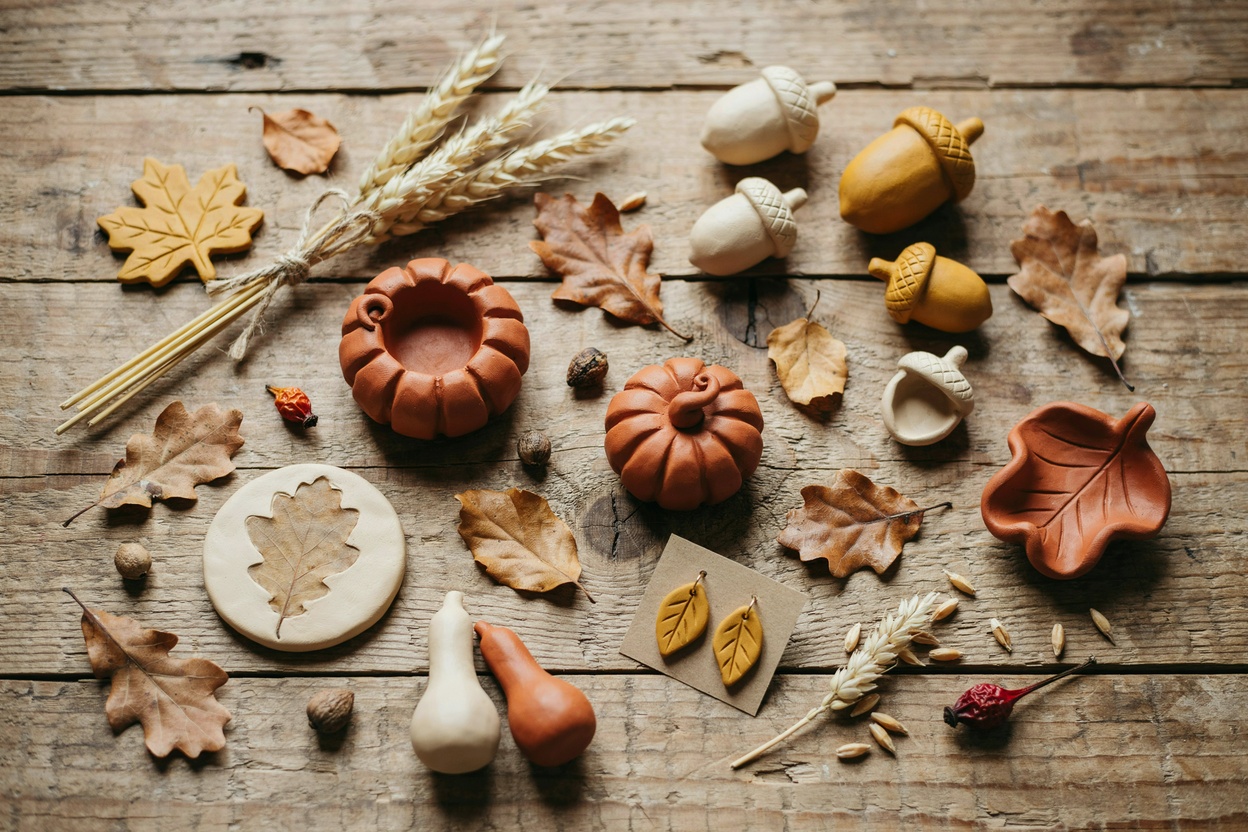
Every October I end up with the same problem, a table full of pumpkins and a Pinterest board full of fall decor ideas, and not nearly enough of it actually made yet. Air dry clay has become my go-to for filling that gap, since it’s cheap, forgiving, and turns into something that looks intentional even on a project you finished in one sitting.
This isn’t a list of vague inspiration, these are projects I’ve actually made, in the colors and shapes that read as fall without tipping into anything too literal or costume-y.

A few lean rustic, a few lean minimal, and a couple are simple enough to hand off to kids if you want a shared afternoon project.
If you’re new to air dry clay entirely, my beginner tips post is worth reading before you dive into any of these, since a few of the mistakes I made early on, mostly around clay choice and drying, apply across every project on this list.
1. Mini Pumpkin Trinket Dishes
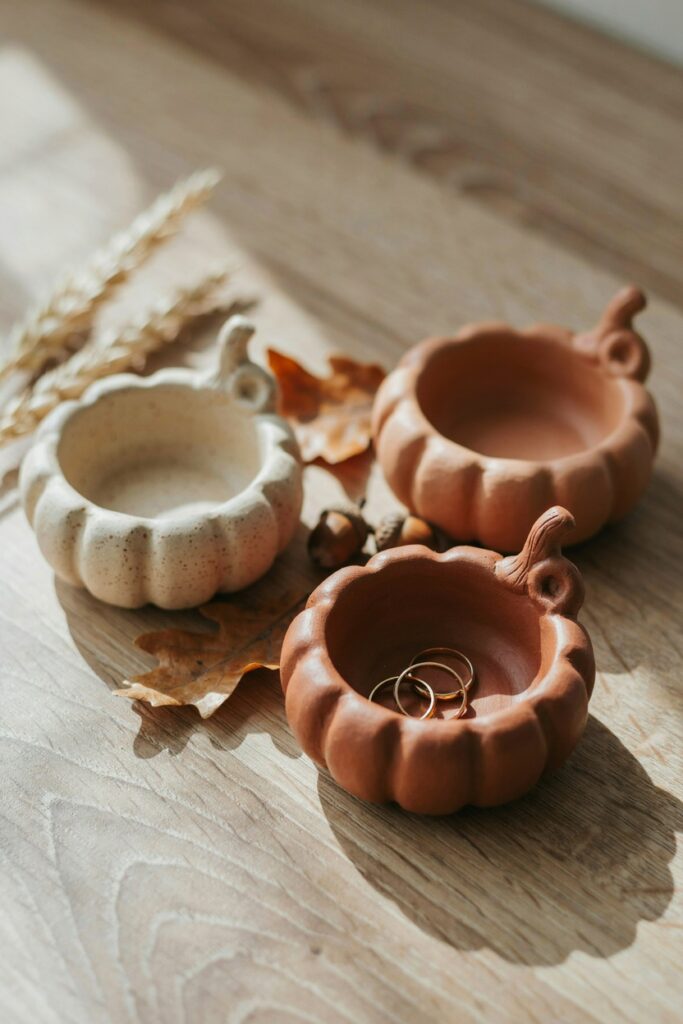
Small, shallow dishes shaped like squat pumpkins, perfect for holding rings or loose change on a nightstand. I use a simple pinch pot base, roughly 3 inches across, then score vertical lines down the sides with a toothpick before adding a small rolled clay stem on top, angled slightly rather than dead straight, which reads as more natural once it’s painted.
I usually make these in a small batch of three or four at once, since the pinch pot base takes almost no time and it’s an easy way to end up with a few slightly different sizes for a layered look on a shelf.
Tip: Keep the walls slightly thicker than you think you need, at least a quarter inch, since thin pumpkin ridges are more prone to cracking as they dry, especially right where the vertical scoring meets the base.
2. Acorn Ornaments
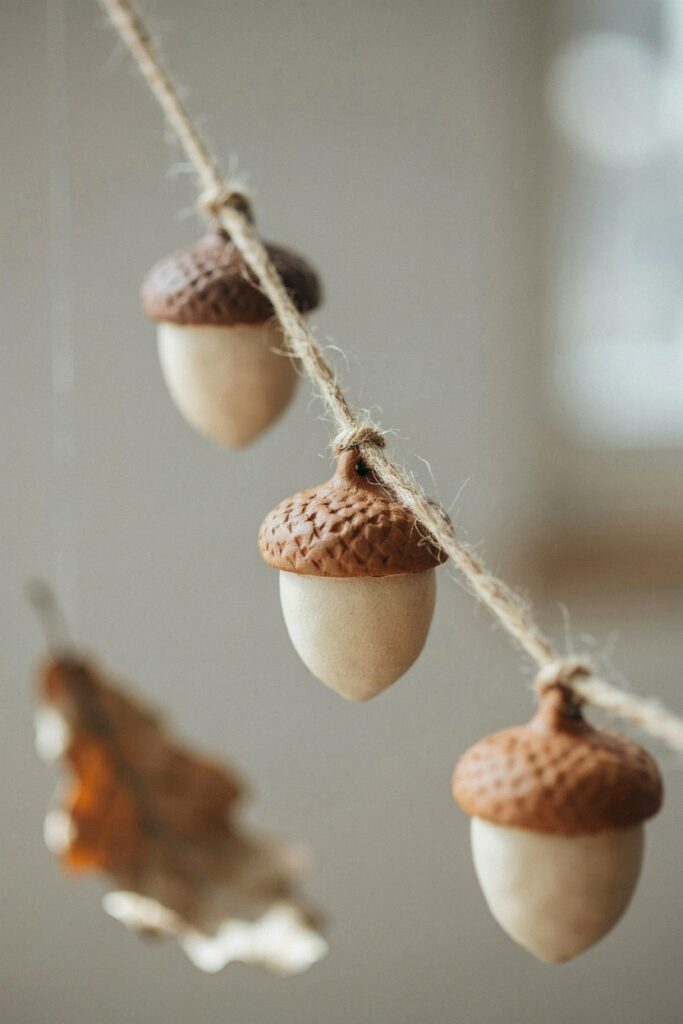
A genuinely easy shape once you break it down, a rounded clay body about the size of a large grape, topped with a textured cap pressed on using a small piece of burlap, a toothpick, or even the tip of a garlic press for a more exaggerated, bumpy texture.
A small loop of wire or twine, pressed into the top of the cap before drying, gives you a hanging point without needing to drill anything once it’s cured.
String a few together on twine spaced a few inches apart for a garland, or hang them individually on a small branch arrangement for a more sculptural look.
3. Leaf-Pressed Coasters
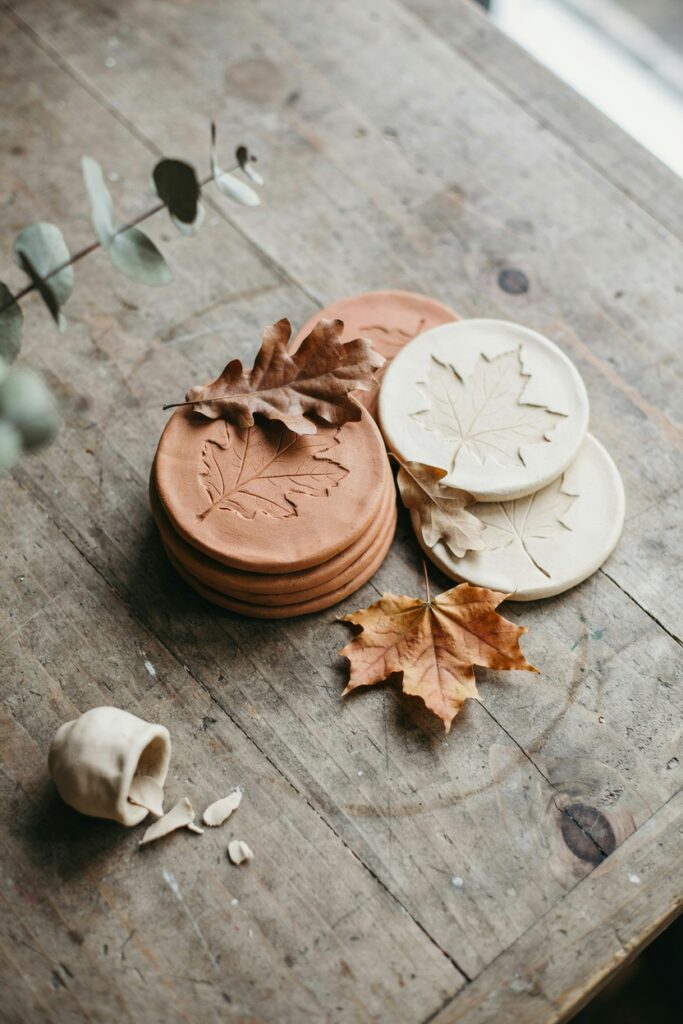
Real fall leaves pressed into rolled-out clay, about a quarter inch thick, leave a genuinely beautiful, detailed vein imprint once you roll firmly over the leaf with a rolling pin and then peel it away before drying.
I covered the full process for something similar in my air dry clay coaster roundup, and the leaf-pressed version is one of my favorites from that whole list for how little effort it takes to look genuinely intentional.
Oak and maple leaves tend to give the clearest imprints, since their vein structure is more pronounced than a lot of other common fall leaves. I trim the clay into a rough circle or square with a butter knife after pressing, while the leaf is still in place, so I’m not disturbing the imprint by cutting around it afterward.
Tip: Fresh leaves press more cleanly than dried ones, since dried leaves tend to crumble under pressure instead of leaving a full imprint. If you only have dried leaves on hand, a quick soak in water for a few minutes makes them pliable enough to press without falling apart.
4. Mini Clay Pie Dishes
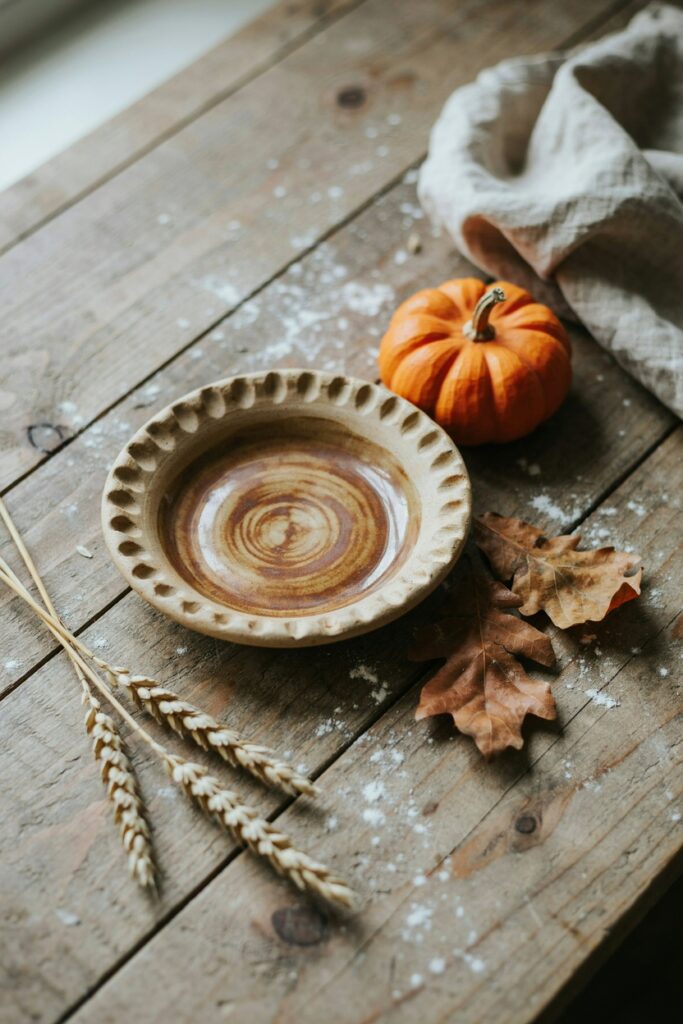
A tiny, textured pie-crust-edge dish, made by pressing a fork or the back of a butter knife around the rim of a shallow pinch pot, working your way around in a consistent rhythm so the crimped pattern looks even rather than random.
I usually aim for a dish around 3 to 4 inches across, small enough to sit on a nightstand or bathroom counter as a trinket dish, but large enough that the crimped edge detail actually reads clearly once it’s dry.
These make a genuinely charming catchall or a small trinket dish with a seasonal wink to it, and a slightly uneven crimp pattern still looks intentional rather than like a mistake, which makes this a forgiving one if you’re newer to clay work.
5. Wheat Stalk Wall Hanging
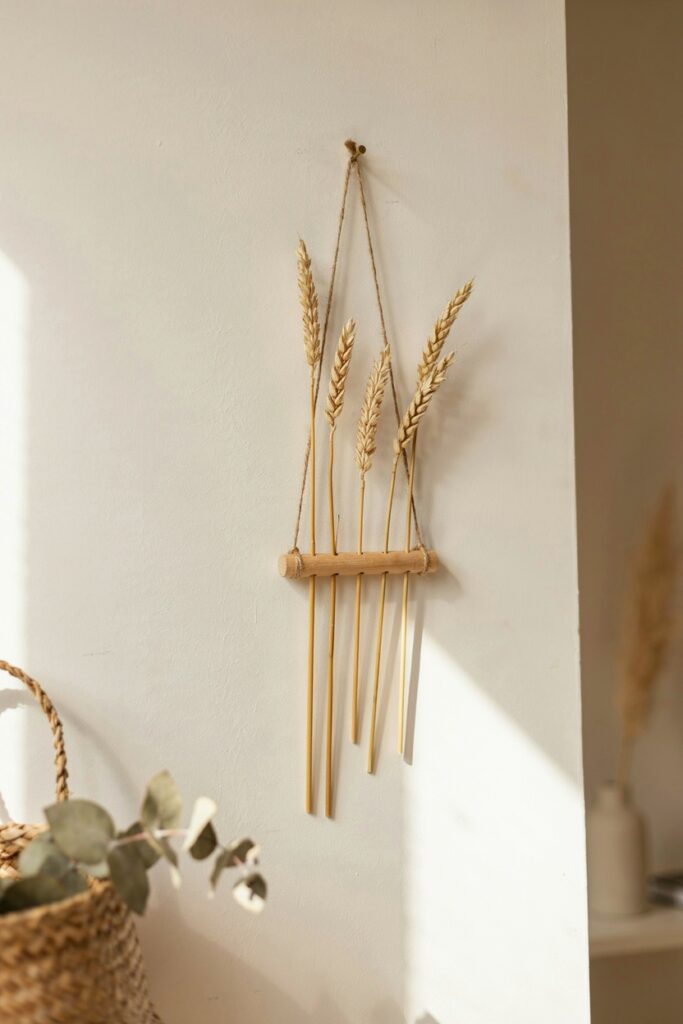
Thin, hand-rolled clay ropes, about the thickness of a pencil, shaped into a simple wheat stalk silhouette, dried flat on a piece of parchment paper to keep the shape from distorting.
Once dry, mount onto a small wood dowel with a dab of glue, or hang directly with a loop of twine pressed into the top of the stalk before it dries.
A minimal, neutral piece that works well past just the fall season, honestly, especially if you paint it in a soft cream or unpainted natural clay tone rather than a more saturated autumn color. I’ve made a set of three at slightly different heights and hung them together on one piece of driftwood for a wider wall piece.
6. Textured Pumpkin Ring Holder
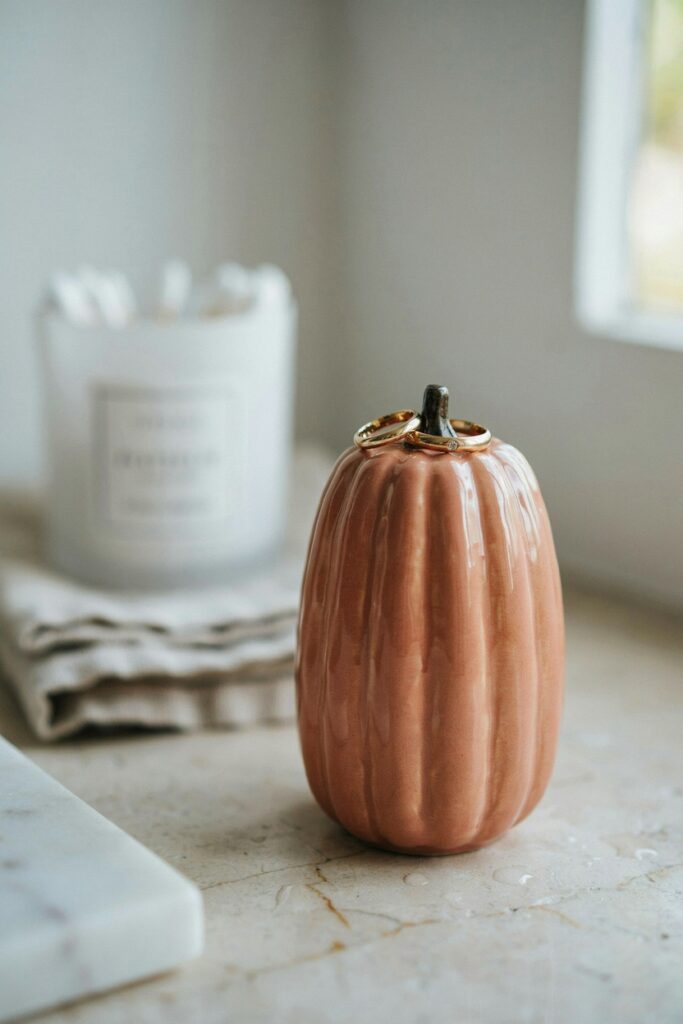
A small clay cone with a flattened top, ribbed with the same vertical scoring technique as the trinket dishes, but built taller and narrower, around 2 inches tall, specifically to hold rings upright rather than lying flat.
This one takes a bit more patience with drying, since the shape is less stable than a flat dish while it firms up, and a cone that’s too narrow at the base can tip over before it’s fully cured.
Tip: Prop the piece against something, a small box or a rolled towel, for the first several hours of drying if it’s struggling to hold its shape upright on its own. I also flatten the base slightly wider than feels proportional, since a wider footprint noticeably improves stability without looking off once it’s finished.
7. Mushroom and Toadstool Set
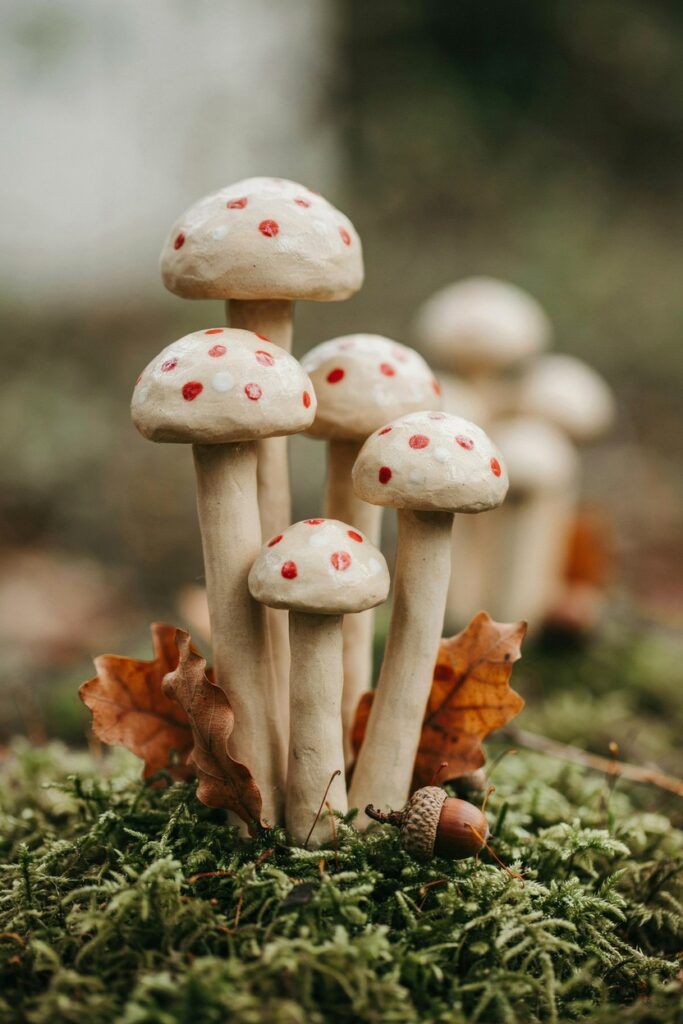
A small cluster of clay mushrooms in varying heights, from about half an inch to two inches tall, some plain and smooth, some with tiny painted spots once dry.
I build each one from two pieces, a rolled stem and a separate cap pressed gently onto the top, smoothing the seam with a wet fingertip so it doesn’t show a visible line once dry.
These pair really well with a moss or greenery arrangement for a small tablescape, and they’re an easy one to make with kids since the shapes are so forgiving, there’s no wrong way for a toadstool to look a little lopsided.
8. Autumn Leaf Garland
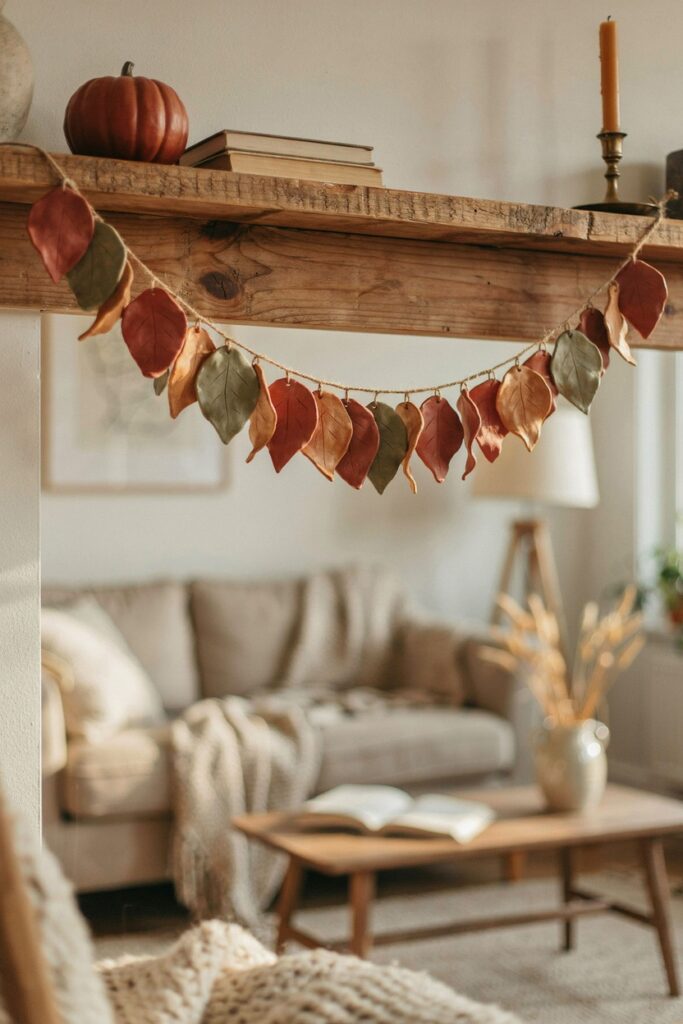
Cut simple leaf shapes from rolled clay, about an eighth of an inch thick, using a leaf-shaped cutter, or freehand them with a butter knife if you don’t have one, then pierce a small hole near the stem end with a needle tool before drying so you can string them once finished.
I aim for eight to twelve leaves for a garland that feels full without being overwhelming on a mantel or doorway.
Paint in warm, muted tones once fully dry, rust, ochre, deep olive, for a garland that feels a lot more elevated than the shape itself suggests, and a light dry-brush of a slightly lighter color over the base coat adds depth without much extra effort.
9. Clay Pumpkin Diffuser Stones
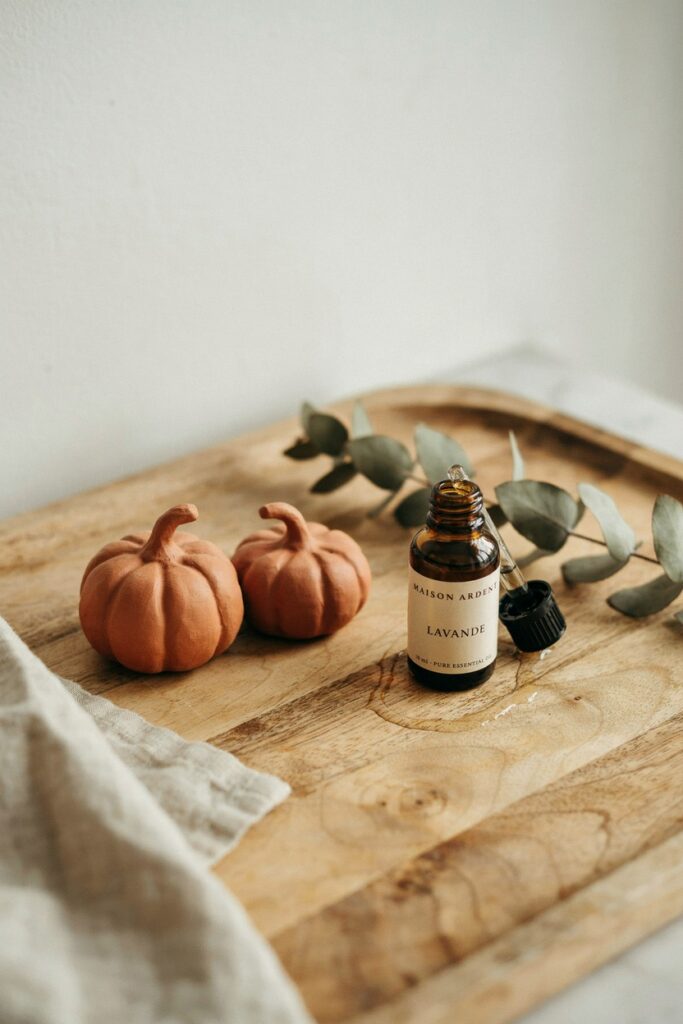
A functional twist on the classic seasonal pumpkin shape, these hold a few drops of essential oil right on the surface for a light, natural scent instead of a candle, and unglazed clay actually absorbs and slowly releases the oil over a day or two rather than all at once.
If diffuser stones are new to you, my clay diffuser stones post covers the full technique and scent-loading tips in more depth than I can fit here, including which oils have worked best for me and how often to refresh a stone once the scent fades.
For the fall version specifically, I keep these small, around 2 inches, and leave them unpainted or lightly washed in a warm neutral, since a heavy paint layer or full glaze can seal the surface and stop it from absorbing oil the way it’s meant to.
10. Rustic Clay Pie Plate Ornament
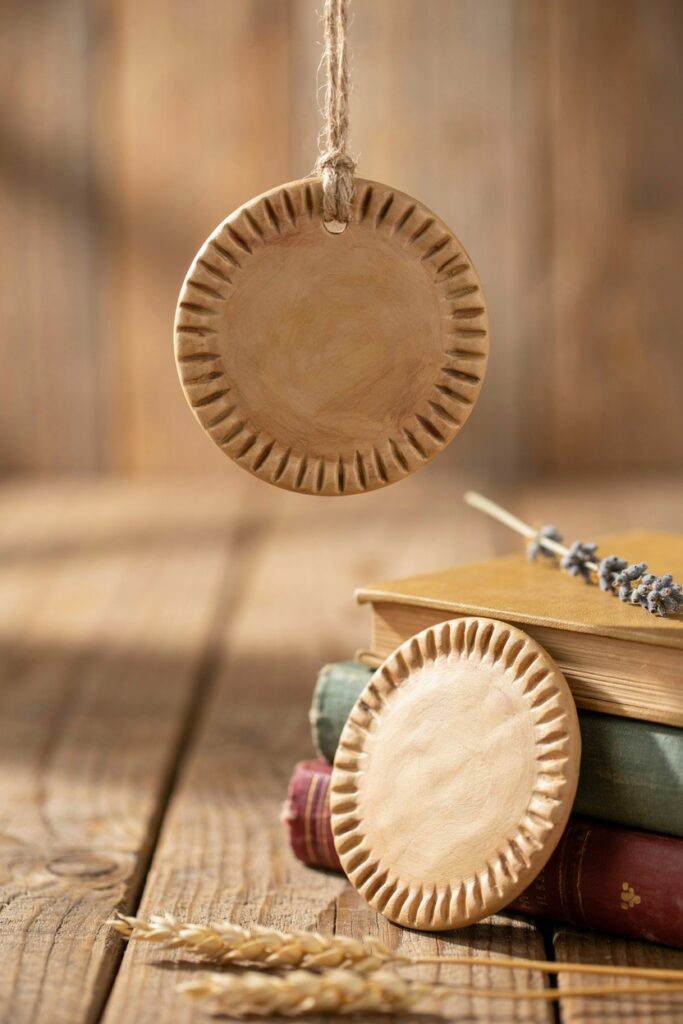
A flat, circular ornament, about 3 inches across, textured to look like a mini pie plate, complete with a scalloped edge pressed in with the back of a spoon, working around the full circle before the clay firms up.
A small hole at the top before drying, made with a straw or needle tool, turns it into a hangable ornament, or leave it flat as a standalone decorative piece propped on a shelf ledge or small easel.
I’ve painted these to look like an actual pie, a tan crust edge with a deeper brown “filling” center, and also left a few completely unpainted for a more neutral, textural look that fits a wider range of decor styles.
A Few Notes Before You Start
Color palette matters more than shape here. Almost any of these reads as “fall” the moment you paint it in rust, mustard, deep green, or warm cream rather than a bright, saturated color. If you’re unsure how to approach painting any of these once dry, my step-by-step painting guide covers layering, blending, and getting even coverage without streaks.
Seal anything that’ll get regular handling. Ring dishes, coasters, and diffuser stones all benefit from a proper seal, both for durability and appearance. My beginner’s guide to glazing walks through choosing the right finish for a piece like this.
Watch for cracking on anything with thin details. Acorn caps, leaf stems, and pie crust edges are the most likely spots to crack as they dry, since they’re thinner than the main body of the piece. If it happens anyway, my guide to fixing cracked air dry clay covers the repair, and it’s rarely as bad as it looks in the moment.
Final Thoughts
This is the kind of list I keep coming back to every year, not because the projects are complicated, but because they’re genuinely quick enough to knock out a handful in a weekend and end up with a whole shelf that suddenly feels like fall. If you make any of these, I’d love to see which one you started with.