How Do You Make Air Dry Clay Look Like Ceramic?
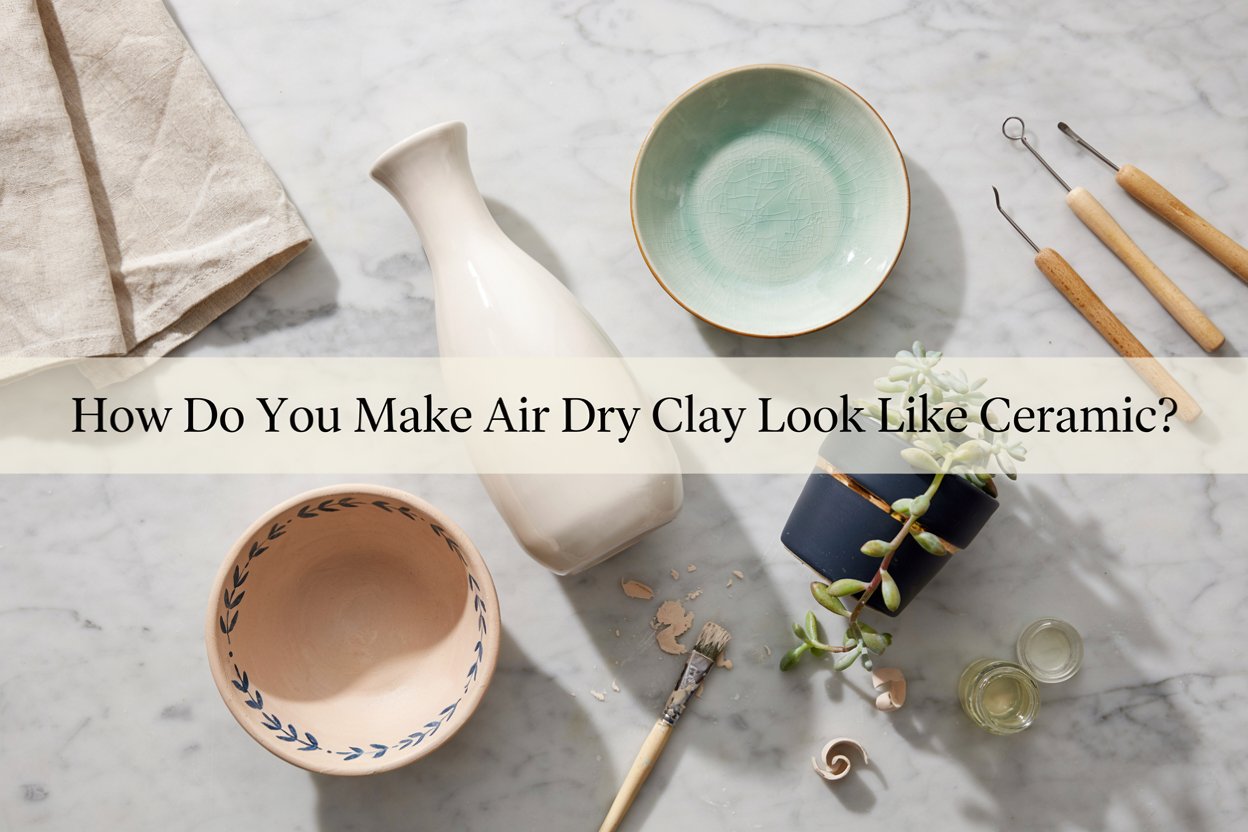
One of the first things I wondered after making my first air dry clay project was how people managed to get that smooth, glossy ceramic look.
My early creations definitely looked handmade, but not in the polished, boutique-style way I was hoping for.
They had fingerprints, rough edges, and a chalky finish that made them look more like school projects than home décor.
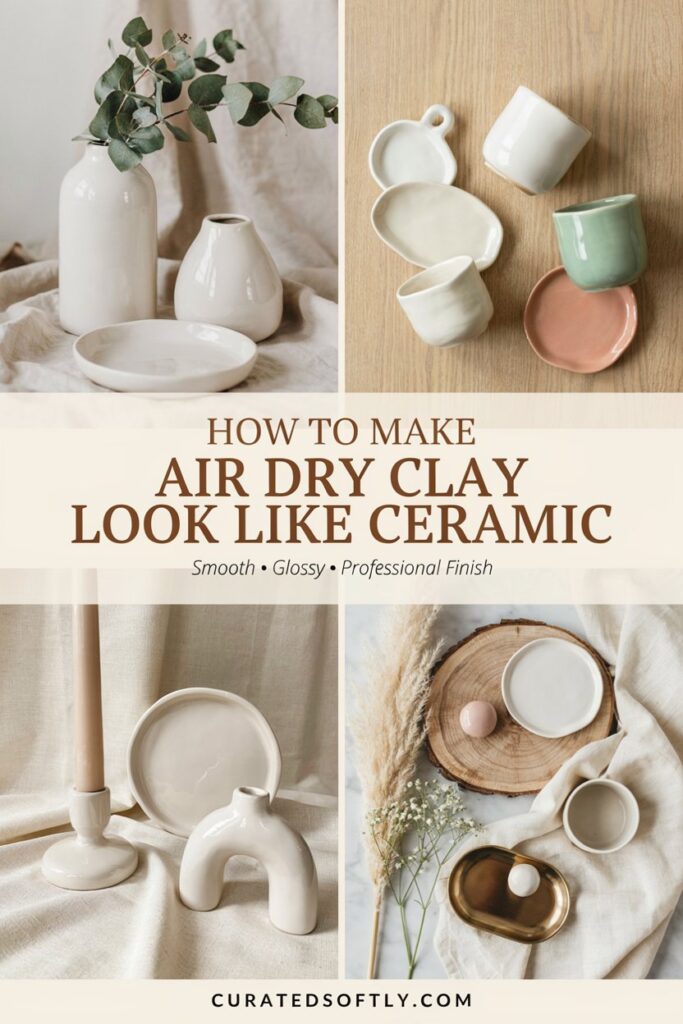
The good news is that you do not need a pottery kiln or expensive equipment to achieve a ceramic-inspired finish.
With the right preparation, paint, and sealer, you can transform ordinary air dry clay into beautiful pieces that closely resemble glazed pottery.
Over the years, I have experimented with different techniques, and I have discovered that the secret is not one magical product. It is a combination of careful sanding, thin layers of paint, and choosing the right finish.
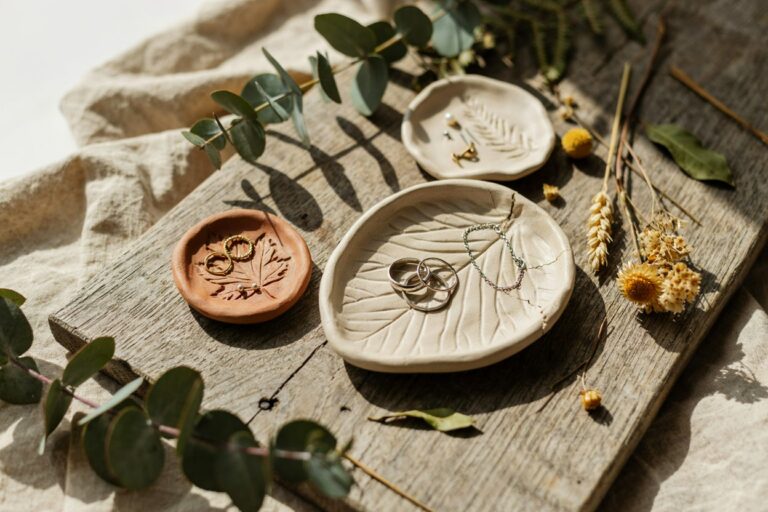
Whether you are making vases, trinket dishes, planters, ornaments, or decorative bowls, these simple techniques can dramatically improve the final result.
If you’re still working on the basics, my air dry clay beginner tips post is a good place to start before diving into finishing techniques.
Can Air Dry Clay Really Look Like Ceramic?
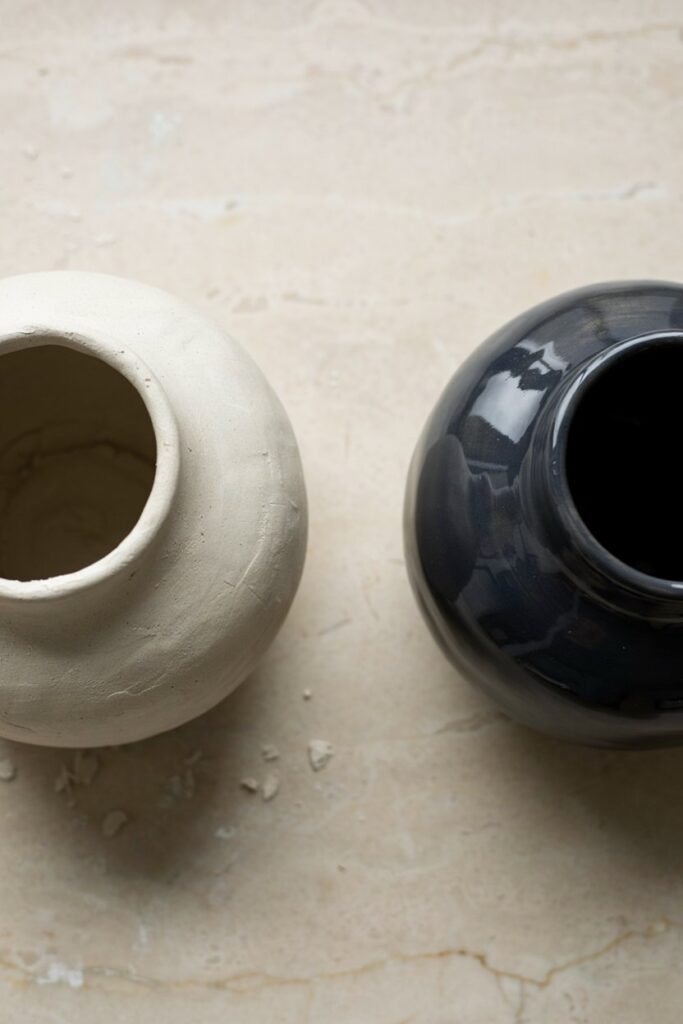
The short answer is yes.
While air dry clay will never become true fired ceramic, it can look surprisingly similar when finished properly.
The biggest difference between beginner projects and high-end handmade pieces usually comes down to the finishing process rather than the clay itself.
Professional-looking projects often have:
- Smooth, even surfaces
- Crisp edges
- Consistent paint coverage
- A durable protective topcoat
- Soft satin or glossy finishes
- Minimal visible fingerprints
- Clean, well-defined shapes
When all of these details come together, most people would never guess your project was made from inexpensive air dry clay.
Supplies You’ll Need
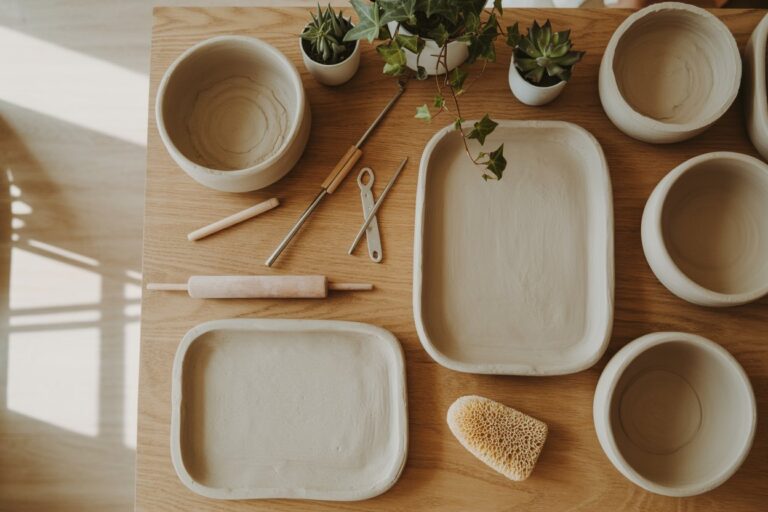
Before you begin, gather everything you need so the finishing process goes smoothly.
I always like to prepare my workspace first because many of these steps happen one after another.
Basic Supplies
- Air dry clay
- Fine-grit sandpaper (220 to 400 grit)
- Acrylic gesso
- High-quality acrylic paint
- Foam brush or soft paintbrush
- Small detail brush
- Gloss, satin, or matte sealer
Having quality materials makes a noticeable difference, especially when it comes to paint and sealers.
1. Start With a Smooth Clay Surface
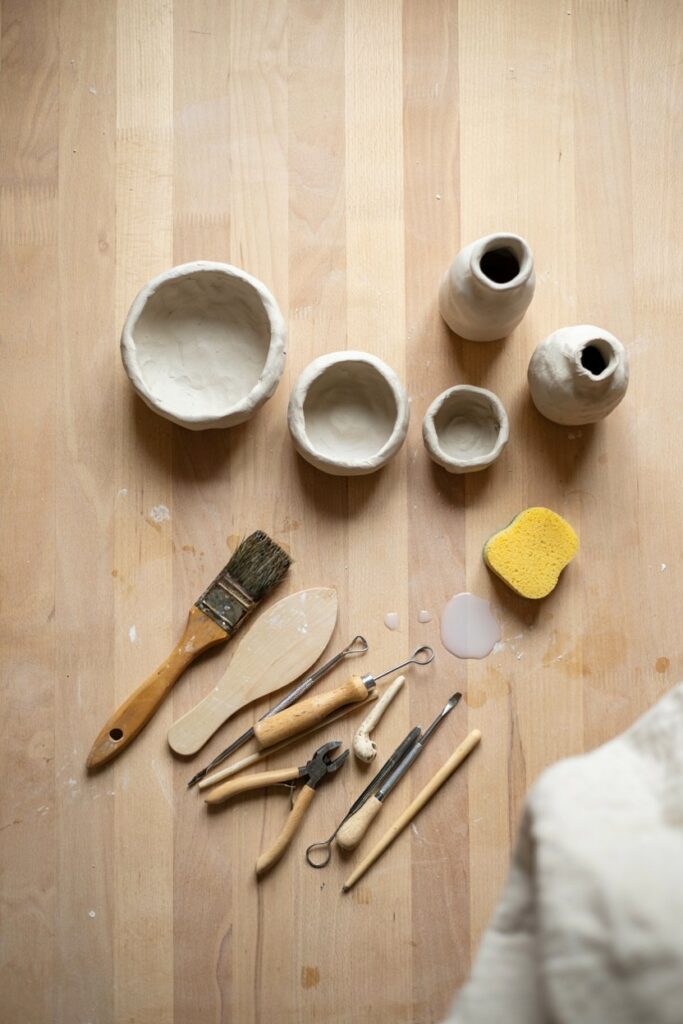
If there is one step you should never skip, it is smoothing the clay before it dries.
Every fingerprint, dent, or uneven edge becomes much more noticeable once paint is applied.
Whenever I finish shaping a project, I spend several extra minutes gently smoothing the surface with a slightly damp paintbrush or my fingertip.
Those few extra minutes save much more time later.
Why This Step Matters
A smooth foundation makes every layer of primer, paint, and sealer look better.
It also reduces the amount of sanding required after the clay dries.
My Tip
Use only a tiny amount of water.
Too much moisture can soften the clay and make it harder to maintain clean edges.
Cracks and rough patches often start here — how to avoid cracks in air dry clay covers the drying side of this in more depth.
2. Sand Until the Surface Feels Silky
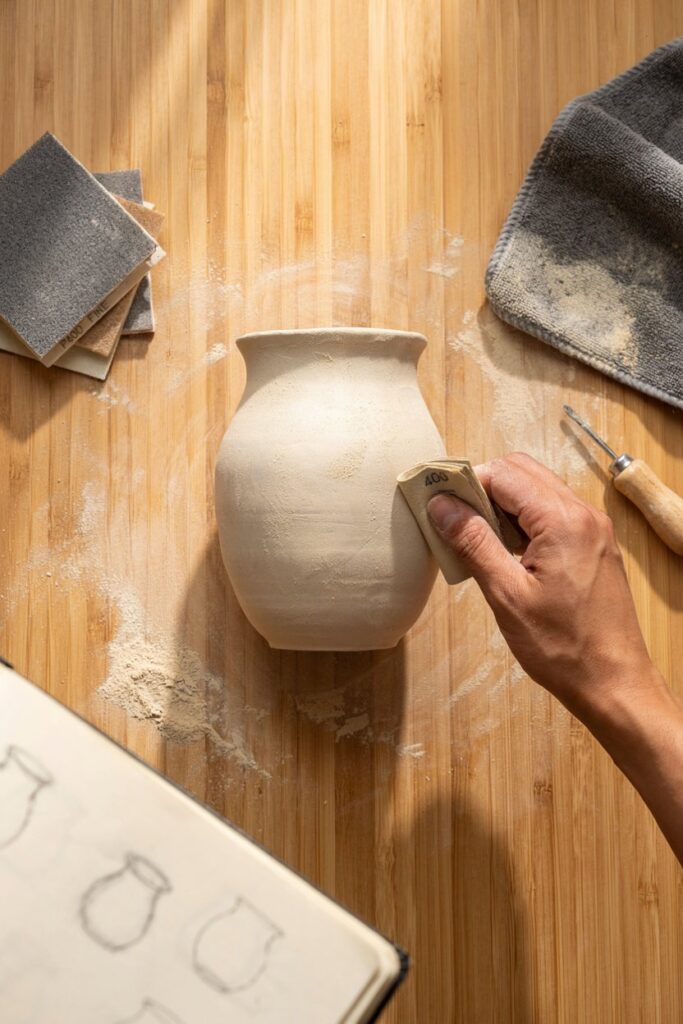
Once the clay has dried completely, sanding becomes your best friend.
This is where many projects begin to take on that ceramic-like appearance.
I start with a fine-grit sandpaper and gently smooth every surface using light circular motions.
Instead of rushing, I check the project from different angles under good lighting to spot rough areas that need a little more attention.
Why I Never Skip Sanding
Even beautifully shaped clay benefits from sanding.
It removes tiny imperfections, softens sharp edges, and creates a much cleaner surface for painting.
My Tip
After sanding, wipe away all the dust with a soft microfiber cloth before moving on to the next step.
Even small amounts of dust can affect how evenly the primer and paint adhere.
3. Apply a Primer or Gesso
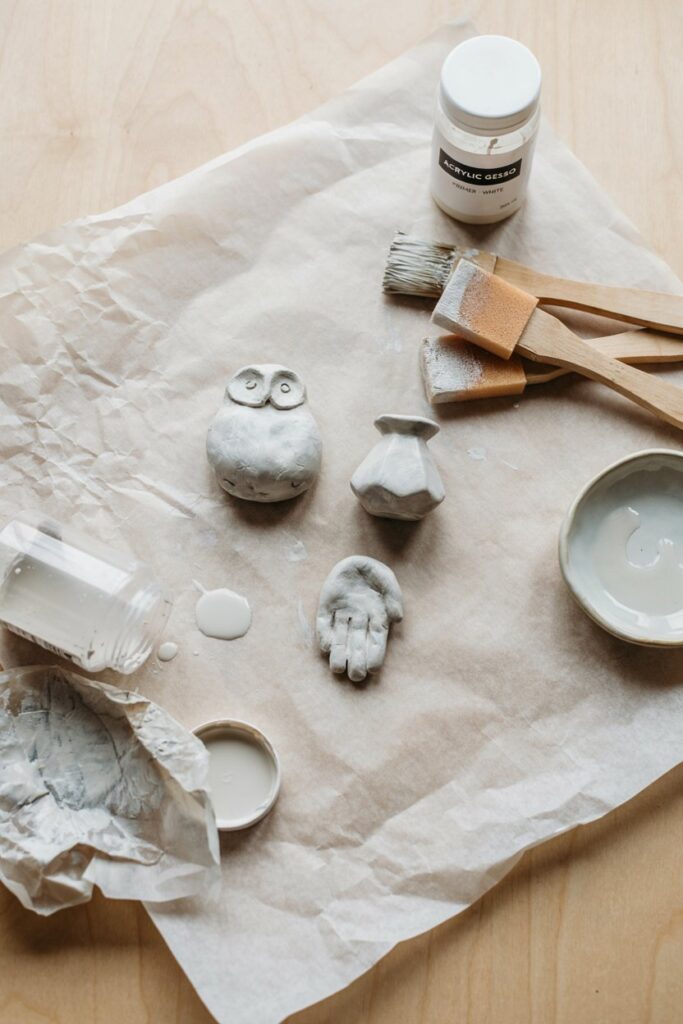
This is one of the biggest secrets to achieving a ceramic finish.
Many beginners paint directly onto the clay, but I have found that applying a thin coat of acrylic gesso first creates a much smoother, more even surface.
It also helps the paint glide on beautifully and reduces the number of coats needed.
Why I Recommend It
Primer fills tiny imperfections and prevents the clay from absorbing paint unevenly.
The result is a cleaner, more professional-looking finish.
My Tip
Apply two thin coats instead of one thick coat, allowing each layer to dry completely before adding the next.
4. Apply Thin Coats of Paint
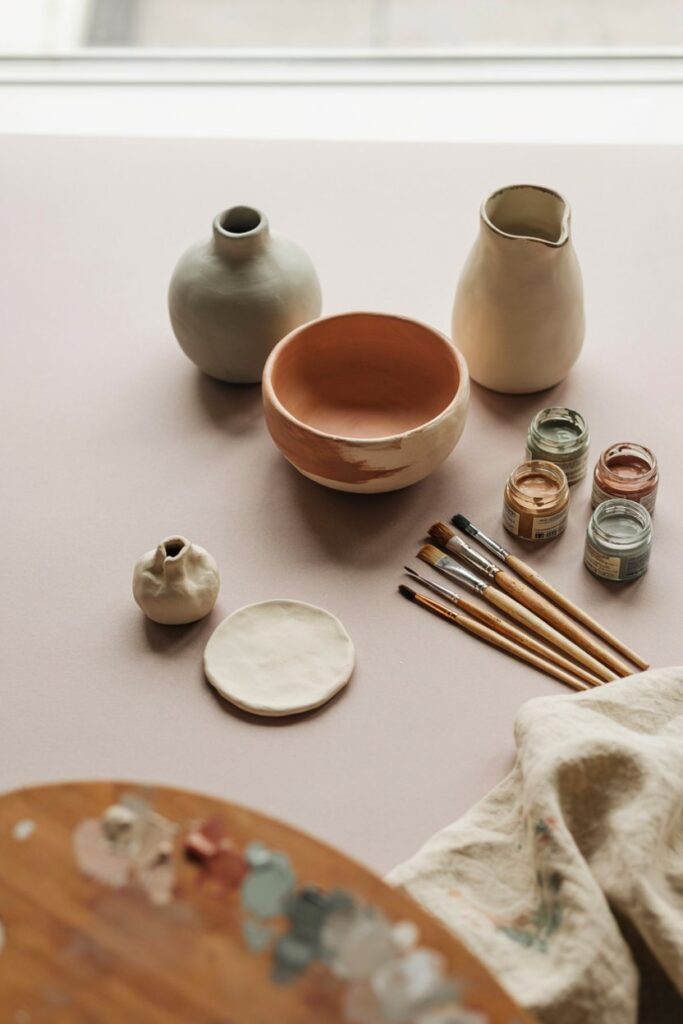
This is where your project really starts to transform.
One mistake I made when I first started working with air dry clay was trying to cover everything with one thick coat of paint. It seemed faster, but it actually left visible brush marks and an uneven finish.
Now I always apply several thin coats instead.
Thin layers dry more evenly, create better coverage, and produce the smooth finish that makes air dry clay resemble ceramic.
Why This Works
Each thin coat builds a cleaner surface while hiding imperfections without creating texture.
The result looks much more like glazed pottery than painted clay.
My Tip
Allow each coat to dry completely before adding the next. I usually apply two to three coats for solid, even coverage.
For a full walk through of the painting process itself, see How to Paint Air Dry Clay: A Step-by-Step Guide.
5. Choose Paint Colors That Mimic Real Pottery
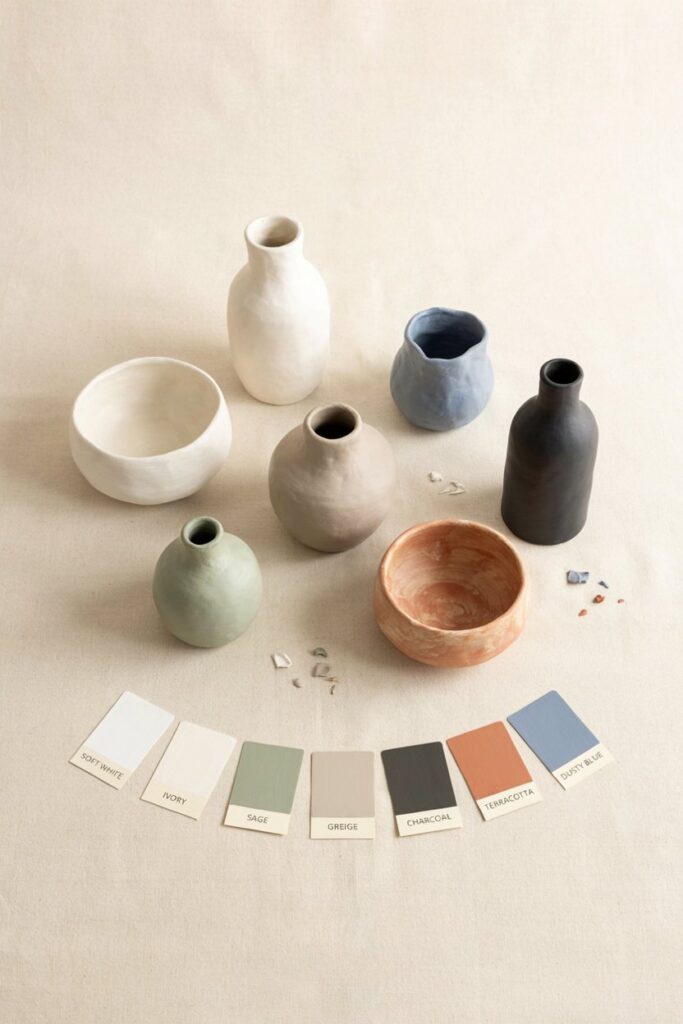
The color you choose can have a huge impact on how realistic your project looks.
While bright colors can be beautiful, ceramic-inspired pieces often have softer, more timeless shades.
I love using warm whites, creamy ivory, soft sage green, dusty blue, charcoal, matte black, muted terracotta, and greige because they give handmade projects a sophisticated, boutique feel.
Ceramic-Inspired Color Ideas
- Soft white
- Ivory
- Warm beige
- Sage green
- Olive green
- Dusty blue
- Charcoal gray
- Matte black
- Terracotta
- Greige
My Tip
If you want a modern pottery look, stick to one solid color instead of painting detailed patterns.
Simple designs often look the most realistic.
6. Finish With the Right Sealer
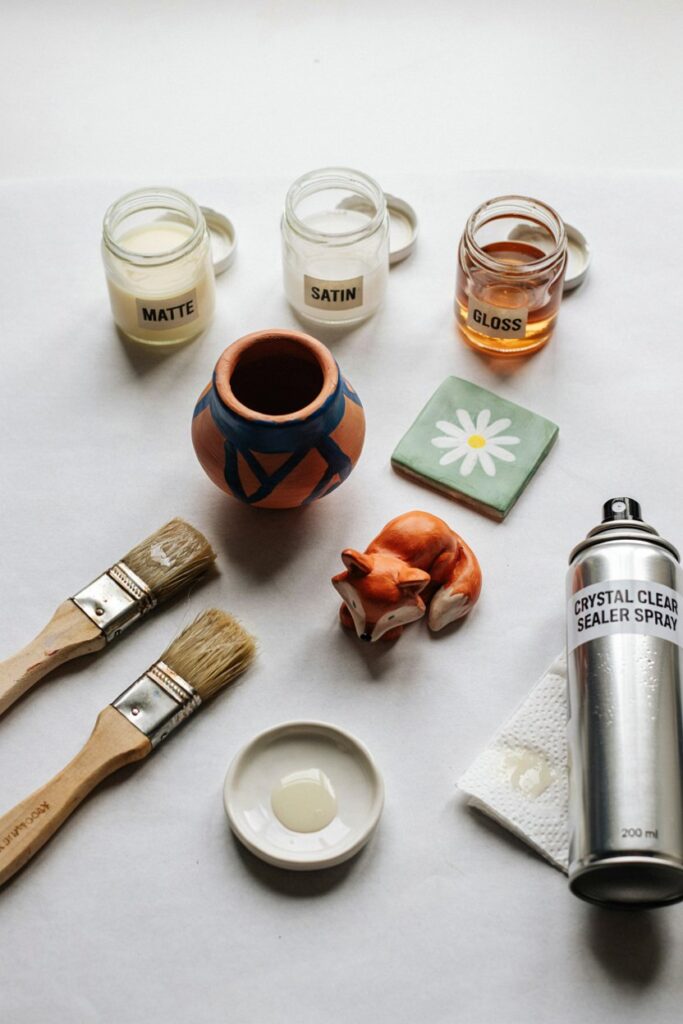
This is the step that completely changes the appearance of air dry clay.
A quality sealer not only protects your project but also determines whether it has a matte, satin, or glossy ceramic finish.
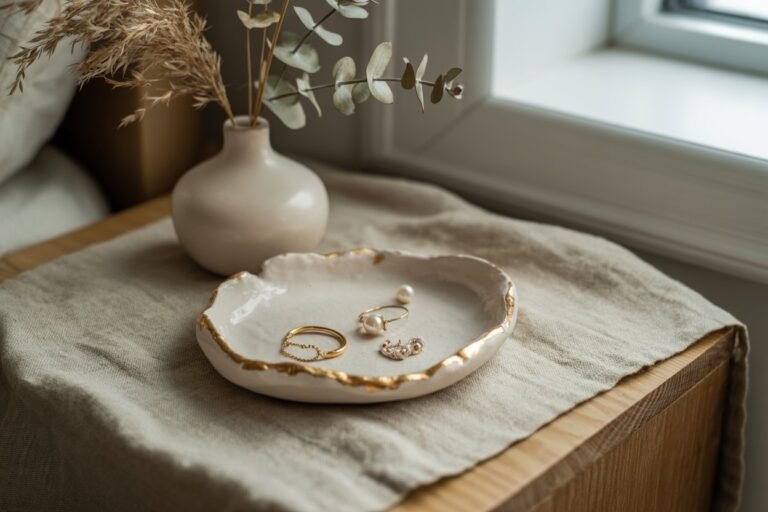
For modern home décor, I usually choose a satin or matte sealer because it resembles contemporary handmade pottery.
If I want the look of glazed ceramic, I use a high-gloss acrylic sealer instead.
Why I Never Skip This Step
Without a protective finish, painted clay can look dull and wear more quickly over time.
A good sealer enhances the color while creating a smoother surface.
My Tip
Apply several light coats rather than one heavy coat to avoid drips and streaks.
Not sure which sealer to reach for or what it actually protects against? How to Seal Air Dry Clay breaks it down.
Small Details That Make a Big Difference
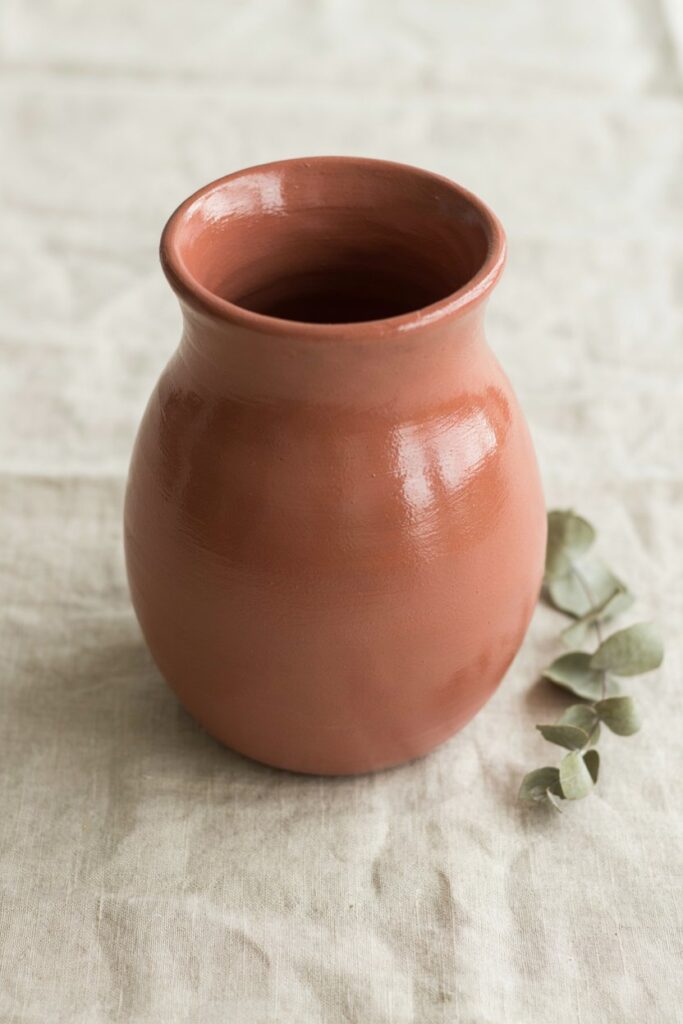
One thing I have learned over the years is that the little finishing touches are often what make handmade projects look professionally made.
After painting, I inspect my piece under bright natural light to check for uneven paint, tiny bumps, or rough edges.
If I notice anything, I gently sand the area with very fine-grit sandpaper before applying one final coat of paint or sealer.
I also make sure the bottom of the project is just as neat as the rest. A clean, smooth base instantly makes the finished piece feel more polished.
Finally, I resist the temptation to rush.
Giving each layer enough time to dry produces a much smoother finish and prevents fingerprints from ruining all of the hard work.
Expert Tips for Making Air Dry Clay Look Like Real Ceramic
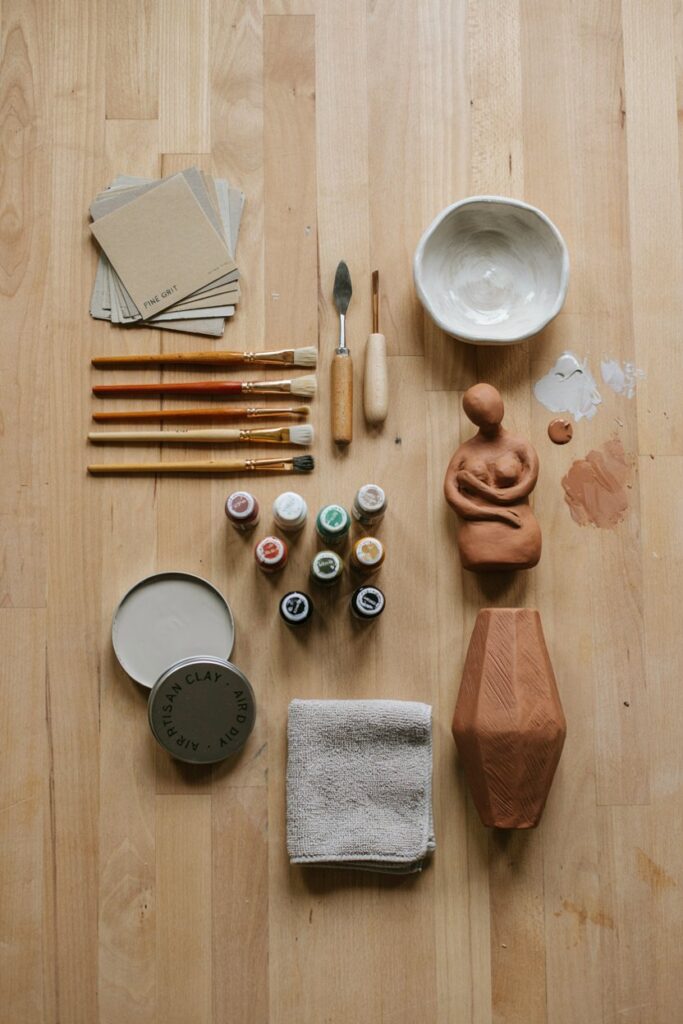
After making dozens of air dry clay projects over the years, I have realized that the biggest difference between a beginner project and one that looks professionally made usually comes down to patience.
The techniques themselves are simple, but taking your time with each step is what creates that beautiful ceramic-inspired finish.
Here are the tips I always follow before calling a project finished.
Use High-Quality Clay
Not all air dry clays are created equal.
Higher-quality clay tends to dry smoother, shrink less, and develop fewer cracks, giving you a much better starting point.
Sand More Than You Think You Need To
Many people stop sanding as soon as the project feels smooth.
I like to do one final pass with ultra-fine sandpaper because it removes tiny imperfections that become much more noticeable after painting.
Keep Paint Layers Thin
Several thin coats always look cleaner than one thick coat.
They dry faster, leave fewer brush marks, and create a finish that resembles glazed pottery.
Choose Soft, Neutral Colors
If your goal is to imitate ceramic, simple color palettes usually work best.
Neutral shades like ivory, sage, greige, charcoal, and soft white have a timeless look that closely resembles handmade pottery sold in boutique home décor stores.
Let Every Layer Cure Properly
Waiting can be difficult, but rushing between coats is one of the quickest ways to ruin a beautiful finish.
I always allow primer, paint, and sealer to dry completely before moving on to the next step.
Common Mistakes to Avoid
Even experienced crafters occasionally make mistakes, but avoiding these common problems will help your projects look much more polished.
Painting Before the Clay Is Fully Dry
If there is still moisture trapped inside the clay, paint may bubble, peel, or dry unevenly.
Always allow your project to dry completely before sanding or painting.
Skipping the Primer
Without primer, paint often absorbs unevenly into the clay, creating a patchy appearance.
A simple coat of gesso makes a huge difference.
Using Thick Paint Coats
Heavy coats hide details and leave visible brush marks.
Thin layers build a much smoother finish.
Forgetting to Remove Sanding Dust
Even tiny dust particles can leave bumps beneath the paint.
Always wipe your project with a soft microfiber cloth before priming.
Applying Too Much Sealer
More is not always better.
Several light coats create a much smoother finish than one thick application.
Frequently Asked Questions
Can air dry clay ever become waterproof?
No. Even after sealing, air dry clay is water-resistant rather than completely waterproof. Decorative pieces should not be left outdoors or submerged in water.
What paint works best?
High-quality acrylic paint is the most popular option because it provides excellent coverage, dries quickly, and works well with most sealers.
Which finish looks most like ceramic?
If you want the appearance of modern handmade pottery, choose a satin finish.
If you want the look of glazed ceramic, use a high-gloss acrylic sealer.
Can I use spray sealer?
Yes.
Spray sealers often produce a very smooth finish because they apply evenly without leaving brush strokes.
Always spray in a well-ventilated area and follow the manufacturer’s instructions.
Can I make old air dry clay projects look more like ceramic?
Absolutely.
If the project is in good condition, lightly sand the surface, apply a coat of primer if needed, repaint it, and finish with a quality sealer. Many older projects can be completely transformed.
Final Thoughts
One of the things I love most about working with air dry clay is that you do not need expensive equipment to create beautiful home décor.
With a little patience and the right finishing techniques, simple clay projects can look remarkably similar to handcrafted ceramic pieces you would find in high-end boutiques.
The biggest secret is focusing on the details.
Taking time to smooth the clay, sand carefully, apply thin coats of paint, and finish with the right sealer will always have a greater impact than buying expensive supplies.
If your first project is not perfect, do not get discouraged.
Every piece teaches you something new, and with each project, your techniques become cleaner, your finishes become smoother, and your handmade creations begin to look more and more like real ceramic.
Before long, you’ll be creating elegant vases, decorative bowls, planters, trinket dishes, and home décor pieces that friends and family will be surprised to learn started as simple air dry clay.