Beautiful Air Dry Clay Ornaments: Complete Beginner’s Guide

I picked up air dry clay on a whim one weekend, mostly because I wanted a handmade ornament for the tree that didn’t look like every other polymer clay tutorial I’d seen online, and ended up genuinely surprised by how forgiving the material actually is.
No kiln, no oven curing, no special equipment. Just clay, a few basic tools, and patience while it dries.
My first attempt cracked right down the middle because I rolled it too thin and let it dry too fast near a heating vent.

My second attempt turned out lopsided because I didn’t realize how much clay shrinks as it dries.
By the third batch, I’d worked out the handful of details that actually matter, and now these ornaments are one of my favorite low-cost, high-impact handmade gifts.
This guide walks through everything from picking the right clay to avoiding the most common beginner mistakes, so your first batch turns out better than mine did.
Why Air Dry Clay Works So Well for Ornaments
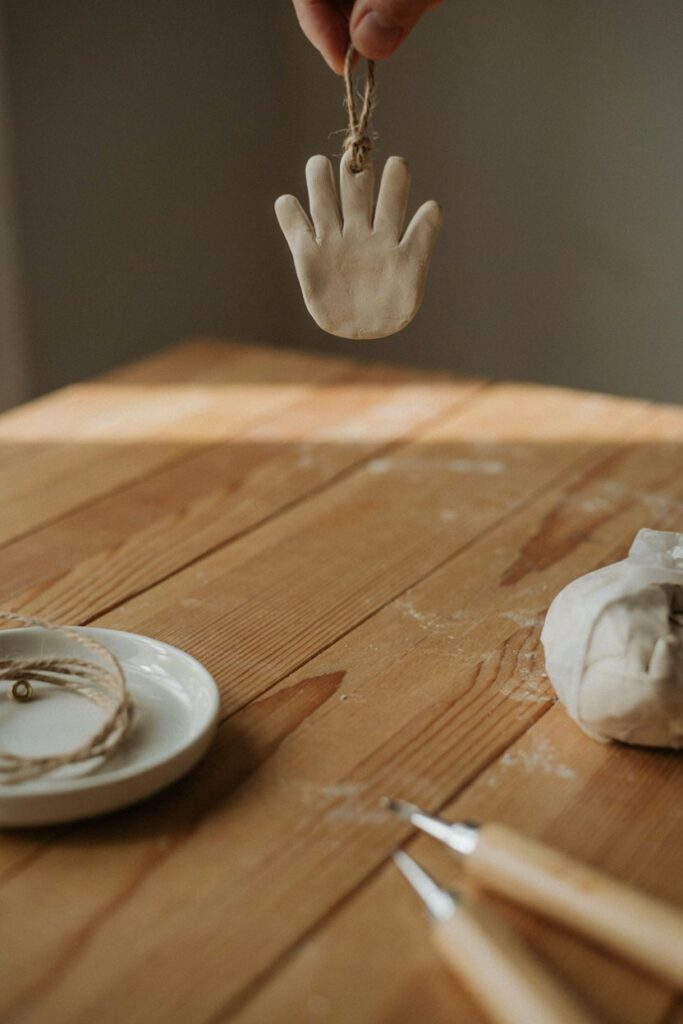
No special equipment required. Unlike polymer clay, which needs to be baked in an oven, air dry clay cures at room temperature over a day or two, which makes it far more approachable for a first project.
It’s inexpensive to start. A single block of air dry clay costs a few dollars and can make a dozen or more small ornaments, depending on size.
The finish is genuinely versatile. Once dry, air dry clay takes paint, sealant, and mixed media (like dried flowers or twine) beautifully, so the same basic ornament shape can look completely different depending on how you finish it.
What Makes the Technique Different From Other Clay Crafts

Air dry clay behaves differently from polymer clay in a few ways that matter a lot for a first project.
It shrinks slightly as it dries, usually somewhere between 10 and 20 percent depending on the brand, so any hole you’re punching for hanging string needs to be made larger than you think it should be, or it’ll shrink closed.
It also dries from the outside in, which means a piece that looks solid on the surface can still be soft in the center if it’s thick, so patience during drying matters more than it seems like it should.
The other big difference is fragility. Air dry clay ornaments are more delicate than polymer clay ones, since there’s no baking process to fully harden the material all the way through.
Sealing them properly once dry is what makes the difference between an ornament that lasts for years and one that chips within a season.
Once you’re comfortable with ornaments, 10 Air Dry Clay Gift Ideas That Actually Feel Thoughtful is a natural next project.
Materials You’ll Need
- Air dry clay. A white or terracotta clay both work well; white shows paint colors more true to their actual shade.
- Rolling pin. A small dedicated one works better than trying to use a kitchen rolling pin, since clay residue is hard to fully clean off.
- Cookie cutters or shape cutters. Small, simple shapes work best for beginners, stars, circles, hearts, and trees are all forgiving.
- A straw or skewer. For punching the hanging hole.
- A smooth surface to work on. Parchment paper or a silicone mat both work well and prevent sticking.
- Fine-grit sandpaper. For smoothing rough edges once the clay is fully dry.
- Acrylic paint. For decorating once the ornaments are dry.
- Paintbrushes. A few different sizes for detail work versus base coats.
- Clear sealant spray or Mod Podge. Essential for protecting the finished ornament and making it more durable.
- Twine or ribbon. For hanging the finished ornaments.
Substitutions and Alternatives I’ve Actually Tested
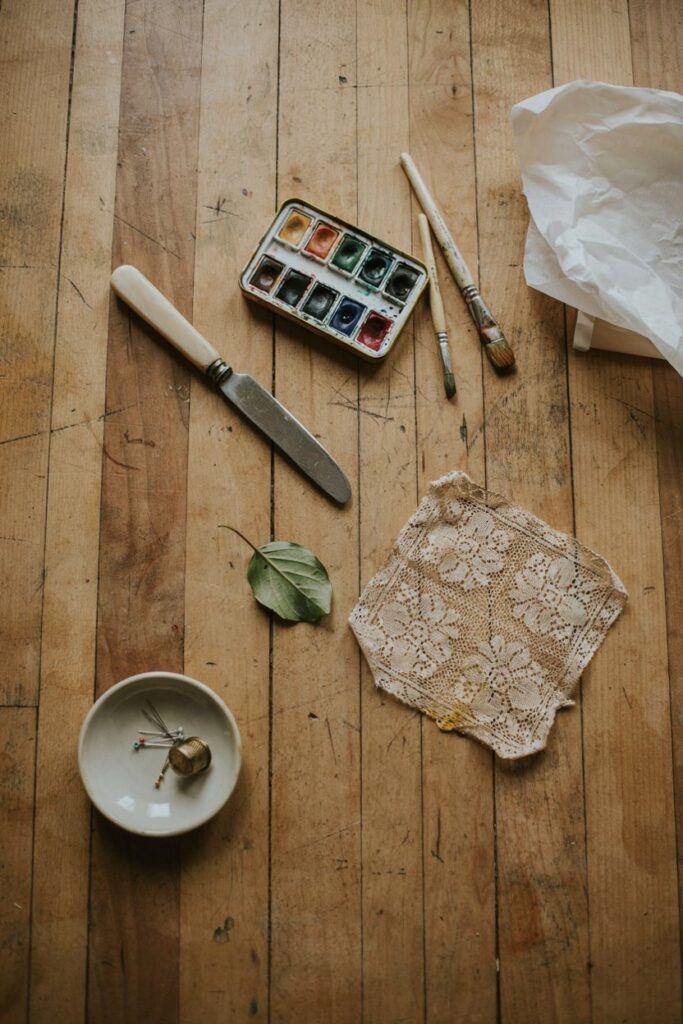
No cookie cutters? A butter knife or clay tool works fine for freehand shapes, and honestly, slightly imperfect hand-cut shapes often look more charming and handmade than a perfect cutter shape.
No acrylic paint? Watercolor works, though the color will be more muted and translucent, which can actually look nice for a softer, vintage aesthetic.
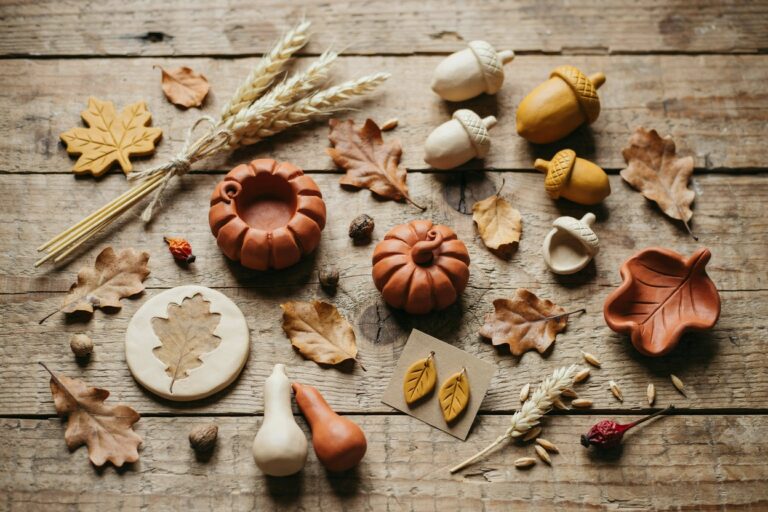
Want texture instead of paint? Press lace, leaves, or textured fabric into the clay before it dries for a raised pattern, then leave it unpainted or apply just a light wash of color to highlight the texture.
No sealant spray on hand? A few thin coats of Mod Podge work as a budget-friendly substitute, though it dries with a bit more sheen than a true matte sealant spray.
Curious how this compares to coffee-tinted clay? How to Make Coffee Clay at Home uses a similar drying approach with a different finish.
How to Make Air Dry Clay Ornaments
Step 1: Prepare Your Work Surface
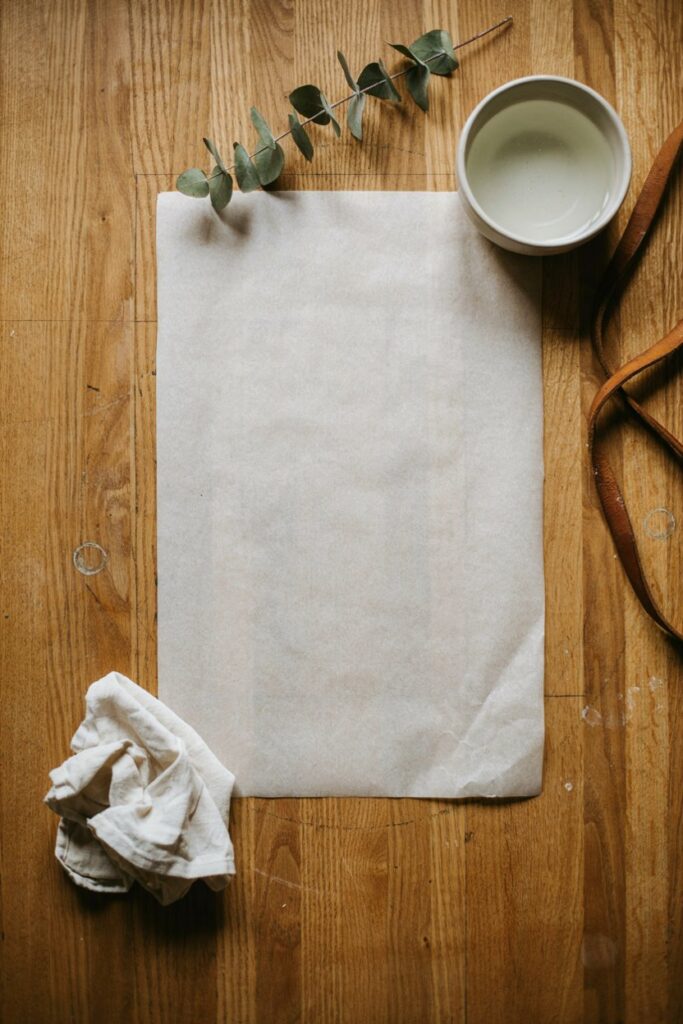
Lay down parchment paper or a silicone mat on a flat, clean surface. Air dry clay isn’t particularly messy, but it can stick to bare countertops or wood surfaces if you’re not working on something smooth.
Step 2: Knead the Clay
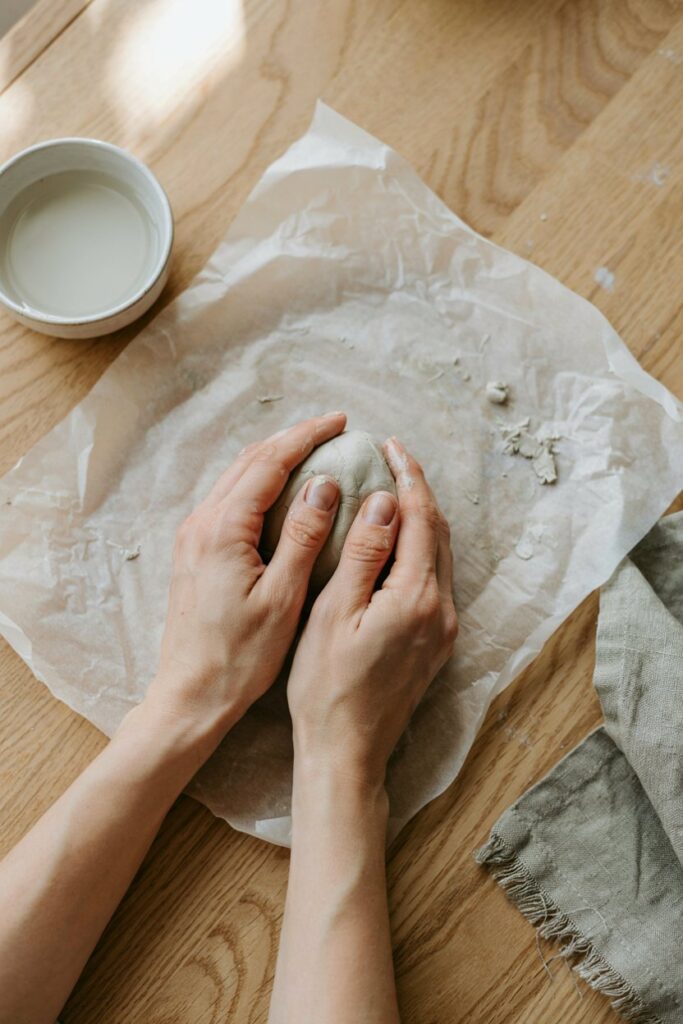
Take a piece of clay slightly larger than a golf ball and knead it in your hands for about a minute, until it feels soft, pliable, and free of any cracks or dry spots. This step also warms the clay slightly, which makes it easier to roll out evenly.
Step 3: Roll the Clay to an Even Thickness
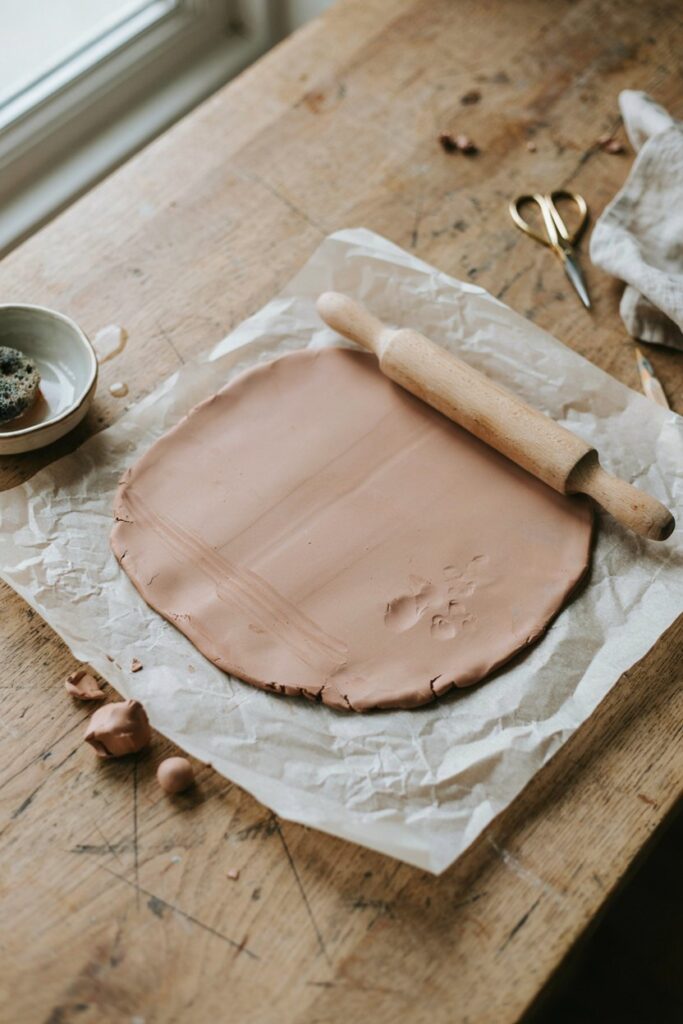
Roll the clay out to about ¼ inch thick. This is one of the most important details in the whole process.
Too thin, and your ornament will be fragile and prone to cracking. Too thick, and it’ll take much longer to dry fully, with a real risk of the center staying soft while the outside looks done.
Step 4: Cut Your Shapes
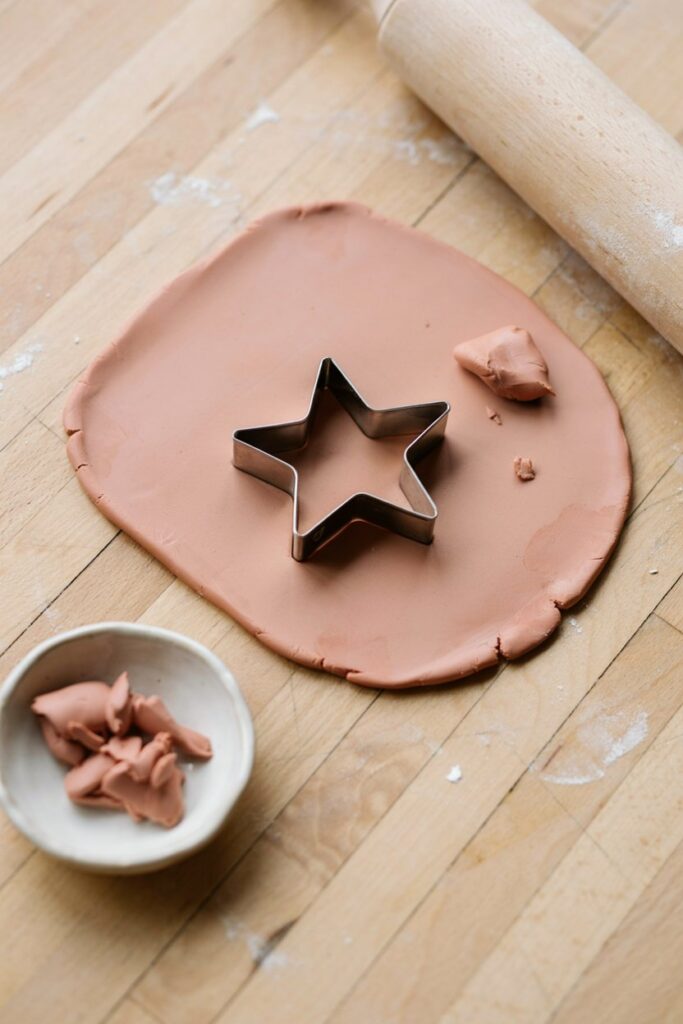
Press your cookie cutter firmly into the rolled clay, straight down rather than at an angle, and lift straight up.
Carefully remove the excess clay around the shape, then gently transfer the cut shape to your parchment-lined drying surface using a thin spatula or your fingers.
Step 5: Punch the Hanging Hole
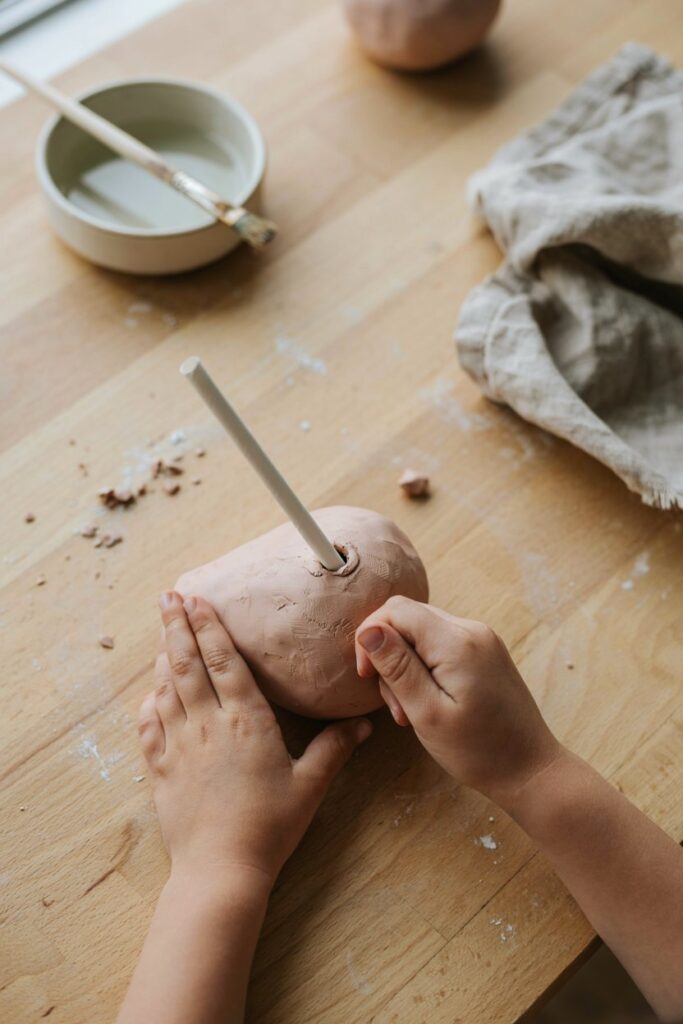
While the clay is still soft, use a straw or skewer to punch a hole near the top of the ornament for hanging.
Make this hole noticeably larger than you think you need, since the clay will shrink as it dries and the hole will close in slightly.
Step 6: Add Any Texture or Details
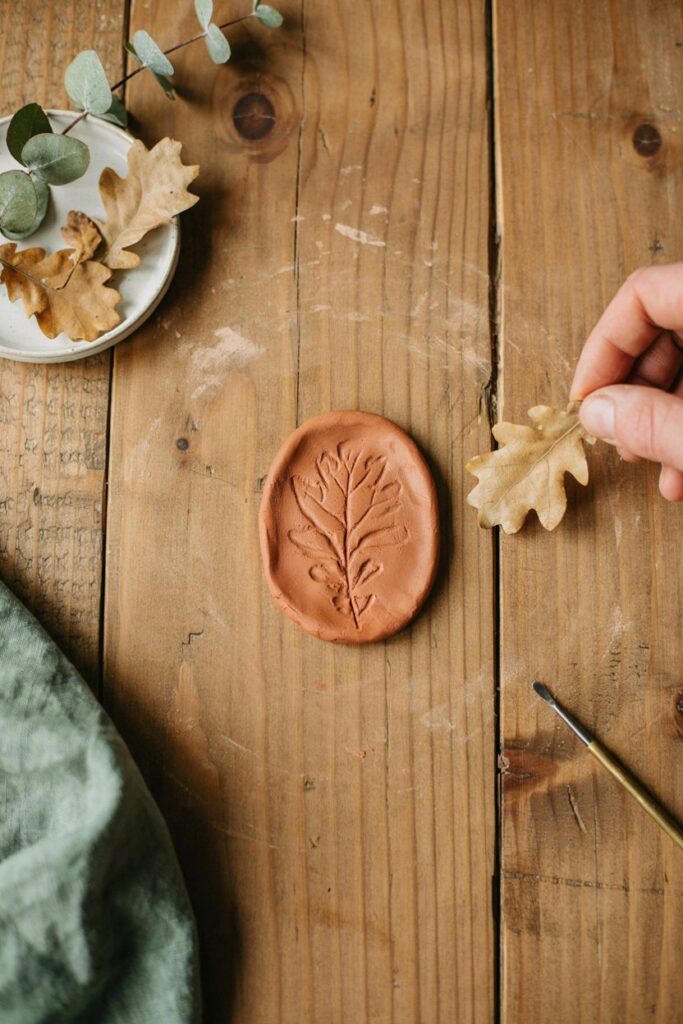
If you’re pressing in texture, doing detail work with a clay tool, or adding any embellishments, do it now while the clay is still soft and workable.
Once it starts to dry, it becomes far less forgiving to work with.
Step 7: Let the Ornaments Dry
Leave the ornaments on their parchment-lined surface in a spot away from direct sunlight, heating vents, or drafts, which can cause uneven or overly fast drying that leads to cracking.
Depending on thickness and humidity, this typically takes 24 to 48 hours, and I flip mine halfway through to help both sides dry evenly.
Step 8: Sand the Edges
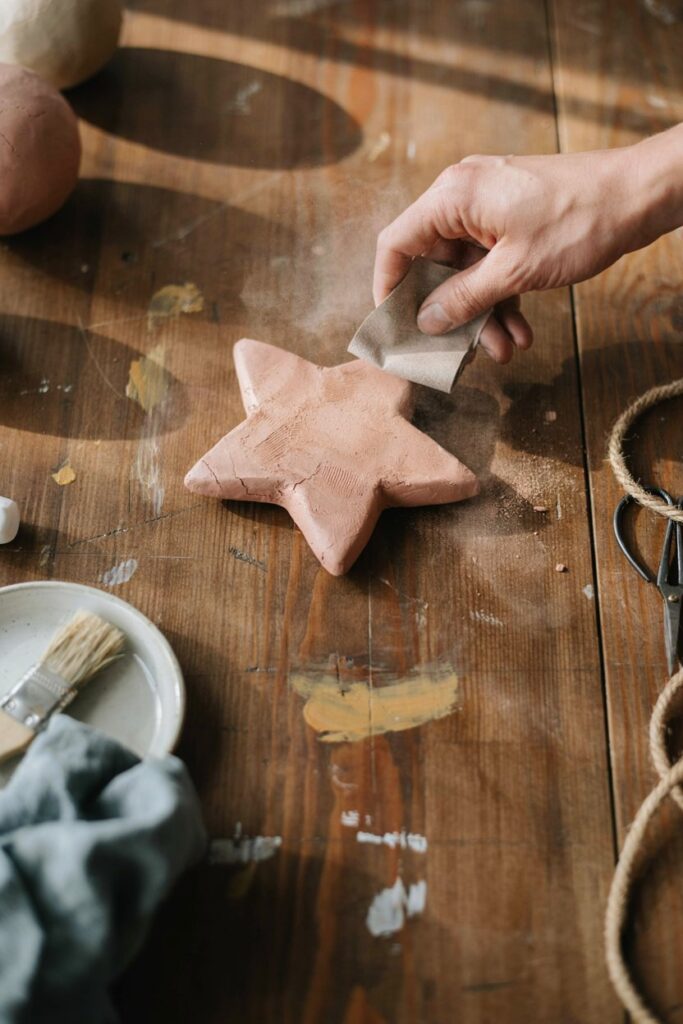
Once fully dry and hardened, use fine-grit sandpaper to gently smooth any rough edges or fingerprints left from handling.
Step 9: Paint and Decorate
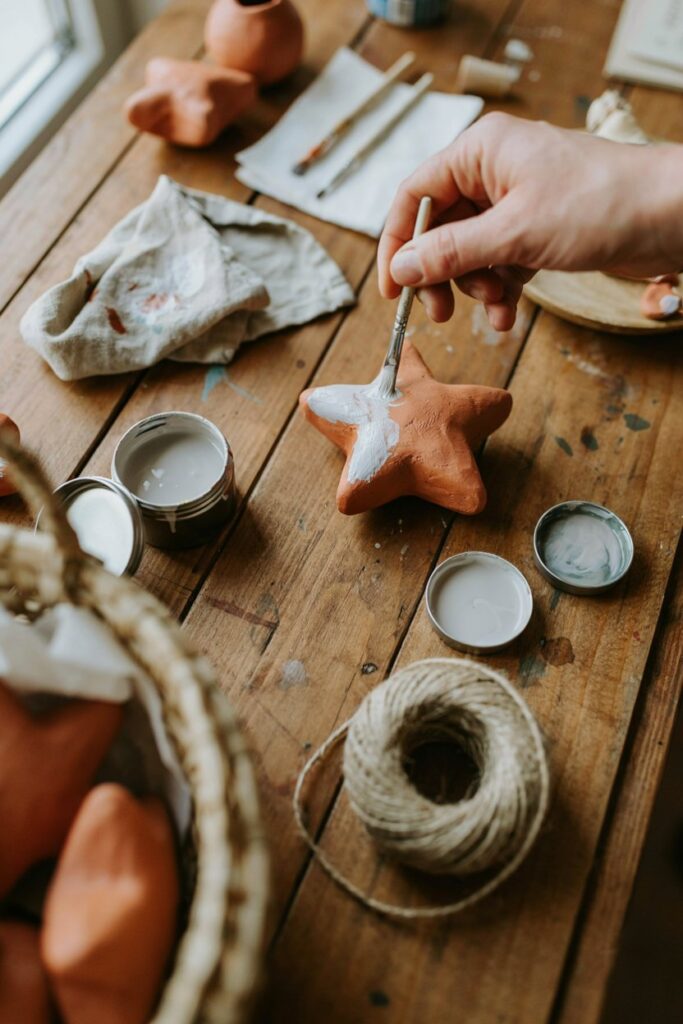
Apply your base coat of acrylic paint and let it dry fully before adding any detail work.
Thin, even coats work better than one thick coat, which can pool or look streaky once dry.
For a deeper look at getting smooth, even color, see How to Paint Air Dry Clay: A Step-by-Step Guide.
Step 10: Seal the Ornament
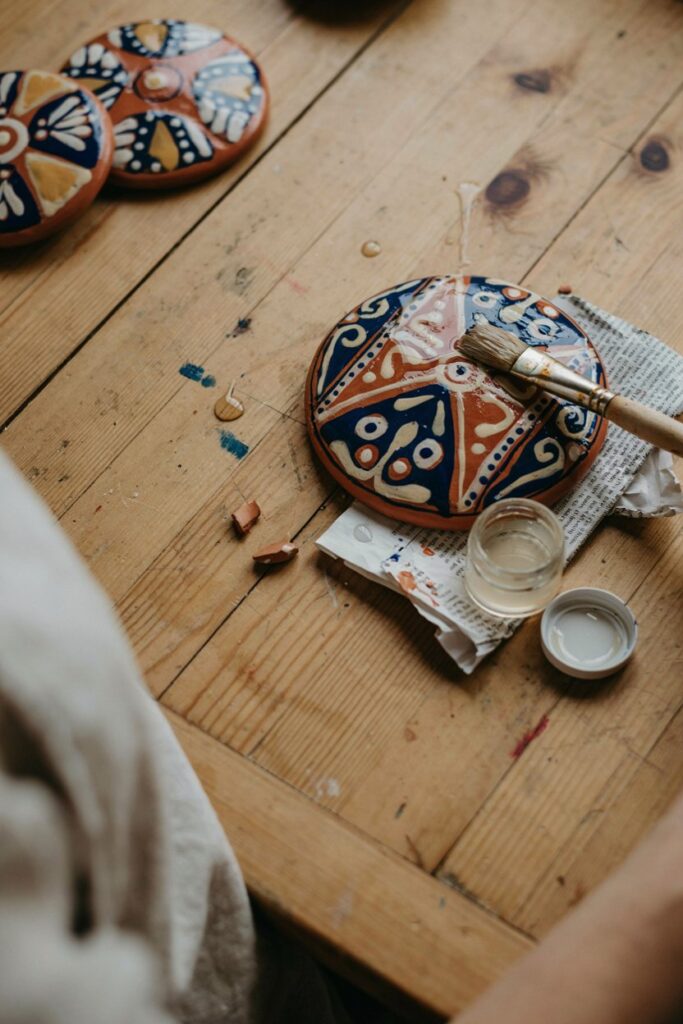
Once the paint is fully dry, apply a clear sealant spray or a few thin coats of Mod Podge, letting each coat dry before adding the next.
This step protects the ornament and gives it a longer lifespan.
Not sure which sealant to use or why it matters? How to Seal Air Dry Clay covers that in detail.
Step 11: Add the Hanging String
Thread twine or ribbon through the hole and tie it off, and your ornament is ready to hang or gift.
Tips From Making a Lot of These
- Work with clay slightly smaller than you think you need. Clay shrinks as it dries, so ornaments always end up smaller than they looked when freshly cut.
- Keep thickness consistent. Uneven thickness is the number one cause of warping and cracking during drying.
- Don’t rush the drying time. A piece that feels dry on the surface can still be soft inside if it’s on the thicker side.
- Seal both sides. I only sealed the front on my first batch and the backs ended up more prone to chipping.
- Store extra clay wrapped tightly in plastic. Air dry clay dries out quickly once exposed to air, even the block you’re not currently using.
Mistakes I’ve Made So You Don’t Have To
Rolling the clay too thin because I wanted delicate-looking ornaments. Half of them cracked either during drying or the first time I picked them up.
Drying my first batch near a heating vent to speed things up. They dried unevenly and cracked right down the center from the outside hardening much faster than the inside.
Punching the hanging hole too small. By the time the clay finished shrinking, the hole had closed up almost completely, and I had to carefully re-drill it with a thin skewer, risking a crack in the process.
Skipping the sealant on a few “test” pieces. They picked up dirt and started to look dull within a couple weeks, while the sealed ones still look brand new.
Troubleshooting
My ornament cracked while drying. This is almost always caused by drying too quickly (near heat or direct sun) or uneven thickness. Dry future batches somewhere cool and shaded, and try to roll clay to a consistent thickness throughout.
My ornament cracked after it was fully dry. This usually points to the clay being rolled too thin for the shape, especially with more detailed or intricate cutter shapes, which have thinner, more fragile points.
The hanging hole closed up. Clay shrinks as it dries, sometimes significantly. Punch the hole noticeably larger than you think you need, and consider re-checking it partway through drying to widen it again if needed.
My ornament warped instead of drying flat. This can happen if one side dries faster than the other. Flip pieces periodically during drying, and make sure they’re on a flat, even surface the whole time.
The paint looks streaky or uneven. Apply thin coats and let each one dry fully before adding another, rather than trying to get full coverage in a single thick coat.
My finished ornament feels fragile or chips easily. Make sure it was fully, completely dry before sealing, since sealing over clay that’s still slightly damp inside can trap moisture and weaken the final piece. Also make sure both sides were sealed, not just the front.
Variations and Design Ideas
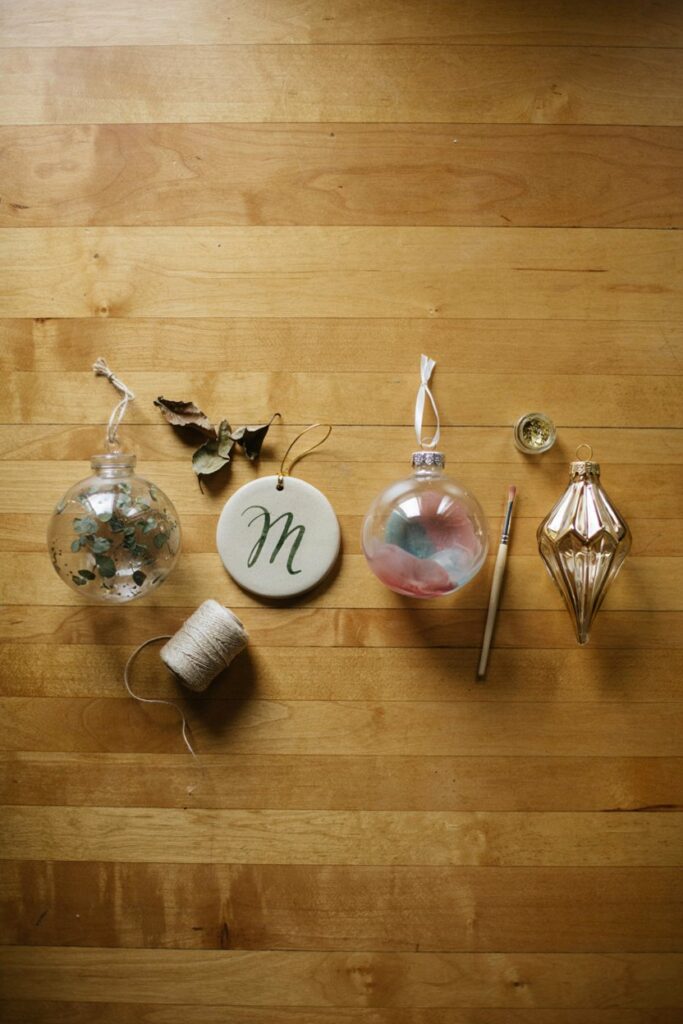
Textured Nature Ornaments. Press real leaves, ferns, or lace into the clay before it dries, then leave unpainted or add a light wash of color to highlight the texture.
Monogram Ornaments. Use letter-shaped cutters or hand-carve initials for a personalized gift.
Watercolor Wash Ornaments. Instead of solid acrylic paint, use a thinned, watery paint wash for a soft, faded look.
Gilded Edge Ornaments. Paint the edges of each ornament with gold or metallic paint after the base coat for an elegant finishing touch.
Photo Ornaments. Press a small photo or printed image onto the surface with Mod Podge before sealing for a keepsake-style ornament.
Storage and Care
Store finished ornaments in a padded box or wrapped individually in tissue paper, since they’re more fragile than glass or plastic ornaments and can chip if they knock against each other.
Keep them away from prolonged humidity or damp storage areas, since unsealed or poorly sealed clay can absorb moisture over time.
Frequently Asked Questions
How long does air dry clay actually take to fully cure? Surface drying often looks complete within 24 hours, but full curing all the way through can take up to 48 to 72 hours depending on thickness and humidity.
When in doubt, wait longer rather than risk sealing a piece that’s still soft inside.
Can I speed up the drying process? You can leave pieces in a well-ventilated room, but avoid direct heat sources like vents or hair dryers, which cause uneven drying and cracking rather than actually speeding things up safely.
Do I need to seal air dry clay ornaments? Yes, sealing is what gives the finished piece durability and protects the paint. Unsealed ornaments are more prone to chipping and can absorb moisture over time.
Can kids help make these? Yes, air dry clay is a great kid-friendly craft material, though younger children may need help with the more precise steps like punching an appropriately sized hole or handling sharp cutting tools.
Why did my ornament turn out lighter or smaller than expected? Clay shrinks as it dries, sometimes by 10 to 20 percent depending on the brand, so ornaments will always end up somewhat smaller than their freshly cut size.
Final Thoughts
This turned into one of those crafts that looks far more impressive to give as a gift than the actual effort it takes once you know the handful of details that matter.
A cracked first batch taught me more about this material than any tutorial could have, so don’t be discouraged if your very first ornaments don’t turn out perfectly.
If you make a batch, I’d love to see how you decorated yours, and which variation you tried first.