Personalized Initial Keychains: An Easy Air-Dry Clay Gift Idea You Can Customize
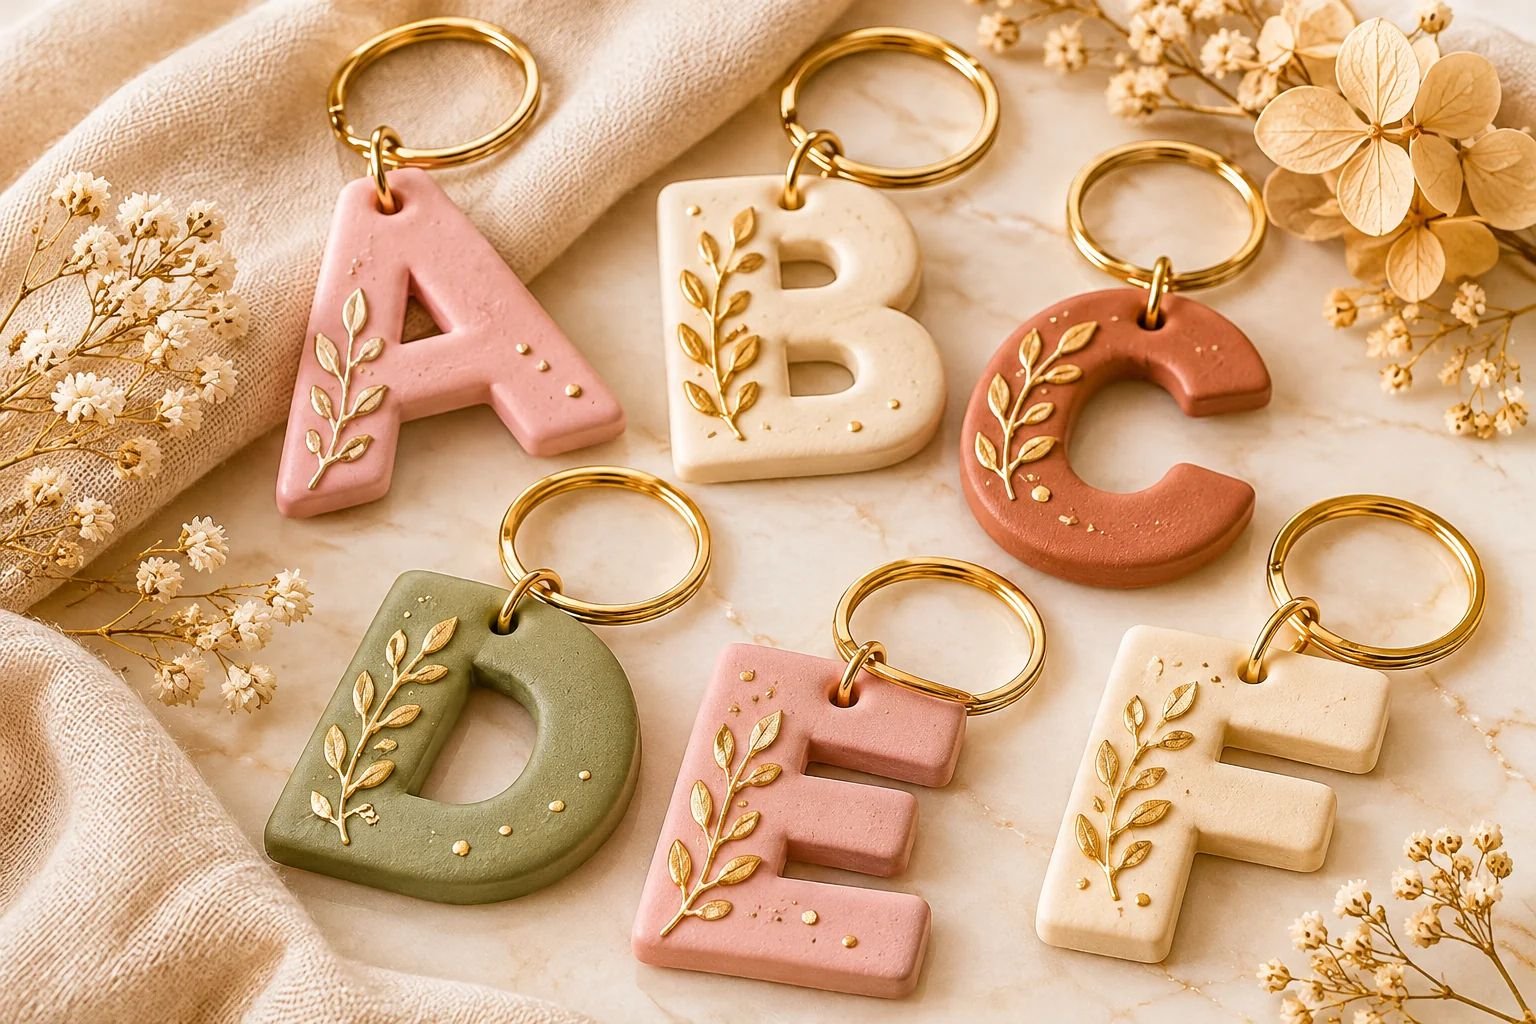
If you love making small handmade gifts, personalized initial keychains are such a lovely project to add to your list. They are simple, inexpensive to make, and easy to customize with different colors, textures, shapes, and little decorative details.
Best of all, you can make each one feel personal without needing complicated tools or advanced crafting skills.
I especially like projects like this because you can turn a small piece of air-dry clay into something meaningful. A single initial can represent someone’s name, a special friendship, a family member, or even a favorite word.
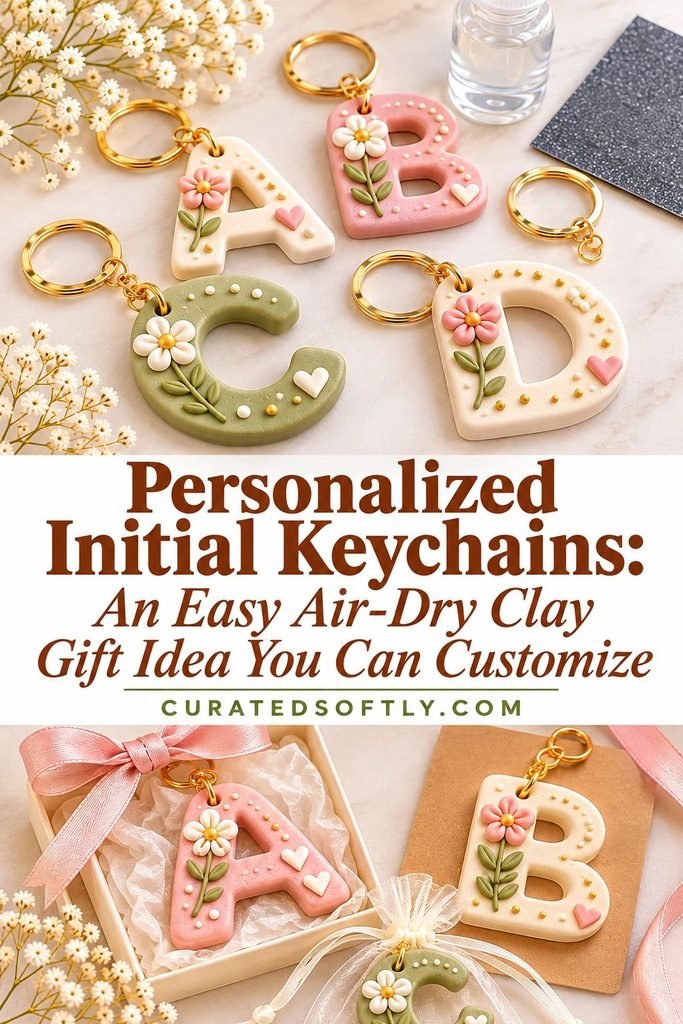
You can make them for birthdays, Christmas, Valentine’s Day, Mother’s Day, teacher gifts, party favors, or just because you want to give someone something handmade.
In this tutorial, I’ll walk you through making your own personalized initial keychains using air-dry clay.
You’ll learn how to shape the letters, add color and texture, attach the keychain hardware, and finish each piece neatly. I’ll also share a few design ideas so you can make every keychain look a little different.
Why You’ll Love These Personalized Clay Keychains
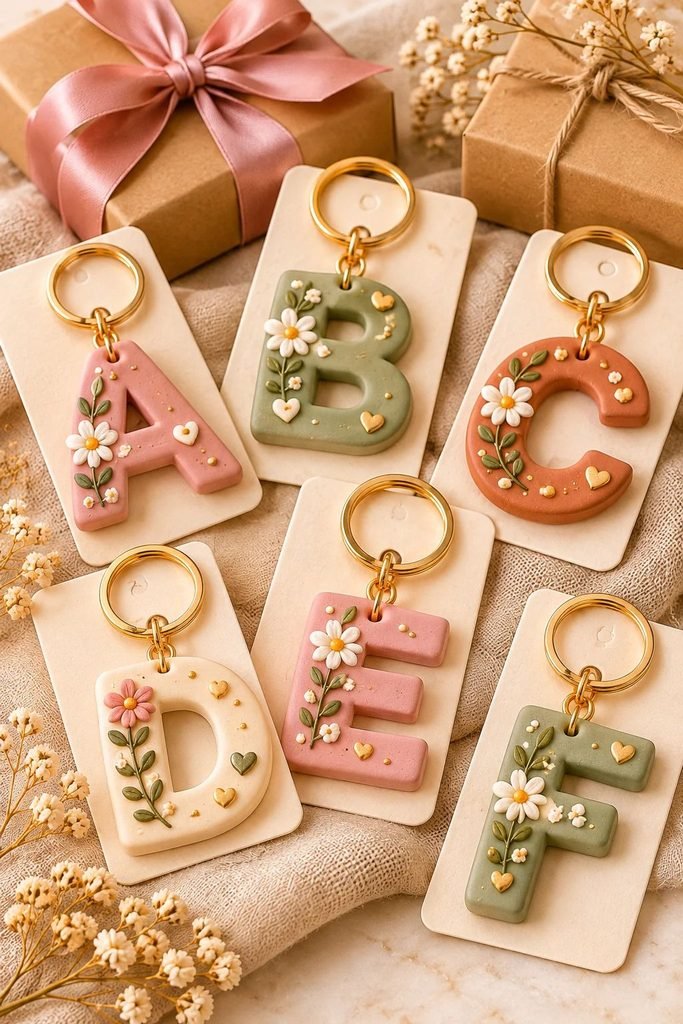
There are plenty of reasons to try this project, especially if you’re new to working with air-dry clay.
- Beginner-friendly: You don’t need a pottery wheel, kiln, or complicated equipment.
- Easy to personalize: Use initials, favorite colors, small patterns, or decorative details to make each keychain unique.
- Lovely handmade gifts: They’re thoughtful little presents for friends, family, teachers, and coworkers.
- Small and affordable: You only need a small amount of clay for each piece.
- Great for craft fairs: Personalized accessories can make appealing handmade products when they’re finished neatly and priced appropriately.
- Easy to make in batches: You can prepare several letters at once and customize them individually.
If you’re building a collection of handmade clay accessories, you might also enjoy my DIY Air-Dry Clay Keychains: An Easy Beginner Tutorial. It’s another simple way to explore different shapes and designs.
Supplies You’ll Need
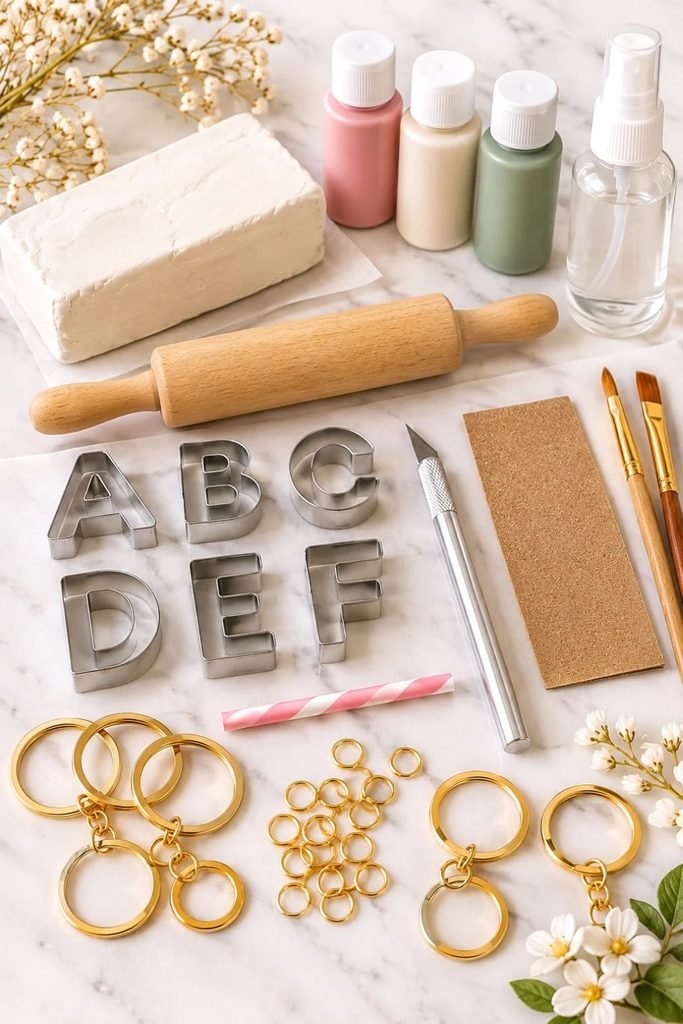
You don’t need a huge collection of supplies to make initial keychains. Most of the materials are easy to find at craft stores or online.
- Air-dry clay
- Acrylic paint
- Rolling pin or smooth clay roller
- Alphabet cookie cutters or letter templates
- Craft knife or clay cutting tool
- Small straw or hole-making tool
- Fine-grit sandpaper
- Small paintbrushes
- Keychain rings and jump rings
- Small pliers
- Strong, suitable jewelry or craft adhesive, if needed for your hardware design
- Clay sealer or clear acrylic varnish
- Baking parchment or a non-stick work surface
A note about keychain hardware: Choose hardware that suits the thickness and weight of your clay piece. You can make a hole in the clay before it dries and attach a jump ring afterward. Avoid relying on a weak adhesive connection for a keychain that will be pulled and handled regularly.
How to Make Personalized Initial Keychains With Air-Dry Clay
Step 1: Prepare Your Clay
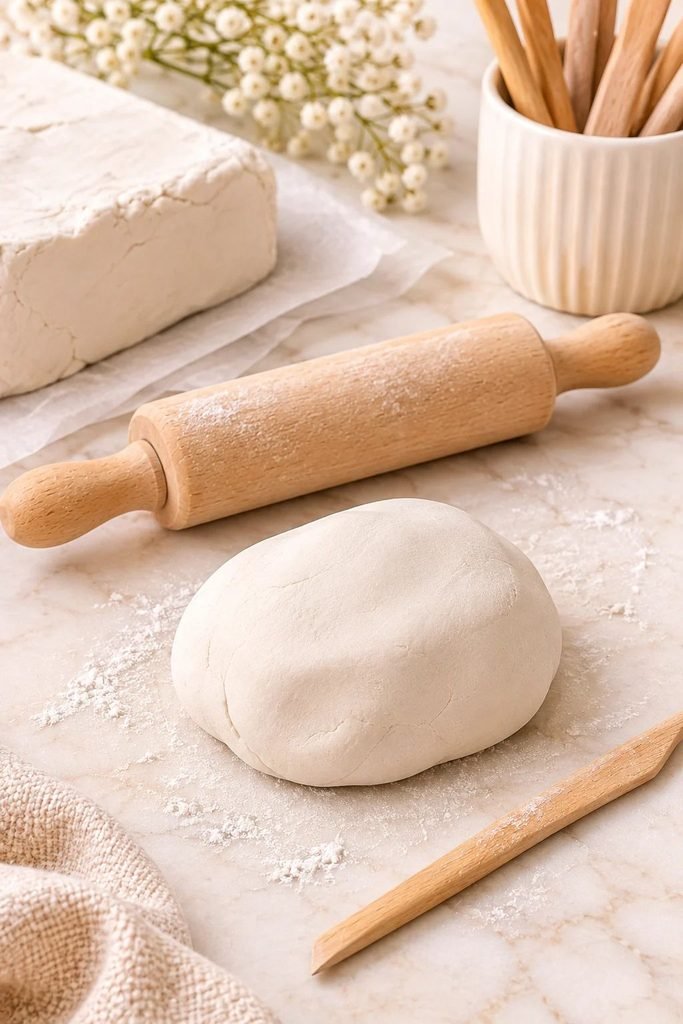
Start by conditioning a small piece of air-dry clay with your hands until it feels smooth and workable. If the clay is very firm, follow the manufacturer’s instructions for preparing it. Avoid adding too much water, as overly wet clay can become sticky and may be more difficult to shape.
Place the clay on a clean, smooth work surface. If it sticks, use a little parchment paper or another suitable non-stick surface.
For a batch of keychains, prepare several small portions at once. This makes it easier to create matching pieces for a set of gifts.
Step 2: Roll the Clay Evenly
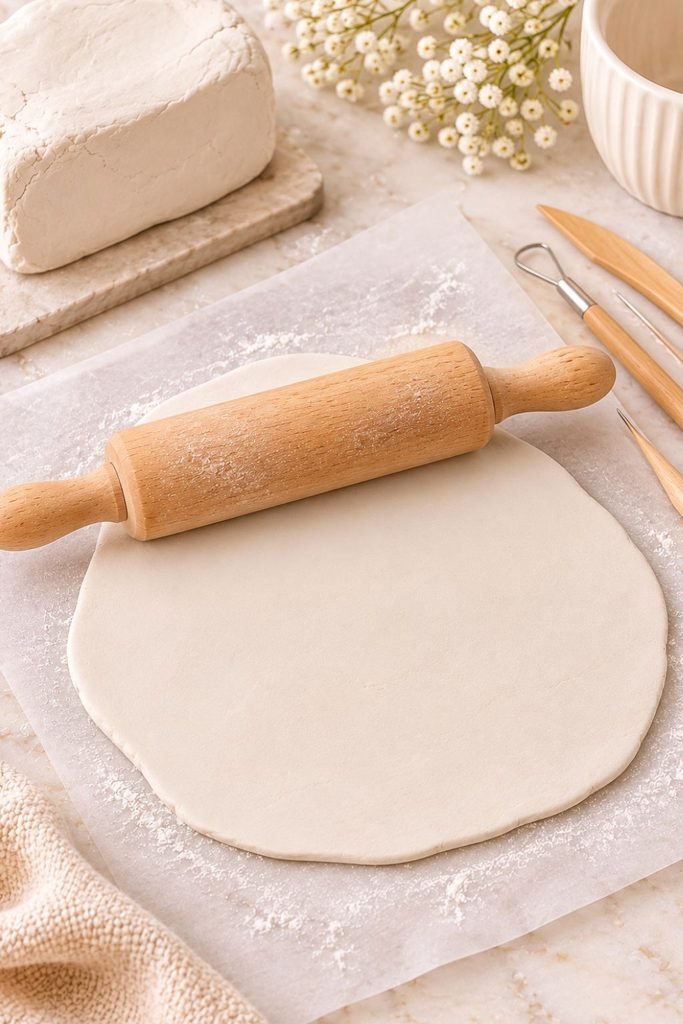
Use a rolling pin or clay roller to flatten the clay to an even thickness. Aim for a piece that’s sturdy enough to hold its shape but not so thick that the finished keychain becomes unnecessarily heavy.
Try to keep the surface smooth as you roll. Uneven thickness can make the letter dry at different rates, so take a moment to check the edges and center before cutting.
If you want a more handmade look, you can leave a slightly organic edge rather than aiming for a perfectly machine-cut finish.
Step 3: Cut Out Your Initial
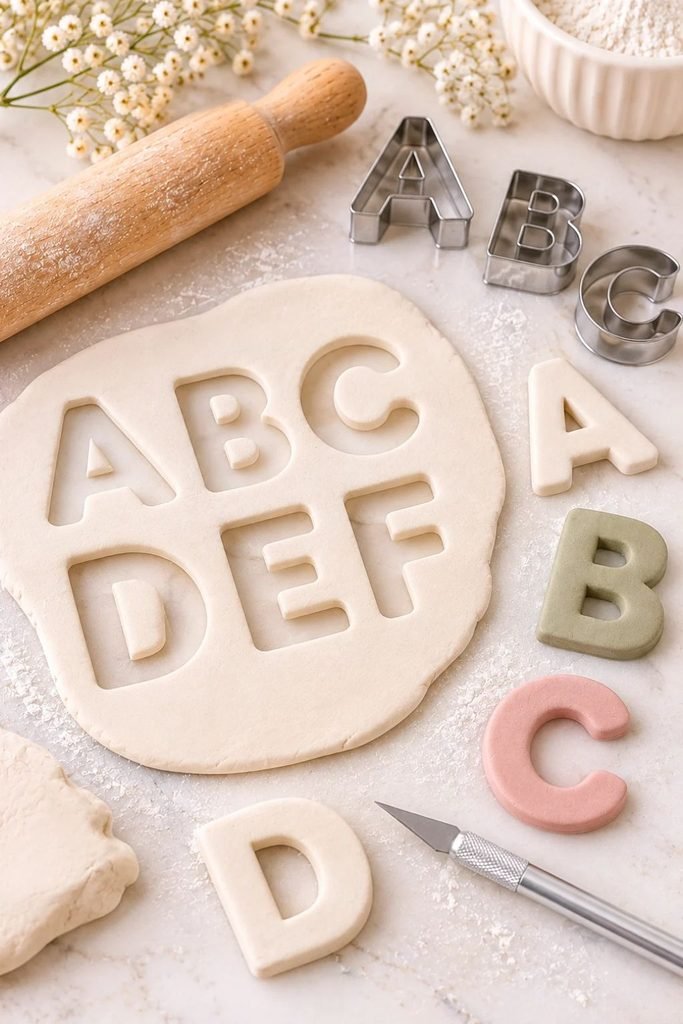
This is where the keychain starts to become personal.
Use an alphabet cutter to press your chosen initial into the rolled clay. If you don’t have letter cutters, print or draw a letter template and carefully cut around it with a craft knife.
You can make uppercase letters for a bold, simple design or choose softer, rounded lettering for a more delicate look.
A few ideas:
- Use the first letter of someone’s name.
- Make matching initials for couples or best friends.
- Create a set of family initials.
- Use a child’s initial for a small personalized gift.
- Make several letters in the same color for party favors.
After cutting the letter, gently smooth the edges with your fingers or a suitable clay tool. Remove any rough pieces of clay before moving on.
Step 4: Make the Hardware Hole
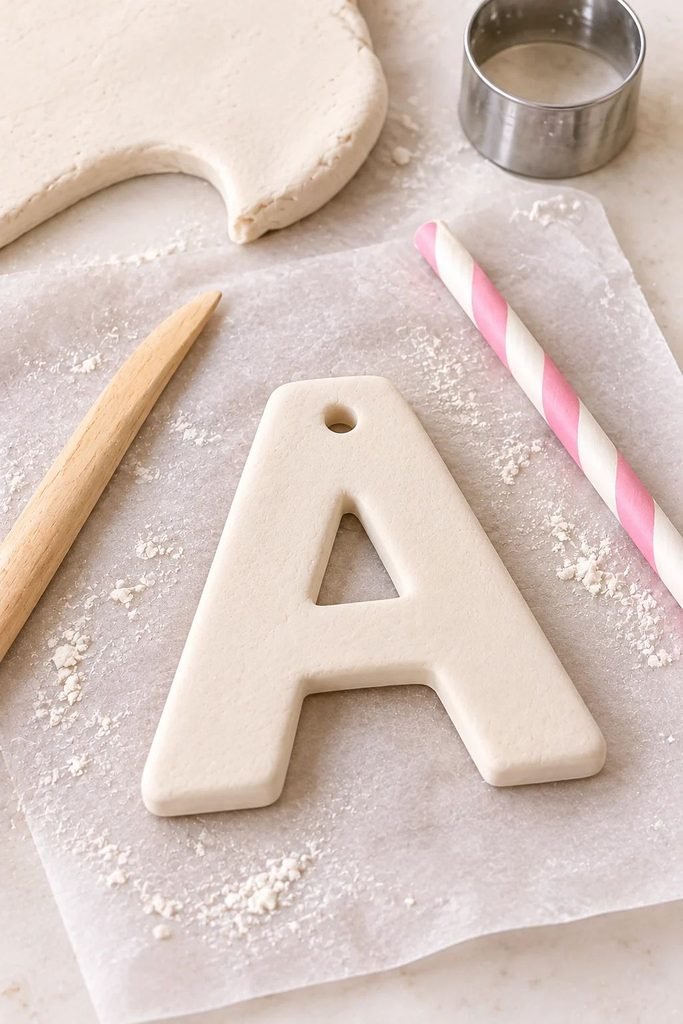
Before the clay dries, create a small hole near the top of the letter where the keychain hardware will attach.
A drinking straw, small round clay tool, or similar clean tool can help make a neat opening. Keep the hole far enough from the edge that the surrounding clay won’t become too thin.
Check that your jump ring will fit through the opening. It is much easier to make adjustments while the clay is still workable than after it has dried.
If you’re making a letter with a narrow top, such as an I or a J, pay extra attention to where you place the hole. The attachment point needs enough clay around it to reduce the chance of breaking.
Step 5: Add Decorative Details
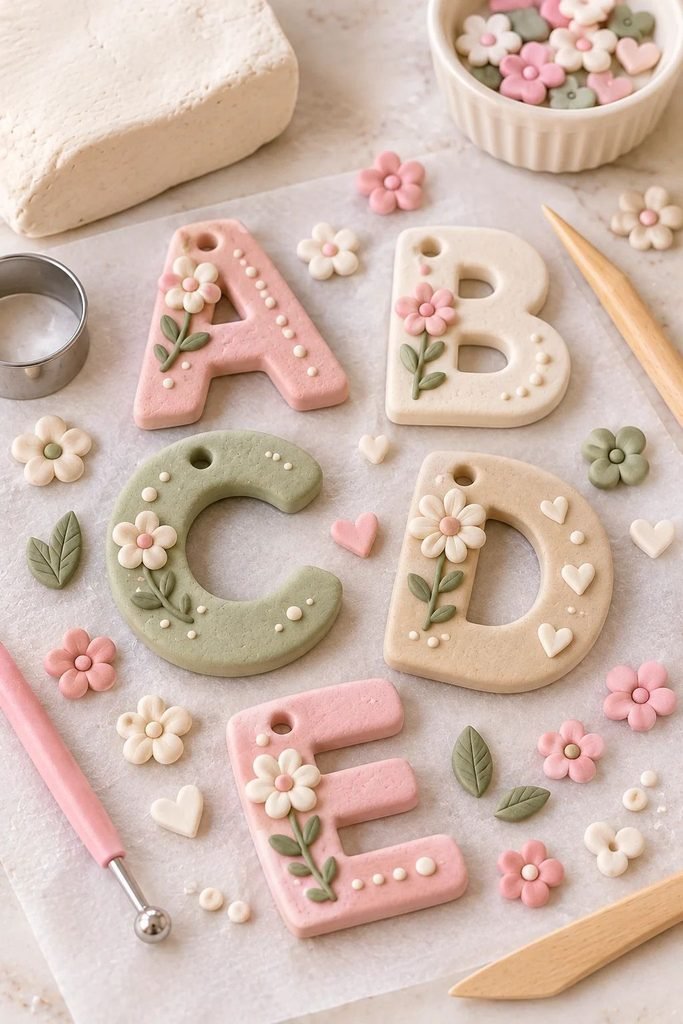
You can leave your initial keychain plain, but a few small details can make it look much more special.
Here are some ideas to try:
Tiny painted flowers: Add small flowers or dots around the letter for a soft, feminine finish.
Gold accents: Paint a thin gold border or add a few tiny gold details after the clay has dried.
Marbled colors: Blend two small pieces of colored clay gently before rolling. Keep the colors slightly separate so the finished pattern remains visible.
Textured edges: Press a lace pattern, textured mat, or suitable stamp gently into the clay before cutting out the letter.
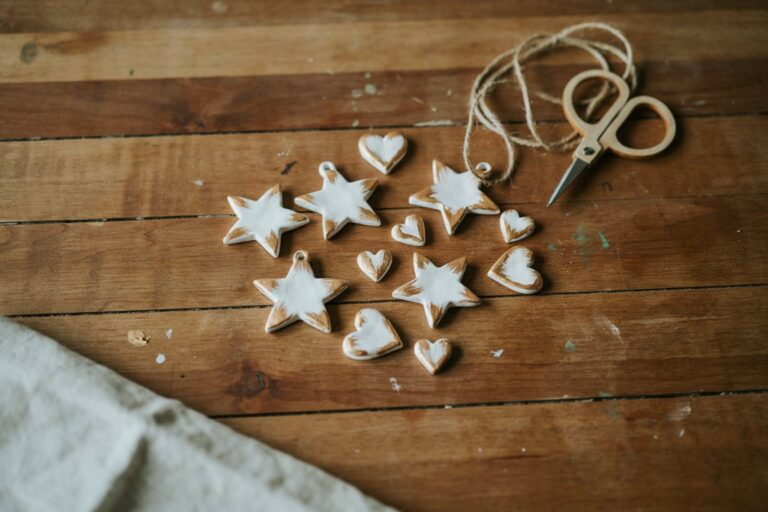
Little hearts and stars: Add small decorative shapes around the initial, making sure they are firmly attached while the clay is still workable.
Minimalist neutrals: Use cream, beige, soft brown, or white for a simple, understated keychain.
If you enjoy making clay jewelry, you can also take inspiration from my DIY Air-Dry Clay Necklace Charms. Many of the same color and decorative techniques work beautifully for keychains.
Step 6: Let the Clay Dry Completely
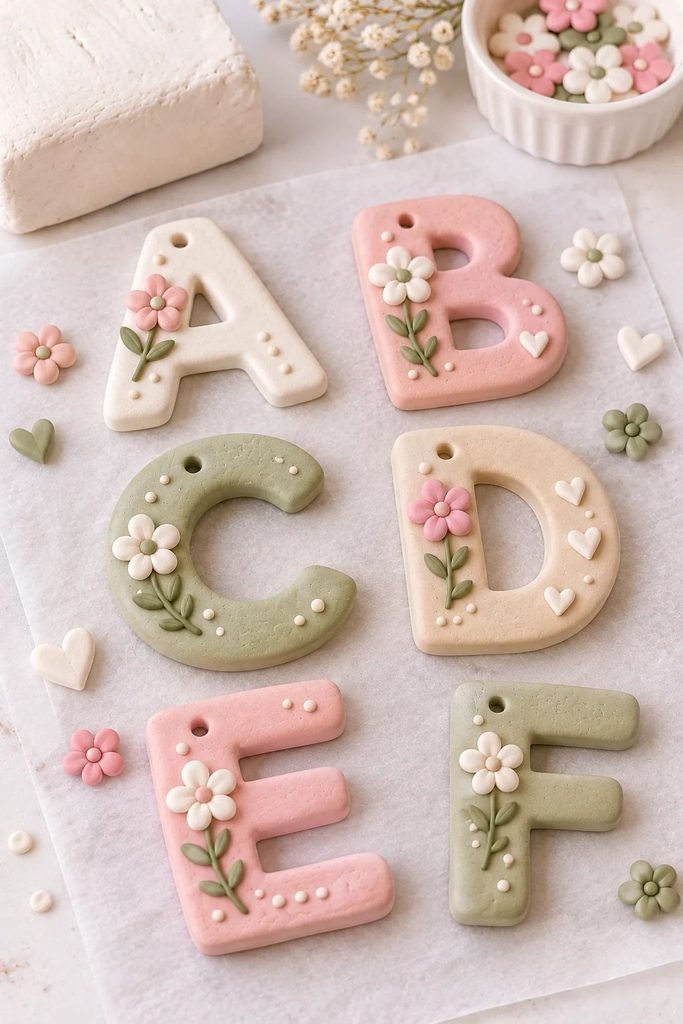
Place your finished initials on a flat, suitable drying surface. Follow the drying instructions on your clay packaging, as drying time depends on the brand, thickness, humidity, and size of the piece.
Allow the keychains to dry thoroughly before painting or sanding. Turn them carefully if the manufacturer’s instructions recommend it, so both sides can dry evenly.
Avoid rushing the process with excessive heat. Drying too quickly can encourage warping or cracking.
Before moving on, check that the clay is completely dry, including around the hole and any thicker decorative details.
Step 7: Sand and Paint Your Initials
Once the clay is completely dry, use fine-grit sandpaper to smooth any rough edges. Work gently so you don’t weaken the narrow parts of the letter.
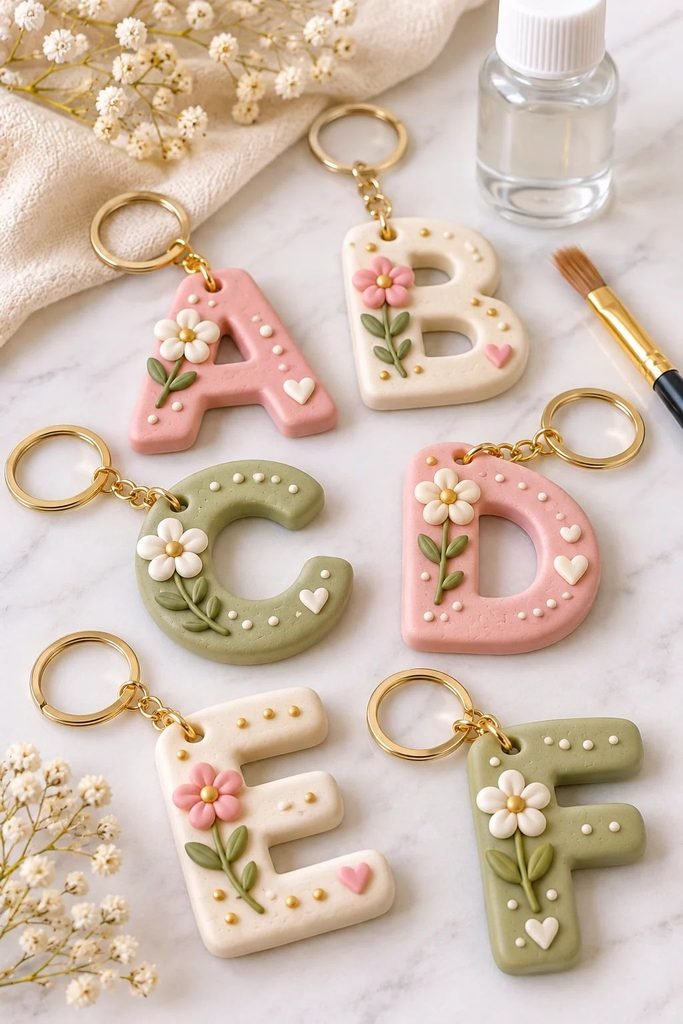
Wipe away the dust with a soft, dry cloth.
Now you can paint your initials. Acrylic paint works well for adding solid colors, patterns, and small decorative details. Apply thin coats and allow each coat to dry before adding another.
Here are a few color combinations I would try:
- Soft pink and gold: A pretty option for birthdays and Valentine’s Day.
- Cream and terracotta: Warm, neutral, and easy to pair with other accessories.
- White and sage green: A fresh, understated combination.
- Lavender and pearl white: Lovely for a delicate gift.
- Black and gold: A simple, more modern look.
- Pastel rainbow: Great for colorful party favors or gifts for children.
You can paint both sides or keep the back plain. If you’re making several keychains as a set, using the same color palette will help them look coordinated.
Step 8: Seal the Finished Keychains
After the paint has dried, apply a suitable clear sealer according to its manufacturer’s instructions. Thin, even coats are usually easier to control than one heavy coat.
A clear acrylic varnish or another compatible craft sealer can help protect the painted surface from ordinary handling. Allow the finish to cure fully before attaching the hardware or using the keychain.
Keep in mind that air-dry clay is not waterproof, and applying a sealer does not turn it into a waterproof material. These keychains are decorative accessories, so avoid soaking them, washing them, or leaving them exposed to moisture.
For more information about choosing and applying a finish, read my guide on How to Seal Air-Dry Clay.
Step 9: Attach the Keychain Hardware
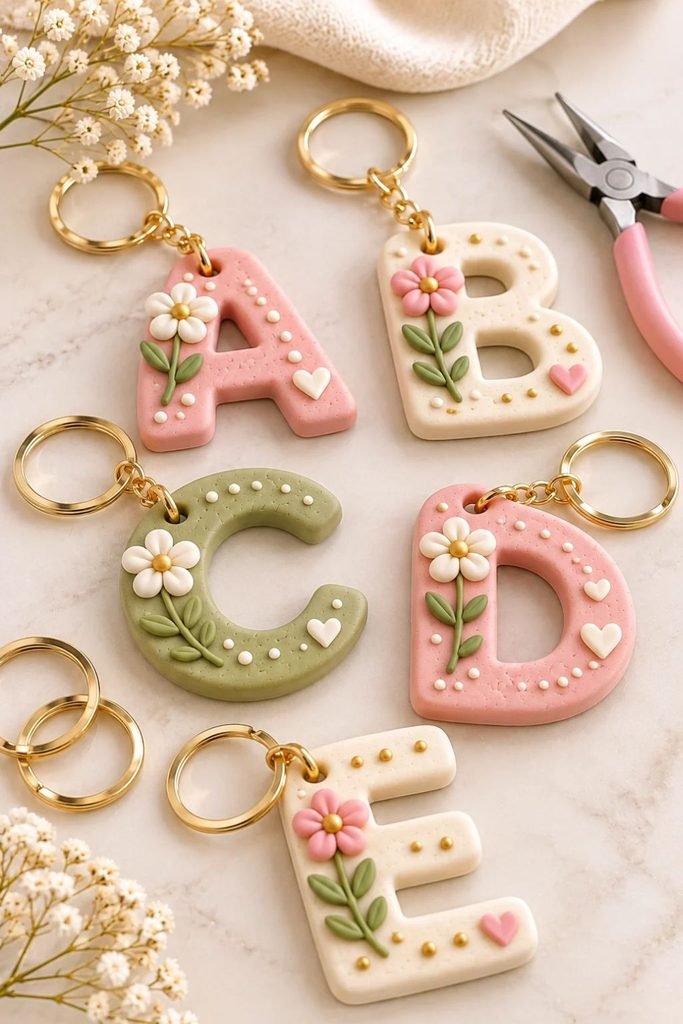
Once the clay and finish are completely dry, it’s time to add the keychain ring.
Open a jump ring gently using two pairs of small pliers. Instead of pulling the ends apart, twist them sideways in opposite directions. Slide the ring through the hole in your clay initial, then attach it to the keychain ring.
Use the pliers to twist the jump ring closed again, making sure the ends meet neatly.
Give the hardware a gentle check before using the keychain. If the clay around the hole looks thin, cracked, or fragile, don’t use that piece as a functional keychain.
8 Personalized Initial Keychain Ideas to Try
Once you’ve made your first letter, you can experiment with different finishes and decorative styles. Here are eight designs that would make lovely handmade gifts.
1. Minimalist Neutral Initial Keychains
Use cream, beige, white, or soft taupe paint for a simple design. Keep the letter clean and smooth, with no extra decoration.
These are a good choice if you want something subtle that works with almost any bag or set of keys.
2. Pink and Gold Initial Keychains
Paint the initial a soft blush pink and add a few gold details around the edges. You could also use a gold-colored jump ring to bring the whole design together.
This style would be lovely for birthdays, bridesmaid gifts, or Valentine’s Day.
3. Floral Initial Keychains
Paint tiny flowers, leaves, or vines onto the front of each letter. You can use a different flower color for each initial while keeping the background neutral.
For an even more decorative look, add a small painted border around the outside.
4. Marbled Initial Keychains
Blend two or three compatible colors gently before rolling out the clay. White and pink, cream and terracotta, or lavender and white are beautiful combinations to experiment with.
Don’t overmix the colors. A few visible swirls will give the finished letter a more interesting pattern.
5. Heart Initial Keychains
Cut out a small heart and add the initial in the center using a letter stamp, painted lettering, or a separate clay detail.
This is a sweet design for Valentine’s Day, anniversaries, and best-friend gifts.
6. Textured Initial Keychains
Press a lace pattern, fabric texture, or decorative stamp into the clay before cutting out the letter.
Once dry, paint the initial in one color or use a light contrasting color to bring out the texture.
7. Personalized Name and Initial Sets
Instead of making just one keychain, create a matching set using the first initial of each person’s name.
You could make two matching initials for best friends, a set for a family, or several coordinated keychains for a group celebration.
8. Initials With Tiny Decorative Charms
Add a small clay heart, star, flower, or other simple decorative shape beside the initial. Make sure the extra piece is securely attached and has enough time to dry completely.
You can also use a separate metal charm attached to the keychain hardware, provided it doesn’t make the finished piece too heavy.
How to Package Initial Keychains as Gifts
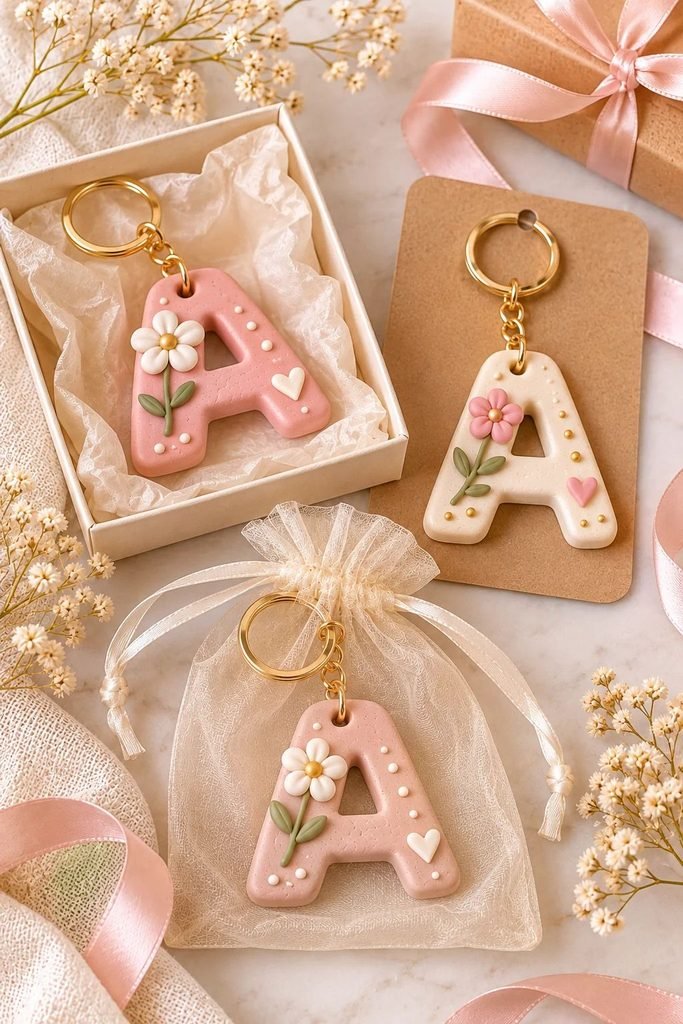
A personalized keychain doesn’t need elaborate packaging to feel special. A little attention to presentation can make it look like a thoughtful handmade gift.
Here are a few simple packaging ideas:
- Small gift boxes: Place each keychain inside a small box with tissue paper.
- Kraft gift tags: Add a handwritten message or the recipient’s name.
- Organza bags: Use a small fabric bag for a soft, gift-ready presentation.
- Card backing: Attach the keychain to a small piece of cardstock with a short message.
- Matching sets: Package two or three initials together for best friends, couples, or family members.
For Christmas gifting, you could pair a personalized initial keychain with a handmade ornament. My Air-Dry Clay Christmas Ornaments tutorial has more ideas for creating coordinated clay gifts.
Tips for Making Initial Keychains That Last
Because these keychains will be handled regularly, a little extra care during the making process matters.
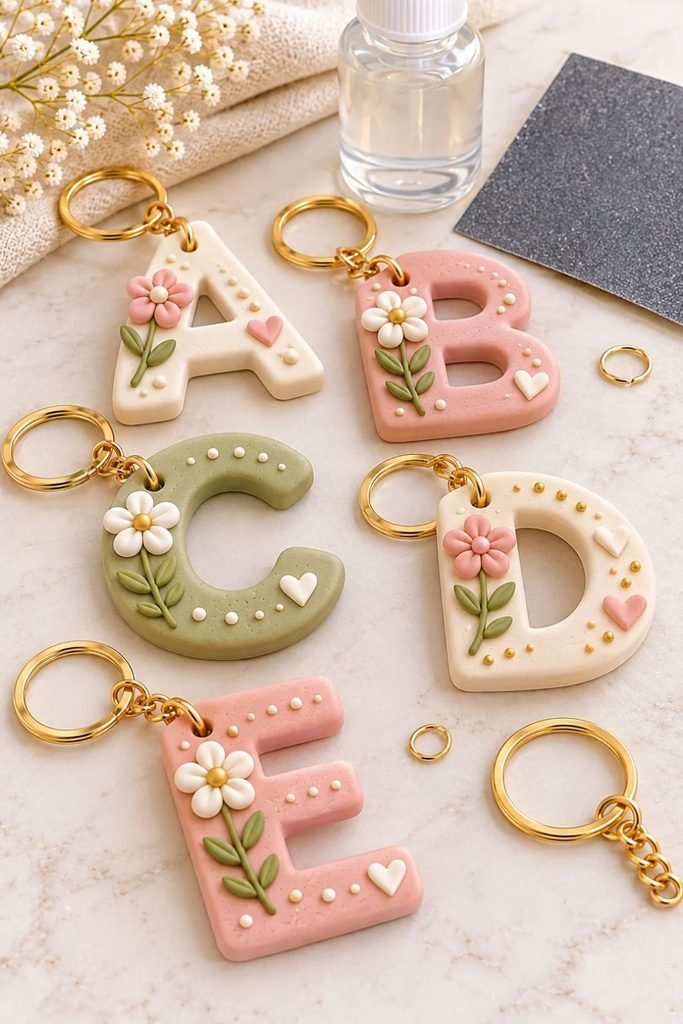
- Keep the thickness even. Thin sections can be more likely to break, especially around narrow letters and attachment holes.
- Leave enough space around the hole. Don’t place the hardware opening too close to the edge.
- Smooth the edges before drying. This saves you time when finishing the piece.
- Allow the clay to dry completely. Painting or sealing too early can trap moisture.
- Use compatible paint and sealer. Check the manufacturer’s instructions before combining products.
- Choose sturdy hardware. A suitable jump ring and keychain ring help keep the attachment secure.
- Avoid oversized decorations. Heavy additions can put extra strain on the clay.
- Handle them gently. Air-dry clay can chip or break if dropped or pulled hard.
Common Mistakes to Avoid
Making the Initial Too Thin
Some letters have narrow sections that can become fragile when cut from thin clay. Make sure the entire letter has enough thickness to hold its shape, especially around the hardware hole.
Putting the Hole Too Close to the Edge
This is one of the most important details to get right. If the hole is too close to the edge, the clay around it may crack or break when the keychain is handled.
Painting Before the Clay Is Dry
Even if the surface feels dry, moisture may remain inside a thicker piece. Give the clay enough time to dry according to the manufacturer’s instructions.
Using Too Much Sealer
A heavy coat can create an uneven finish or take longer to cure. Apply thin coats and follow the product instructions.
Expecting Air-Dry Clay to Be Waterproof
A clear finish can help protect the surface, but it won’t make the clay waterproof. Keep your finished keychains away from water and prolonged moisture.
Can You Sell Personalized Air-Dry Clay Initial Keychains?
Yes, personalized initial keychains can be a nice small product to include in a handmade clay collection. They’re relatively small, easy to customize, and suitable for different occasions throughout the year.
You could offer individual initials, matching friendship sets, family sets, or gift bundles with different color options.
The important thing is to make sure your finished pieces are consistent. Clean edges, smooth paintwork, neat hardware, and attractive packaging can make a big difference in how professional your products look.
For pricing, consider the cost of your clay, paint, sealer, hardware, packaging, and the time you spend making each piece. You can also offer a higher price for custom color combinations, multiple initials, or gift-ready packaging.
Start with a few sample designs and photograph them clearly. That will help customers see the different styles available before ordering.
Frequently Asked Questions
Can you make initial keychains with air-dry clay?
Yes. Air-dry clay can be shaped into letters and decorated with paint, texture, and other small details. Make sure the pieces are thick and sturdy enough to support the keychain hardware.
Do I need letter cutters to make personalized keychains?
No. Letter cutters make the process quicker, but you can also use printed or hand-drawn templates and carefully cut around them with a craft knife.
How long do air-dry clay keychains take to dry?
Drying time depends on the clay brand, thickness, humidity, and size of the letter. Follow the manufacturer’s instructions and wait until the clay is completely dry before painting or sealing.
What paint should I use on air-dry clay keychains?
Acrylic paint is a convenient option for decorating dry air-dry clay. It is available in many colors and works well for solid backgrounds, patterns, and small details.
Do air-dry clay keychains need to be sealed?
Sealing is useful if you want to add a protective finish over the paint. Choose a compatible craft sealer and follow its instructions. Remember that sealing does not make air-dry clay waterproof.
How do you attach a keychain ring to air-dry clay?
Make a hole in the clay before it dries. Once the piece is completely dry and finished, use a suitable jump ring to connect the clay initial to the keychain ring. Make sure the clay around the hole is thick enough to support the hardware.
Can I make personalized initial keychains in bulk?
Yes. You can prepare several initials at once, then paint and decorate them in different color combinations. Keep the thickness, hole placement, and finishing process consistent for a coordinated batch.
Are air-dry clay initial keychains good gifts?
Absolutely. They are small, personal, and easy to customize for birthdays, holidays, teachers, friends, family members, and special occasions. You can also package them in small gift boxes or fabric bags.
Final Thoughts
Personalized initial keychains are one of those small DIY projects that can be as simple or as decorative as you want. You can keep them minimal with neutral colors, add flowers and gold details, experiment with marbled finishes, or create matching sets for people you love.
I also think they’re a lovely project if you’re looking for something small to make with leftover air-dry clay. Rather than letting those little pieces go unused, you can turn them into thoughtful handmade gifts.
Start with one initial, try a couple of color combinations, and see which style you enjoy making most. Once you have the basic process down, there are so many ways to make each keychain feel personal.