Best Air Dry Clay Essentials & Tools (What I Actually Reach For Every Time)
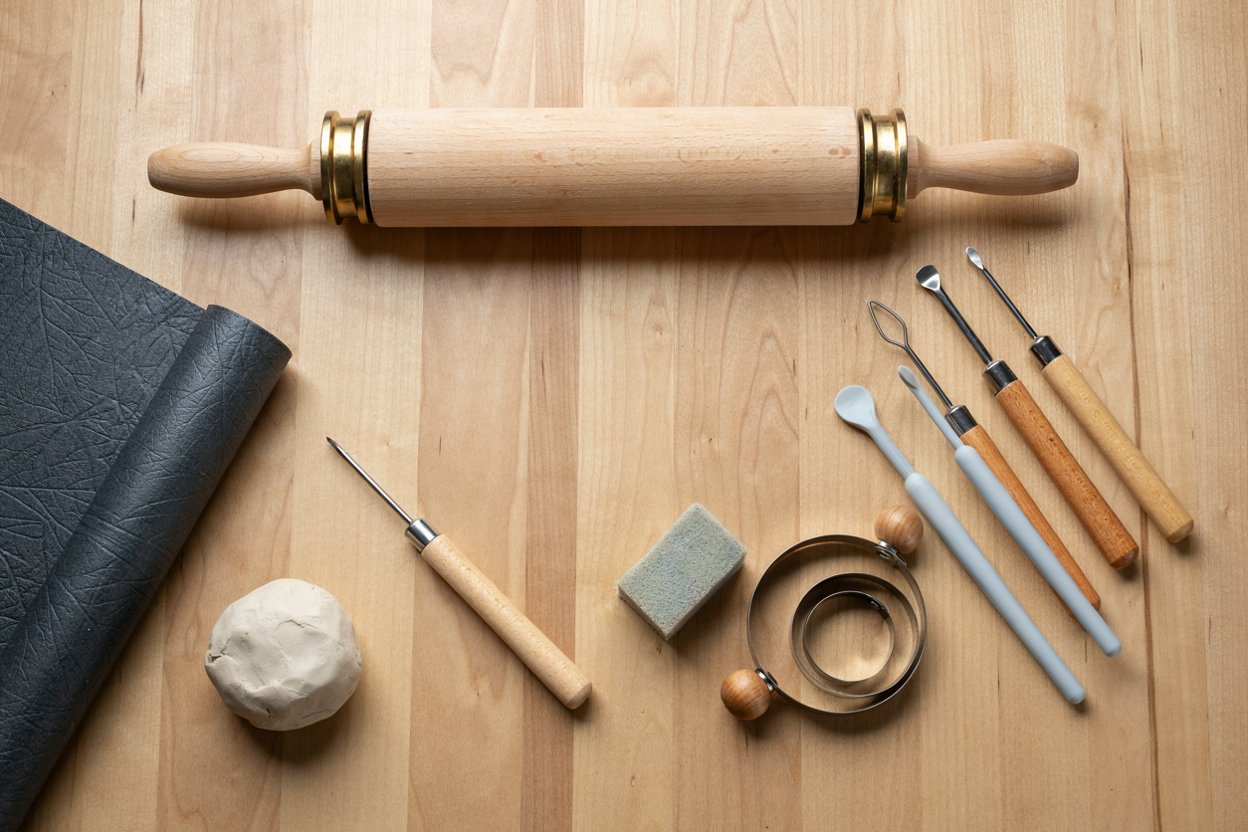
When I started working with air dry clay, I made the mistake almost every beginner makes: I bought one bag of clay and figured that was all I needed. No rolling pin, no sealant, not even sandpaper.
My first little dish turned out lumpy, cracked along one edge, and stayed slightly tacky for days because I had no idea I was supposed to seal it. It wasn’t the clay’s fault, it was mine, I just didn’t have the right tools on hand to actually finish the piece properly.
Since then I’ve slowly built up a small kit of essentials that I reach for on every single project, whether I’m making a trinket dish, a set of coasters, or ornaments for the holidays.
None of it is expensive or hard to find, but having it ready before you sit down to work makes the whole process smoother and a lot less frustrating. This is the exact list I wish someone had handed me on day one.
If you’re brand new to this craft, it’s worth pairing this list with my 10 essential tips for getting started with air dry clay, that post covers the habits and workspace setup that go along with the tools below.
Why Having the Right Tools Actually Matters
Air dry clay is famously beginner-friendly, no kiln, no firing, no special training required. But that simplicity can be a little misleading. Because the clay air-dries instead of baking, small mistakes in handling, drying, or finishing show up in the final piece in ways that are hard to fix afterward.
The right tools don’t make the craft complicated, they just prevent the cracking, warping, and dull, unfinished look that comes from skipping steps you didn’t know mattered.
The Essentials
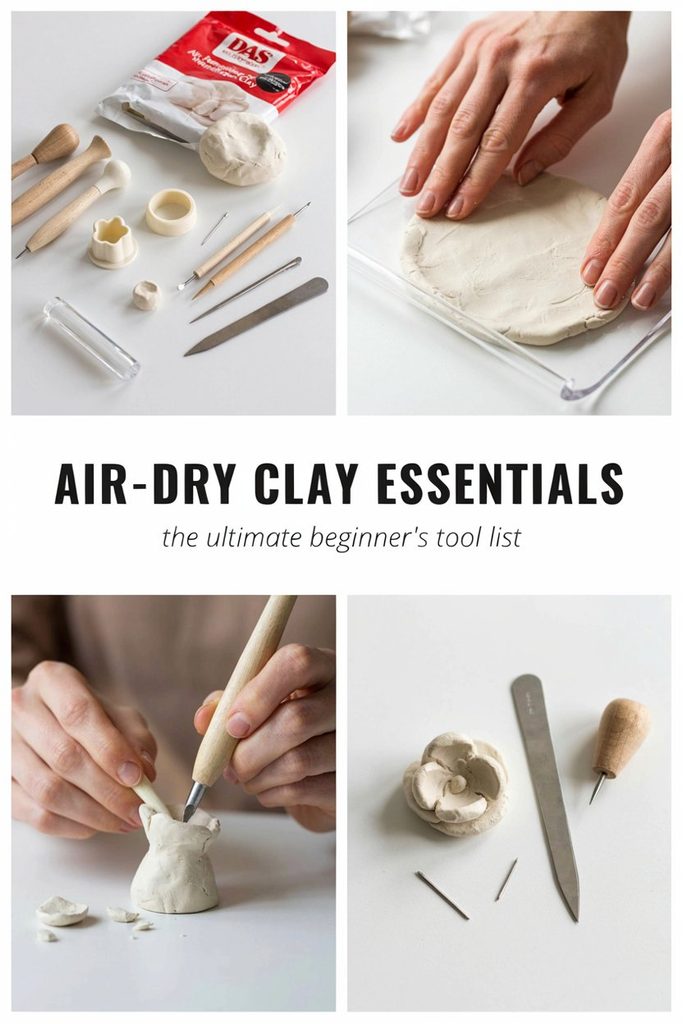
1. A Good Quality Air Dry Clay
This is the one item on this list I’d never cut corners on. Cheap, low-quality clay tends to crack more, dry unevenly, and feel chalky or crumbly once it hardens.
A smooth, soft clay that holds detail well and doesn’t fight you while you shape it makes every other step easier. If you’re only going to upgrade one thing from a starter kit, make it this.
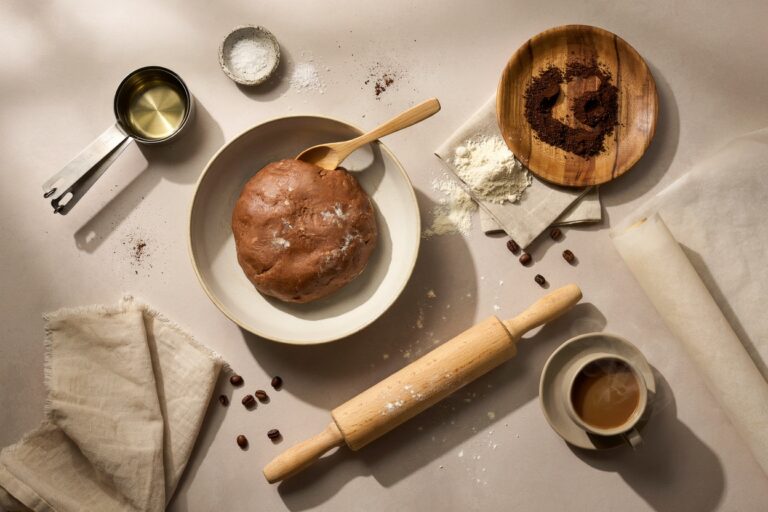
2. A Rolling Pin or Acrylic Roller
For anything flat, coasters, tags, jewelry dishes, an even thickness is what separates a piece that dries flat and sturdy from one that warps or cracks.
A small acrylic roller gives you much more control than trying to flatten clay with your hands, and it’s inexpensive enough that it’s worth having dedicated just for clay.
3. Cutters and Templates
Simple cutters, hearts, circles, geometric shapes, make it easy to get clean, consistent edges without freehanding every single piece. They’re especially helpful if you’re making a matching set, like coasters or ornaments, where you want each piece to actually look like it belongs with the others.
4. A Non-Porous Work Surface
A plastic mat, ceramic tile, or ordinary tray keeps your clay from sticking and picking up texture or debris while you work.
This one seems minor until you don’t have it, then you’re peeling clay off a wooden table and wondering why your smooth dish suddenly has fingerprints and lint pressed into it.
5. Fine-Grit Sandpaper
Once your piece is completely dry, sandpaper in the 400 to 600 grit range is what takes it from homemade-looking to polished. It smooths rough edges, knocks down fingerprints, and gets rid of any small imperfections before paint or sealant goes on.
Skipping this step is one of the most common reasons finished pieces still look a little unfinished.
6. Acrylic Paint and Brushes
Acrylic paint works well on air dry clay and gives you a lot of flexibility, thin washes for a soft, muted look, or fuller coverage for bold color.
A couple of basic brushes in different sizes cover almost everything, a small detail brush and a slightly wider flat brush handle most projects.
7. Sealant or Varnish
This is the step I skipped on my very first project, and it’s the one I’d tell any beginner never to skip. Air dry clay stays porous even after it fully hardens, which means it can absorb moisture and weaken over time without a sealant.
A matte or glossy topcoat protects the piece and gives it that finished, professional look. I go into this in a lot more depth in my full guide to sealing air dry clay if you want the step-by-step version.
8. A Small Bowl of Water
Simple, but genuinely essential. A little water on your fingertips smooths seams, blends edges, and helps patch small cracks before they dry in place. Keeping a small bowl nearby means you’re not getting up constantly mid-project.
9. An Airtight Container or Zip Bag for Storage
Air dry clay reacts to air fast, so any clay you’re not actively using needs to be sealed away or it will start drying out before you’re ready for it.
I keep a zip bag on hand at all times and squeeze the air out before sealing, it’s saved more than a few half-used blocks of clay from turning into a crumbly, unusable mess.
A Few Tools That Are Nice to Have (But Not Essential)
A tofu press style clay press or extruder, useful if you get into more detailed projects, but not something you need starting out.
Texture stamps, great for adding pattern to coasters or dishes without needing to freehand any detail work.
A heat-safe mat, only necessary if you’re using any kind of heat tool to speed up drying, which I’d generally avoid anyway since rushed drying is one of the most common causes of cracking.
Newer to DIY?
If this is your first time picking up air dry clay, don’t feel like you need every item on this list before you start. The clay, a smooth surface, and a little water will get you through your very first project. You can build the rest of the kit as you go.
My beginner tips guide walks through exactly how to set up your space and handle the clay if you want a slower, more guided starting point.
Mistakes I’ve Made So You Don’t Have To
Skipping the sealant on my first project because I didn’t realize it mattered. Within a few days, the piece had absorbed moisture and started to soften.
Using a wooden table as my work surface. The clay picked up grain texture and tiny splinters I didn’t notice until the piece had already dried.
Buying the cheapest clay I could find, assuming it would all behave the same. It cracked more, felt chalky once dry, and made every later step harder than it needed to be.
Drying a flat piece too quickly near a heater to save time. It warped along one edge and never sat flat again.
Frequently Asked Questions
Do I need every tool on this list to get started? No, the clay, a smooth work surface, sandpaper, and a sealant will cover most beginner projects. The rest can be added as you take on more detailed work.
Can I use regular craft paint instead of acrylic? Acrylic tends to hold up best and adheres well to the surface, but water-based craft paints can also work for lighter projects.
What happens if I skip sealing my project? The piece stays porous and can absorb moisture over time, which weakens it and can eventually cause softening or cracking, especially in humid environments.
Can kids use these same tools? Yes, most of this list is completely kid-friendly, just supervise sharp cutters and keep sealants and varnishes to adult use.
If You Want More DIY Crafts to Try
- 10 Essential Tips for Starting Air Dry Clay
- How to Seal Air Dry Clay
- How to Make Air Dry Clay at Home
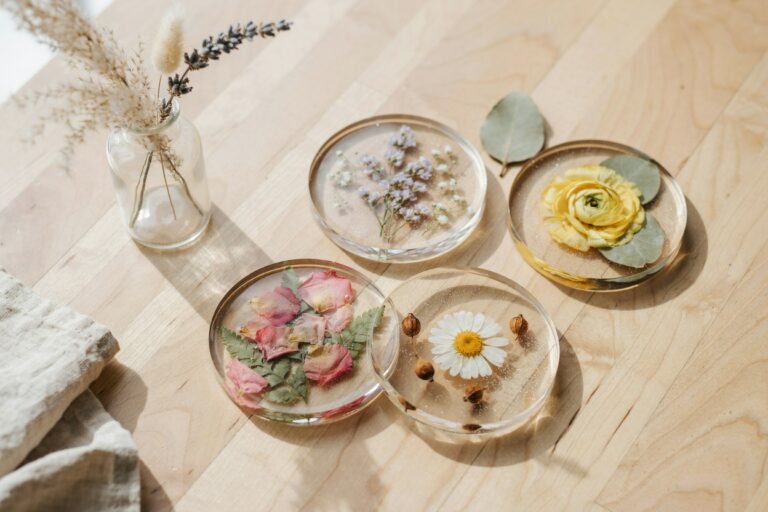
- 10 Beautiful & Easy Air Dry Clay Coaster Ideas
Final Thought
None of this needs to be complicated, and you don’t need a fully stocked craft room to get started.
I still use most of these same nine items on every project I make, and it’s honestly the consistency of having them on hand, not any fancy or expensive tool, that’s made the biggest difference in how my pieces turn out.
Start small, build your kit as you go, and let the projects themselves tell you what to add next.