DIY Bath Bomb Recipe: Easy Homemade Bath Bombs That Actually Hold Together
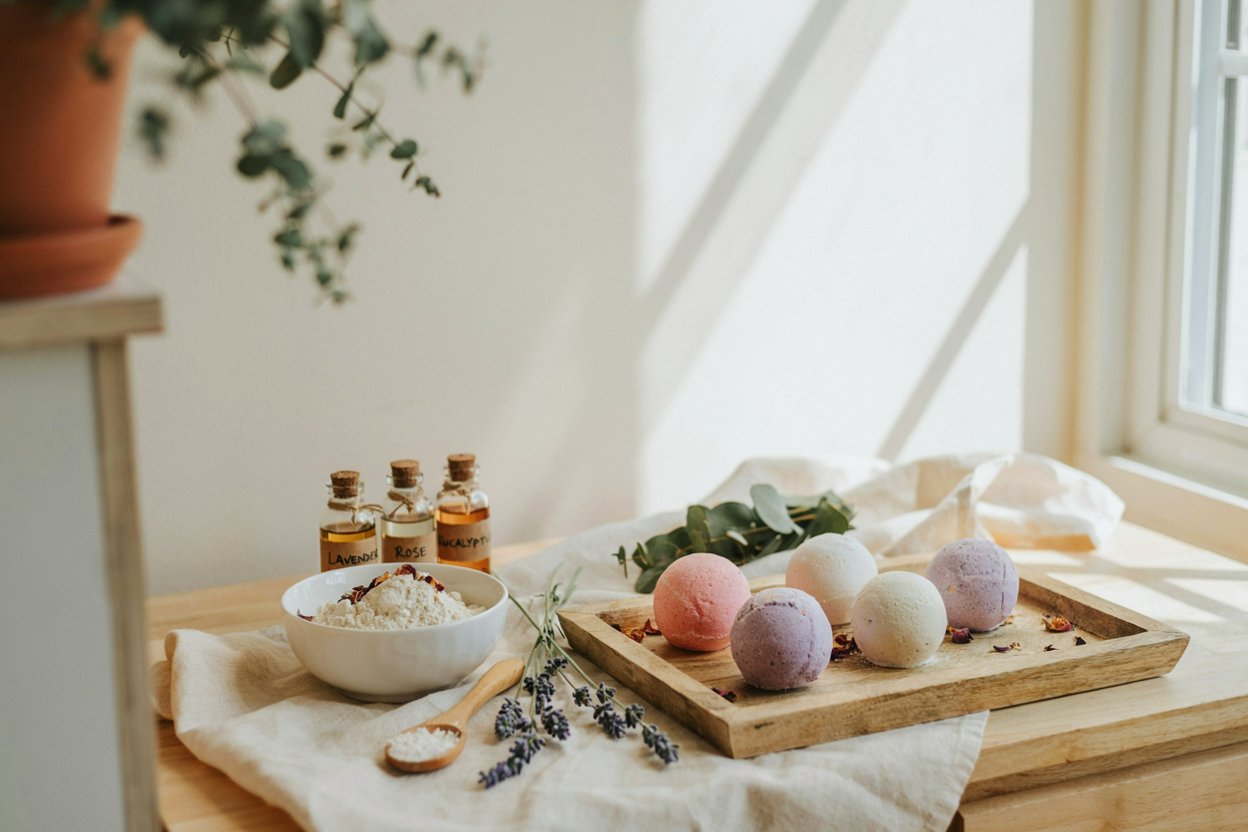
There’s something about dropping a bath bomb into a warm bath and watching it fizz away that makes an ordinary evening feel a little more special.
I started making my own because I wanted something that felt more personal than the bath products I was picking up from the store. If you’re into bath treats generally, my DIY bath salts are the other half of my go-to self-care lineup — different format, same “just add water” satisfaction.
I also quickly realized that homemade bath bombs are surprisingly simple once you understand one important thing: the mixture needs just enough moisture to hold together, but not enough to start fizzing before you’re ready.
That little detail makes all the difference.
I’ve had batches that crumbled the second I took them out of the mold, and I’ve also made the opposite mistake and added too much liquid, only to end up with a mixture that started reacting far too early.
After experimenting with different batches, I now prefer keeping the recipe simple and adding moisture very gradually.
These homemade bath bombs are made with basic ingredients, don’t require special equipment, and can easily be customized with different colors, scents, and dried botanicals.
They’re also lovely to make as small handmade gifts.
Why I Love This DIY Bath Bomb Recipe
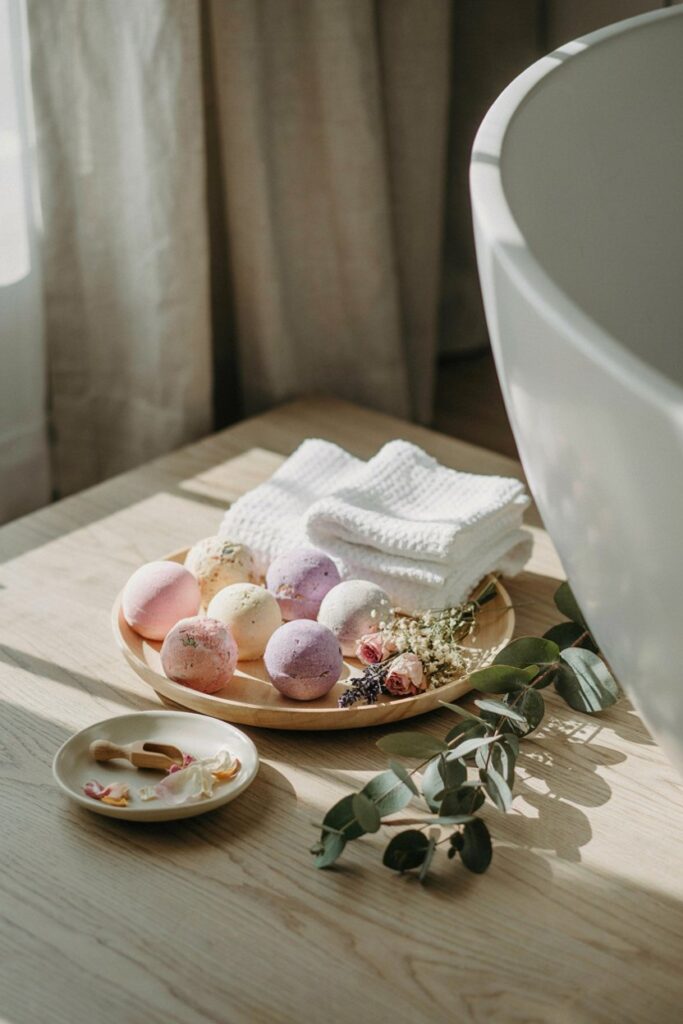
The biggest reason I keep coming back to this recipe is how customizable it is.
Once you have the basic mixture figured out, you can make lavender bath bombs, rose bath bombs, citrus bath bombs, eucalyptus bath bombs, or even create your own combinations depending on what you enjoy.
I also like that you can make a batch in one afternoon and have several little bath treats ready to use or package as gifts.
And because you’re making them yourself, you can control the colors, scent, and decorative details instead of being limited to whatever happens to be available in a store.
What You Need to Make Bath Bombs
You don’t need a huge collection of supplies.
Ingredients
- 1 cup baking soda
- 1/2 cup citric acid
- 1/2 cup cornstarch
- 1/2 cup Epsom salt
- 1 to 2 teaspoons lightweight carrier oil, such as sweet almond oil
- A small amount of skin-safe fragrance or essential oil, according to the product’s recommended usage rate
- Bath-safe colorant, optional
- Witch hazel or water in a fine misting spray bottle, used sparingly
- Dried flowers or herbs, optional
Equipment
- Bath bomb molds
- Large mixing bowl
- Small bowl or measuring spoon
- Whisk
- Measuring cups
- Fine-mist spray bottle
- Gloves, optional
- Parchment paper
- Airtight container for storage
Before You Start
There are two things I would check before mixing anything.
First, make sure every fragrance, essential oil, and colorant you’re using is appropriate for bath and skin use. Something being safe for candles or general crafts does not automatically make it suitable for bath products.
Second, keep water away from the dry mixture until you’re ready to add tiny amounts.
The citric acid and baking soda are what create the fizzing reaction, and moisture can start that reaction prematurely.
That’s why I prefer using a fine mist rather than pouring water directly into the bowl.
Newer to DIY? Bath bombs are a great low-equipment starting point. If you want to branch out from there, my soap making for beginners and air dry clay beginner tips guides are similarly approachable next projects.
How to Make a DIY Bath Bomb
Step 1: Prepare Your Workspace
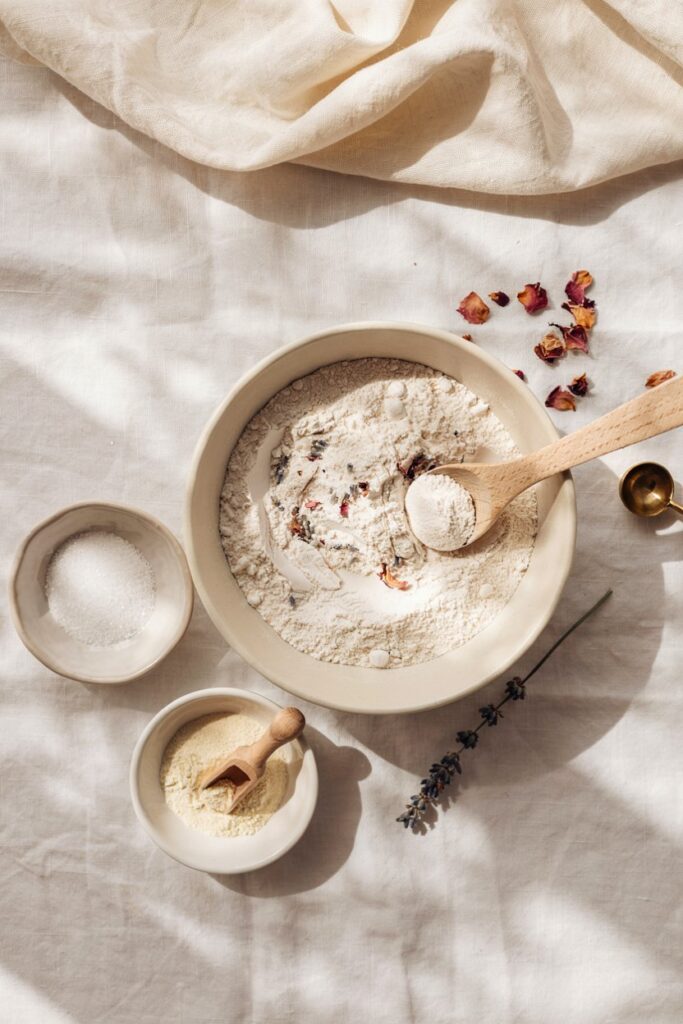
Cover your work surface with parchment paper and have all your ingredients measured before you begin.
I find this makes the whole process much easier because once you start adding moisture, you want to concentrate on getting the consistency right rather than stopping to search for supplies.
Have your bath bomb molds nearby too.
If you’re using dried flowers, keep those ready in a small dish.
Step 2: Combine the Baking Soda and Citric Acid
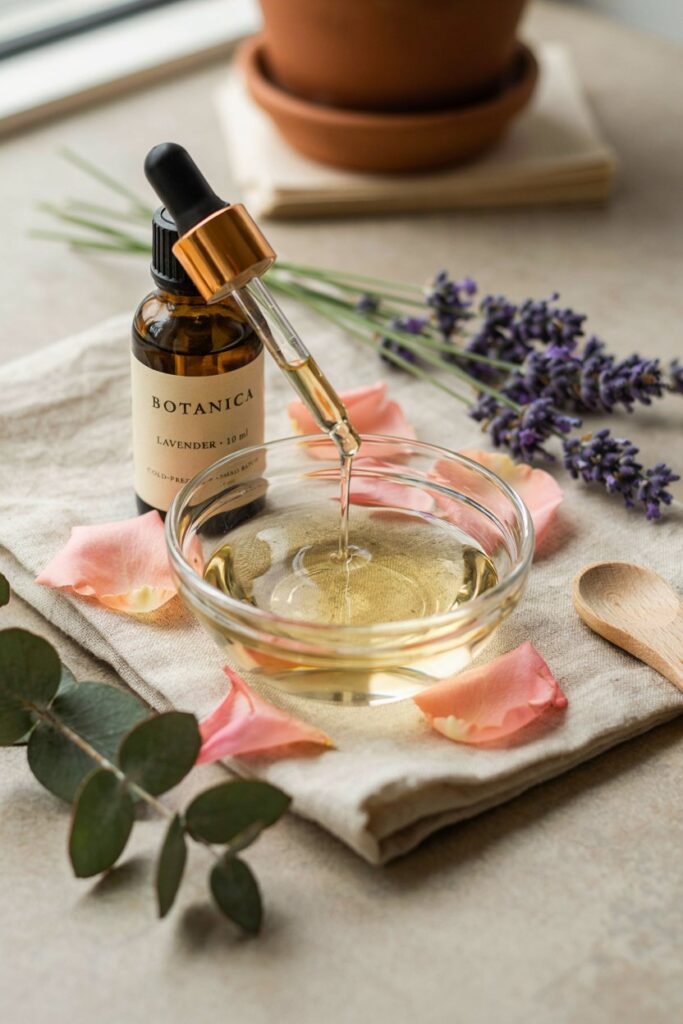
Add the baking soda and citric acid to a large, completely dry mixing bowl.
Whisk them together gently.
I like using a whisk because it breaks up small clumps while combining the ingredients evenly.
Don’t rush this step.
You want the dry ingredients distributed thoroughly before adding anything else.
Step 3: Add the Cornstarch and Epsom Salt
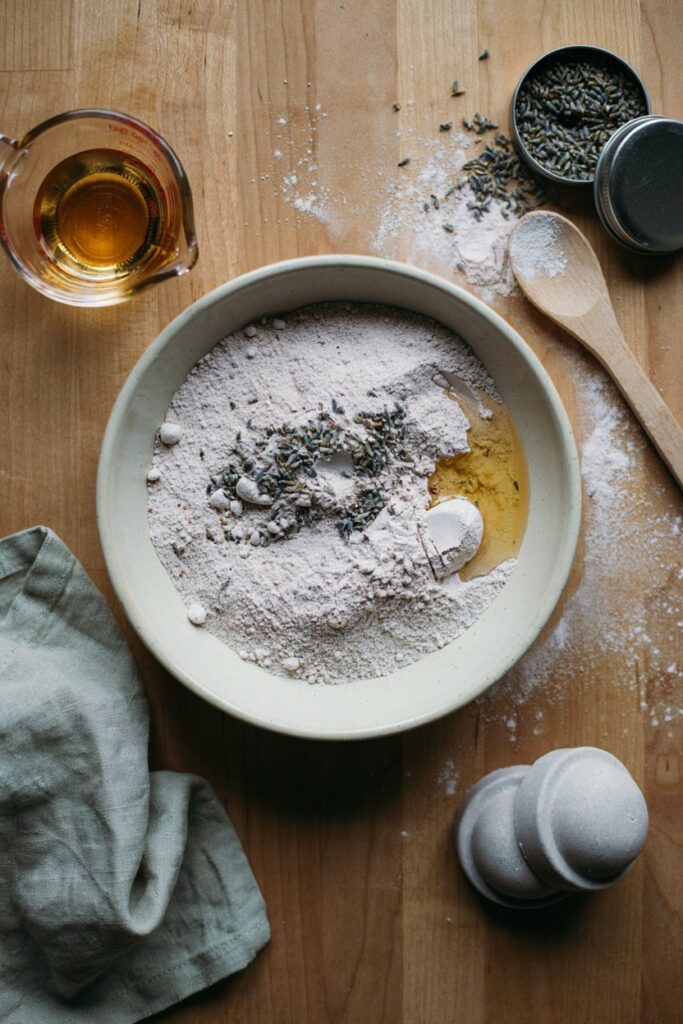
Add the cornstarch and Epsom salt.
Whisk everything together until the mixture looks completely uniform.
At this point, the mixture should still be completely dry and powdery.
If you see large clumps, break them apart with the whisk or your fingers.
Step 4: Add Your Oil
Add the carrier oil gradually while mixing.
The oil helps give the finished bath bomb a smoother feel and can make the mixture easier to press into the molds.
Don’t pour in everything without mixing.
Add a little, combine it thoroughly, and then continue.
Step 5: Add Your Scent
Now add your chosen skin-safe fragrance or essential oil.
I prefer starting conservatively rather than making the scent extremely strong.
Remember that the bath bomb will be used in water, and more fragrance isn’t necessarily better.
Mix thoroughly so the scent is distributed throughout the dry mixture.
Step 6: Add Color
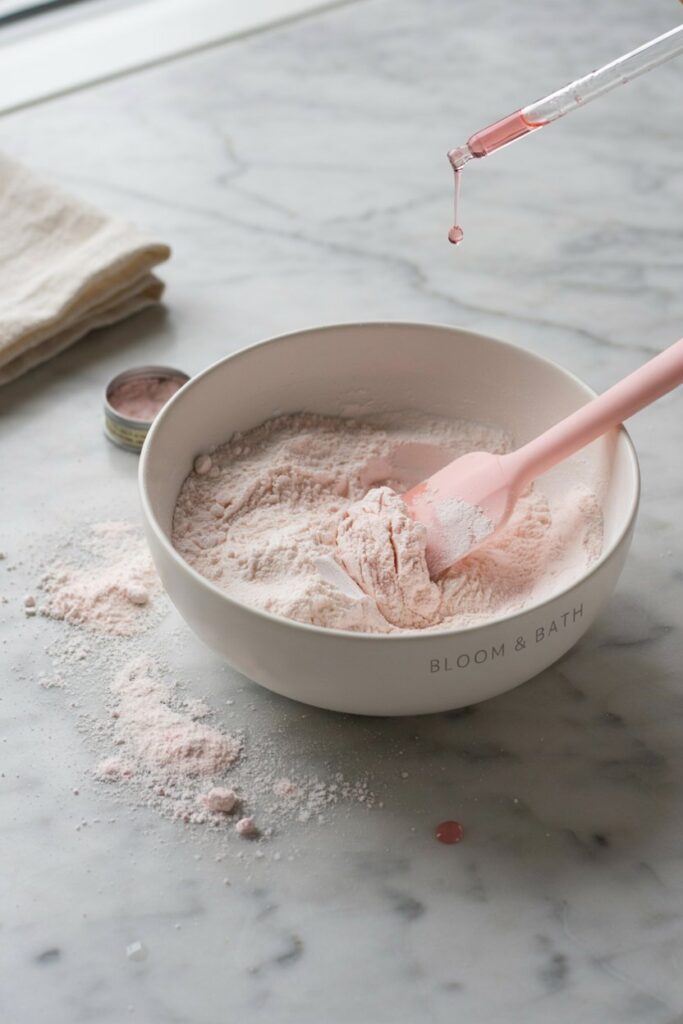
If you want colored bath bombs, add a bath-safe colorant designed for this type of use.
For a soft handmade look, I usually prefer muted shades rather than intense colors.
Think:
- Blush pink
- Pale lavender
- Soft sage
- Cream
- Light yellow
- Dusty peach
You can also leave the mixture completely natural.
A plain cream-colored bath bomb with dried lavender or rose petals can look surprisingly beautiful.
Step 7: Check the Texture
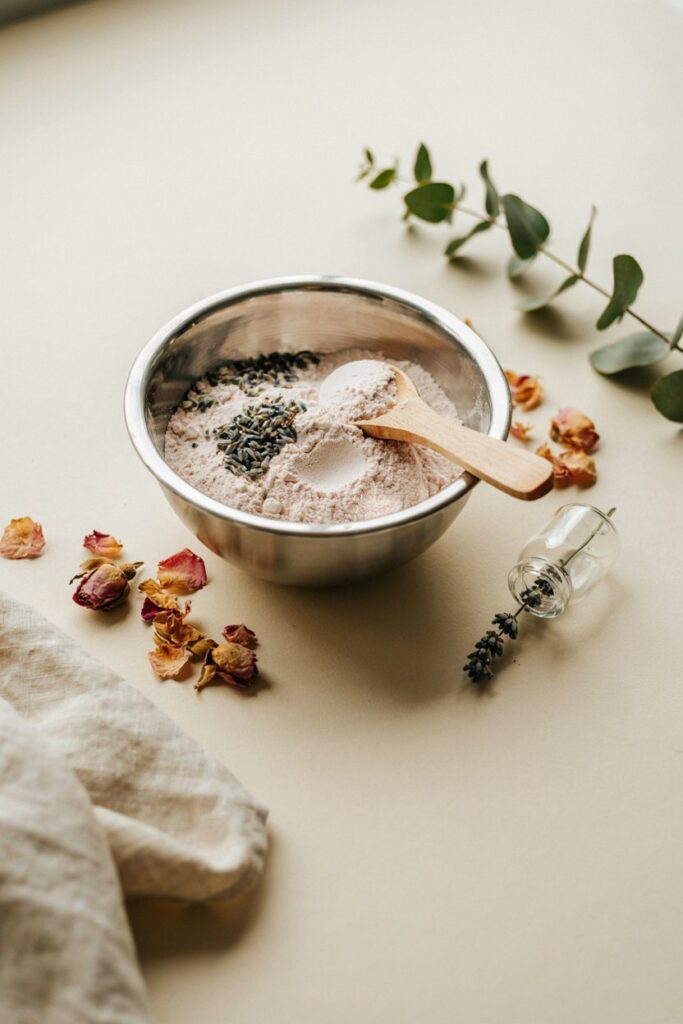
This is the step I pay the most attention to.
Take a small amount of the mixture and squeeze it firmly in your hand.
It should hold its shape when you release the pressure.
If it immediately falls apart like dry sand, it needs a tiny amount of additional moisture.
If it feels wet, sticky, or starts fizzing, you’ve added too much moisture.
The ideal texture is similar to slightly damp sand.
Step 8: Add Moisture Very Slowly
Put a small amount of witch hazel or water into a fine-mist spray bottle.
Mist the mixture once or twice, then immediately whisk it throughout.
Repeat only if necessary.
This is much safer than pouring liquid into the mixture.
I know it’s tempting to add more when the mixture still looks dry, but give each small addition time to distribute before deciding whether you need another mist.
This is one of the biggest lessons I’ve learned from making bath bombs.
Slowly adding moisture is much easier than trying to rescue an overly wet mixture.
Step 9: Fill the Bath Bomb Mold
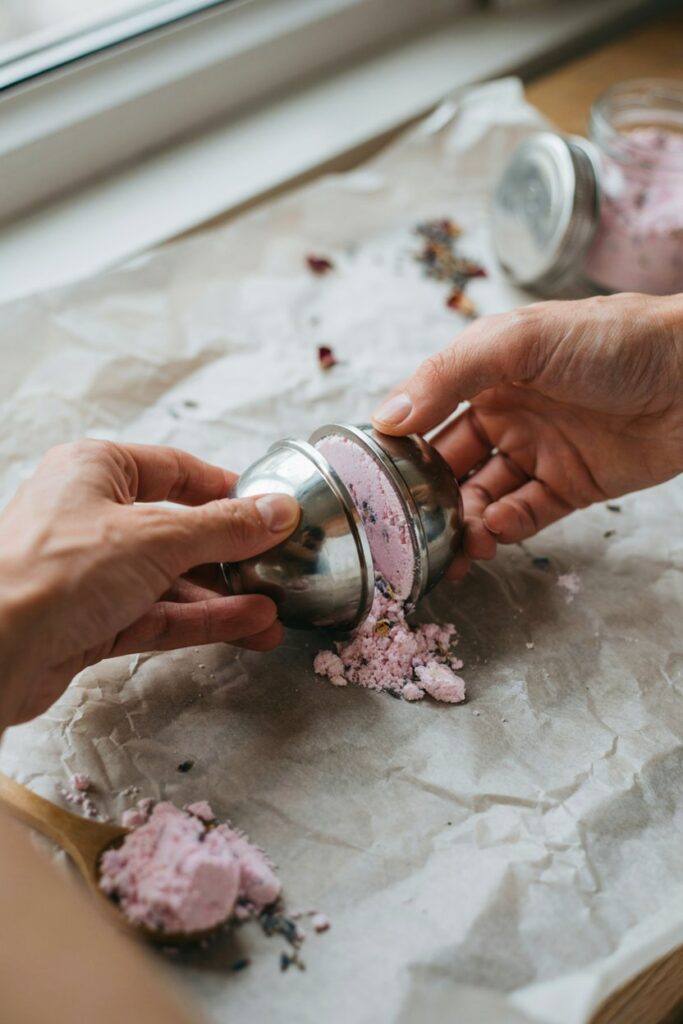
Take one half of your bath bomb mold and fill it slightly above the rim.
Press the mixture down firmly with your fingers.
Repeat with the second half.
You want the mixture compact rather than loosely packed.
This is what helps your bath bomb stay together once it’s removed from the mold.
Step 10: Join the Two Halves
Place the two filled halves together.
Press them firmly but gently.
Give the mold a slight twist if needed, but don’t aggressively squeeze it.
The goal is to create a solid shape without crushing the mixture.
Step 11: Remove the Mold
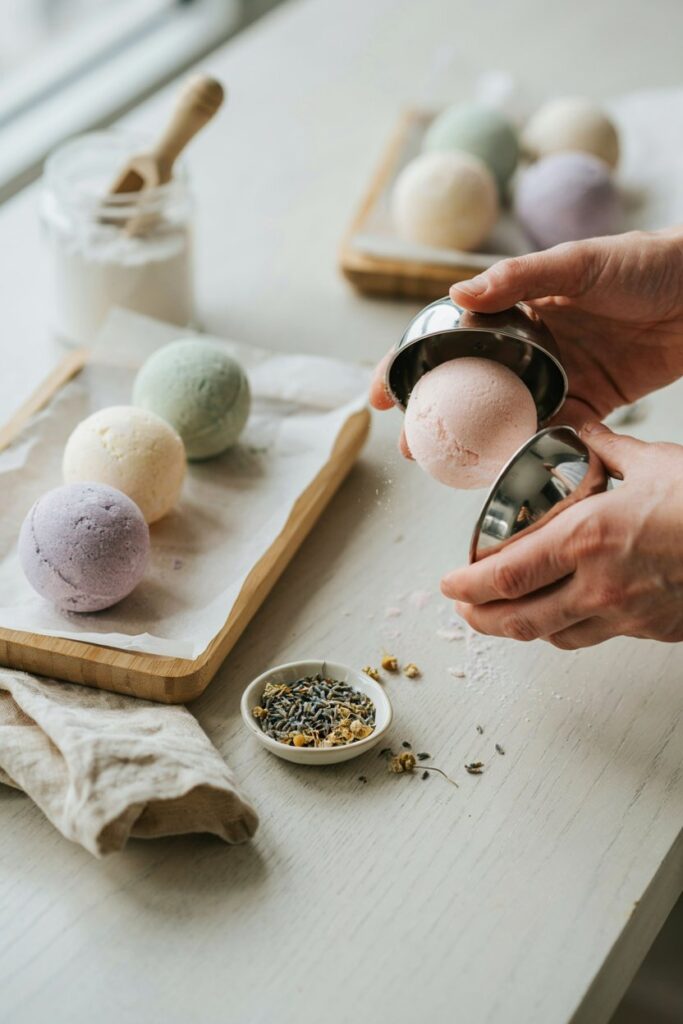
Carefully separate one half of the mold.
If the bath bomb stays intact, gently remove the second half.
Don’t rush this.
If it feels like the bath bomb is sticking or looks fragile, give it another moment before attempting to release it.
Place the finished bath bomb onto parchment paper.
Step 12: Let Them Dry
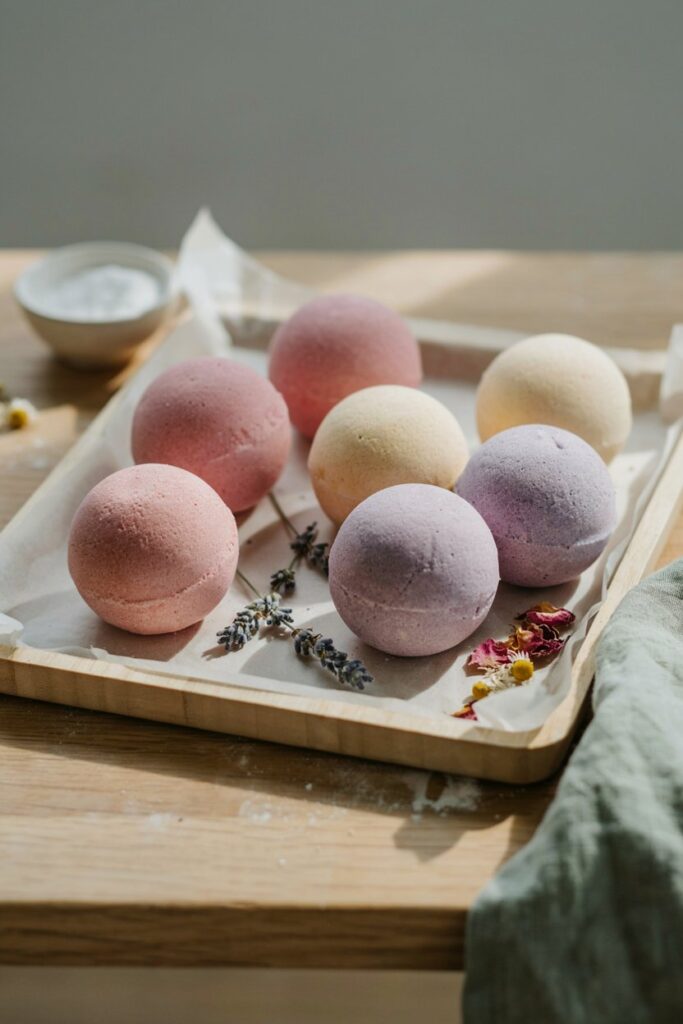
Leave your bath bombs somewhere dry and undisturbed.
Avoid placing them beside running water, a steamy shower, or somewhere humid.
Let them dry thoroughly before packaging or storing them.
The exact drying time can vary depending on humidity, the amount of moisture added, and the size of your bath bombs.
I prefer giving them plenty of time rather than trying to package them too soon.
How Do You Know When Bath Bombs Are Ready?
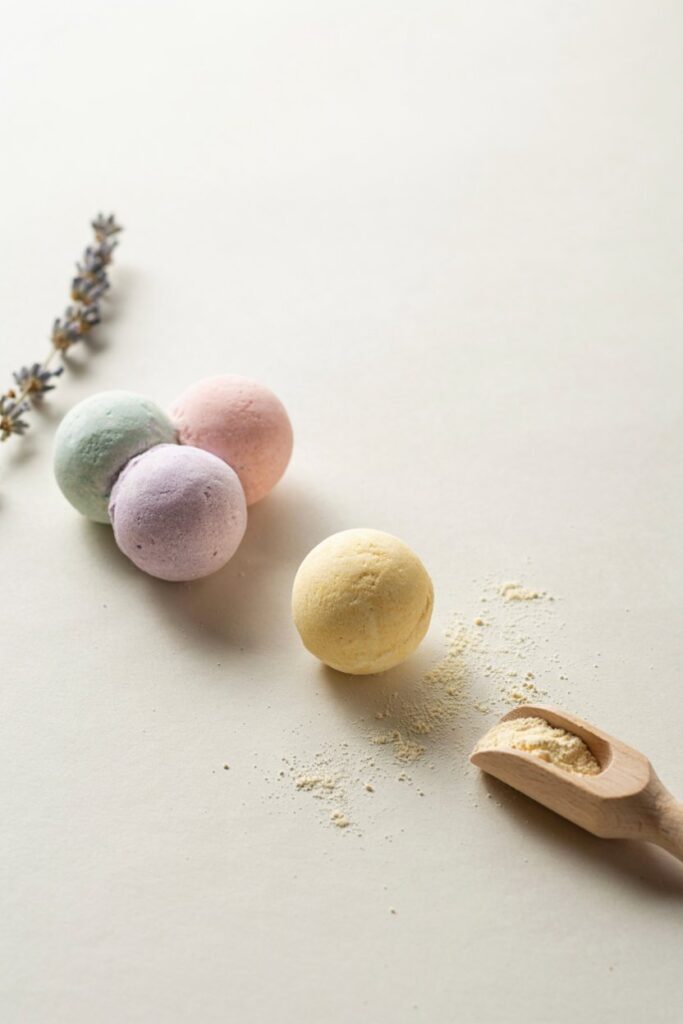
A properly dried bath bomb should feel firm and solid rather than soft or damp.
The surface should have a dry, matte appearance.
If you’re unsure, leave them longer.
There’s very little benefit to rushing this stage.
I would much rather let a batch sit overnight than wrap it while there is still residual moisture inside.
My Best Tip for Bath Bombs That Don’t Crumble
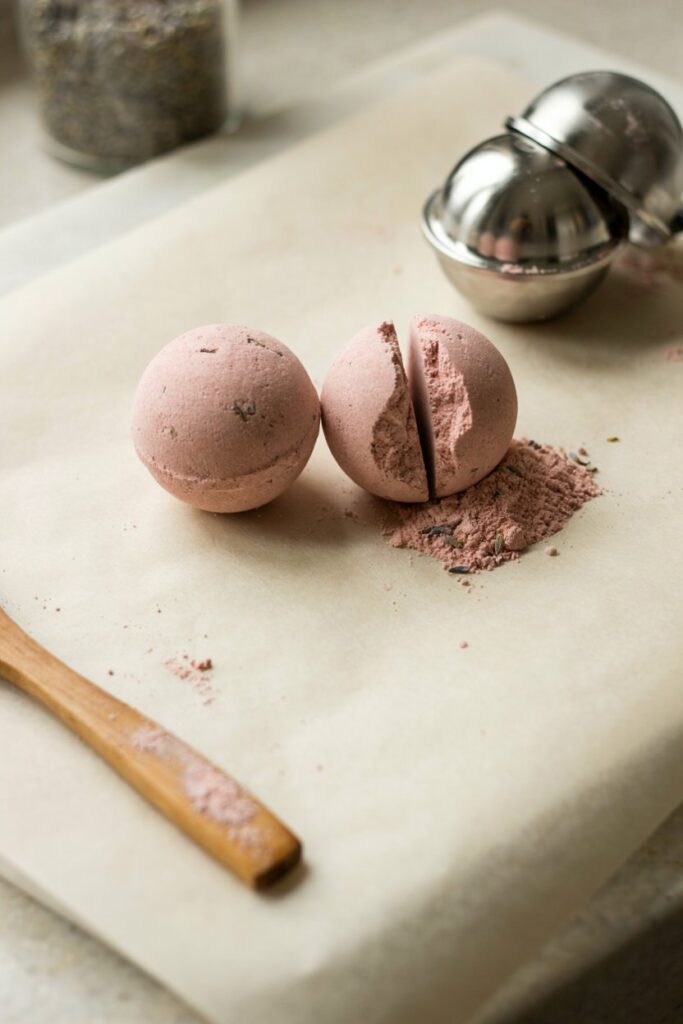
If your bath bomb falls apart when you remove it from the mold, don’t immediately add a huge amount of liquid.
First, put the mixture back into the bowl and squeeze a small amount in your hand.
If it doesn’t hold together, add one or two very fine mists and mix thoroughly.
Test it again.
Keep repeating gradually until the mixture just holds together.
This tiny adjustment is usually much easier than trying to fix a mixture that has become wet and reactive.
How to Make Pretty Bath Bombs
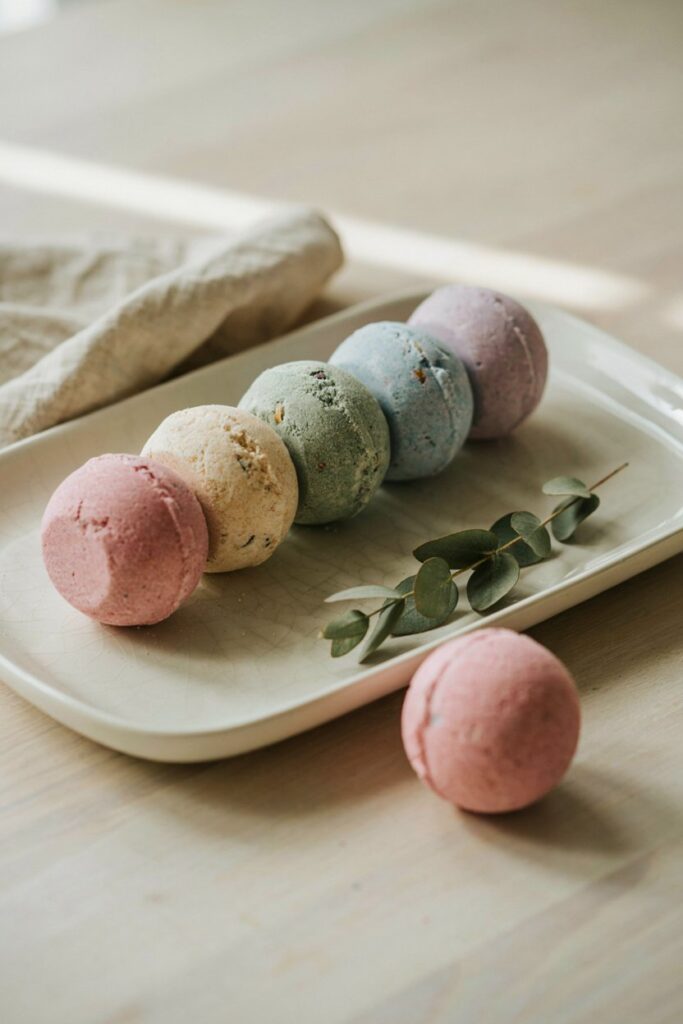
You don’t need elaborate decorations to make homemade bath bombs look beautiful.
I actually prefer the slightly imperfect handmade appearance.
Use a Soft Color Palette
Some of my favorite combinations are:
- Cream + lavender
- Blush pink + rose petals
- Pale yellow + lemon
- Soft sage + eucalyptus
- Dusty peach + rose
- White + dried lavender
Keeping the colors muted gives them a more sophisticated handmade look.
Add Dried Botanicals
A little dried lavender, rose petals, or another suitable botanical can make a simple bath bomb look much more special.
Use them sparingly.
You don’t need to cover the entire surface.
A few small pieces pressed into the top can be enough.
Try Two Colors
For a pretty marbled effect, prepare two small portions of different colored mixtures.
Place small amounts of each color into the mold without mixing them completely.
Press the mold together normally.
You’ll get a subtle handmade swirl rather than a perfectly uniform color.
DIY Lavender Bath Bombs
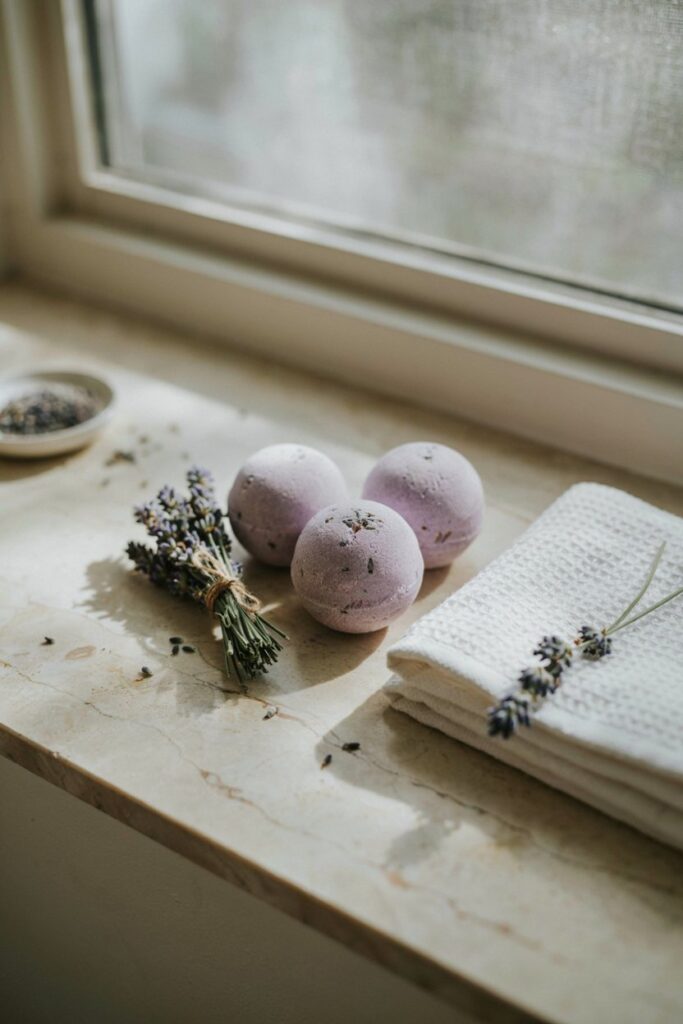
Lavender is one of the easiest variations to make.
Use a soft lavender colorant and a suitable lavender-scented product, following its recommended skin-use amount.
Add a small amount of dried lavender if desired.
I especially like these in pale purple rather than a very bright violet.
They look beautiful packaged in cream paper with a little dried lavender tied around the outside.
DIY Rose Bath Bombs
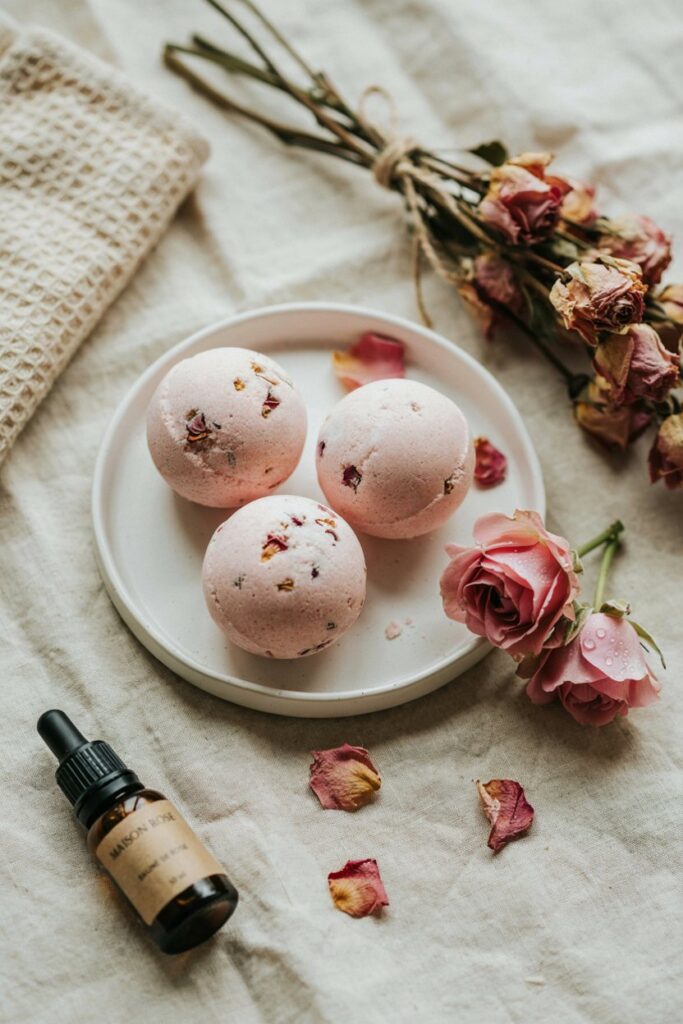
For a romantic version, make a pale blush pink bath bomb and add a suitable rose fragrance.
You can finish the surface with a few dried rose petals.
I would keep the petals minimal because too many can make the bath messy.
DIY Citrus Bath Bombs
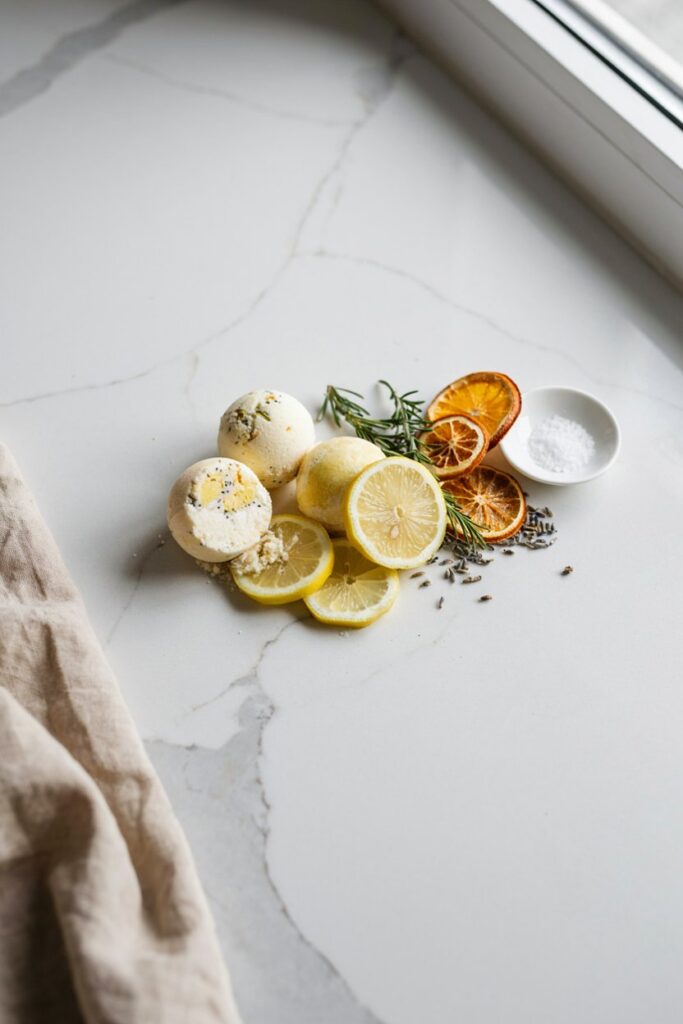
A citrus-inspired bath bomb looks beautiful in pale yellow or cream.
You can use a skin-safe citrus fragrance or essential oil appropriate for bath products.
For decoration, add a tiny amount of dried citrus peel if appropriate for your formulation.
Pair these with lemon slices and fresh greenery when photographing them for a beautiful summer-inspired look.
DIY Eucalyptus Bath Bombs
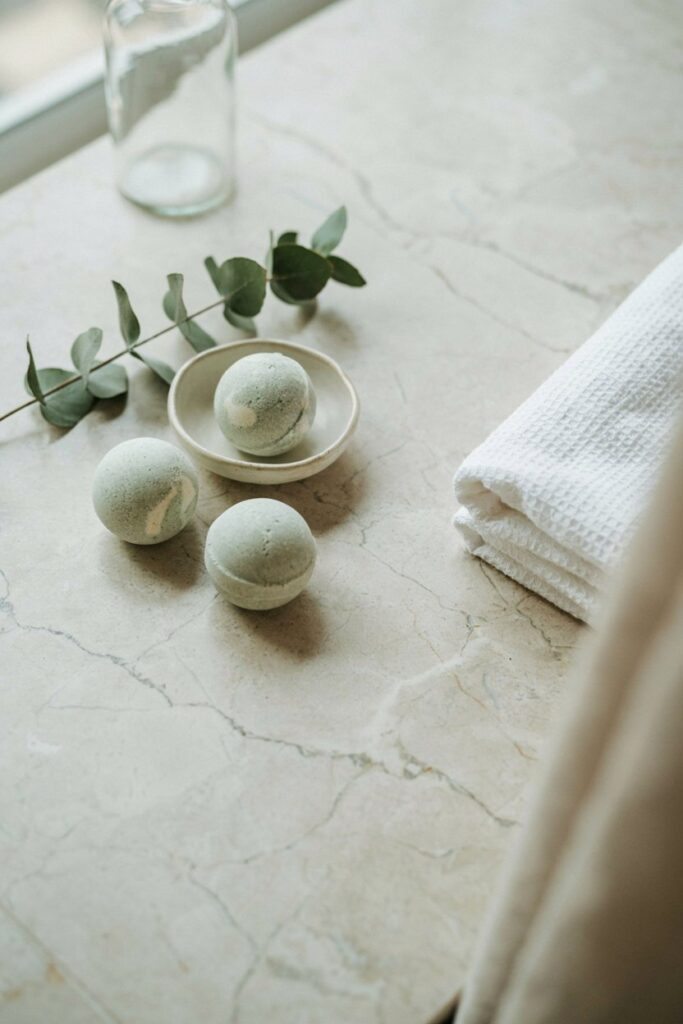
For a botanical variation, use a muted sage or leave the bath bomb natural.
Add a suitable eucalyptus fragrance or essential oil according to its recommended topical use.
A few eucalyptus leaves beside the finished bath bombs make the whole set look beautiful without needing extra decoration.
Can You Make Bath Bombs Without Epsom Salt?
Yes.
Epsom salt isn’t what makes a bath bomb fizz.
The fizz comes from the reaction between baking soda and citric acid.
If you don’t want to use Epsom salt, you can adjust the recipe accordingly, but remember that changing the dry ingredients can affect the final texture and molding behavior.
If you’re modifying the formula significantly, test a small batch first.
Why Are My Bath Bombs Crumbling?
There are a few possible reasons.
The mixture is too dry
This is probably the first thing I’d check.
If the mixture won’t hold together when squeezed, it needs a tiny amount more moisture.
You didn’t compact the mold enough
Bath bomb mixture needs to be packed firmly into the mold.
Loose powder won’t create a strong finished shape.
You removed the mold too quickly
A freshly molded bath bomb can be fragile.
Handle it gently.
The bath bomb absorbed moisture
Humidity can affect bath bombs significantly.
Keep the mixture and finished bombs away from moisture.
Why Are My Bath Bombs Expanding?
If the bath bomb starts swelling or expanding after you’ve molded it, it may have been exposed to too much moisture.
Water activates the fizzing reaction between the baking soda and citric acid.
This is why I recommend using only tiny amounts of liquid and mixing thoroughly between additions.
If you’re working in a humid environment, you may need to be even more cautious with moisture.
Why Did My Bath Bomb Start Fizzing While I Was Making It?
Usually, moisture got into the mixture too early.
This can happen from:
- Adding too much water
- Using a spray bottle too heavily
- Working in a humid room
- Adding wet ingredients
- Not mixing quickly enough after misting
The goal is to add only enough moisture to help the mixture hold together.
You don’t want to activate the fizzing reaction while you’re still making the bath bombs.
What If My Bath Bomb Is Too Wet?
Stop adding liquid immediately.
Spread the mixture out in the bowl and allow it to sit for a short while in a dry environment.
Don’t add more ingredients randomly without considering how that will change the recipe.
If the mixture has become noticeably reactive, you may need to accept that the batch won’t behave exactly as planned.
This is one reason I strongly prefer adding moisture in tiny amounts.
Can You Make Bath Bombs Without a Mold?
Technically, yes.
You can shape the mixture into compact balls by hand, although they won’t necessarily have the clean rounded appearance of molded bath bombs.
For gifting, I prefer using a proper bath bomb mold because it gives the finished pieces a more polished appearance.
How to Store Homemade Bath Bombs
Moisture is the enemy here.
Once your bath bombs are completely dry, store them somewhere cool and dry.
For individual storage, you can wrap them in plastic wrap or another moisture-resistant material.
For multiple bath bombs, use a suitable airtight container.
Don’t store them uncovered in a humid bathroom for long periods.
The same humidity that makes your bathroom comfortable after a shower can gradually affect the texture of homemade bath products.
How Long Do Homemade Bath Bombs Last?
There’s no single universal shelf life because it depends on the ingredients, fragrance, storage conditions, and whether you’ve added botanicals.
For the best quality, I prefer making them in relatively small batches and storing them properly in an airtight, dry environment.
If you notice changes in scent, appearance, texture, or any sign of contamination, don’t use them.
How to Package Bath Bombs as Gifts
These make such pretty handmade gifts.
You don’t need elaborate packaging.
A simple kraft box filled with tissue paper and a few bath bombs can look lovely.
You could also package individual bath bombs in clear wrap with:
- A small ribbon
- A handwritten tag
- Dried lavender
- A tiny gift card
- A simple ingredient label
For a larger gift, pair several bath bombs with a soft towel, candle, or other suitable bath accessory.
My Favorite Bath Bomb Gift Combination
For a simple handmade gift set, I would make:
- 2 lavender bath bombs
- 2 blush rose bath bombs
- 2 cream or eucalyptus bath bombs
Arrange them inside a shallow kraft box with cream tissue paper and a few dried botanicals.
The different colors make the box look much more interesting than six identical bath bombs.
Tips for Making Bath Bombs Successfully
Keep Everything Dry
Your bowls, tools, molds, and ingredients should be dry before you begin.
Even a small amount of moisture can start the fizzing reaction.
Don’t Overdo the Liquid
This is the biggest one.
Add moisture gradually.
You can always add another tiny mist.
You cannot easily remove excess liquid once you’ve added it.
Pack the Molds Firmly
Loose mixture creates fragile bath bombs.
Press the mixture firmly into both halves before joining them.
Don’t Rush the Drying Process
Give the bath bombs enough time to become completely dry and firm.
Work in a Low-Humidity Environment
If possible, make bath bombs on a relatively dry day and avoid working directly beside a steamy bathroom.
Test a Small Batch First
If you’re changing the recipe, adding a new color, or trying a different fragrance, make a small test batch first.
It’s much less frustrating to troubleshoot six bath bombs than an entire tray of them.
Mistakes I Would Avoid
I’ve made enough DIY bath products to know that most mistakes happen because I try to make the process faster than it actually wants to be.
The first is adding too much liquid.
It seems like the obvious solution when the mixture won’t hold together, but it can quickly turn into a fizzing, expanding mess.
The second is rushing the molding process.
If you don’t pack the mixture firmly enough, the bath bomb may look fine in the mold and then crumble when you release it.
And the third is storing them somewhere humid.
Even a beautifully made bath bomb won’t stay at its best if it’s left exposed to moisture.
If You Want More DIY Self-Care Projects to Try
- DIY Bath Salts With or Without Essential Oils
- Moisturizing Oatmeal Honey Soap for Dry Skin
- 10 DIY Candles That Make Great Gifts
- Soap Making for Beginners
Frequently Asked Questions
Can I make bath bombs without citric acid?
Citric acid is the traditional acid component used with baking soda to create the characteristic fizz. Without it, you won’t get the same reaction, so I wouldn’t simply leave it out of this recipe without reformulating the recipe.
Why do my bath bombs crack?
Cracking can happen when the mixture is too dry, the bath bomb isn’t compacted sufficiently, or the finished bomb dries unevenly.
Start by checking your moisture level and how firmly you’re packing your molds.
Can I use food coloring?
I prefer a bath-safe colorant specifically intended for bath products.
Food coloring isn’t always the best choice because it can behave unpredictably in bath water and may stain depending on the formulation.
Can I use any essential oil?
No.
Always check that the specific essential oil is appropriate for topical/bath use and follow the supplier’s recommended dilution or usage rate.
Natural doesn’t automatically mean safe at any concentration.
Can I add dried flowers?
Yes, but use them sparingly and choose botanicals appropriate for your intended bath product.
Remember that dried flowers can make cleanup more complicated, so a few decorative petals are often plenty.
Why are my bath bombs soft the next day?
They may not have dried completely, or they may have absorbed moisture from the surrounding environment.
Move them somewhere dry and allow additional drying time before packaging.
Can I make these ahead of time?
Yes.
That’s actually one of the reasons I like making them.
Once completely dry, store them in a moisture-resistant airtight container until you’re ready to use or gift them.
Final Thoughts
Making your own bath bombs is one of those DIY projects that looks much more complicated than it actually is.
Once you understand how the mixture should feel, the process becomes much easier.
For me, the biggest difference between a successful batch and a frustrating one usually comes down to one thing: moisture control.
Start with completely dry ingredients, add your liquid extremely gradually, pack the molds firmly, and give the finished bath bombs plenty of time to dry.
From there, you can have fun with the part I enjoy most: choosing the colors, scents, and little botanical details.
A batch of pale lavender bath bombs with dried flowers feels completely different from a set of blush rose bombs or fresh citrus-inspired ones, even though the basic process is the same.
And if you make these as gifts, don’t worry about making every bath bomb perfectly identical.
I actually think the tiny differences are what make homemade bath bombs feel special.