Hair Tool Storage Ideas That Save Space
Hair tools are some of the most awkward things to store in a whole bathroom. They’re bulky, they have cords that tangle with everything else in a drawer, and most of them need to cool down somewhere safe before they can be put away at all.
For years mine lived in a loose pile under the sink, cords knotted together, the flat iron buried under two hair dryers I’d stopped using. Finding anything in the morning meant digging, and more than once I burned a few extra minutes just untangling cords before I could even start getting ready.
What actually fixed it wasn’t a bigger drawer, it was rethinking where these tools live in the first place.
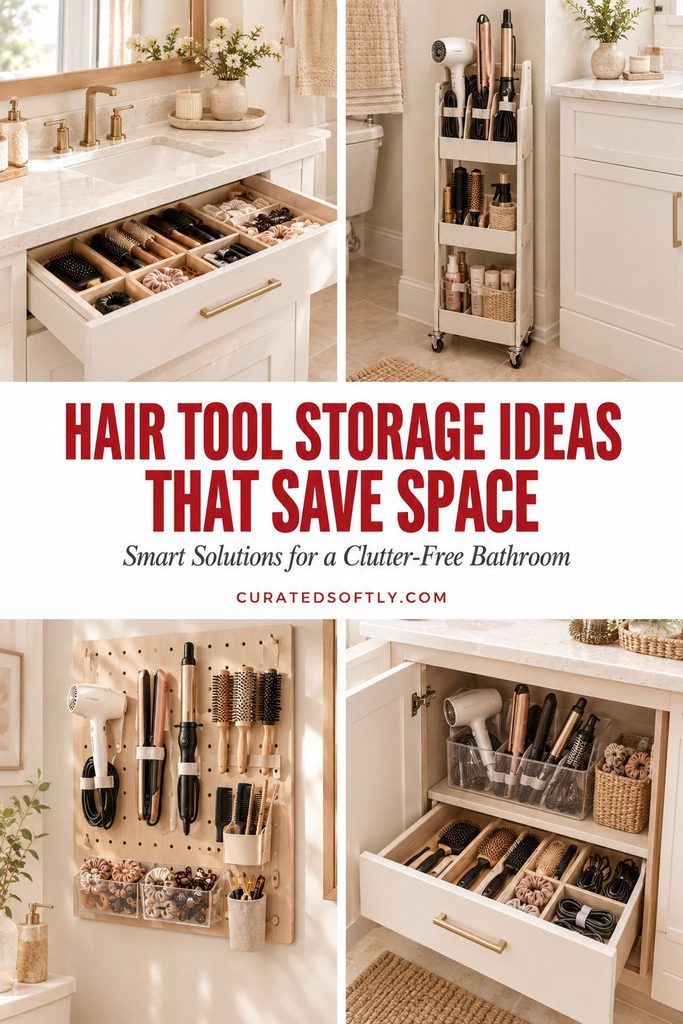
Walls, the inside of cabinet doors, and narrow vertical spaces all turned out to hold far more than a drawer ever could, and once everything had an obvious spot, the daily routine of getting ready got noticeably faster.
I also stopped buying backup tools I didn’t need, which is honestly one of the quieter benefits of a good system, once you can actually see what you own, you stop accidentally duplicating it.
Before You Start: Why Hair Tools Are So Hard to Store
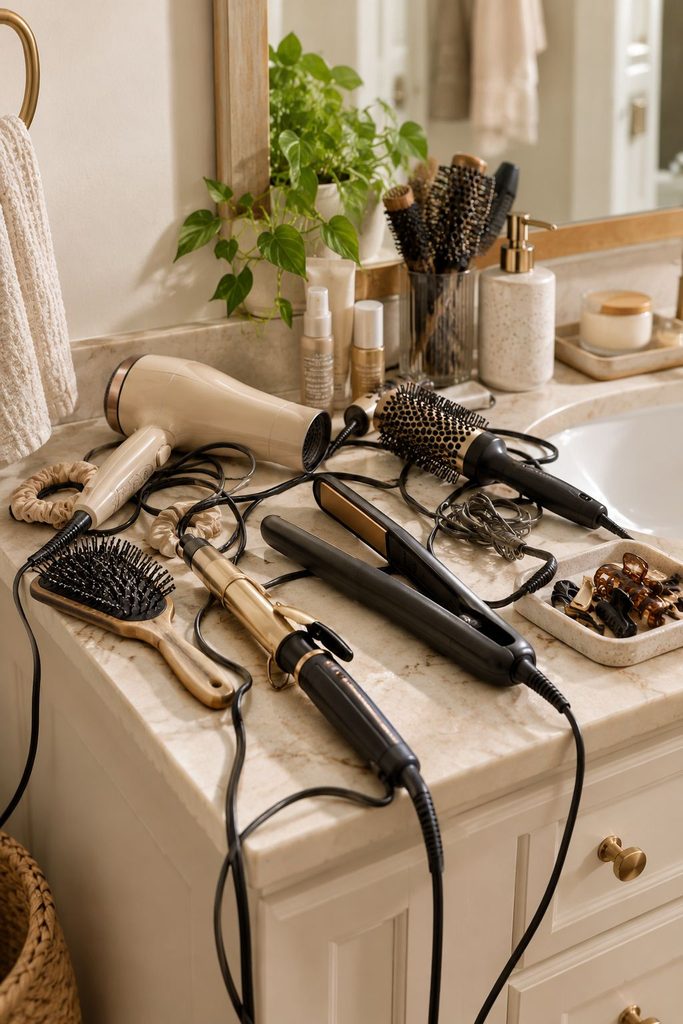
A few things make this category uniquely annoying to organize, worth understanding before picking a fix.
- They’re oddly shaped. A round brush, a flat iron, and a dryer all have completely different footprints, which makes a single uniform storage solution hard to find.
- Cords tangle with everything. Loose cords left in a drawer wrap around brushes, bottles, and each other within days.
- Heat matters. A tool needs somewhere safe to cool before it’s put away, tossing a hot flat iron straight into a drawer is both a fire risk and a fast way to damage whatever it lands on.
- They’re used daily, so they need to be fast to grab. Anything stored too far out of the way just won’t get put back properly, no matter how good the system looks on day one.
What to Buy on Amazon
Before getting into the ideas themselves, here’s exactly what to search for if you want to pull together a full system this week rather than piecing it together slowly.
I’m giving you search terms rather than specific listings, since products and prices change constantly, but these are the exact phrases that pull up the right category every time.
- Heat-resistant hanging organizer: search “heat resistant hair tool organizer hanging” — look for one that explicitly says heat-resistant fabric, not just “hair tool organizer”
- Vertical caddy for narrow gaps: search “narrow vertical storage caddy bathroom” — measure your gap before buying and filter by width
- Heat-safe silicone mat or holder: search “heat resistant silicone mat flat iron holder” — usually the cheapest item on this entire list
- Adjustable drawer dividers: search “adjustable drawer dividers bathroom” — worth paying slightly more for ones that reconfigure as your tool collection changes
- Small pegboard kit: search “small pegboard kit with hooks” — buy one that includes an assortment of hook sizes rather than sourcing hooks separately
- Clear stackable storage bin: search “clear stackable storage bin with lid small” — size based on your actual backup tool count, don’t oversize
- Reusable cord ties: search “reusable cable ties velcro” — a multi-pack is cheap and useful well beyond just hair tools
- Narrow rolling cart: search “narrow rolling cart bathroom storage” — check width against your floor space, these vary a lot in size
With that in hand, here are the ideas that actually stuck, in more detail.
1. Mount a Wall or Cabinet-Door Organizer
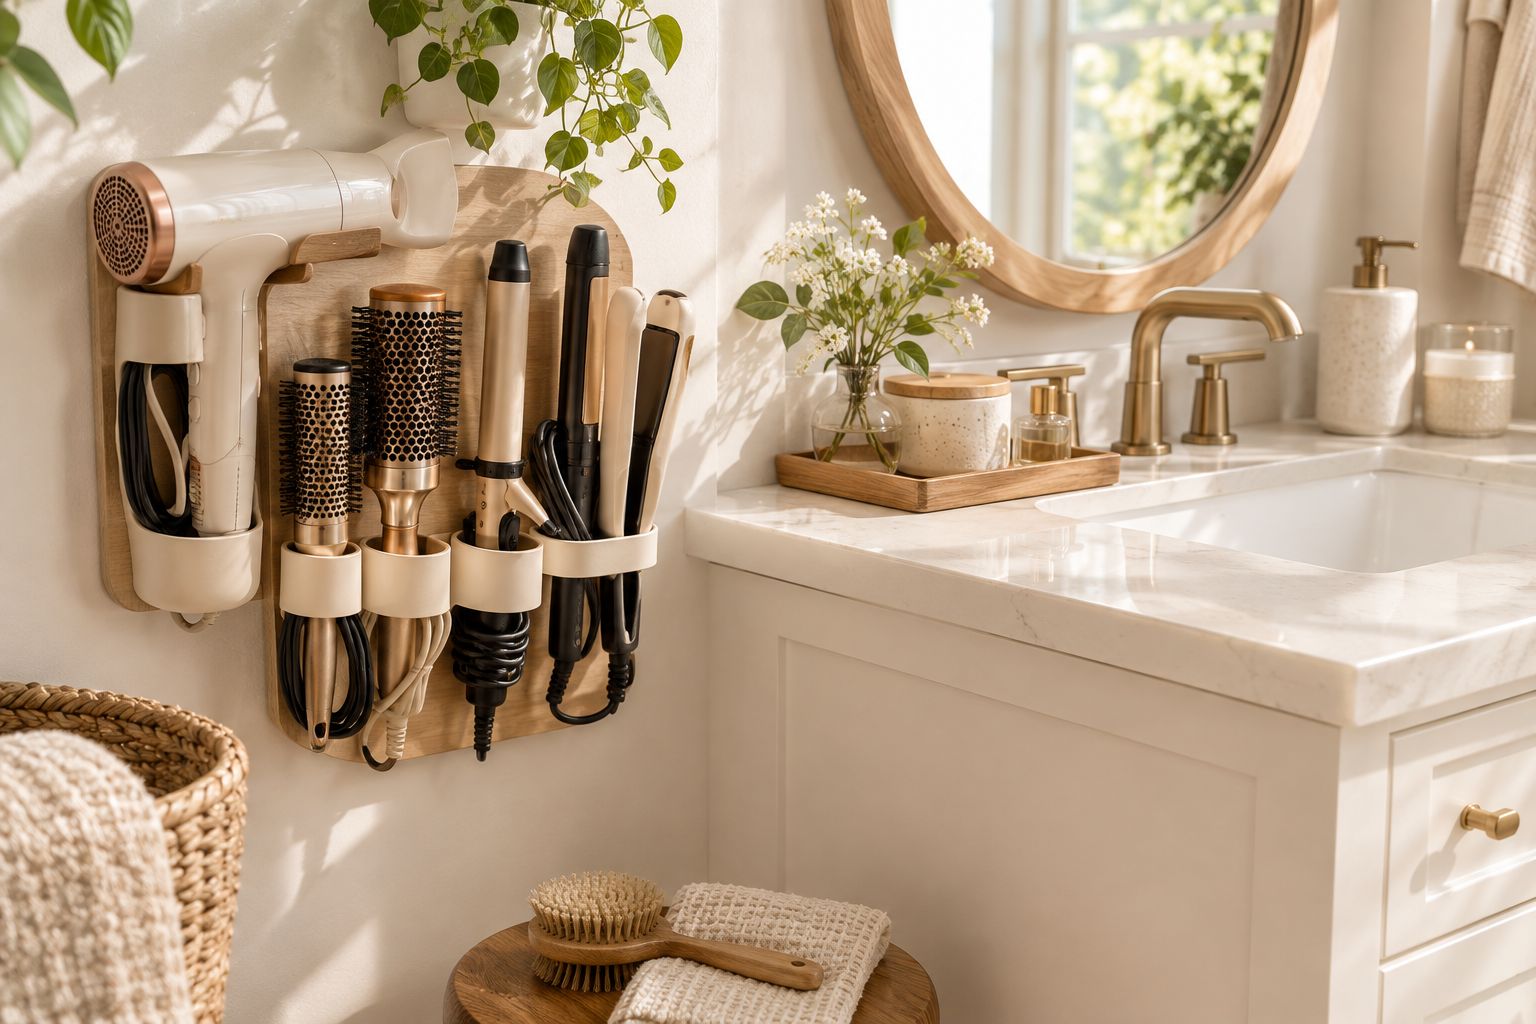
This is the single highest-impact change on this entire list. A hanging organizer with heat-resistant pockets, mounted either on a wall or the inside of a cabinet door, gets bulky tools off the counter and out of drawers entirely, and keeps each one visible and easy to grab without digging.
What it solves: Bulky tools taking up drawer or counter space, and the “I know it’s in here somewhere” problem of digging through a pile every morning.
How to set it up:
- Measure the door or wall space you’re working with, width and height both matter.
- Check the organizer’s pocket depth against your specific tools, a flat iron needs far less room than a full-size dryer.
- Mount it at a height you can reach without stretching or bending, roughly eye-to-chest level works for most people.
- Assign each pocket to a specific tool so the system doesn’t slowly drift back into a jumble.
Pro tip: Choose an organizer rated specifically for heat if you plan to store a tool before it’s fully cooled. Not every fabric organizer is built for that, and using the wrong one is a real fire and damage risk.
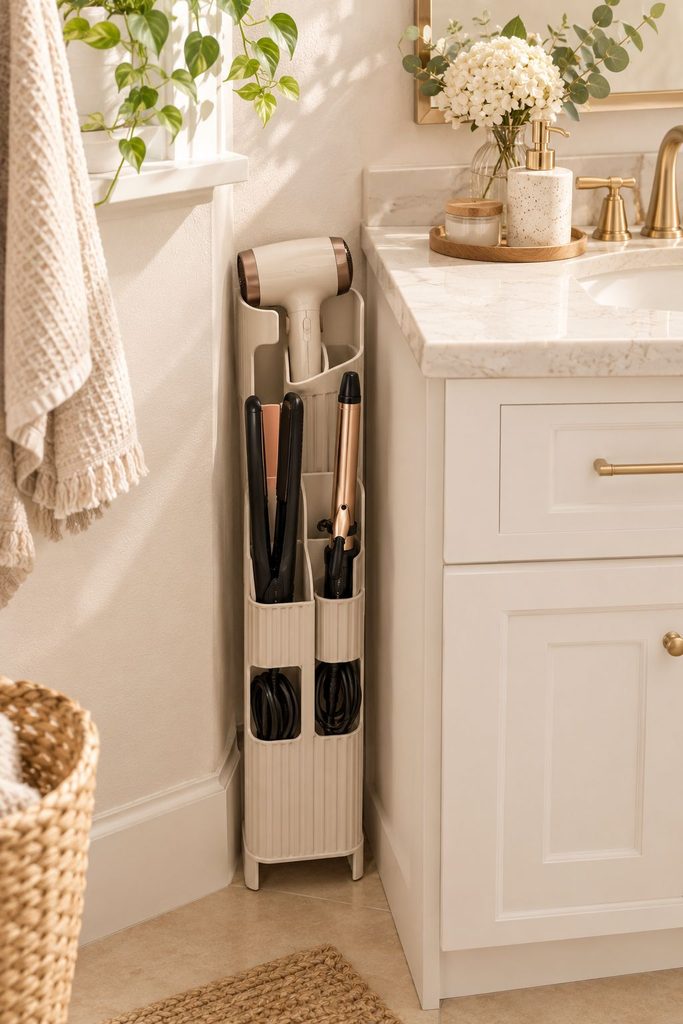
2. Use a Vertical Caddy for Narrow Spaces
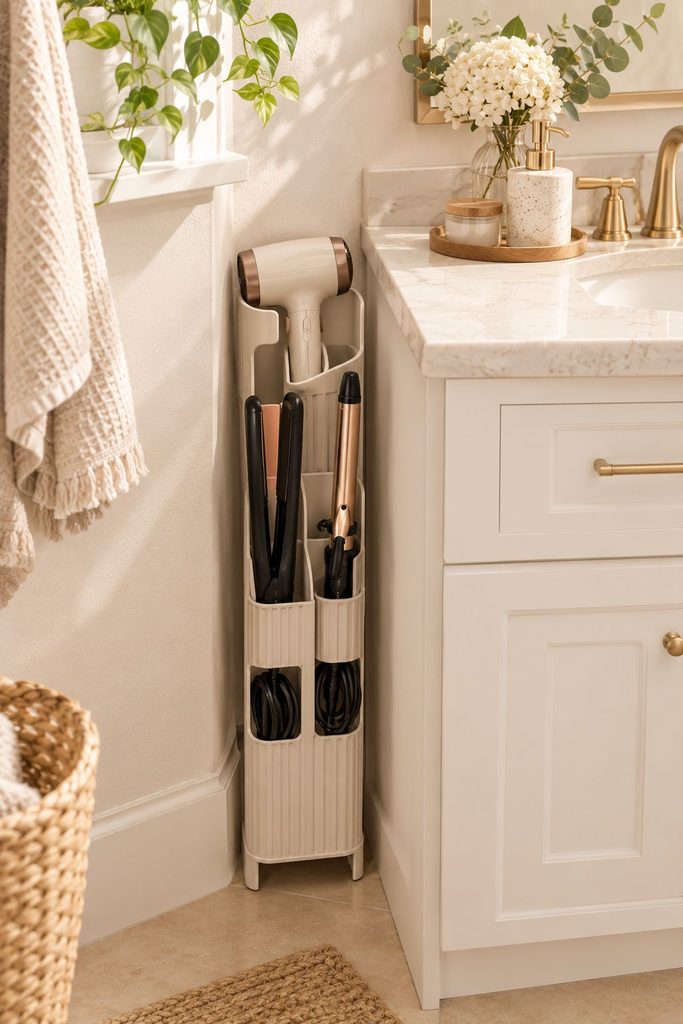
A slim, vertical caddy fits into the narrow gap beside a cabinet or vanity that most people write off as unusable. It’s an easy way to stand a flat iron or curling wand upright without it rolling around loose in a drawer.
What it solves: Dead, unusable space between furniture pieces, and tools that roll around loose when stored flat.
How to set it up:
- Measure the narrow gap precisely, these caddies come in a range of widths, and an ill-fitting one wastes the exact space it’s meant to save.
- Choose a caddy with multiple compartments if you’re storing more than one tool in the same spot.
- Slide it into place and test that it doesn’t tip when a tool is removed.
Pro tip: Add a small non-slip pad under the caddy if it’s sitting on a smooth countertop, so it doesn’t slide every time you pull a tool out.
3. Install a Heat-Safe Holder Near the Outlet
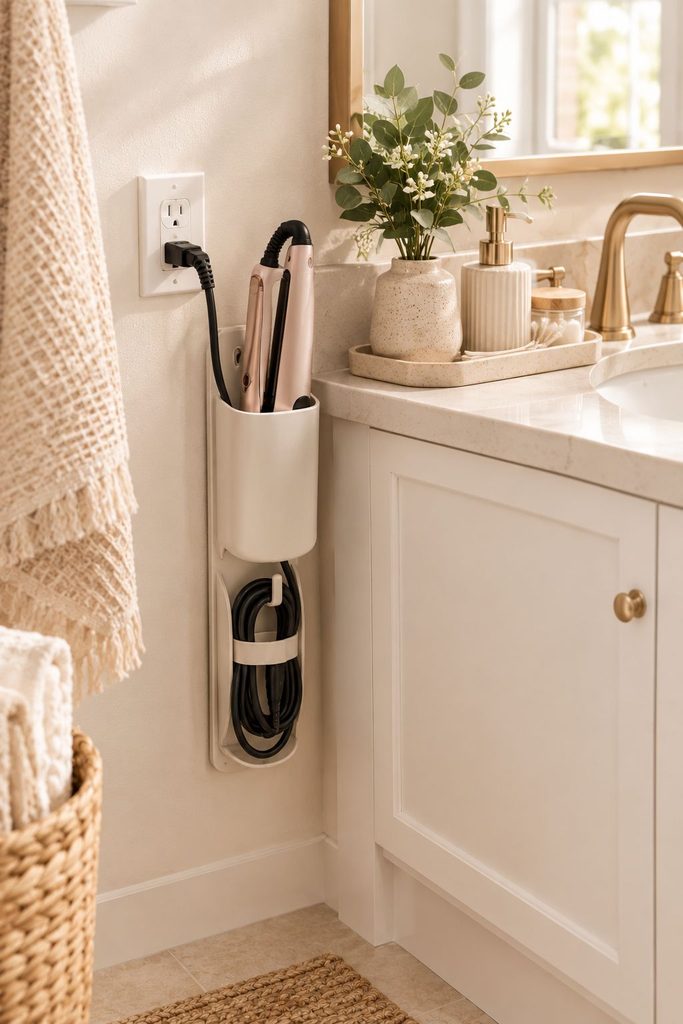
Mounting a small heat-safe holder directly beside the outlet you actually use solves two problems at once, it gives the tool a spot to cool safely right where it was used, and it keeps the cord from stretching across the counter to reach a far-away storage spot.
What it solves: Hot tools with nowhere safe to go immediately after use, and cords stretched awkwardly across the counter.
How to set it up:
- Identify the outlet you actually use for styling, not just any outlet in the room.
- Position the holder close enough that the cord reaches comfortably without pulling taut.
- Choose one with a heat-resistant pad underneath to protect the counter or cabinet surface from scorch marks.
- Mount or place it at a height where setting the tool down is a natural, one-handed motion.
Pro tip: Wrap cords loosely rather than tightly coiling them. Tight coils stress the internal wiring over time and shorten the tool’s lifespan.
4. Use Drawer Dividers for Brushes and Combs
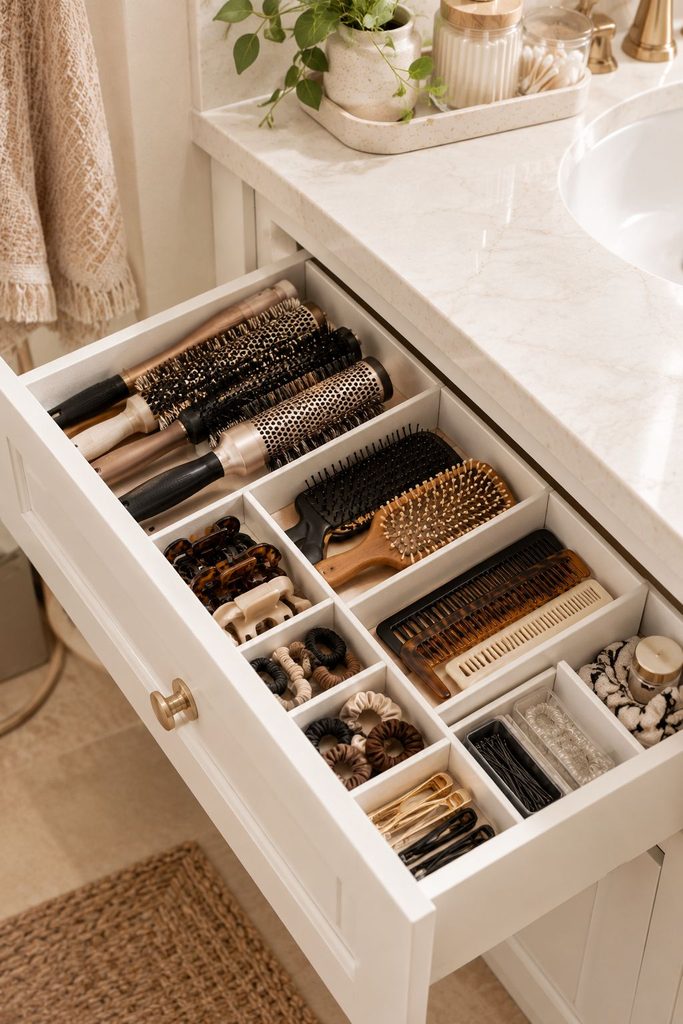
Brushes and combs left loose in a drawer turn into a tangled pile within days. Simple dividers keep each one in its own lane, so you can see what you have without digging through the whole drawer every morning.
What it solves: A drawer that looks organized for a week and then slides back into a jumbled pile.
How to set it up:
- Measure the drawer before buying dividers, bathroom drawers are often shallower than standard kitchen ones.
- Group by type, round brushes together, flat brushes together, combs together.
- Store smaller, daily-use tools toward the front, larger or less-used brushes toward the back.
Pro tip: Adjustable dividers are worth the extra cost over fixed ones, your brush collection will change over time, and a fixed divider grid won’t.
5. Add a Pegboard for a Dedicated Styling Station
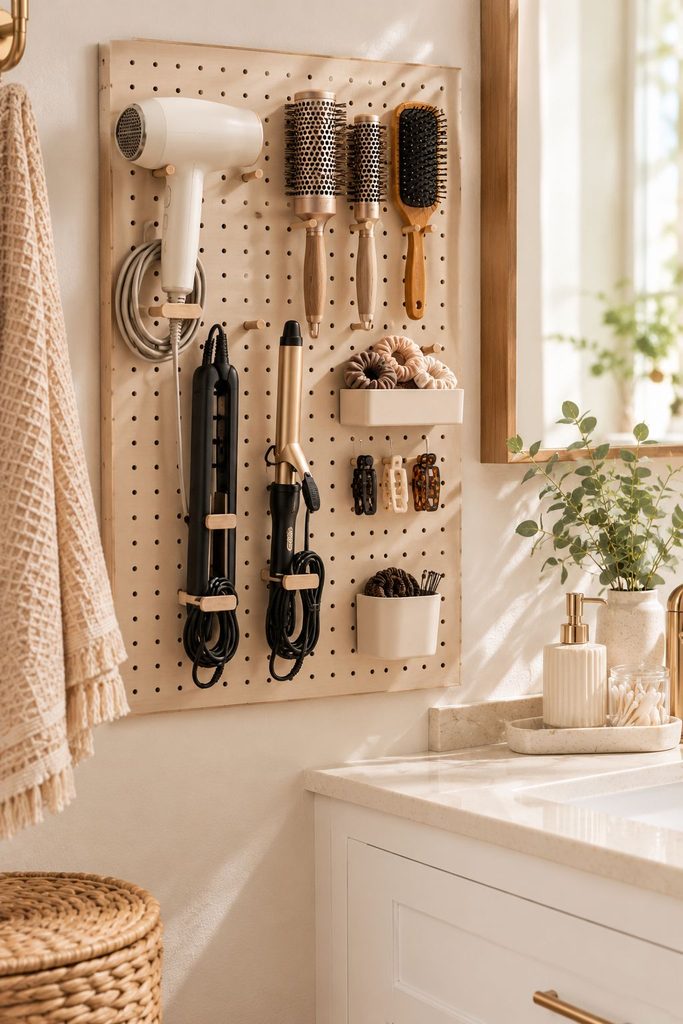
If you have a full dedicated counter or vanity for getting ready, a small pegboard mounted on the wall above it turns hair tools, brushes, and even small product bottles into a fully customizable, visible display instead of a cluttered counter.
What it solves: A counter covered in loose tools and bottles with no real system, and the lack of flexibility that comes with fixed shelving.
How to set it up:
- Mount the pegboard at a height where the top row is still easily reachable.
- Use a mix of hook sizes, small hooks for brushes, larger ones for a dryer or iron.
- Leave extra space between items so cords and bristles don’t tangle with their neighbors.
Pro tip: Rearrange the layout occasionally based on what you’re actually using most that season, a pegboard’s whole advantage is how easy it is to reconfigure compared to fixed storage.
6. Use a Clear Bin for Travel-Size and Backup Tools
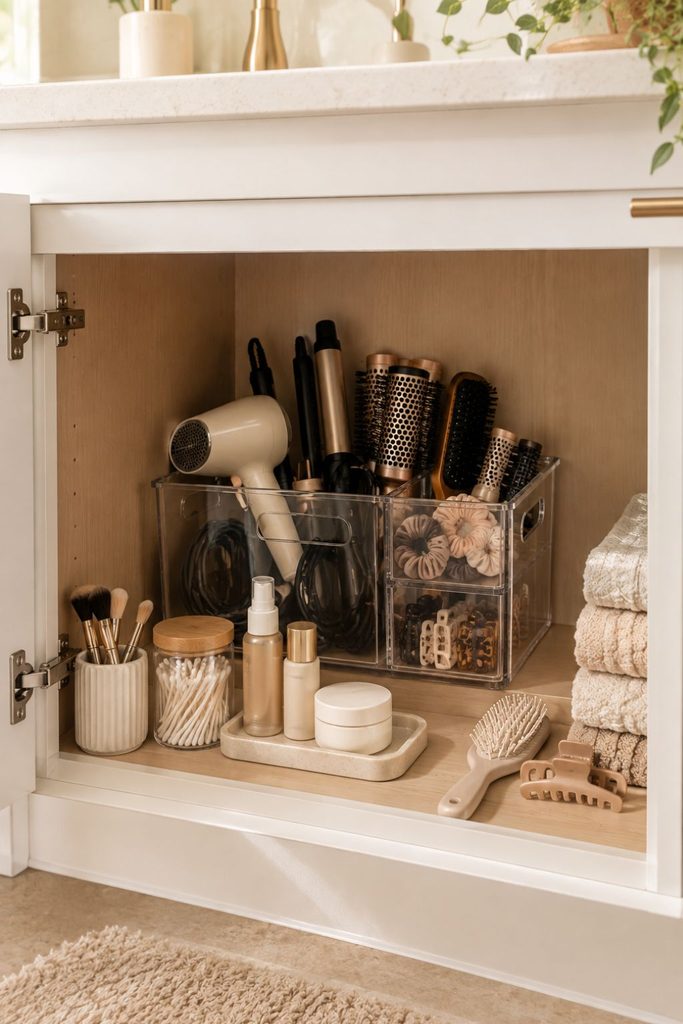
Travel-size tools and backup brushes you don’t use daily get lost fast in a shared drawer. A single clear, labeled bin keeps them contained and easy to check at a glance, so you’re not accidentally buying a third travel dryer you already own two of.
What it solves: Duplicate purchases from forgetting what backups you already own, and backup items cluttering up prime, easy-to-reach storage.
How to set it up:
- Gather every travel-size and backup tool you own into one place first, you likely have more than you think.
- Choose a bin sized to that actual collection, not an oversized one that leaves awkward empty space.
- Store it toward the back of a cabinet or on a higher shelf, since these are occasional-use items.
Pro tip: Do a quick check of this bin before any trip, it’s much faster to grab a ready-to-go travel kit than to assemble one from scratch every time.
7. Corral Cords with Velcro Ties or Clips
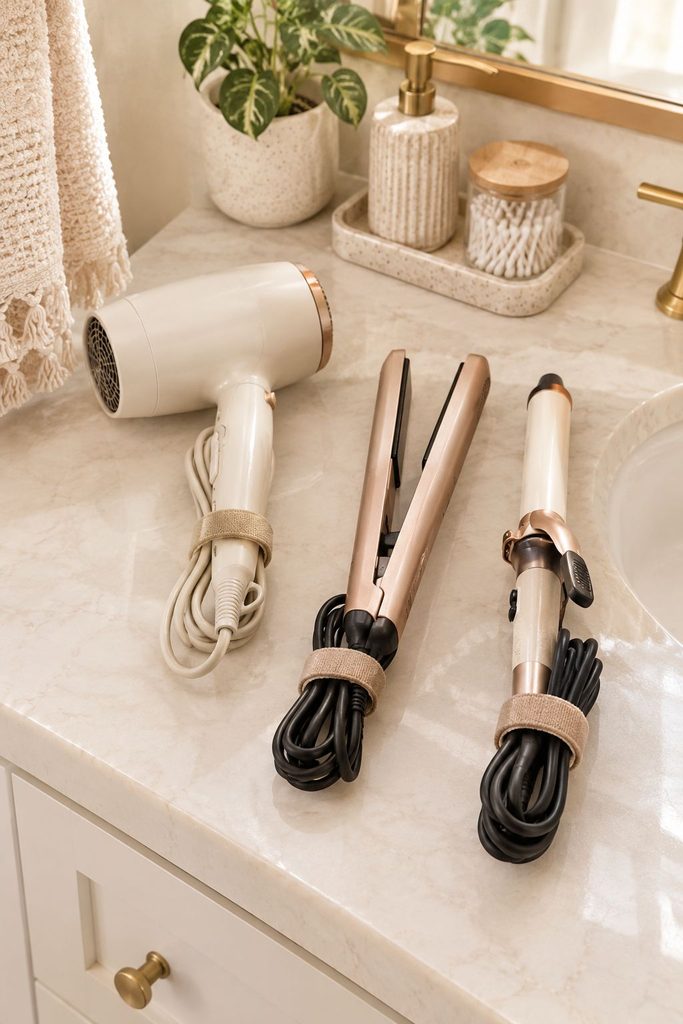
Loose cords are often the actual root of a messy-looking storage setup, even when the tools themselves are organized.
A simple velcro tie or small clip keeps each cord neatly wrapped and prevents it from snagging on neighboring tools.
What it solves: The tangled-cord problem that undoes an otherwise organized storage system within days.
How to set it up:
- Unwind each tool’s cord fully before rewrapping it, this prevents kinks from setting in.
- Wrap in a loose figure-eight rather than a tight single loop, tight wrapping stresses the cord over time.
- Secure with a velcro tie and tuck the end in so it doesn’t catch on anything.
Pro tip: Color-code ties if multiple people share the same storage space, it makes grabbing the right tool by its cord color a little faster.
8. Use a Rolling Cart for a Flexible Setup
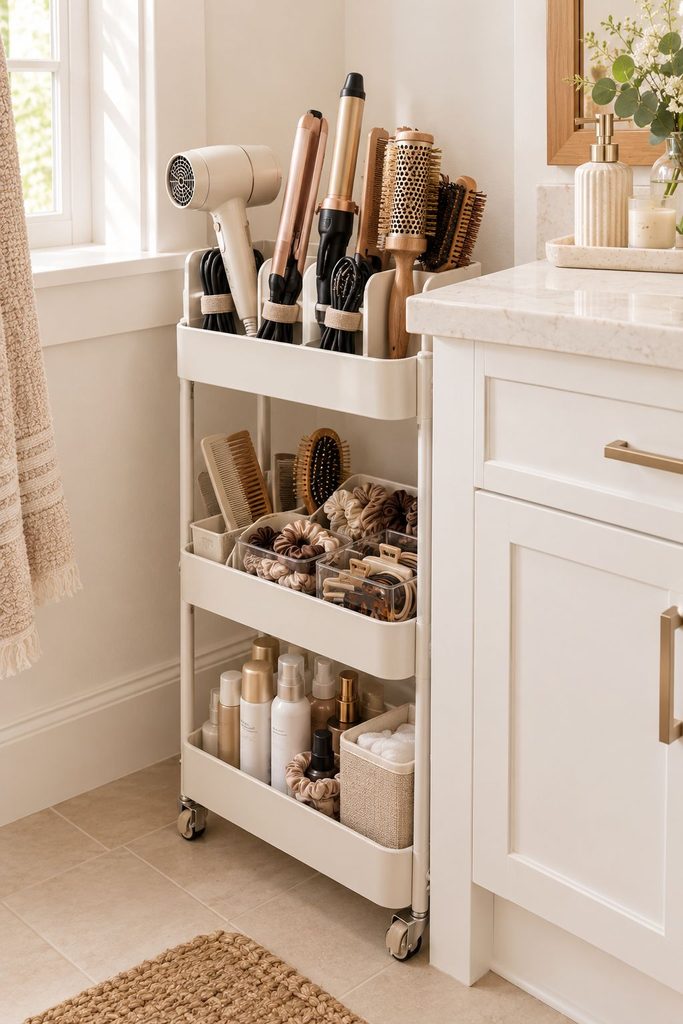
If your bathroom has even a little floor space, a slim rolling cart gives you flexible storage that can move wherever it’s needed, next to an outlet while styling, then tucked into a corner afterward.
What it solves: A one-size storage system that doesn’t flex with how you actually move through your routine.
How to set it up:
- Measure your available floor space and choose a cart with a narrow footprint, 12 to 15 inches wide fits most bathrooms.
- Choose a cart with at least one basket-tier so smaller items don’t roll around when it’s moved.
- Designate each tier for a category, tools on top, backups or products below.
Pro tip: Add small furniture pads to the wheels if you’re on tile or hardwood, constant rolling on hard flooring can scuff it over time.
Hair Tool Storage for Small Bathrooms
Small bathrooms need to prioritize vertical space over floor space, almost every idea on this list already does that, but it’s worth being deliberate about it.
Skip anything freestanding that takes up counter or floor footprint unless the room genuinely has space to spare, and lean hard on the wall organizer, cabinet-door organizer, and vertical caddy ideas above.
A pegboard is also a surprisingly good fit for a small space specifically, since it holds a lot in a single flat panel rather than spreading storage across multiple pieces of furniture.
Hair Tool Storage for Shared Bathrooms
If more than one person uses the same bathroom, give each person their own labeled section rather than one shared pile, the single biggest factor in whether a shared storage system actually stays organized.
A multi-pocket wall organizer works well here, assign each column or row to a different person.
Keep each person’s daily tools near their own section of counter or mirror space if possible, so there’s no daily negotiation over whose flat iron is closest to the outlet.
Zone Breakdown: Where Everything Should Actually Live
Daily-use tools (dryer, flat iron, main brush): Closest to the outlet you actually use, in a heat-safe holder or wall organizer.
Backup and travel tools: A labeled bin, stored out of the way since they’re used far less often.
Brushes and combs: Drawer dividers or a pegboard, grouped by type for a fast, obvious reach.
Cords: Secured with ties the moment a tool is put away, not left loose “for next time.”
Common Mistakes to Avoid
Putting a hot tool away immediately. This is both a safety risk and a fast way to damage a drawer or the tool itself. Always use a heat-safe holder and let it cool first.
Buying storage before measuring. A beautiful wall organizer that doesn’t fit your specific tools, or a caddy that’s the wrong width for your gap, solves nothing. Measure first.
Letting cords tangle “just for now.” A cord left loose even once tends to stay loose, since it’s easy to grab the tool and skip the two seconds it takes to secure it. Build the habit from day one.
Storing everything in one place regardless of how often it’s used. Daily tools buried behind backups you rarely touch is one of the most common reasons an “organized” system stops working within a few weeks.
Frequently Asked Questions
What’s the cheapest way to start organizing hair tools? A heat-safe holder near your outlet and a simple drawer divider solve the two most common pain points, tool safety and brush clutter, for very little money.
How do I store hair tools if I don’t have wall space to mount anything? A vertical caddy or a rolling cart are both good options that don’t require any drilling or mounting, and they’re easy to reposition if you move or rearrange later.
Is it safe to store a hair tool in a fabric organizer right after use? Only if the organizer is specifically rated for heat. Otherwise, let the tool cool fully on a heat-safe mat or holder first before tucking it away.
How often should I reorganize this space? A quick check every few months is usually enough, more often if you’ve added new tools or your routine has changed, since what worked a year ago doesn’t always fit how you’re using the space now.
Final Thoughts
Hair tool storage isn’t really about finding one perfect product, it’s about giving each type of item, daily tools, backups, cords, brushes, its own obvious spot based on how often you actually reach for it.
Once that’s in place, the morning routine gets faster almost immediately, no more digging through a drawer for the one brush you actually use.
Start with whichever pain point bothers you most, tangled cords or a buried flat iron are both common starting points, and build out from there.
If You Want More Home Organization Ideas to Try: