Patterned Air Dry Clay Bowl (Easy Napkin Transfer Technique)
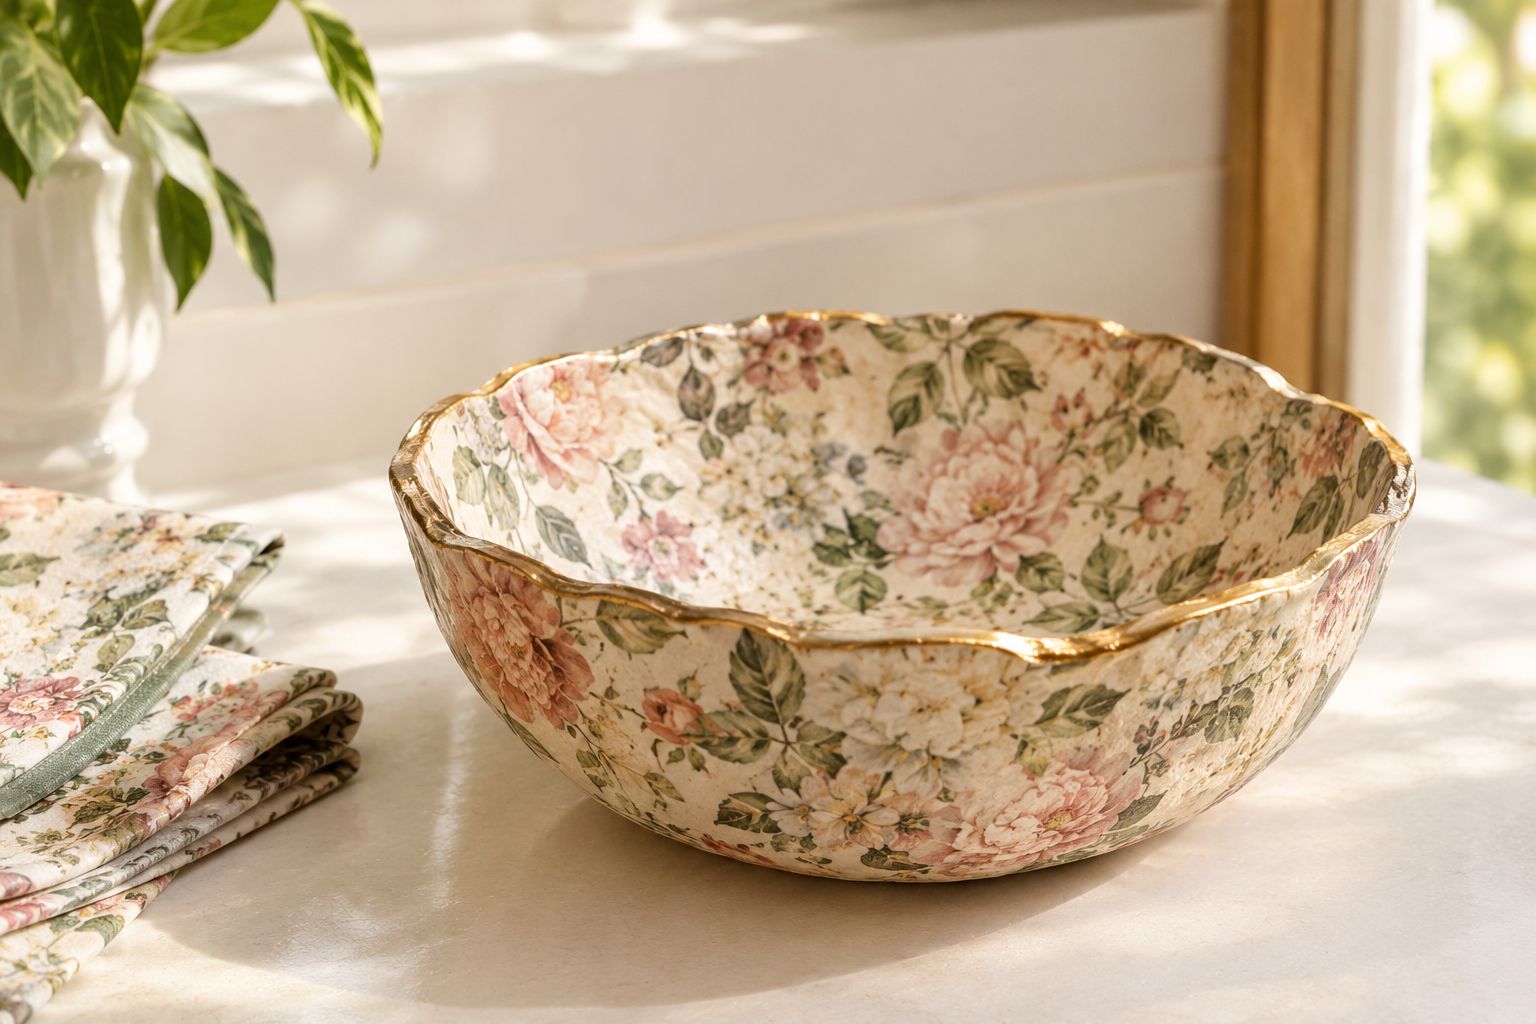
The first time I tried a napkin transfer on air dry clay, I ruined two napkins before I even got to the clay, pulling the layers apart too roughly, printing side shredding before it ever touched the bowl.
Once I slowed down and actually understood what the technique needs, it turned out to be one of the easiest ways I’ve found to get a genuinely intricate, patterned look without any real painting skill at all.
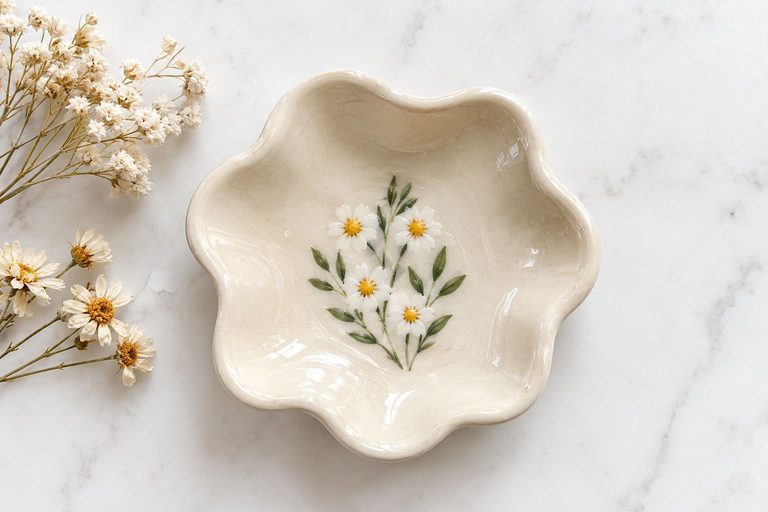
A dense floral print that would take me hours to hand-paint convincingly transfers in a single careful pass, which still feels a little like cheating in the best way.
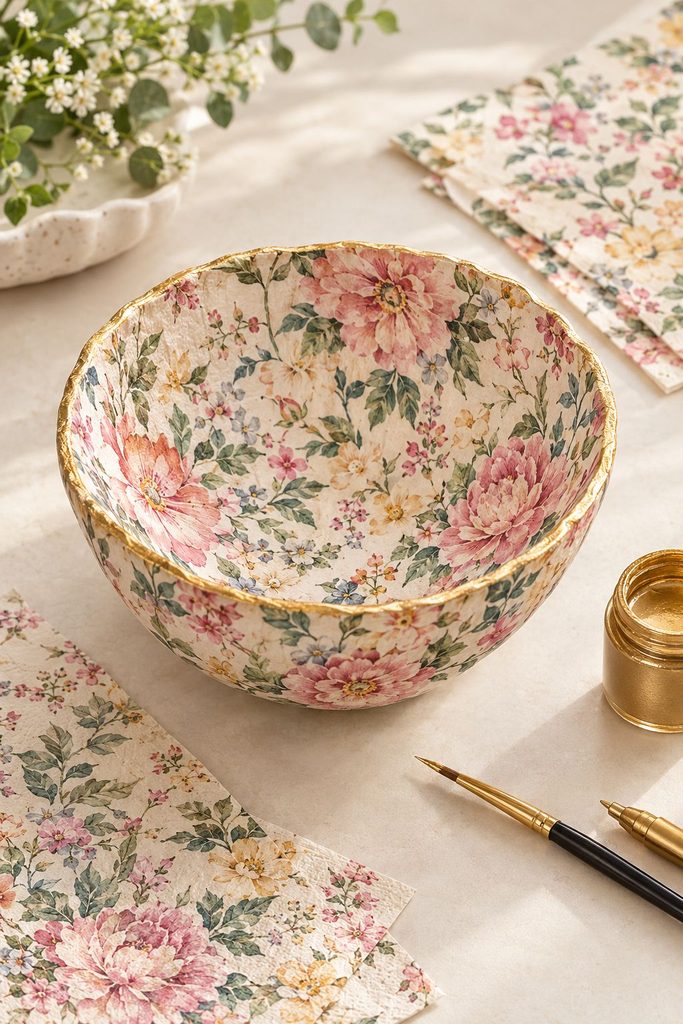
If you’ve made one of my simple air dry clay bowls before, you already have every shaping skill you need for this one. The only new part is the transfer itself, and once you’ve done it once, it’s genuinely hard to go back to plain painted bowls.
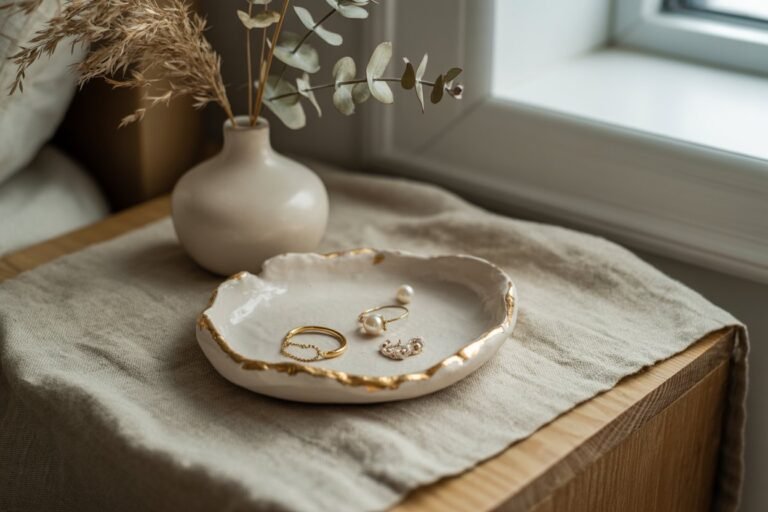
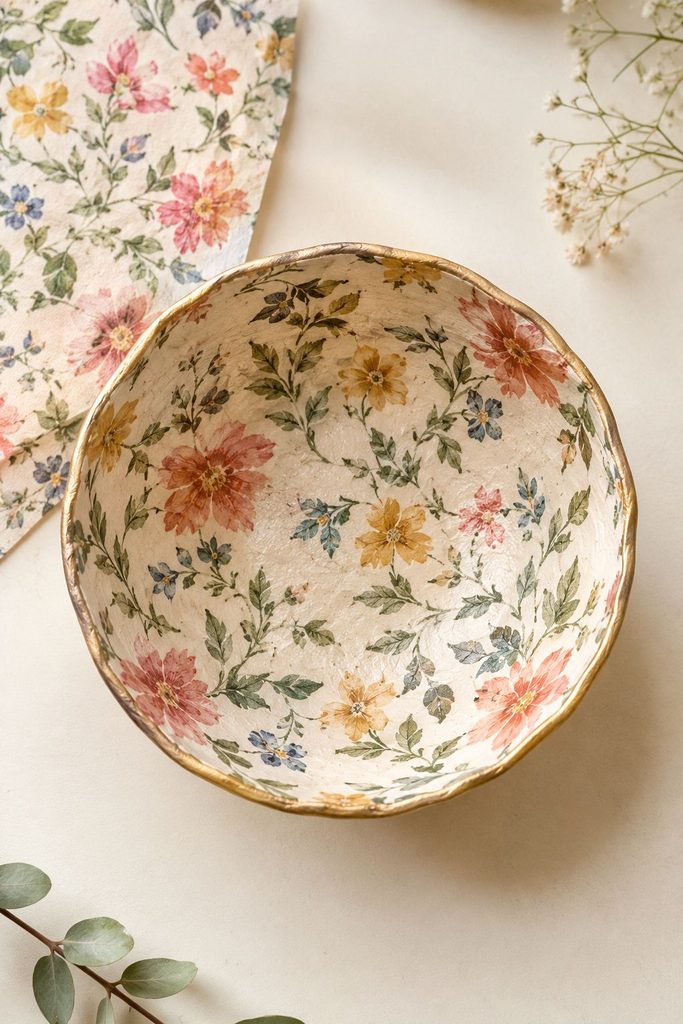
A little gold-rimmed set of these on a dresser or vanity looks like something you’d find in a boutique shop, not something made from a party napkin and a block of clay.
Why This Technique Works So Well
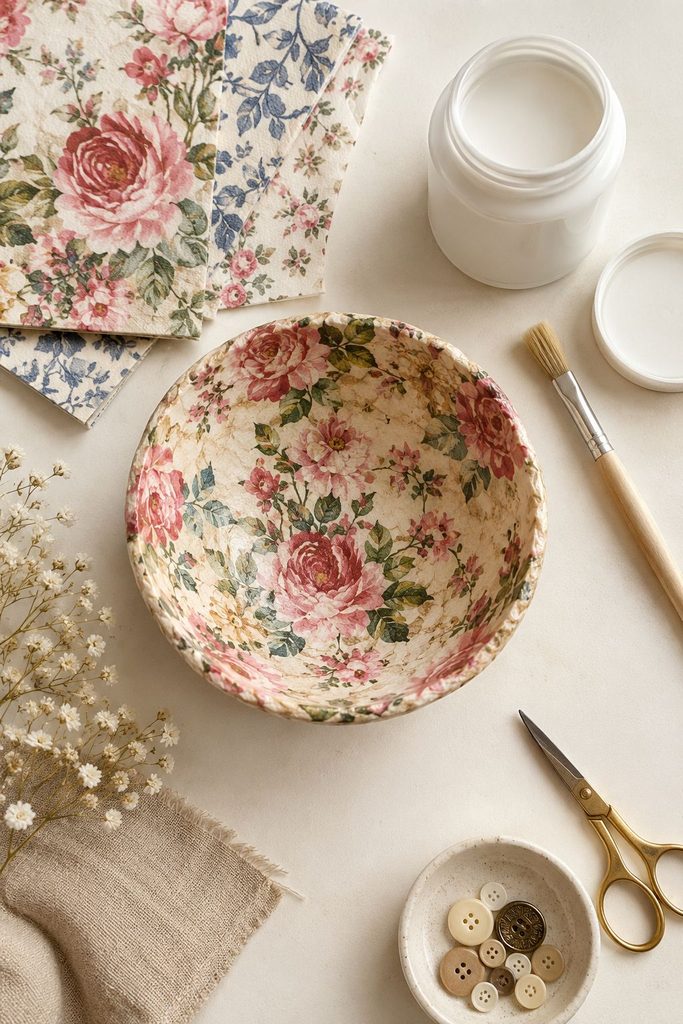
It’s worth understanding why napkin transfer produces such a clean, professional-looking result before you dive in, because the mechanics explain most of the common mistakes too.
A napkin’s printed layer is tissue-thin by design. Decorative napkins are made from several layers pressed together specifically so you can peel them apart, and the single printed layer is thin enough to become almost translucent once it’s glued down, letting it bond to a surface and blend into it rather than sitting on top like a sticker.
Mod Podge does double duty. It acts as glue to adhere the tissue to the clay, and once it dries, it also becomes a built-in protective layer over the design, which is part of why this technique holds up so well once finished.
Working flat removes the hardest variable. Trying to smooth a delicate, wet tissue layer onto a curved surface means fighting the curve and the fragility of the paper at the same time. Doing the transfer flat, then shaping afterward, isolates the one genuinely tricky step so you’re only solving one problem at a time.
A Quick Note on Where This Technique Comes From
Napkin transfer is really just a small branch of decoupage, the much older craft of decorating a surface by gluing paper onto it and sealing over the top.
Decoupage has been used on everything from furniture to trinket boxes for centuries, and applying it to clay is a fairly natural extension, clay gives you a surface you can shape yourself first, rather than working with something pre-made.
Understanding that this is decoupage at its core also explains why Mod Podge is the standard adhesive, it was developed specifically for this kind of paper-to-surface bonding, and it’s part of why the technique is so forgiving even for a first attempt.
What You’ll Need
- Air dry clay
- A rolling pin and two guide sticks, for an even thickness
- A small bowl, for shaping
- A decorative paper napkin (the 3-ply kind sold for parties or decoupage, with a pattern printed only on the top layer)
- Mod Podge Matte, or a similar matte decoupage glue
- A piece of plastic wrap
- A cotton ball or cotton pad, for smoothing
- Scissors
- Gold acrylic paint, for the rim (optional, but it’s the detail that makes these look finished)
- A clear sealant spray
A Quick Safety Note
Worth saying plainly: this bowl is decorative, not food-safe. Air dry clay isn’t food-grade, and once it’s covered in a napkin transfer, Mod Podge, and a sealant spray, it’s firmly a display piece, not something to eat or drink out of.
It’s perfect for rings, earrings, potpourri, or keys, just keep it away from anything you’d actually put in your mouth.
Choosing the Right Napkin
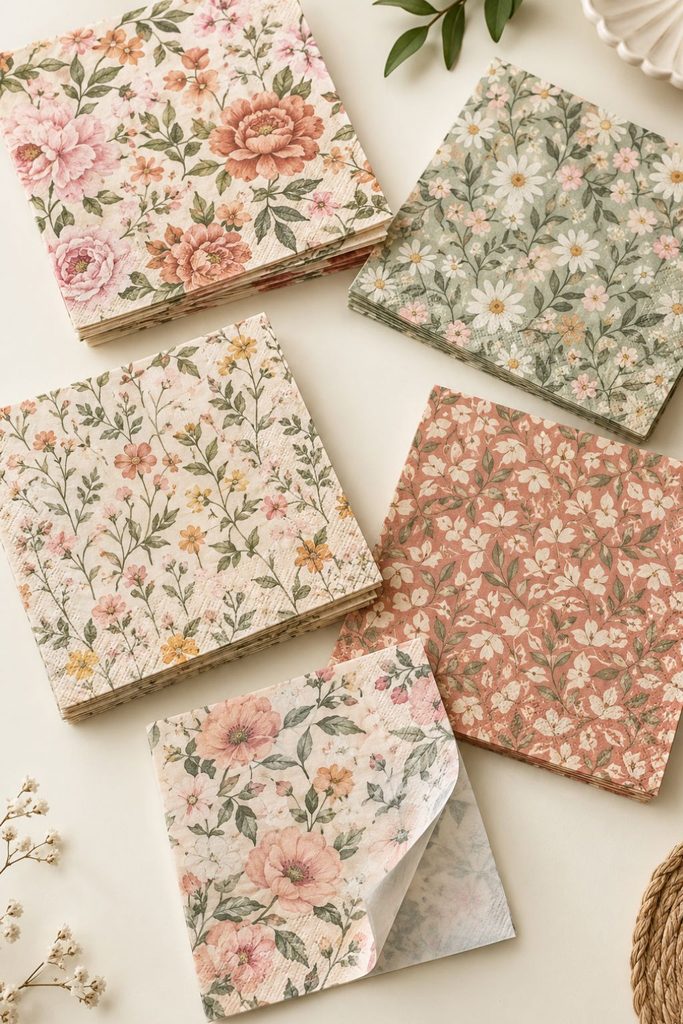
Not every decorative napkin transfers equally well, and it’s worth picking your pattern with a little intention.
A dense, allover print, like a packed floral or a busy botanical pattern, is far more forgiving than a single centered motif, since there’s no blank background to expose any uneven edges or slight gaps once the clay is trimmed into shape.
Lighter, pastel-heavy prints also tend to read more clearly once glued down, a very dark or saturated pattern can look slightly muddy once the matte Mod Podge dries over it.
If you’re buying napkins specifically for this project, a quick test on a scrap piece of clay before committing to a full set saves some frustration later.
How to Make It
Step 1: Roll Your Clay Flat
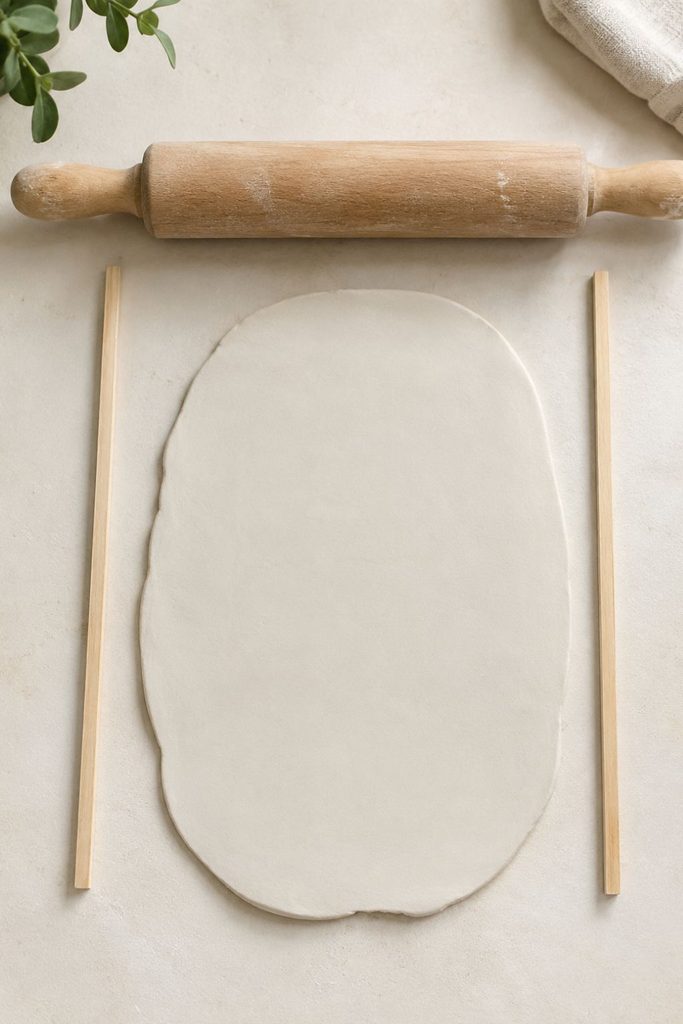
Roll your clay out to an even thickness, about ¼ inch, using guide sticks on either side of your rolling pin to keep it consistent, and leave it flat for now rather than shaping it into a bowl right away.
Working on a flat piece makes the napkin transfer itself far easier to control, you’re not fighting a curve while you’re trying to smooth delicate wet tissue paper.
Step 2: Prepare Your Napkin
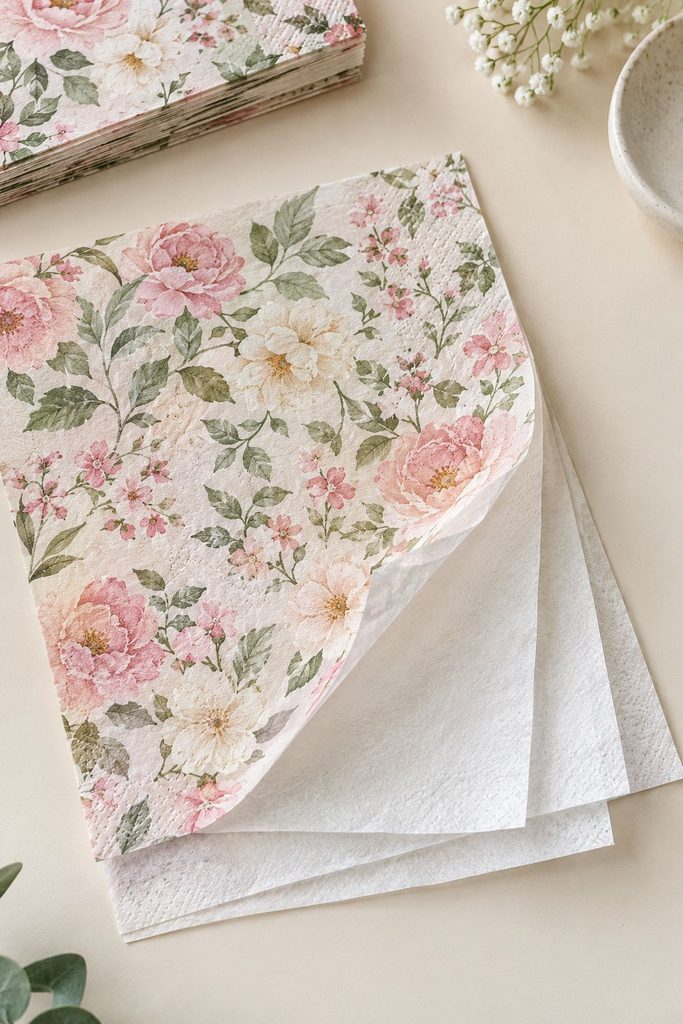
This is the step that trips up most beginners, myself included the first time. Decorative napkins are usually made of 2 or 3 thin layers pressed together, but only the top layer actually has the printed pattern on it.
Gently separate the layers, you only need the single printed top layer for the transfer, the plain white layers underneath just get discarded.
Work slowly here, the printed layer is tissue-thin and tears easily if you rush it, starting from one corner and peeling across rather than trying to separate the whole sheet at once.
Step 3: Cut or Tear Your Design
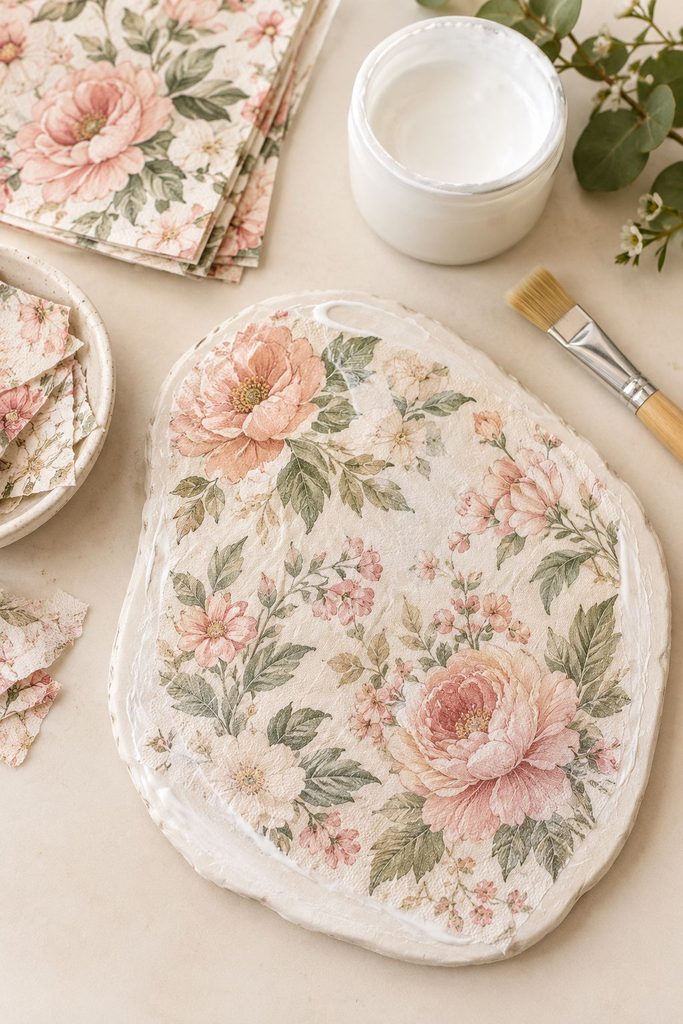
Cut or gently tear out the section of the pattern you want to use, a bit larger than your flat clay piece so you have room to trim the edges later.
A dense, allover floral print works beautifully for this technique, since it covers the whole surface without leaving any gaps or awkward blank spots.
Step 4: Glue the Napkin to the Clay
Brush a thin, even layer of Mod Podge Matte across the surface of your flat clay, covering the entire area the napkin will sit on, dry patches underneath are where bubbling tends to start.
Carefully lay the napkin layer on top, pattern side up, starting from one edge and lowering it down gradually rather than dropping it flat all at once, this helps avoid trapping large air bubbles underneath.
Step 5: Smooth It Under Plastic Wrap
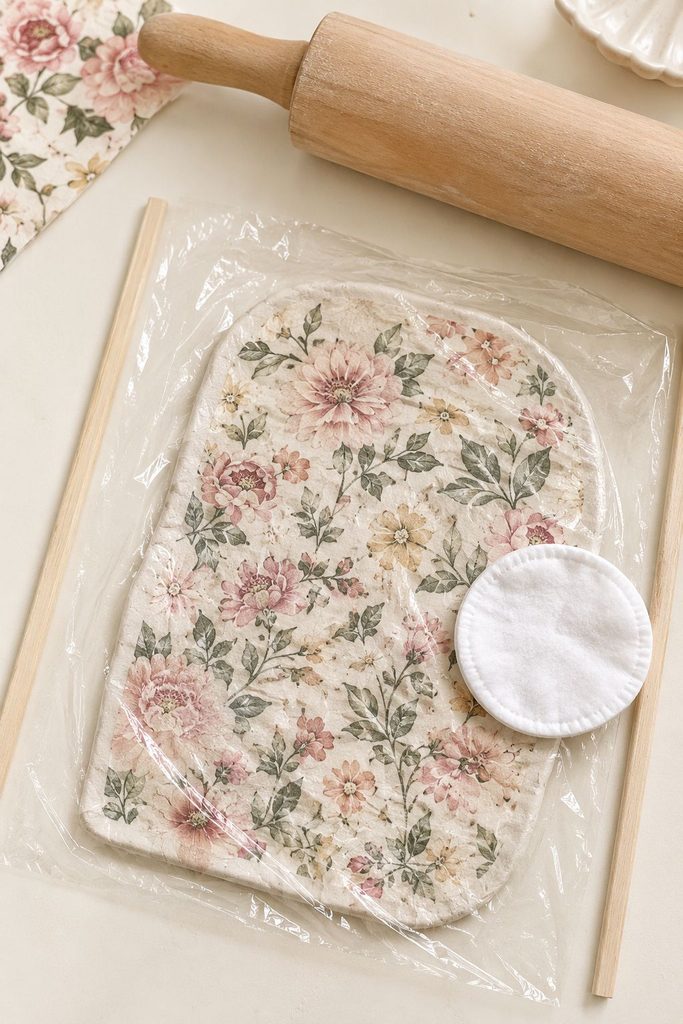
Lay a piece of plastic wrap directly over the napkin. Using a cotton ball or cotton pad, gently rub and smooth the napkin from the center outward through the plastic wrap.
The plastic wrap is doing real work here, it lets you press and smooth firmly enough to push out air bubbles and wrinkles without the cotton snagging or tearing the wet tissue directly.
Once it’s smooth and fully adhered, peel the plastic wrap away slowly, checking for any spots that still feel raised or bubbled, and go back over those specifically before moving on.
Step 6: Shape the Bowl
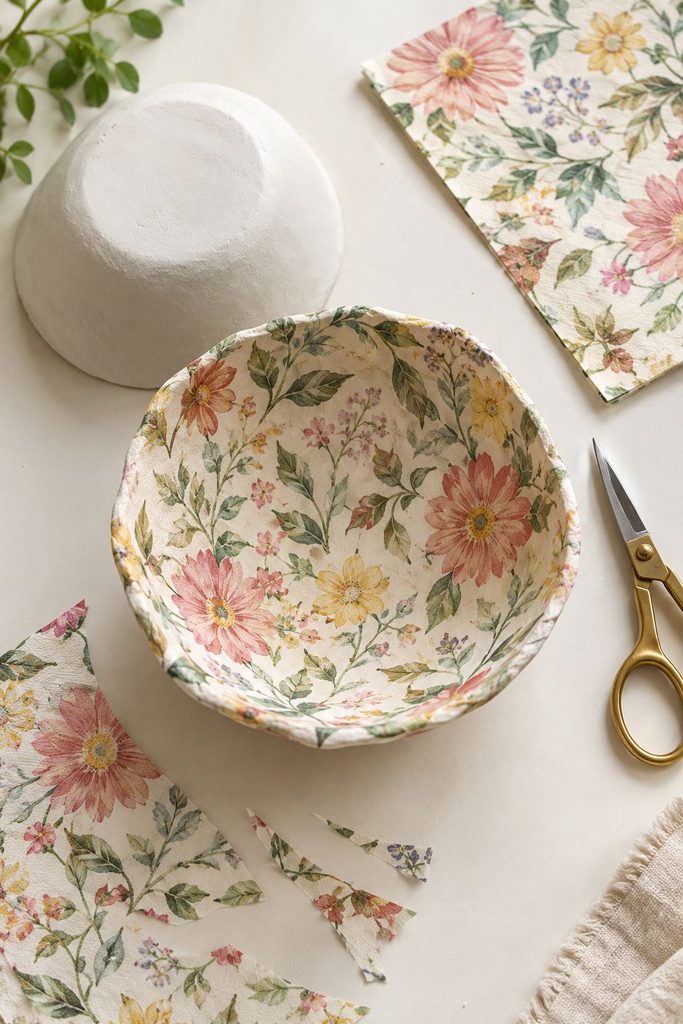
Give the glue a few minutes to tack down and firm up slightly before you move the piece, it should feel secure, not fully dry, just stable enough to handle without the napkin sliding.
While the clay is still soft and workable, gently drape it over the outside of a small bowl, something around 4 to 5 inches across works well for a first try, to create your shape, the same method I cover in my air dry clay bowl tutorial.
Trim any excess napkin hanging over the edges with scissors before it dries. Let the bowl air dry fully, usually 24 to 48 hours, before moving on.
Step 7: Paint the Rim
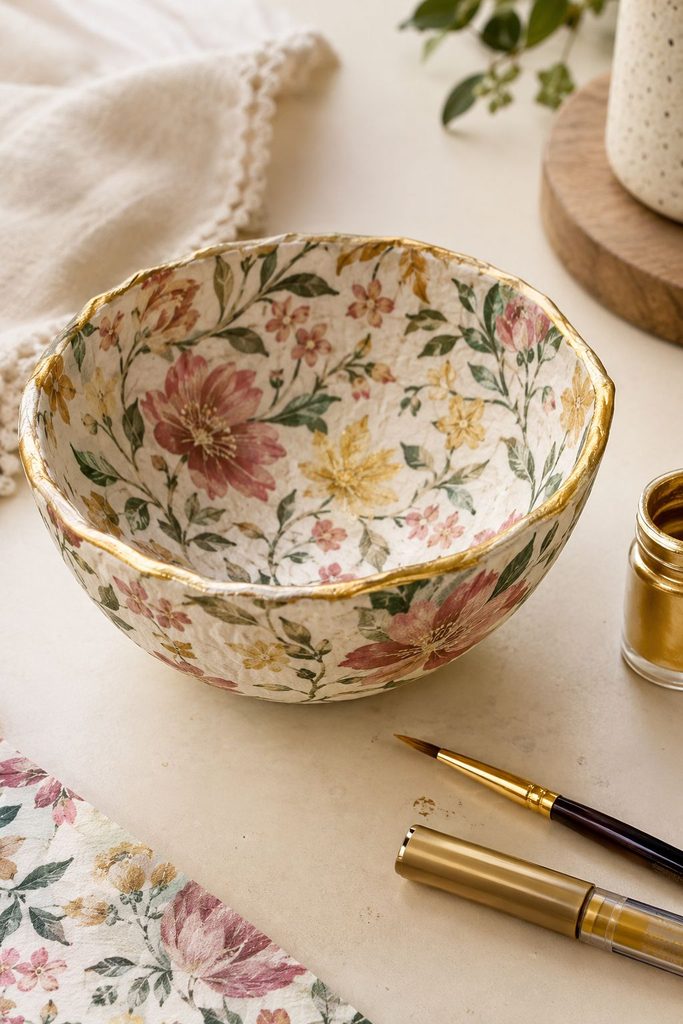
Once fully dry, use a gold leaf pen or a fine brush with gold acrylic paint to trace a clean line around the rim of the bowl.
This one small detail is really what makes the finished piece look intentional and polished rather than like a craft project, it’s worth taking your time on, going slowly around the curve rather than trying to do it in one fast pass.
Step 8: Finish With a Sealant
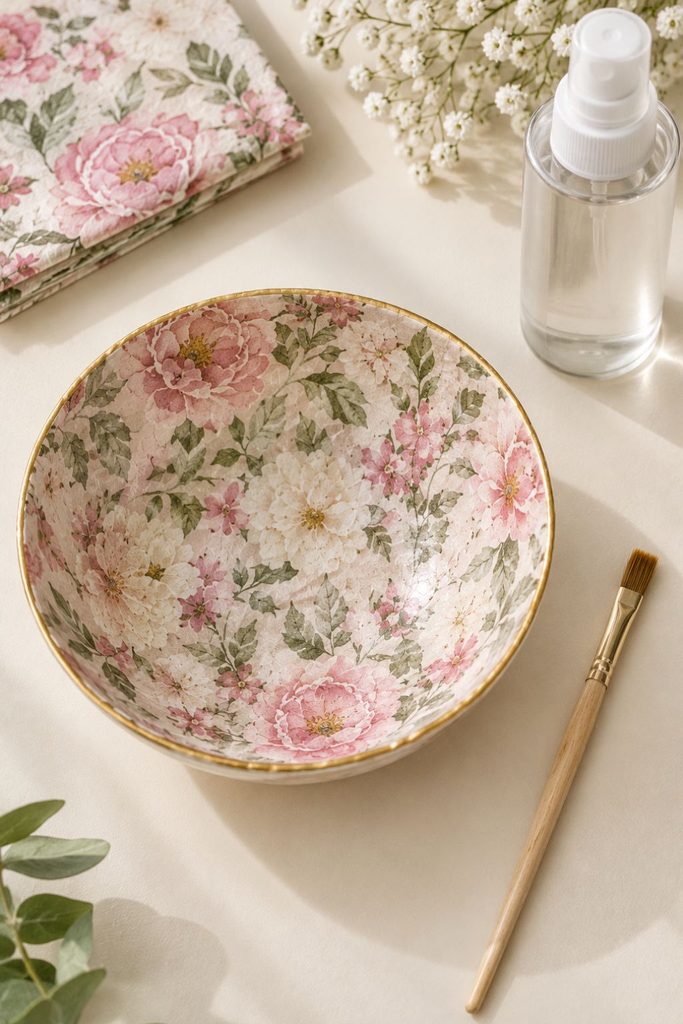
Once the gold rim is dry, finish with a light coat of clear sealant spray over the entire bowl, pattern included.
My full guide to sealing air dry clay covers why this step matters so much for any piece that will be touched or displayed regularly, it protects both the clay and the delicate paper design underneath from wear.
Common Mistakes to Avoid
Smoothing the napkin without the plastic wrap barrier. This is the single most common way to tear a transfer partway through. The wrap isn’t an optional extra step, it’s what makes the smoothing process survivable for the tissue.
Using too much glue underneath the napkin. A thick, pooled layer of Mod Podge makes the tissue slide around and wrinkle rather than lying flat. A thin, even layer is genuinely better than a generous one here.
Shaping the bowl before the transfer has set. Trying to drape and shape the clay while the napkin is still wet and only loosely adhered risks shifting or tearing the design right as you’re handling it most. Give it a few minutes to tack down first.
Skipping the gold rim. It’s easy to treat this as purely decorative and skip it, but it’s genuinely the detail that separates a finished-looking bowl from one that still reads as a craft project in progress.
Choosing a pattern with a lot of plain background. Any blank space in the original napkin design tends to show trimming lines and small imperfections far more obviously than a busy, edge-to-edge pattern would.
Variations to Try
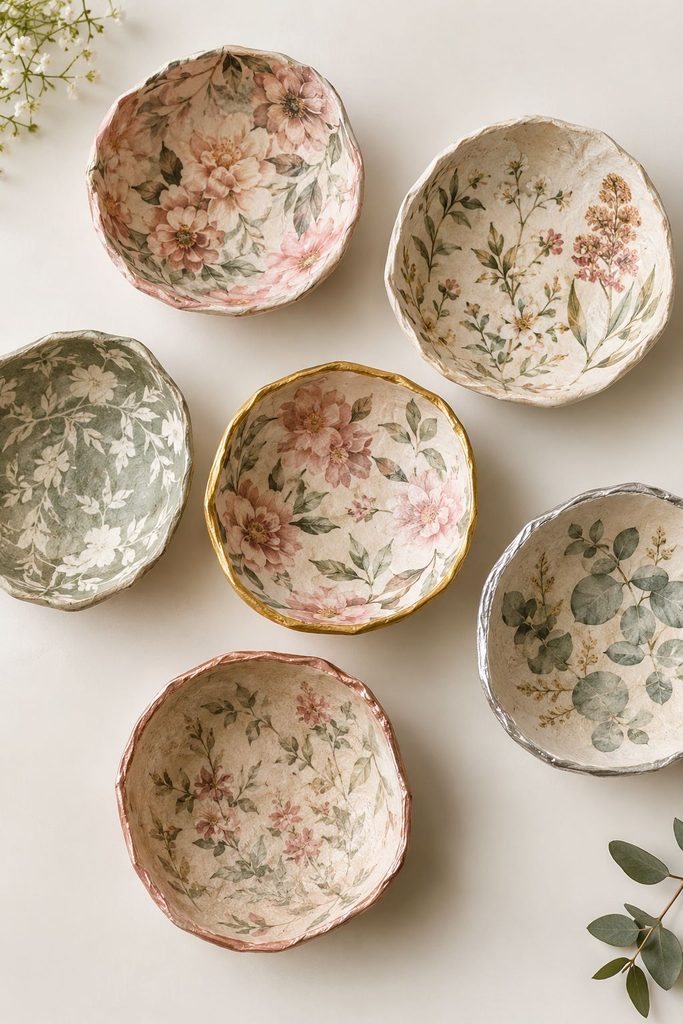
A mismatched set. Use a different section of the same napkin pattern on each bowl in a set, so no two are identical but they all clearly belong together.
Silver or rose gold rim instead of classic gold. The same technique works with any metallic pen or paint, choose whichever tone complements your pattern’s color palette best.
Layered transfers. Once you’re comfortable with a single transfer, try overlapping two different napkin patterns slightly at the edges for a more layered, collaged look.
A deeper vessel instead of a shallow bowl. The same flat-transfer-then-shape method works for a taller cup or vase shape too, just allow a bit more time for the clay to firm up before attempting a more dramatic shape.
Fixing a Transfer After It’s Already Dry
Sometimes you don’t notice a bubble, a wrinkle, or a thin spot until well after everything has dried, and it’s worth knowing you still have options at that point rather than starting over.
A small trapped air bubble can often be popped with the tip of a pin, pressing the tissue back down gently afterward and adding a tiny dab of Mod Podge over the spot to reseal it.
A thin or slightly transparent patch, where the base clay color shows through more than you’d like, can usually be disguised with a very small, carefully matched dot of acrylic paint blended in before you apply the final sealant coat.
A more significant tear or lifted edge is harder to fully hide, but a thin strip from a matching, unused part of the napkin glued over the damaged area blends in far better than leaving it as is.
How to Care for a Finished Bowl
Even with a full seal, these are decorative pieces rather than functional dishware, and treating them that way keeps them looking good for years.
Dust with a soft, dry cloth rather than anything damp, since repeated moisture exposure will eventually wear through even a good seal.
Keep them out of direct, intense sunlight for long stretches, which can slowly fade both the gold rim and the napkin pattern underneath over time, the same way sunlight fades fabric.
If the sealant ever starts to look dull or worn after a long period of regular handling, a fresh light coat refreshes the finish without needing to redo the piece itself.
Turning This Into Something You Could Sell
A small, well-made set of these genuinely has gift-shop appeal, and it’s worth considering if you enjoy this project enough to make more than one batch.
The material cost per bowl is low, a few cents of clay and a small fraction of a napkin, so the real value is in the technique and the finishing details like the gold rim.
My Air Dry Clay Business Ideas post goes deeper into pricing handmade clay pieces fairly for the time involved, which applies just as well here as it does to any other small clay project.
How to Style a Finished Set
A small cluster of two or three napkin-transfer bowls in graduated sizes makes a lovely little vanity or jewelry tray arrangement, nested slightly or spread across a dresser top.
They also make a genuinely thoughtful handmade gift, a single bowl wrapped simply looks far more considered than its actual cost and time investment would suggest.
If you’re making a set specifically to sell or gift, keeping the pattern consistent across the group, even if each bowl uses a slightly different section of the napkin, ties the whole set together visually.
Frequently Asked Questions
Can I use this technique on other clay shapes besides bowls? Yes, it works beautifully on flat trinket dishes and trays too, anywhere you have a reasonably flat or gently curved surface to work with.
Will the napkin pattern hold up over time? With a proper top coat of Mod Podge and a final sealant spray, yes, it holds up well to regular handling and display, though I wouldn’t use a napkin-transfer piece for anything that gets washed or wet often.
What if my napkin tears while I’m applying it? Small tears usually smooth back down and become nearly invisible once sealed. For a larger tear, gently overlap the torn edges rather than trying to line them up perfectly, slight overlaps blend in better than visible gaps.
Do I really need the plastic wrap step? I’d genuinely recommend it. Smoothing wet tissue paper directly with your fingers or a brush is what tears it most often, the plastic wrap lets you press firmly enough to remove bubbles without that risk.
Can I use this technique with homemade air dry clay? Yes, my homemade air dry clay recipe works just as well as store-bought for this project.
How long does the whole project take start to finish? Active working time is genuinely under 30 minutes, the transfer and shaping together.
The real time investment is the drying window, so this is more of a “start it today, finish it in two days” project than a single sitting.
Final Thoughts
This is one of those projects where the technique does most of the visual heavy lifting for you, a genuinely intricate, boutique-looking pattern with almost none of the hand-painting skill that look would normally require.
The plastic wrap trick is the one detail that makes the whole thing click, once you’ve felt how much more control it gives you over the wet tissue, you’ll reach for it on every transfer project going forward, not just this one.
Start with a single bowl before committing to a full set, it’s the fastest way to get a feel for how your specific napkin and glue behave together, and from there a little collection comes together quickly.