How to Make an Air Dry Clay Jewelry Tree

The first time I made an air dry clay jewelry tree, I was mostly trying to solve a very ordinary problem: I was tired of finding my earrings and necklaces in little piles around my bedroom.
My rings had a dish. My earrings had a small box. But necklaces were another story entirely. They ended up on the corner of my dresser, tangled around each other, or hanging from whatever little knob happened to be nearby.
I wanted something that was useful but still looked like part of the decor, and that is what led me to making a jewelry tree from air dry clay.

What I like about this project is that it looks much more complicated once it’s finished than it actually is. You’re essentially creating a simple clay base, adding a trunk and a few branches, and then letting the shape do most of the work. You don’t need a pottery wheel, a kiln, or particularly advanced clay skills.
And because you’re making it yourself, you can change almost everything about it. Keep it completely minimalist, add little leaves, make the branches delicate and curved, or paint the whole thing in a soft neutral that works with your bedroom decor.
If you’re new to air dry clay, this is also a nice project to try after you’ve made a few simpler pieces. My 10 Air Dry Clay Beginner Tips are worth reading first if you’re still getting used to how quickly the clay dries and how much moisture you actually need while working with it.
Why Make an Air Dry Clay Jewelry Tree?

There are plenty of jewelry stands you can buy, but I actually prefer making one because the usual store-bought versions can feel a little too polished or generic.
A handmade clay jewelry tree has a slightly imperfect quality that makes it feel more like decor than storage.
It’s also surprisingly useful.
You can hang:
- Earrings
- Lightweight necklaces
- Bracelets
- Rings from the smaller branches
- Hair accessories
- Charms and small pendants
The biggest advantage is that your jewelry is visible.
I find that if something is hidden away in a jewelry box, I tend to forget I own it. A little jewelry tree sitting on a dresser or vanity makes the pieces you wear regularly part of the room rather than something you have to dig around for.
What You’ll Need (Shop on Amazon)
You don’t need a huge supply list for this project.
- Air dry clay
- Rolling pin
- Small bowl or round object for shaping the base
- Craft knife or clay tool
- A little water for smoothing
- Sandpaper or fine-grit sanding sponge
- Acrylic paint
- Paintbrushes
- Clear sealer
- Parchment paper or a nonstick work surface
You can keep the finish very simple with one paint color, or add small details once the clay has dried.
If you’re unsure which paint to use, I have a full guide to the best paint for air dry clay, including the types of paint I find easiest to work with on finished clay pieces.
What Kind of Clay Works Best?
For a jewelry tree, I would use a good-quality air dry clay that becomes reasonably strong once fully cured.
The base needs to be sturdy enough to support the branches and whatever lightweight jewelry you plan to hang from them.
You don’t need an especially thick layer of clay everywhere, but the tree trunk shouldn’t be paper-thin either.
One thing I learned from making larger clay pieces is that thickness and drying time matter. If you’ve had clay crack on you before, don’t rush this part. My guide on how to avoid cracks in air dry clay goes into why thicker pieces need more patience while drying.
How to Make an Air Dry Clay Jewelry Tree
Step 1: Make the Base

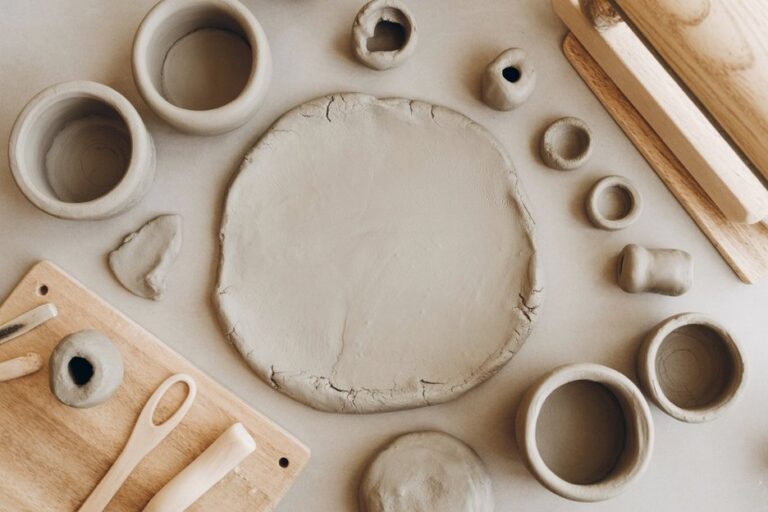
Start by rolling out a piece of air dry clay about ¼ inch thick.
You want the base to be wide enough that the finished tree won’t easily tip over when you hang jewelry from one side.
For a small jewelry tree, a base around 4 to 5 inches across works well.
You can leave the base as a simple circle, or cut it into a slightly organic shape. I actually prefer a rounded, imperfect edge because it makes the finished piece feel more handmade.
Smooth the top and edges with slightly damp fingers.
Don’t soak the clay with water. You only need enough moisture to soften little fingerprints and rough edges.
Step 2: Create the Tree Trunk
Take another piece of clay and roll it into a thick rope.
This will become the trunk, so make it sturdy rather than thin and delicate.
Position it vertically on the center of your base and gently press the bottom into the base.
Blend the clay around the join with your fingers or a clay tool.
This connection is important because you don’t want the trunk simply sitting on top of the base. You want the two pieces to become one solid structure.
If the clay is beginning to dry while you’re working, a tiny amount of water can help soften the surface enough to blend the connection.
Step 3: Add the Branches

Now comes the fun part.
Roll several smaller pieces of clay into tapered ropes and attach them to the trunk.
I recommend making the branches slightly thicker where they meet the trunk and gradually thinner toward the ends.
Try not to make every branch identical.
A few branches curving upward, one leaning slightly to the side, and another sitting lower on the trunk will make the tree look much more natural.
You also don’t need dozens of branches.
For a small jewelry tree, 5 to 8 branches is usually plenty.
Remember that the purpose of the branches is to hold jewelry, so leave enough space between them that necklaces and earrings don’t immediately overlap.
Step 4: Strengthen the Branch Connections
Once you’re happy with the overall shape, go back over every branch connection.
This is one of those little steps that makes a big difference later.
Use your fingers or a clay tool to gently blend each branch into the trunk. You can smooth the join until it looks almost seamless.
If you want a more rustic tree, you don’t have to make everything perfectly smooth. A little texture can actually look beautiful once painted.
For a botanical style, you can also press tiny leaf shapes into some of the branches.
Just keep the leaves fairly small. Remember that the jewelry is supposed to be the focus.
Step 5: Let the Tree Dry Completely
Place the finished jewelry tree somewhere dry and allow it to cure completely.
This is where patience matters.
Don’t try to paint it because the outside feels dry if the center is still cool or slightly soft.
A small project may dry within a day or two, but the exact time depends on the thickness of your clay, the size of the tree, and the humidity in your room.
I prefer giving thicker pieces extra time rather than risking cracks or trapped moisture.
If you’ve had problems with cracking before, definitely take a look at my guide to preventing cracks in air dry clay before starting.
Step 6: Sand and Paint

Once the tree is completely dry, gently sand any rough areas.
You don’t need to sand the entire piece until it’s perfectly smooth. Just concentrate on areas where you can see obvious bumps, rough edges, or fingerprints.
Then wipe away the dust.
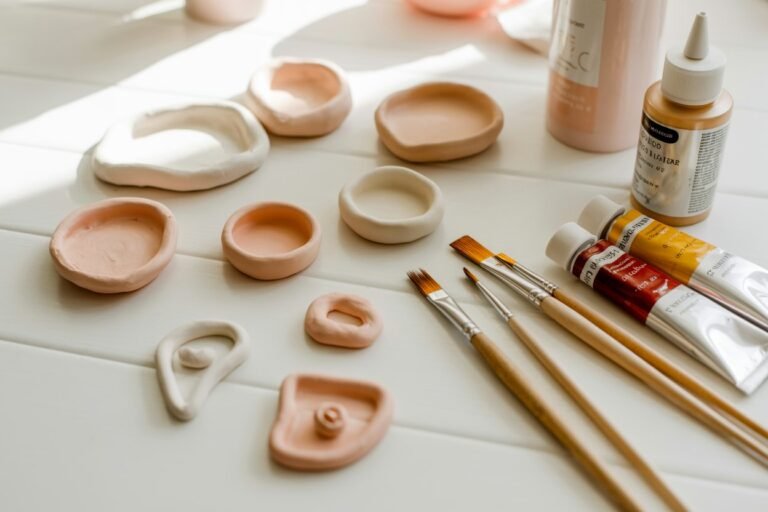
For the paint, you have plenty of options.
A few combinations I particularly like are:
Warm white: Simple, clean, and easy to style with almost any bedroom decor.
Soft beige: Gives the piece a warmer, more natural appearance.
Terracotta: Beautiful if you want to lean into the earthy handmade look.
Muted sage: Works especially well for a botanical-inspired jewelry tree.
Blush pink: A softer option for a bedroom or vanity.
You could also paint the trunk one color and the base another, or leave the entire piece one shade and add tiny painted leaves.
For more ideas on getting an even finish, my best paint for air dry clay guide covers the options in more detail.
Step 7: Seal the Finished Jewelry Tree

Once the paint is completely dry, apply a suitable clear sealer.
The sealer helps protect the painted surface from everyday handling and makes the finished piece easier to dust and clean.
Use several light coats rather than trying to cover everything with one heavy coat.
Make sure each coat has time to dry before applying the next.
I have a more detailed guide on how to seal air dry clay if you’re unsure which finish to choose or how many coats to apply.
And because this is a decorative jewelry holder rather than something designed to sit in water, you don’t need to treat it like a waterproof container. If you’re curious about the difference between sealing and actually waterproofing clay, my guide to making air dry clay waterproof explains that distinction.
How Big Should an Air Dry Clay Jewelry Tree Be?
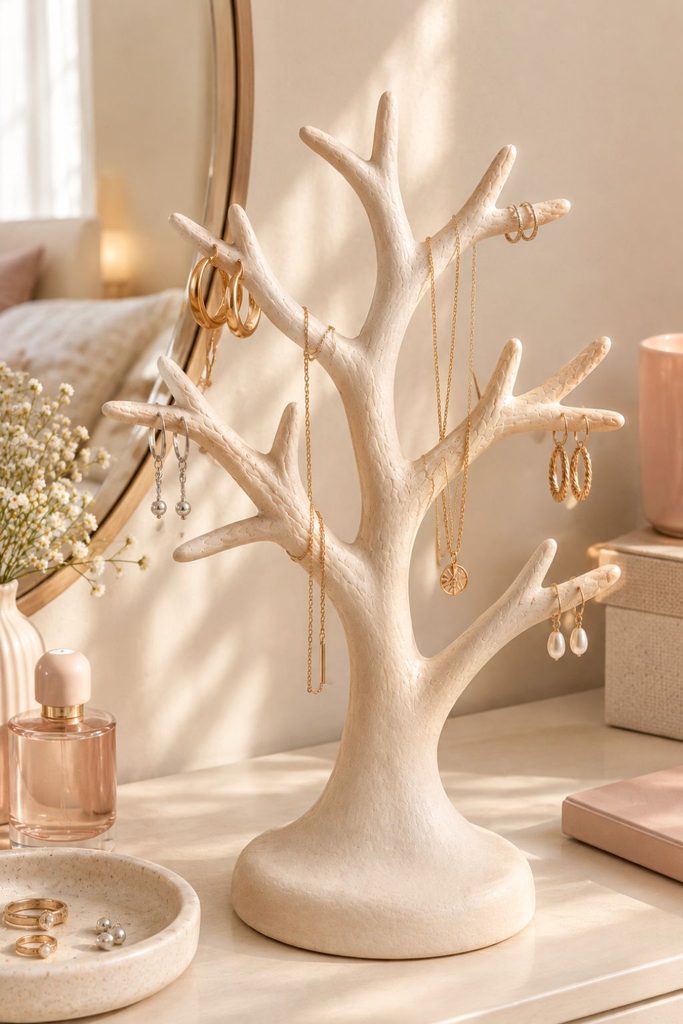
This is one area where smaller is usually better.
A huge jewelry tree can look impressive, but it becomes much harder to keep stable once you’re hanging jewelry from several branches.
For a dresser or bedside table, I’d aim for something approximately:
- Base: 4–6 inches wide
- Height: 6–9 inches
- Branches: 5–8 branches
- Trunk: thick enough to support the branches without bending
You can absolutely make a larger version, but if you’re a beginner, I would start small.
A small tree also makes a lovely handmade gift because it’s useful without taking up much space.
How to Make the Jewelry Tree More Stable
The base is arguably the most important part of the project.
A beautiful tree that constantly tips over isn’t going to be very useful.
Make the base wider than you initially think you need, especially if your branches extend far to one side.
You can also keep the branches relatively symmetrical so the weight of the jewelry isn’t concentrated on one side.
Another trick is to keep your heaviest jewelry toward the lower branches and lighter earrings or chains toward the top.
If the tree still feels unstable after drying, you can add a small amount of weight underneath the base, as long as it is securely incorporated and doesn’t make the piece awkward to use.
How to Design Your Jewelry Tree

This is where you can really make the project your own.
Minimalist Jewelry Tree
Keep the trunk smooth, use only a few curved branches, and paint everything warm white, cream, or beige.
This is probably my favorite version for a modern bedroom.
Botanical Jewelry Tree
Add tiny leaves along a few branches and use sage green, olive, or soft natural colors.
You could even press subtle leaf textures into the clay before it dries.
Terracotta Jewelry Tree
Skip most of the paint and embrace the earthy clay look.
A matte terracotta finish with a simple clear sealer gives it a handmade, almost pottery-like appearance.
Gold-Accent Jewelry Tree
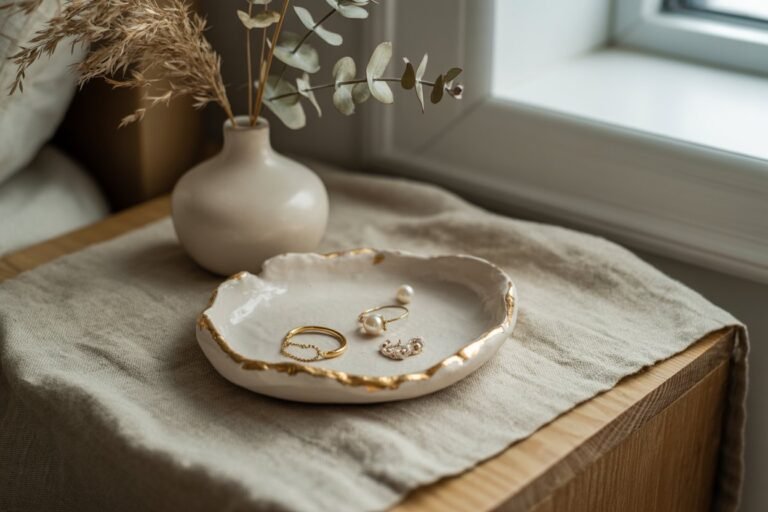
Paint the tree in a neutral shade and add tiny gold details to the tips of the branches or around the base.
You don’t need much gold. A few small accents are enough.
Personalized Jewelry Tree
Add a small initial to the base or press a simple botanical pattern into the clay.
This makes the project especially nice as a birthday or Christmas gift.
What Jewelry Can You Hang on It?
The branches work best for lightweight jewelry.
Small earrings can hang directly from the branch tips, while delicate necklaces can drape over the longer branches.
Bracelets can sit around thicker lower branches.
Rings can be placed over short branch ends, although I wouldn’t rely on very thin branches for heavier pieces.
I would avoid loading the tree with lots of heavy jewelry.
The goal is to create a convenient display for the pieces you wear regularly, not turn it into a miniature jewelry rack holding your entire collection.
Common Mistakes to Avoid
Making the branches too thin
Thin branches are much more likely to snap while you’re shaping, painting, or hanging jewelry.
Make them slightly thicker than you think you need, then taper them toward the tips.
Making the base too small
This is probably the easiest mistake to make because a smaller base initially looks more delicate.
Remember that the tree has to support jewelry once it’s finished.
Moving the tree before it’s fully dry
Air dry clay can feel surprisingly solid on the outside while remaining damp inside.
Give it time.
Adding too many branches
More branches don’t necessarily make a better jewelry tree.
Too many branches can make the finished piece look crowded and make your jewelry harder to see.
Skipping the sealer
Even decorative clay pieces benefit from a protective finish, especially something you’ll be touching regularly.
Trying to make everything perfectly smooth
A handmade piece doesn’t have to look factory-made.
Some subtle texture and variation can actually make the finished jewelry tree much prettier.
How to Fix Small Cracks
If you notice a tiny crack while the clay is still drying, don’t panic.
Small surface cracks can sometimes be filled with a little fresh clay or a small amount of clay slip, then carefully smoothed once the area is stable.
The best solution, though, is preventing cracks in the first place.
That usually means avoiding overly thick sections, not using excessive water, and allowing the piece to dry gradually.
My air dry clay crack prevention guide goes much deeper into what causes those frustrating cracks and how I avoid them.
Can You Make an Air Dry Clay Jewelry Tree to Sell?
Absolutely.
This is actually a nice little handmade product because it has a clear purpose and doesn’t require a huge amount of clay.
You could make several variations:
- Minimalist white jewelry trees
- Botanical jewelry trees
- Personalized initial trees
- Terracotta trees
- Gold-accent trees
- Matching jewelry tree and ring dish sets
A matching set could be especially appealing because the two pieces naturally belong together.
If you’re thinking about turning air dry clay into a small business, I also have a larger guide on air dry clay business ideas and what you can actually sell.
The important thing is not to price a handmade piece based only on how much clay you used. Your time, finishing work, packaging, materials, and the fact that someone is buying a handmade object all need to be considered.
How to Style an Air Dry Clay Jewelry Tree
Once you’ve made one, don’t hide it inside a drawer.
This is one of those pieces that works best when it’s actually visible.
Place it on:
- A bedroom dresser
- A vanity
- A bedside table
- A bathroom shelf away from direct water
- A dressing table
- A small floating shelf
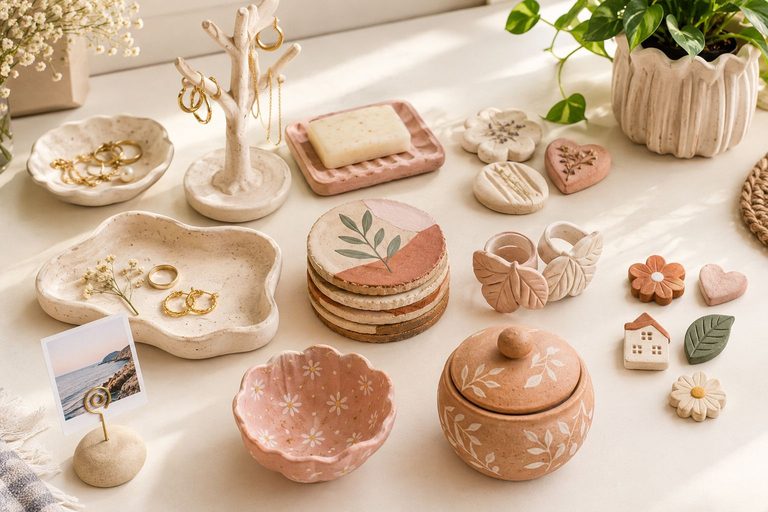
I like pairing a jewelry tree with a small clay ring dish underneath it.
The tree handles necklaces and earrings while the dish catches rings and other pieces, so the two actually solve different storage problems without making the setup look cluttered.
If you like making small coordinating clay pieces, my collection of beautiful air dry clay bowl ideas has several shapes that can easily inspire a matching jewelry dish.
A Few Ways to Make Yours Look More Expensive
You don’t need expensive materials to make this look polished.
The finishing details matter more.
Keep the color palette simple. One or two colors usually looks more intentional than five different shades.
Sand the visible edges. Rough edges are much more noticeable after painting.
Don’t overload the branches. A little empty space makes the jewelry display look more elegant.
Use a matte or satin finish. An extremely glossy finish can sometimes make handmade clay look more obviously crafty, depending on the design.
Add one special detail. A gold rim, tiny leaves, an initial, or a subtle texture is often enough.
Frequently Asked Questions
Can beginners make an air dry clay jewelry tree?
Yes. The basic construction is quite simple, especially if you start with a small tree. The main things to pay attention to are the thickness of the branches, the strength of the branch connections, and giving the finished piece enough time to dry.
How long does an air dry clay jewelry tree take to dry?
A small tree may take around 24 to 48 hours, but thicker pieces can take longer. Don’t rely only on the outside feeling dry. The center needs to be fully cured before painting and sealing.
Can I make the jewelry tree without a pottery wheel?
Yes. You don’t need a pottery wheel at all. Everything can be shaped by hand with a rolling pin and basic clay tools.
What paint should I use?
Acrylic paint is a simple option for air dry clay. The best choice depends on the finish you’re after, which is why I put together this guide to the best paint for air dry clay.
Do I need to seal the jewelry tree?
I recommend it. Jewelry will be handled regularly, and a sealer adds another layer of protection to the paint and clay surface. You can read my full air dry clay sealing guide for the different finish options.
Can I make the branches removable?
For this particular design, I prefer making the trunk and branches as one solid clay structure. It gives the finished tree a more natural appearance and eliminates separate pieces that can get lost.
What if my jewelry tree tips over?
Make the base wider and avoid placing too much weight on one side. You can also keep heavier jewelry on the lower branches and lighter pieces toward the top.
Can I use homemade air dry clay?
Yes. If you prefer making your own clay, you can use my easy homemade air dry clay recipe. Just make sure the finished piece is completely dry before painting and sealing.
Final Thoughts
I really like projects like this because they solve an actual everyday problem while still giving you something pretty to look at.
You don’t need a huge collection of expensive craft supplies or an entire afternoon of complicated clay techniques. A little clay, a few simple tools, and some patience are enough to turn something as ordinary as jewelry storage into a handmade piece of decor.
And the best part is that you can make the tree completely yours.
Make it minimalist if that’s your style. Add leaves if you love botanical details. Paint it terracotta for a warmer, earthy look, or keep it soft white and simple.
I’d start with a small version rather than trying to make a huge jewelry tree on your first attempt. Once you’ve figured out how your clay behaves, how thick you like the branches, and how much weight the base can comfortably support, making another one becomes much easier.
And honestly, having somewhere to hang the necklace you’re actually wearing instead of throwing it onto the dresser every night is a pretty good reason to make one.
More Air Dry Clay Projects to Try
If you enjoyed making this jewelry tree, these are a few more projects that work especially well alongside it: