Making your own lip balm is one of those DIY projects that’s surprisingly simple but feels incredibly rewarding.
With just a handful of natural ingredients, you can create a moisturizing balm that’s smooth, nourishing, and free from unnecessary additives often found in store-bought versions.
This honey lavender lip balm has become one of my favorites because it combines the soothing properties of raw honey with the calming scent of lavender.
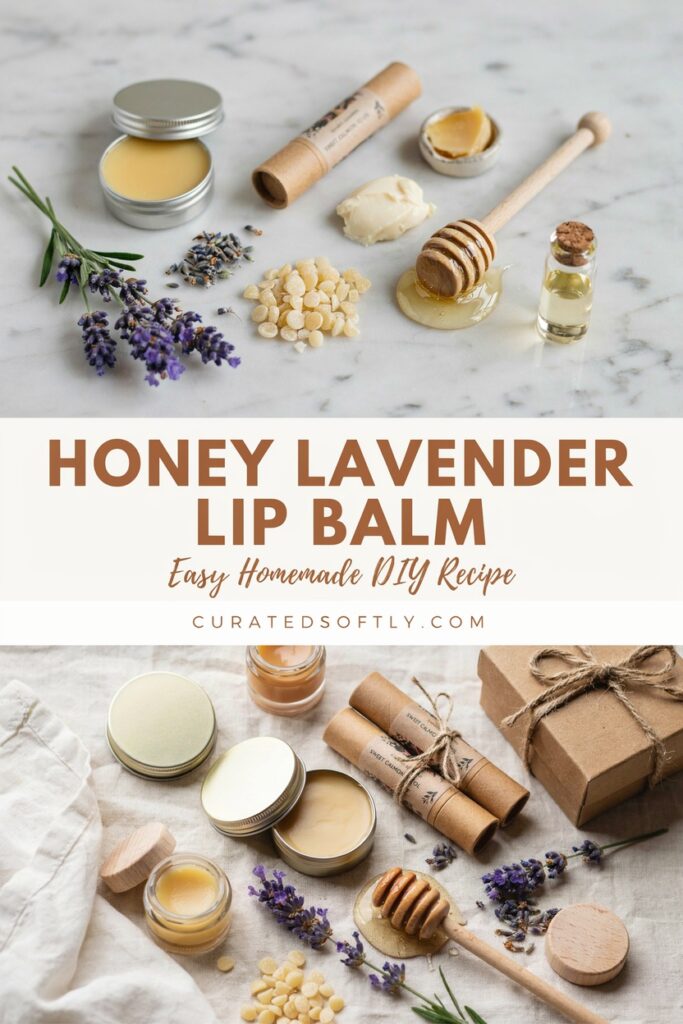
The result is a silky balm that leaves lips feeling soft without feeling greasy or overly waxy.
If you’re new to homemade beauty products, this is an excellent project to start with.
It comes together in less than 30 minutes, requires minimal equipment, and makes thoughtful handmade gifts for birthdays, bridal showers, teacher gifts, or holiday stockings.
Whether you’re making a single batch for yourself or several tins to give away, this recipe is beginner-friendly and easy to customize.
Why This Recipe Works So Well
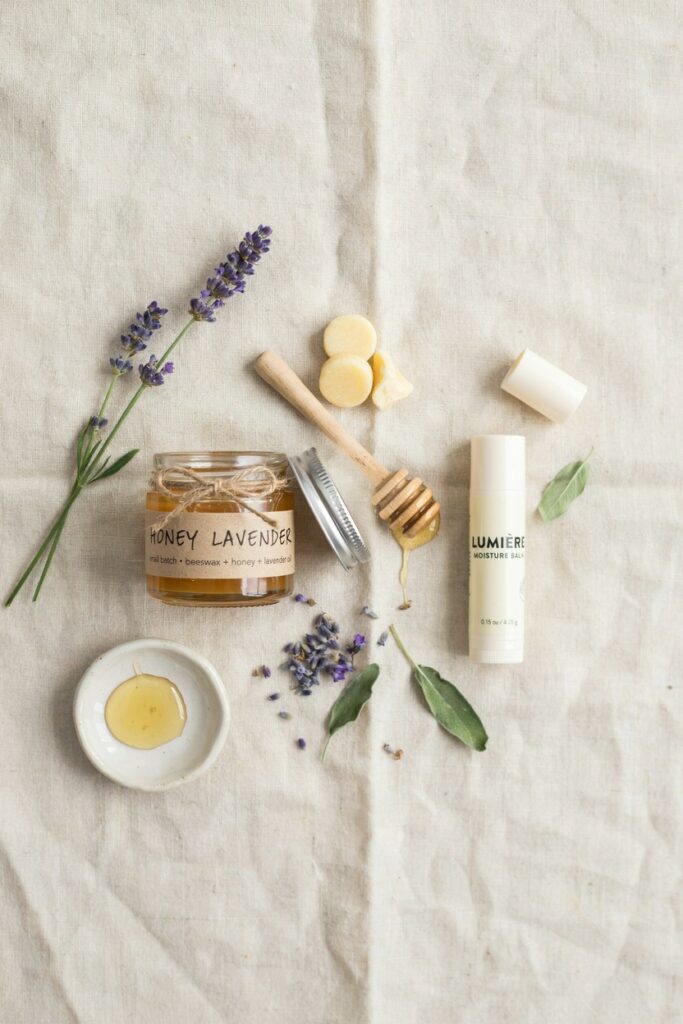
The balance of oils creates a smooth texture.
Some homemade lip balms end up either rock hard or overly soft. This recipe uses the right ratio of beeswax, nourishing oils, and butter to create a balm that’s firm enough for warm weather but still glides smoothly across your lips.
Honey adds natural hydration.
Raw honey is a natural humectant, meaning it helps attract and retain moisture. While only a small amount is used, it adds an extra boost of hydration that dry lips will appreciate.
Lavender keeps it calming without being overpowering.
A little lavender essential oil goes a long way. Instead of creating an intense floral scent, it gives the balm a soft, relaxing fragrance that’s subtle enough for everyday use.
What Makes This Lip Balm Different
One mistake many beginners make is adding too much honey directly to melted oils. Since honey is water-based and oils are not, the mixture can separate if the proportions aren’t balanced correctly.
This recipe uses just enough honey to provide moisturizing benefits while maintaining a smooth, stable texture. Stirring continuously as the mixture cools also helps distribute the honey more evenly throughout the balm.
Another difference is the addition of shea butter. Rather than relying only on beeswax and coconut oil, the shea butter gives the finished balm a creamier consistency that feels luxurious on the lips.
Ingredients You’ll Need
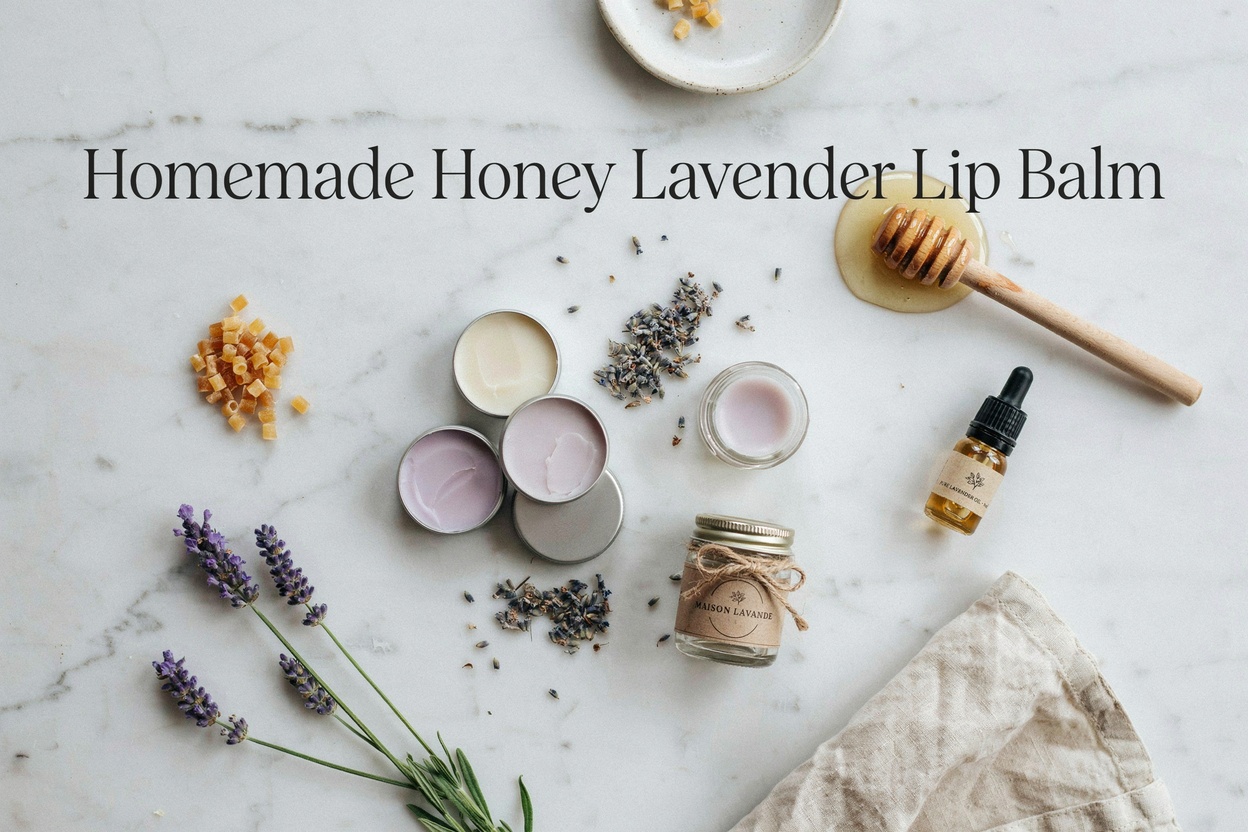
- Beeswax pellets – Gives the balm structure and helps lock in moisture.
- Shea butter – Creates a creamy texture while deeply conditioning dry lips.
- Sweet almond oil – Lightweight and rich in vitamin E for extra nourishment.
- Raw honey – Adds natural moisture and a subtle sweetness.
- Lavender essential oil – Provides a gentle, relaxing scent.
- Vitamin E oil (optional) – Helps nourish the lips and can extend shelf life slightly.
Substitutions I’ve Actually Tested
No sweet almond oil? Jojoba oil or fractionated coconut oil both work beautifully without changing the texture very much.
Want a vegan version? Replace the beeswax with candelilla wax, using slightly less since it’s firmer than beeswax.
Prefer a stronger floral scent? Add one extra drop of lavender essential oil, but avoid overdoing it since essential oils can become irritating on sensitive lips.
No shea butter? Mango butter produces a similarly smooth balm with a slightly lighter finish.
Tools You’ll Need
- Double boiler or heat-safe bowl
- Small saucepan
- Silicone spatula
- Pipette or small pouring pitcher
- Lip balm tubes or small tins
- Measuring spoons
- Kitchen scale (recommended for accuracy)
How to Make Homemade Honey Lavender Lip Balm
Step 1: Prepare Your Containers
Before melting anything, arrange your lip balm tubes or tins on a flat surface where they won’t need to be moved.
Once the mixture is ready, it begins setting fairly quickly, so having everything prepared makes the pouring process much easier.
Step 2: Melt the Base Ingredients
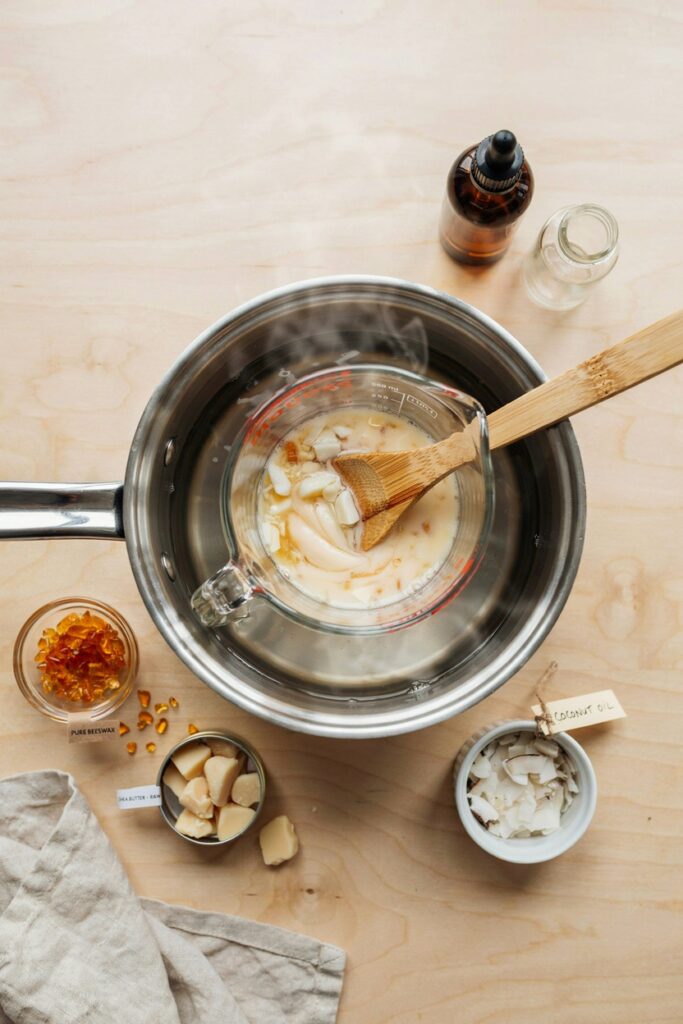
Add the beeswax pellets, shea butter, and sweet almond oil to a double boiler over gently simmering water.
Stir occasionally until everything has completely melted into a smooth liquid. Avoid overheating the mixture, as excessive heat can reduce the quality of both the butter and oils.
Step 3: Add the Honey
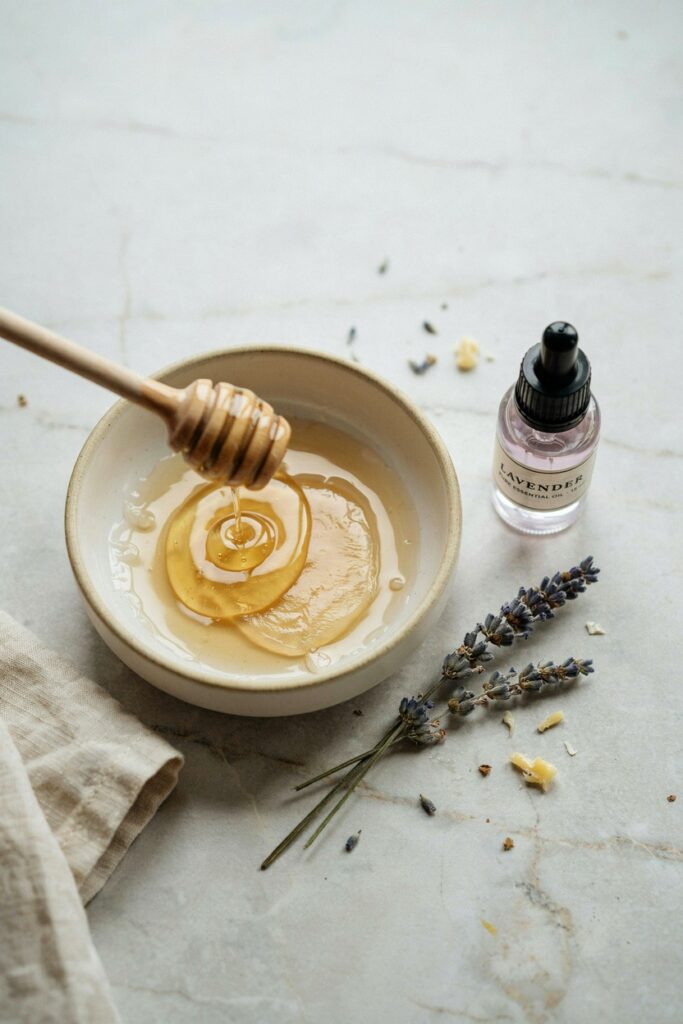
Remove the melted mixture from the heat and allow it to cool for about one minute. This slight cooling helps prevent the honey from separating too quickly once it’s added.
Whisk in the raw honey continuously until it’s evenly distributed throughout the mixture. Since honey naturally doesn’t mix perfectly with oils, keep stirring for 30 to 60 seconds until the mixture looks as uniform as possible.
Don’t worry if it isn’t perfectly smooth. A tiny bit of natural variation is completely normal in homemade lip balm.
Step 4: Stir in the Lavender Essential Oil
Add the lavender essential oil and, if using, the vitamin E oil.
Stir gently but thoroughly so the fragrance is evenly dispersed throughout the balm. Essential oils are quite concentrated, so only a few drops are needed to create a soft, relaxing scent without becoming overpowering.
At this stage, the mixture should still be completely liquid but beginning to cool slightly around the edges.
Step 5: Pour Into Containers
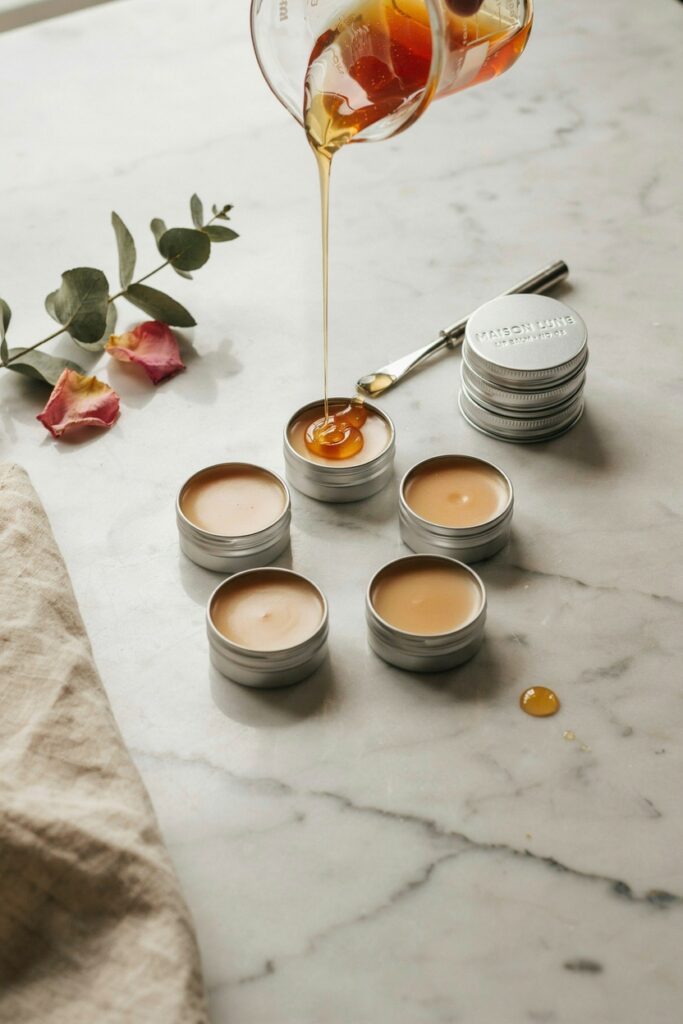
Carefully pour the warm mixture into prepared lip balm tubes or tins using a small pouring pitcher or pipette.
Fill each container almost to the top, leaving just a tiny amount of space to prevent overflow.
Work steadily, as the mixture will begin thickening after a few minutes.
If it starts to harden before you’ve finished pouring, simply place the container back over warm water for a minute until it melts again.
Step 6: Let the Lip Balm Cool
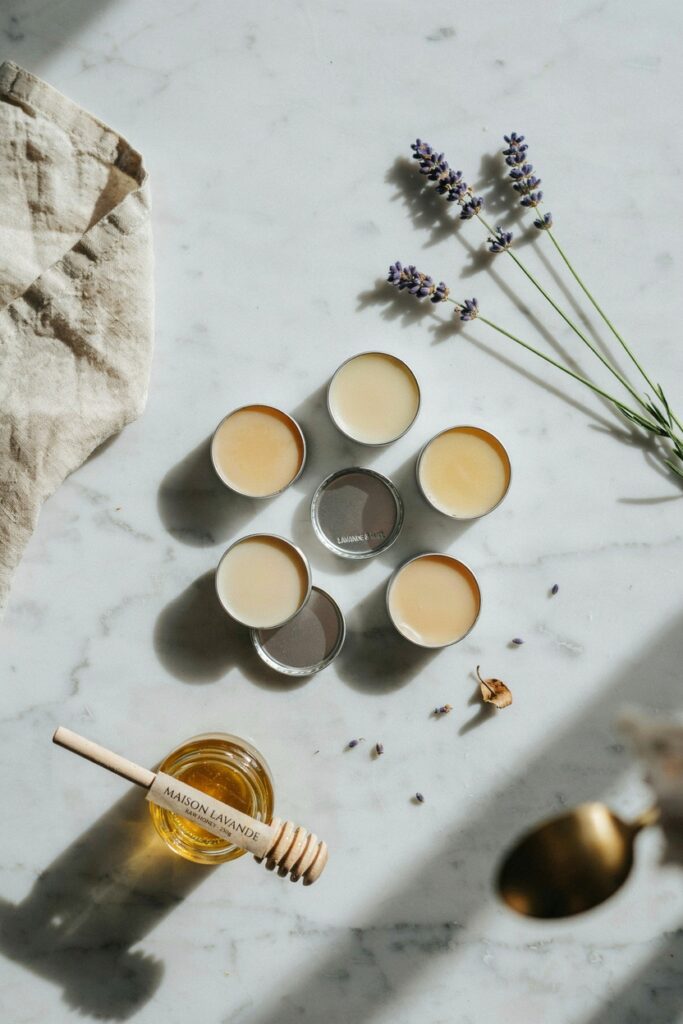
Allow the lip balm to cool completely at room temperature for one to two hours before placing the lids on the containers.
Although it may appear firm after 20 to 30 minutes, the center continues to set as it cools. Letting it cure fully gives the smoothest final texture.
Avoid refrigerating the balm to speed up the process, as rapid cooling can sometimes create small cracks or an uneven surface.
Tips From Making This More Times Than I’ll Admit
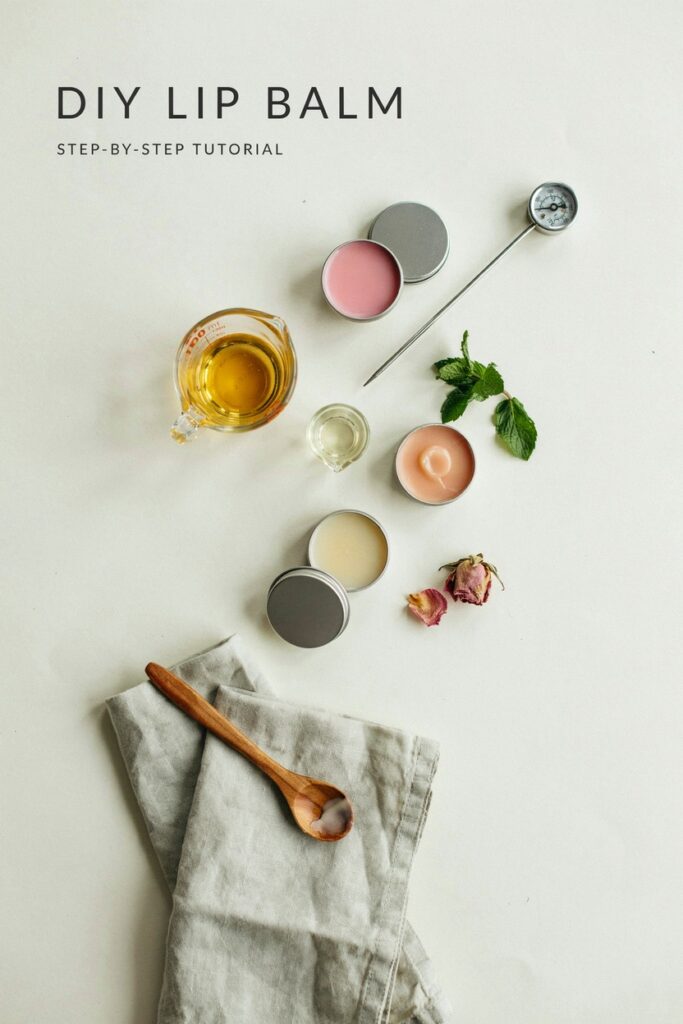
- Measure ingredients accurately. Small changes in the wax-to-oil ratio can completely change the texture.
- Stir continuously after adding the honey to help distribute it more evenly.
- Use high-quality lavender essential oil for the cleanest scent.
- Keep water out of the mixture. Even a few drops can affect the texture and shelf life.
- Test one container before making a large batch if you’re experimenting with substitutions.
- Label each batch with the date so you know when it was made.
- If making gifts, allow the balm to sit overnight before using to ensure it’s fully set.
Mistakes I’ve Made So You Don’t Have To
Adding the honey while the mixture was still extremely hot.
The honey separated more than usual and settled toward the bottom of some containers. Allowing the oils to cool slightly first produces a much smoother balm.
Using too much lavender oil.
More isn’t always better. My first batch smelled more like perfume than lip balm, and the scent became overwhelming.
Pouring too slowly.
The mixture began setting inside the measuring cup before I finished filling all the tins. Having everything prepared beforehand makes the process much easier.
Changing the wax ratio without testing.
One experimental batch became so firm it barely applied to my lips. Another was so soft it melted during summer. Following the recipe proportions produces a reliable texture.
Troubleshooting
My lip balm feels grainy.
This usually happens when the shea butter cools too slowly or unevenly. Gently remelt the mixture and allow it to cool naturally while stirring occasionally.
The honey settled to the bottom.
The mixture was likely too hot when the honey was added, or it wasn’t stirred long enough before pouring.
My balm is too hard.
Reduce the beeswax slightly or increase the liquid oil in your next batch.
My balm is too soft.
Increase the beeswax by a small amount the next time you make it, especially if you live in a warmer climate.
The scent is barely noticeable.
Lavender essential oil naturally has a gentle aroma. If you’d like a slightly stronger fragrance, add one or two additional drops in future batches rather than a large amount all at once.
Recipe Variations
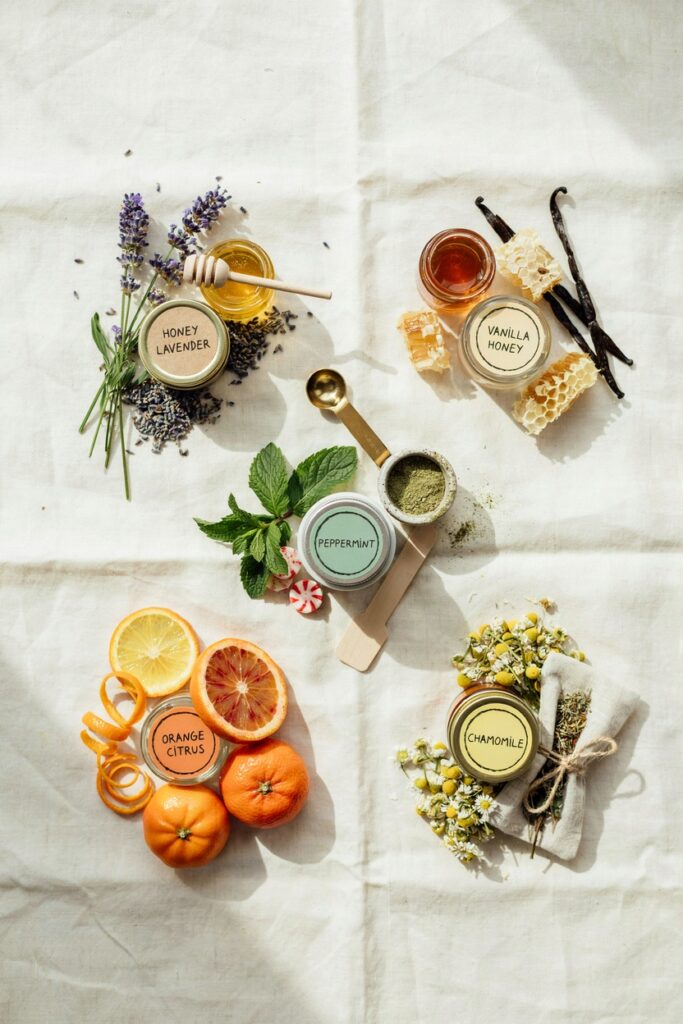
Vanilla Honey Lip Balm
Skip the lavender essential oil and add a few drops of vanilla flavor oil that’s safe for lip products. This creates a warm, comforting balm that’s perfect for anyone who prefers sweet scents over floral ones.
Lemon Lavender Lip Balm
Add one drop of lemon essential oil alongside the lavender for a brighter, fresher fragrance. Be sure to use skin-safe amounts, as citrus oils can be quite potent.
Rose Honey Lip Balm
Replace the lavender with rose fragrance oil or a lip-safe rose essential oil for an elegant floral version that makes beautiful handmade gifts.
Tinted Honey Lip Balm
Mix in a tiny pinch of cosmetic-grade mica powder or beetroot powder for a sheer tint. Start with a very small amount since a little goes a long way.
Packaging Ideas for Gifts
One of my favorite things about homemade lip balm is how easy it is to turn into a thoughtful gift.
Try packaging your finished balms in:
- Kraft paper lip balm tubes with custom labels
- Small aluminum tins tied with twine
- Organza gift bags
- Mini gift boxes
- Spa gift baskets with homemade sugar scrubs or soaps
- Bridesmaid proposal boxes
- Teacher appreciation gifts
- Stocking stuffers during the holidays
Adding a simple ingredient label and the date it was made gives your gifts a polished, professional finish.
Storage
Store your lip balm in a cool, dry place away from direct sunlight.
When stored properly, it will stay fresh for approximately 6 to 12 months.
If you live somewhere with very hot summers, avoid leaving the balm inside a car or near sunny windows since natural oils and waxes can soften or melt.
Always use clean hands when applying balm from tins to help extend its shelf life.
Frequently Asked Questions
Can I use dried lavender instead of lavender essential oil?
Not for this recipe. Dried lavender won’t release enough fragrance into the balm and can leave small particles behind. Lavender essential oil provides a much smoother finished product.
Can I make this without beeswax?
Yes. Substitute candelilla wax for a vegan version, but use about 25% less since candelilla wax is firmer than beeswax.
Why isn’t my honey mixing completely?
Honey naturally contains water while oils do not, so complete emulsification isn’t possible without additional ingredients. Continuous stirring while the mixture cools helps distribute the honey much more evenly.
Can children use this lip balm?
As long as they aren’t allergic to any of the ingredients, many families use simple homemade lip balms like this. If making it for young children, you may wish to leave out the essential oil altogether for an extra-gentle version.
Can I sell this homemade lip balm?
In many places, yes, but cosmetic products are regulated differently depending on where you live. Check your local labeling and cosmetic regulations before selling homemade lip balm commercially.
Why does my balm feel softer during summer?
Natural waxes soften as temperatures rise. If you regularly experience very hot weather, slightly increasing the beeswax in future batches can help the balm hold its shape better.
Final Thoughts
This honey lavender lip balm is one of those DIY projects that’s simple enough for complete beginners but produces results that feel genuinely luxurious.
With just a few natural ingredients and less than half an hour of work, you can make a nourishing balm that’s perfect for everyday use, thoughtful handmade gifts, or even the start of a small handmade skincare business.
Once you’ve made your first batch, you’ll find it’s easy to customize with different oils, butters, and lip-safe scents to create your own signature recipes.
Whether you keep every tube for yourself or share them with friends and family, there’s something incredibly satisfying about reaching for a lip balm that you made with your own hands.