Homemade Tiger Balm: 5 Ingredients, 20 Minutes, and a Simple DIY Balm
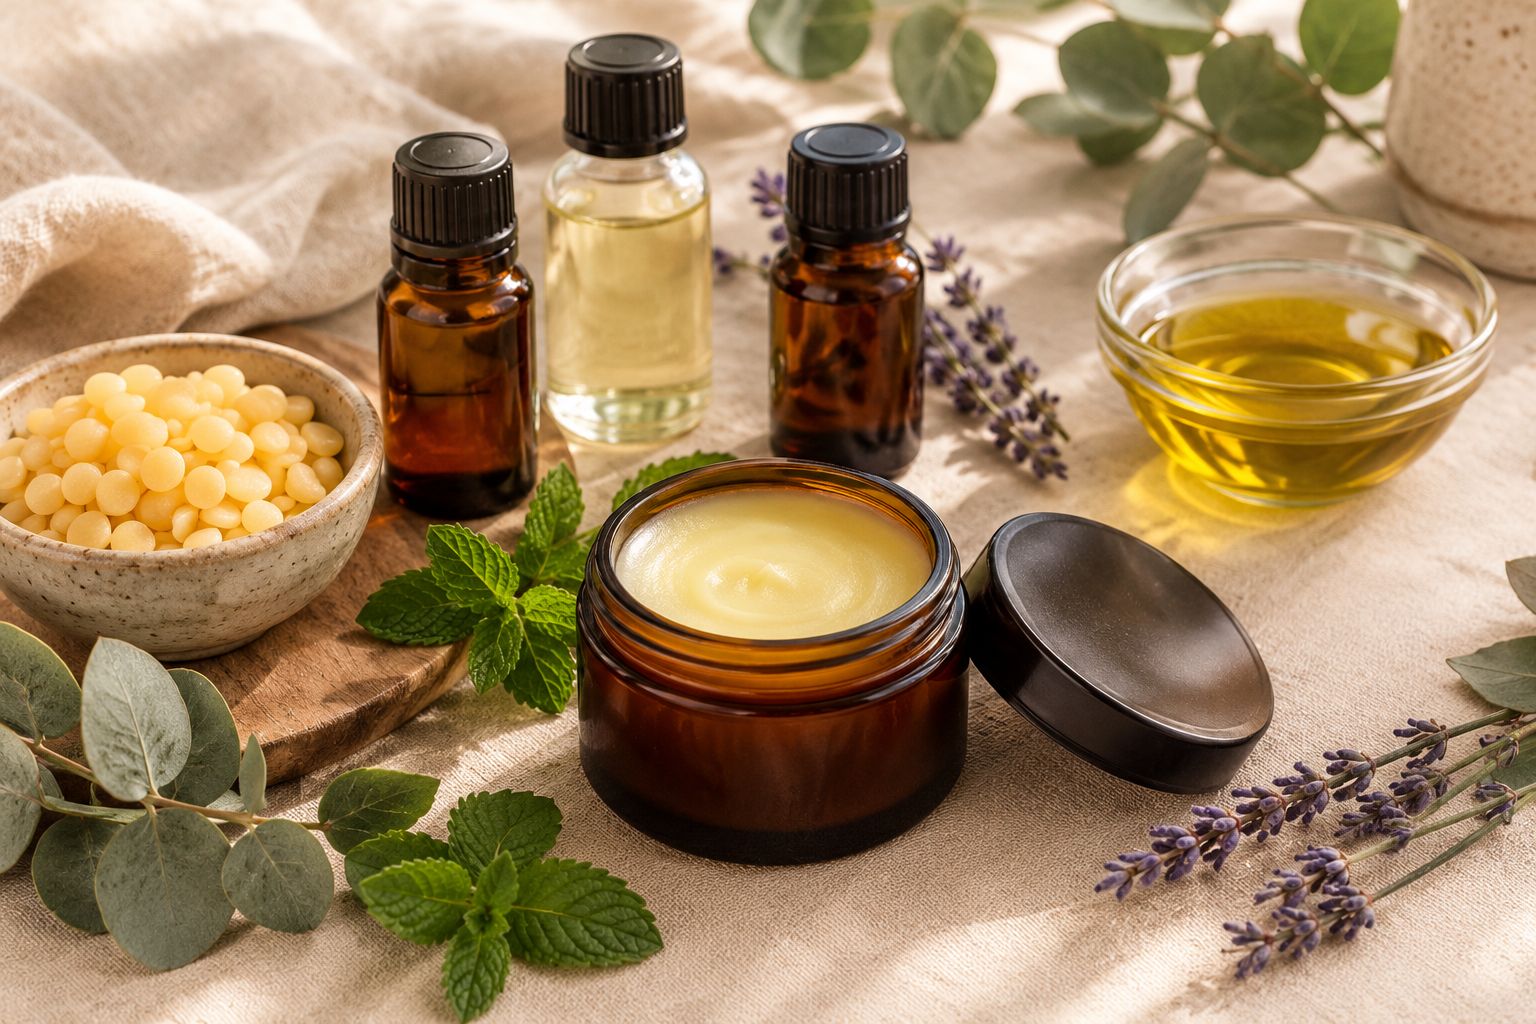
Have you ever looked at the ingredients in a popular balm and wondered whether you could make a simple version at home? I love the idea of creating practical DIY products with a few basic ingredients, especially when the finished product fits neatly into a small tin and takes up hardly any space in a drawer.
Tiger Balm is a familiar name in many households, known for its distinctive herbal aroma and its use as a topical product for temporary relief of minor aches and pains. Making a homemade version, however, requires a little care.
The original product uses specific active ingredients in carefully formulated concentrations, so a homemade essential-oil balm should not be treated as an exact replacement.
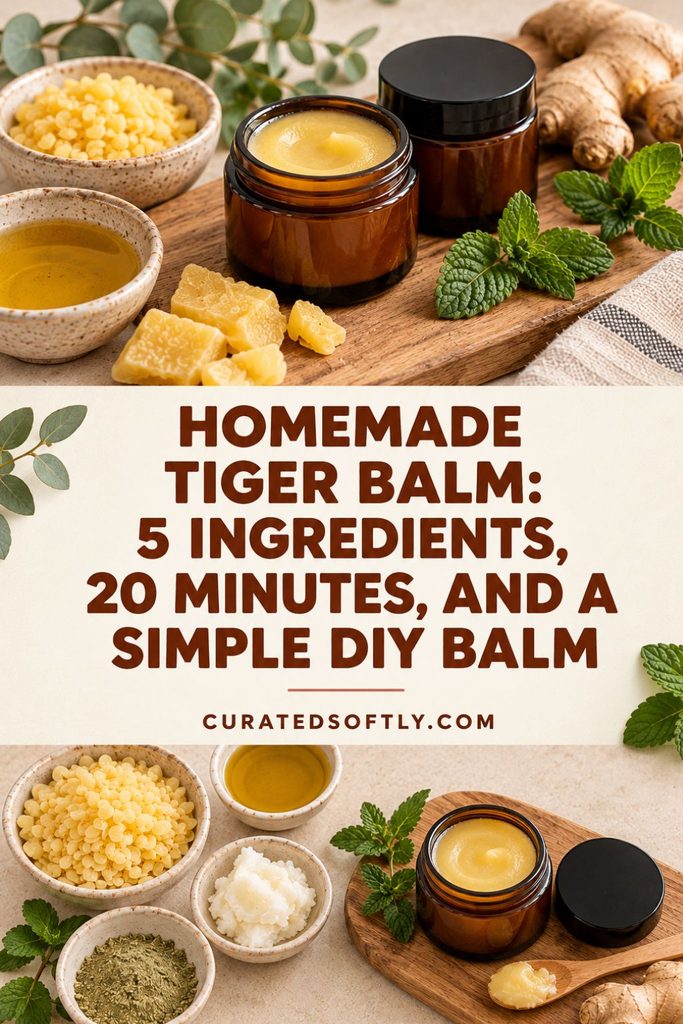
In this guide, I’ll show you how to make a simple, Tiger Balm-inspired aromatic balm with five ingredients. We’ll cover how to melt and combine the ingredients, how to get the texture right, how to store your finished balm, and what to know before applying any essential-oil preparation to your skin.
If you enjoy making your own personal-care products, you might also like my homemade honey lavender lip balm, another small DIY project with a simple ingredient list.
What Is Homemade Tiger Balm?
Homemade Tiger Balm is often used to describe DIY balms inspired by the strong, minty, herbal scent of the commercial product. Recipes vary, but many use a carrier oil, beeswax, and selected essential oils.
The carrier oil forms the base, while beeswax helps the mixture set into a balm that is easy to scoop from a tin. Essential oils contribute fragrance, although they can also irritate the skin if used incorrectly.
For this recipe, we’re making a lightly scented aromatic balm inspired by Tiger Balm, not a medicinal replica. It does not contain the same active ingredients as commercial Tiger Balm and has not been clinically tested for pain relief.
That distinction matters. A cooling or warming sensation does not prove that a homemade product treats muscle pain, headaches, or other medical conditions.
Homemade Tiger Balm Ingredients

One of the appealing things about this recipe is that it uses five ingredients. You do not need a complicated collection of materials or specialized equipment to prepare a small batch.
What You’ll Need
- 2 tablespoons olive oil: The liquid base that helps create a smooth balm.
- 2 teaspoons beeswax pastilles: Helps the balm become firm enough to store in a tin.
- 2 drops peppermint essential oil: Adds a fresh, minty aroma.
- 2 drops eucalyptus essential oil: Contributes a sharp, herbal fragrance.
- 2 drops lavender essential oil: Adds a softer floral note to balance the scent.
These quantities are intended to make a small, lightly scented DIY preparation. They are not a medically validated formula, and they do not guarantee that the product will suit every person’s skin.
Why These Ingredients Work Together

Olive oil provides the liquid base. You can find it easily, although a cosmetic-grade carrier oil is another option if you prefer ingredients specifically intended for skincare formulations.
Beeswax gives the balm its solid consistency. Without it, the oil mixture would remain much more liquid at ordinary room temperature.
Peppermint essential oil contributes a recognizable minty fragrance. Peppermint oil can irritate skin and should never be applied undiluted.
Eucalyptus essential oil has a strong, fresh scent. Different eucalyptus oils have different compositions, so use only a clearly identified product and follow its safety instructions.
Lavender essential oil adds a floral note that softens the stronger herbal fragrances. It can still cause irritation or allergic reactions, even though it is commonly used in scented products.
Do not add extra essential oil simply because you want a stronger smell. Higher concentrations can increase the risk of adverse skin reactions.
Equipment You’ll Need
Gather these items before you start:
- A small heatproof glass or stainless-steel container
- A saucepan for a water bath
- A spoon or small spatula
- A clean, completely dry tin or glass jar
- A label and pen
Use equipment that is clean and dry, and keep the mixture away from open flames. Hot oil and melted beeswax can cause burns.
How to Make Homemade Tiger Balm
Prep time: 5 minutes
Heating and mixing time: 10–15 minutes
Total preparation time: Approximately 20 minutes
Yield: One small batch
The balm will need additional cooling time before it is ready to handle.
Step 1: Prepare Your Ingredients
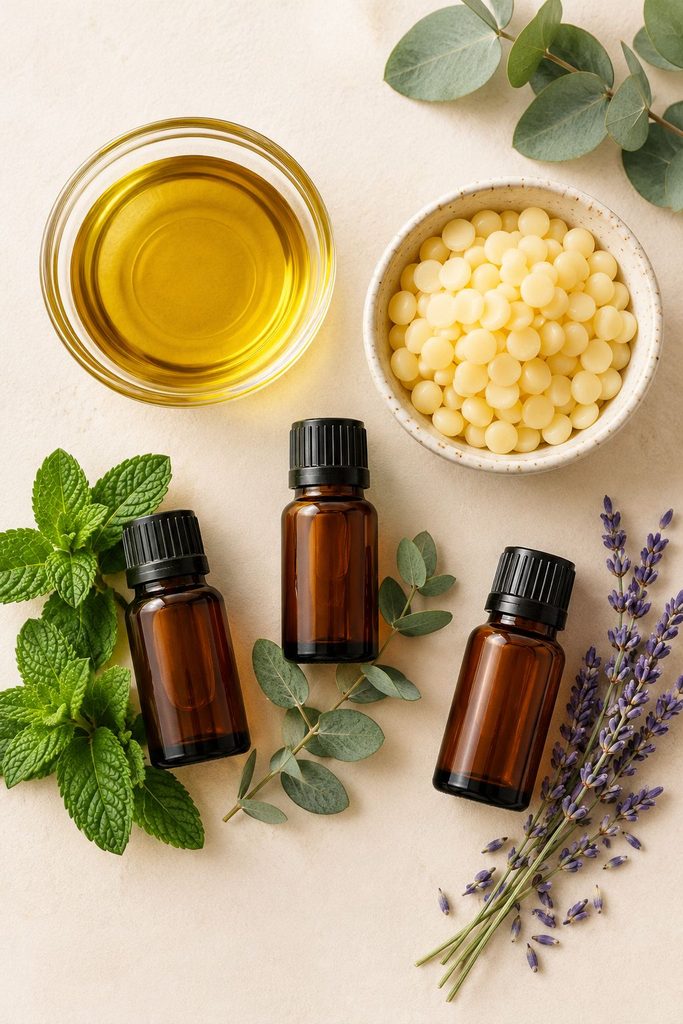
Measure the olive oil and beeswax pastilles. Set out the essential oils and prepare your storage tin.
Wash your hands, clean your tools, and make sure the tin is completely dry. Having everything ready before you begin makes the process easier and reduces the chance of spilling hot ingredients.
Step 2: Melt the Olive Oil and Beeswax

Place the olive oil and beeswax in a small heatproof container. Set the container inside a saucepan with a little gently simmering water to create a water bath.
Warm the mixture slowly, stirring occasionally. Continue until the beeswax has melted and the oil looks uniform.
Do not place the container directly over a flame or allow water to splash into the mixture. Remove it from the water bath carefully, using suitable protection for your hands.
Step 3: Allow the Mixture to Cool Slightly
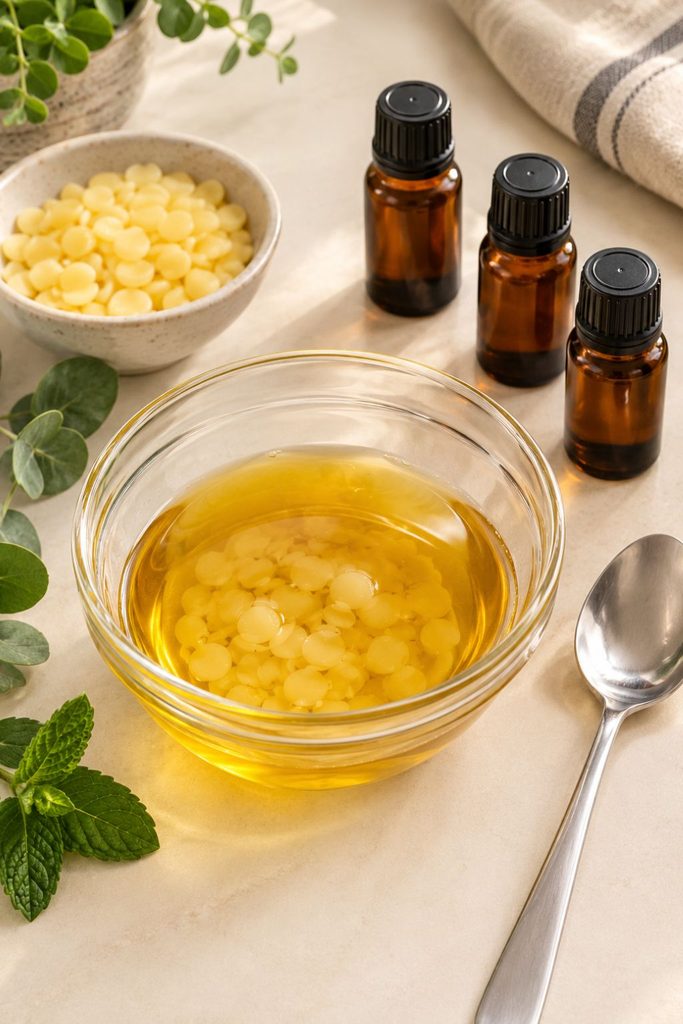
Leave the melted mixture to cool for a short time until it is warm rather than very hot.
You want the wax to remain liquid enough to stir, but you should avoid adding essential oils while the mixture is excessively hot. Handle the container carefully throughout this step.
Step 4: Add the Essential Oils
Add the two drops of peppermint essential oil, two drops of eucalyptus essential oil, and two drops of lavender essential oil.
Stir gently so the oils are distributed throughout the mixture.
Keep the quantities modest. Essential oils are concentrated substances, and adding more does not automatically make a balm more effective or better for your skin.
Step 5: Pour the Balm Into a Tin

Carefully pour the mixture into your clean, dry storage tin or jar.
Set the container on a stable surface where it will not be knocked over. Leave it undisturbed until the balm has cooled completely and become firm.
Do not put the lid on while the contents are still warm, and do not use the balm until it has fully cooled.
Step 6: Label and Store It
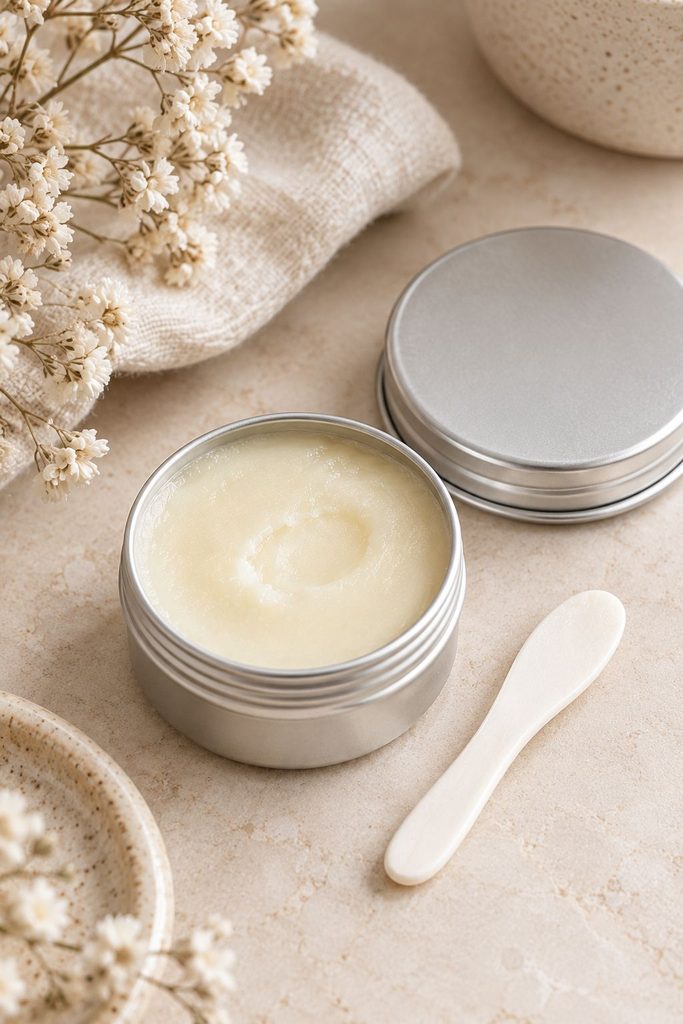
Once the balm is completely cool, secure the lid and add a label listing all five ingredients and the date you made it.
Store it in a cool, dry place away from direct sunlight and heat. Because this DIY preparation has not undergone stability testing, there is no validated shelf life I can assign to it. Discard it if its smell, appearance, or texture changes, or if you suspect contamination.
How to Get the Right Balm Consistency
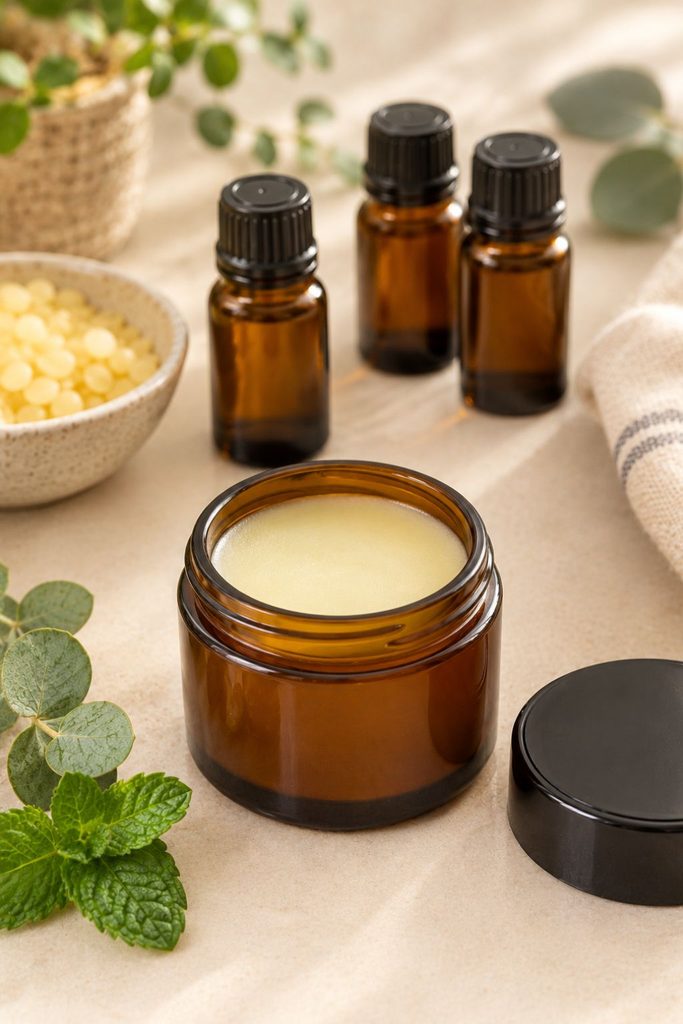
The ratio of oil to beeswax determines how firm the finished balm feels. Temperature also affects its texture, so a balm that seems firm in a cool room may soften in a warm environment.
If the balm sets too firmly, it may be difficult to scoop out. If it stays too soft, it may be messy to use and store.
For your first batch, I recommend following the measurements rather than making several changes at once. Let the balm cool fully before judging its final consistency.
If you decide to experiment with the oil-to-wax ratio in a future batch, test the texture with a small amount first. Keep any reformulated product clearly labelled, and do not assume that changing the ingredients leaves its skin safety unchanged.
How to Use Homemade Balm Safely
Although the recipe is inspired by a familiar topical product, it should not be used as a substitute for a tested pain-relief medicine.
If you are considering using a homemade essential-oil balm on your skin, keep these precautions in mind:
- Check the ingredients first. Use clearly labelled ingredients from reputable suppliers, and follow the essential-oil manufacturer’s safety guidance.
- Be cautious with skin contact. A small-area test may help you notice irritation, but it cannot guarantee that you will not develop an allergic reaction.
- Avoid sensitive or damaged skin. Do not apply the balm to cuts, burns, rashes, irritated skin, or mucous membranes.
- Keep it away from your face. Avoid the eyes, nostrils, mouth, and areas where the product could easily transfer to your eyes.
- Do not combine it with external heat. Avoid heating pads, hot-water bottles, tight wraps, or other methods that increase the temperature of the treated area.
- Wash your hands after handling it. This reduces the risk of transferring essential oils to your eyes or other sensitive areas.
- Keep it away from children and pets. Essential oils can be harmful if swallowed or used inappropriately.
I would not recommend using this recipe on children or using it during pregnancy or breastfeeding without professional advice. People with sensitive skin, asthma triggered by fragrances, relevant medical conditions, or a history of allergic reactions should seek appropriate guidance before using an essential-oil preparation.
Stop using the balm if you notice burning, itching, redness, swelling, or a rash. Gently wash the area and seek medical advice if the reaction is severe or does not improve.
For persistent or unexplained pain, consult a qualified healthcare professional rather than relying on a homemade balm.
Can You Make Homemade Tiger Balm Without Essential Oils?
Yes, you can make a simple olive-oil-and-beeswax balm without adding essential oils. It will have a different purpose and fragrance profile, but it can be useful if you prefer an unscented DIY project.
Keep in mind that removing the essential oils does not automatically make a product suitable for every skin type. Individual sensitivities vary, and the finished preparation still has not been tested as a medicinal product.
If you enjoy experimenting with handmade personal-care products, you might also like my homemade aloe cucumber after-sun soap recipe. It is a separate DIY project with its own ingredients and safety considerations.
Common Mistakes to Avoid
Adding Too Much Essential Oil
It can be tempting to add extra peppermint or eucalyptus oil for a stronger fragrance. Resist that temptation. Essential oils are concentrated, and higher amounts can increase the risk of irritation or allergic reactions.
Heating the Mixture Too Quickly
High heat makes the mixture harder to handle safely and can cause burns. Use a gentle water bath and remove the container carefully.
Pouring the Mixture Into a Wet Container
Water and oil do not mix evenly. Keep the storage tin and equipment dry before pouring the balm.
Applying It to Broken or Irritated Skin
Do not use this preparation on cuts, burns, rashes, or damaged skin. Stop immediately if you notice an adverse reaction.
Assuming It Works Like Commercial Tiger Balm
Commercial Tiger Balm formulations contain specific active ingredients and are made with defined concentrations and product instructions. This recipe does not reproduce those formulations, and its effectiveness for pain relief has not been established.
Forgetting to Label the Container
Always list the ingredients and preparation date. This is particularly important if you make several DIY products that look similar.
More DIY Projects to Try
If you enjoy making practical homemade products, here are a few other projects from CuratedSoftly to explore.
- Homemade Honey Lavender Lip Balm for another small personal-care DIY.
- DIY Aromatherapy Shower Melts for a fragrant shower-time project.
- How to Make a Car Air Freshener for a DIY fragrance project designed for your car rather than your skin.
- Homemade Aloe Cucumber After-Sun Soap for another handmade personal-care idea.
Each project has its own ingredients and intended use, so follow the instructions and safety precautions for the individual recipe.
Frequently Asked Questions
How long does homemade Tiger Balm take to make?
The hands-on preparation takes approximately 20 minutes, including melting the wax and mixing the ingredients. You will need extra time for the balm to cool and set before using it.
Does homemade Tiger Balm relieve muscle pain?
This five-ingredient recipe has not been clinically tested for pain relief. Although certain commercially formulated topical products are used for temporary relief of minor aches and pains, their effects cannot automatically be attributed to a homemade aromatic balm.
Can I add camphor or menthol crystals?
I would not recommend adding either ingredient casually. Their appropriate use depends on the exact substance, concentration, formulation, and intended application. Incorrect use can be harmful. If you want a product containing medicinal active ingredients, choose an appropriately labelled commercial product and follow its directions.
Can I use a different carrier oil?
A suitable cosmetic-grade carrier oil may be used in some balm formulations, but changing the base can affect the texture and properties of the finished product. If you substitute an ingredient, reassess the formula rather than assuming the original measurements will produce the same result.
Why did my balm become too hard?
The balm may be too firm because of the oil-to-wax ratio or the temperature at which it is stored. Allow it to cool completely before judging the consistency. For a future batch, adjust the formula cautiously and test a small amount first.
How should I store homemade balm?
Store the closed container in a cool, dry place away from sunlight and heat. Keep water and dirty fingers out of the container. Because this recipe has not undergone stability testing, its shelf life has not been established. Discard it if its appearance, smell, or texture changes.
Is homemade Tiger Balm safe for children?
Do not use this recipe on children. Essential oils can cause adverse effects, and other ingredients sometimes used in Tiger Balm-inspired recipes, such as camphor, can pose additional risks. Ask a healthcare professional about age-appropriate options.
Can I use this balm during pregnancy or breastfeeding?
Seek advice from a qualified healthcare professional before using a homemade essential-oil balm during pregnancy or breastfeeding. Do not assume a topical product is safe simply because it contains plant-derived ingredients.
Final Thoughts
Making a small aromatic balm at home can be a satisfying DIY project if you enjoy working with simple ingredients. With olive oil, beeswax, and three carefully measured essential oils, you can create a lightly scented preparation in about 20 minutes, plus cooling time.
The most important thing is understanding what you have made. This recipe is inspired by Tiger Balm’s herbal aroma, but it is not the same as the commercial medicine and should not be presented as a proven treatment for muscle pain.
Keep the formula modest, label the container clearly, store it carefully, and put skin safety first. If you need reliable relief for persistent pain, choose an appropriately labelled product and seek professional advice when necessary.