Air Dry Clay Trinket Dish / Ring Holder Tutorial
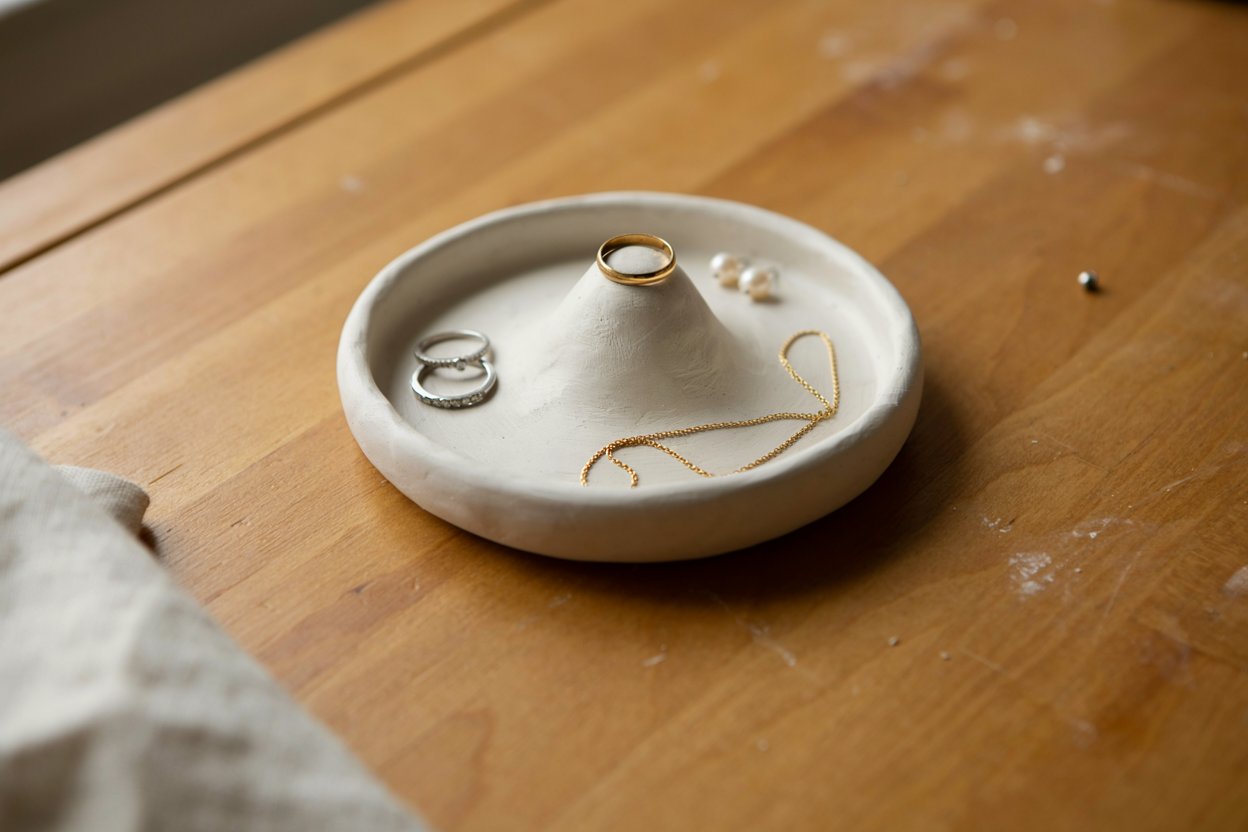
After my air dry clay ornaments turned out better than expected, I wanted to try something a little more functional, and a trinket dish felt like the natural next step.
Something to actually hold rings, earrings, and the random small things that pile up on a nightstand, rather than just a decorative object for once a year.
This project is a little more forgiving than the ornaments, honestly, since a trinket dish doesn’t need to hang from anything or survive being handled as much, it mostly just sits on a surface and holds small items.
That said, I still cracked my first attempt by not supporting the sides properly while it dried, so there are a few specific details here that make the difference between a dish that turns out clean and one that warps or cracks partway through.
This tutorial covers both a simple flat dish and a small ring cone in the center, so you can make either version or combine them depending on what you actually need on your nightstand or vanity.
If ornaments are where you started too, my beautiful air dry clay ornaments guide for complete beginners is worth a look for comparison.
Why This Project Works So Well for Beginners
It’s more forgiving than jewelry or ornaments. A trinket dish doesn’t need fine detail work or delicate thin edges to function well, which makes it a great next project after something like ornaments.
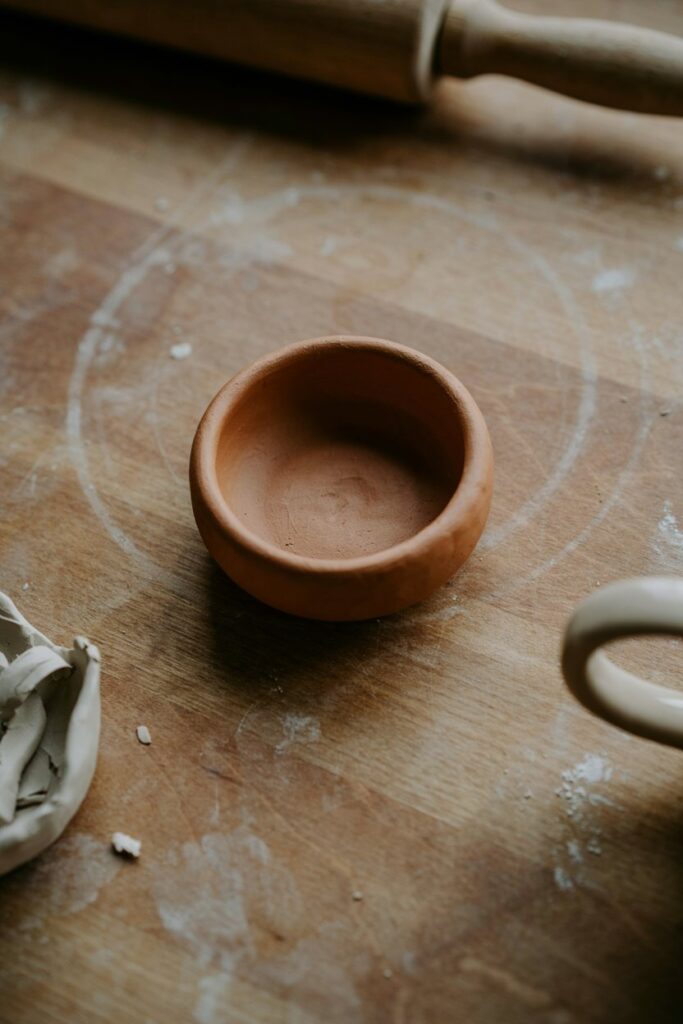
You can shape it around household objects. Using a small bowl as a mold for the draped shape means you don’t need any special clay tools to get a nice, even curve.
It’s genuinely useful once finished. Unlike some beginner craft projects that end up decorative and nothing else, this one earns a permanent spot on a dresser or nightstand.
Looking for another next-step project after something simple? Check out 10 Beautiful & Easy Air Dry Clay Coaster Ideas.
What Makes the Shaping Technique Different
The trickiest part of a trinket dish isn’t the clay itself, it’s supporting the shape properly while it dries.
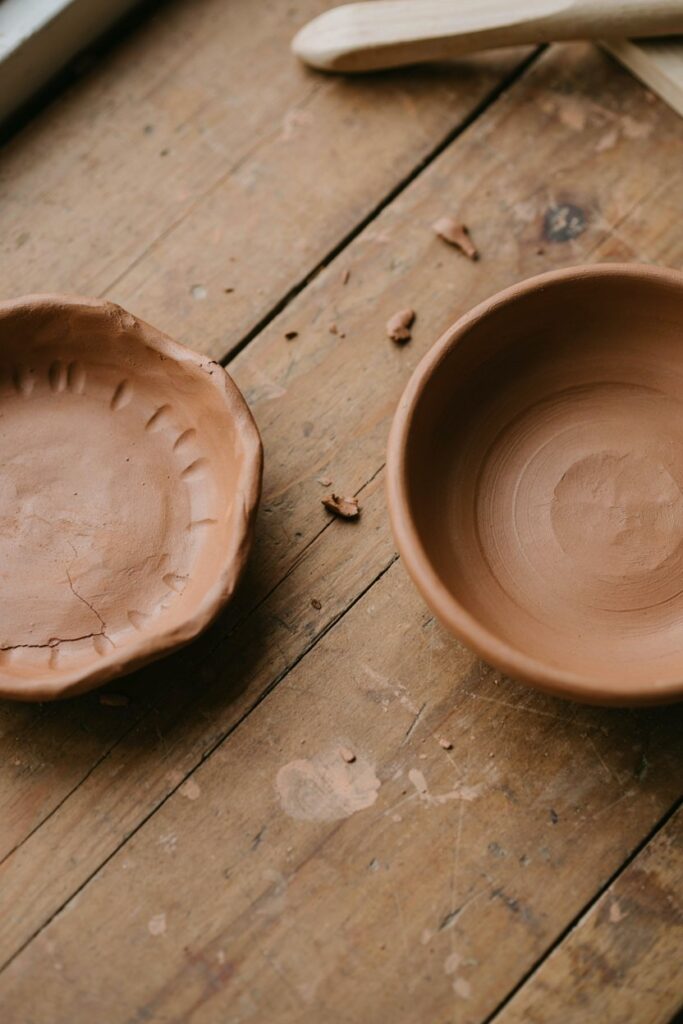
If you drape clay over a small bowl and let it dry without any additional support, the edges can sag, warp, or crack as the clay shrinks unevenly during drying, since the center and edges of a draped piece don’t always dry at the same rate.
Propping the edges evenly, or leaving the piece on its mold for the first stage of drying rather than removing it too early, solves most of this.
The ring cone piece, if you’re adding one, needs its own separate consideration, since a small vertical cone dries faster on the outside than a flat dish does, and can develop surface cracks if it dries too quickly without any humidity control nearby.
Cracking during drying is one of the most common clay problems — my guide to avoiding cracks in air dry clay covers exactly this.
Materials You’ll Need
- Air dry clay. White clay works best if you plan to paint it in light colors, though terracotta clay gives a nice natural, earthy look left unpainted.
- A small bowl. Used as a mold to shape the dish, ideally one with a gentle curve rather than straight sides.
- Plastic wrap. Lining the bowl with this prevents the clay from sticking to it.
- A rolling pin. For flattening the clay to an even thickness before draping.
- A clay tool or butter knife. For trimming excess clay around the bowl’s edge.
- Fine-grit sandpaper. For smoothing the dried edges.
- Acrylic paint (optional). For adding color or a gold rim detail.
- Paintbrushes (optional).
- Clear sealant spray or Mod Podge. To protect and finish the piece.
Substitutions and Alternatives I’ve Actually Tested
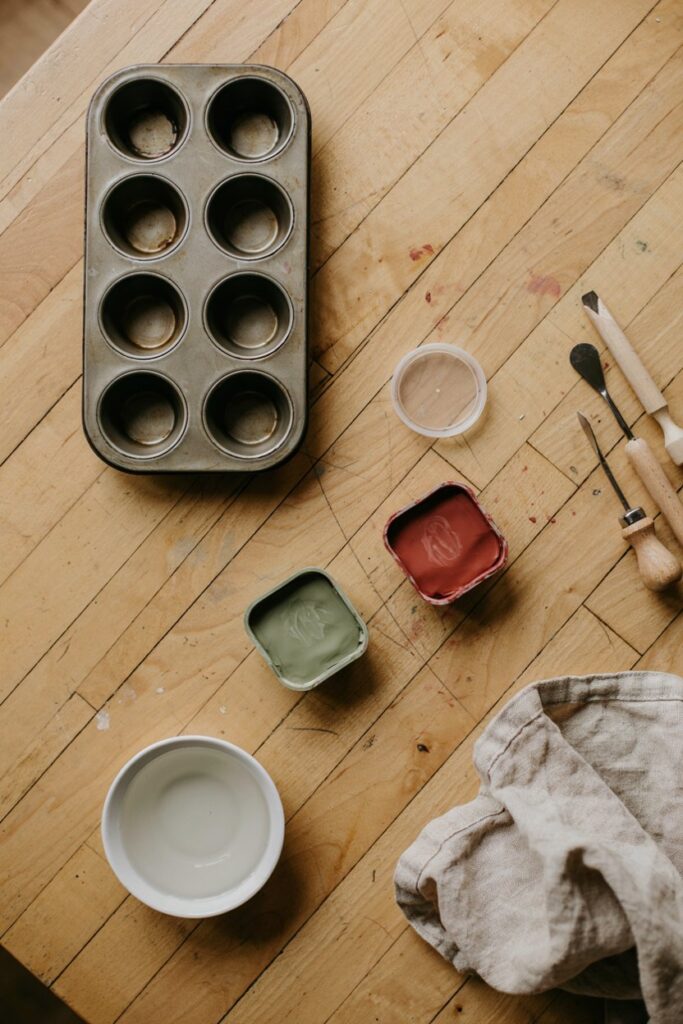
No small bowl available? A muffin tin cavity, a small container lid, or even a shaped piece of foil works as a mold in a pinch.
Want a ring cone in the center? Roll a small piece of clay into a cone shape by hand and attach it to the center of the flat dish while both pieces are still soft, gently smoothing the seam where they meet.
No sealant spray? A few thin coats of Mod Podge work as a substitute, with slightly more sheen than a true matte spray sealant.
Want a marbled look instead of solid paint? Swirl two colors of clay together slightly before rolling out, rather than fully blending them, for a natural marbled pattern that doesn’t require paint at all.
Tools You’ll Need
- Rolling pin
- Small bowl for molding
- Plastic wrap
- Clay tool or butter knife
- Fine-grit sandpaper
- Paintbrushes, if painting
- A flat, clean work surface
How to Make an Air Dry Clay Trinket Dish
Step 1: Prepare Your Mold
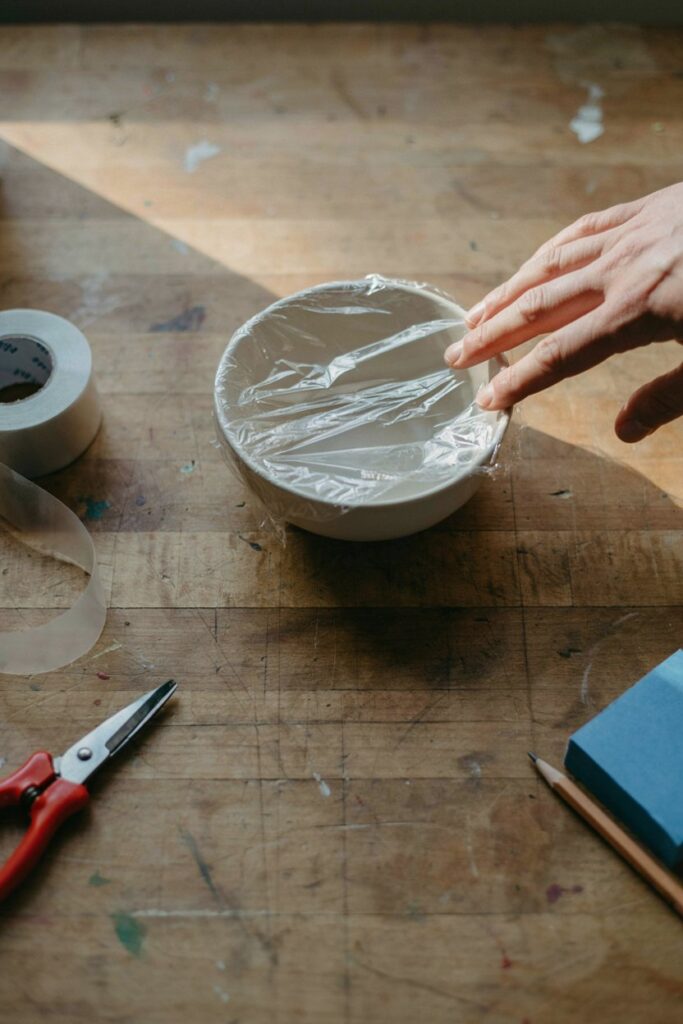
Line the inside of your small bowl with a layer of plastic wrap, smoothing it down as best you can to avoid too many deep wrinkles, which can transfer onto the clay’s surface.
Step 2: Knead the Clay
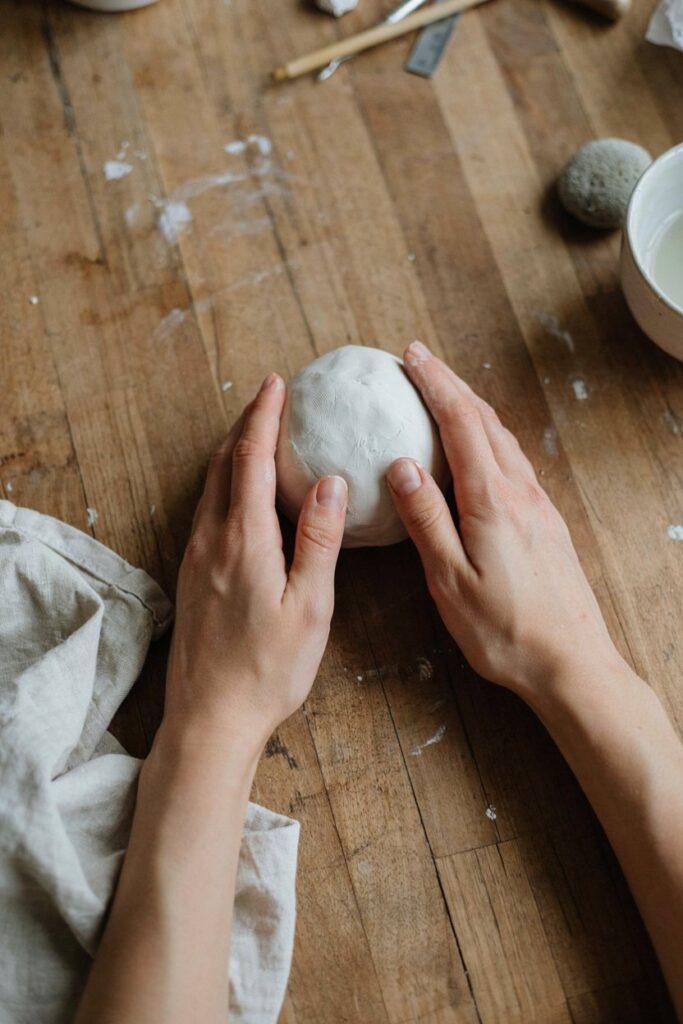
Knead a piece of clay slightly larger than you think you’ll need for about a minute, until it’s soft, pliable, and free of any cracks.
Step 3: Roll the Clay Flat
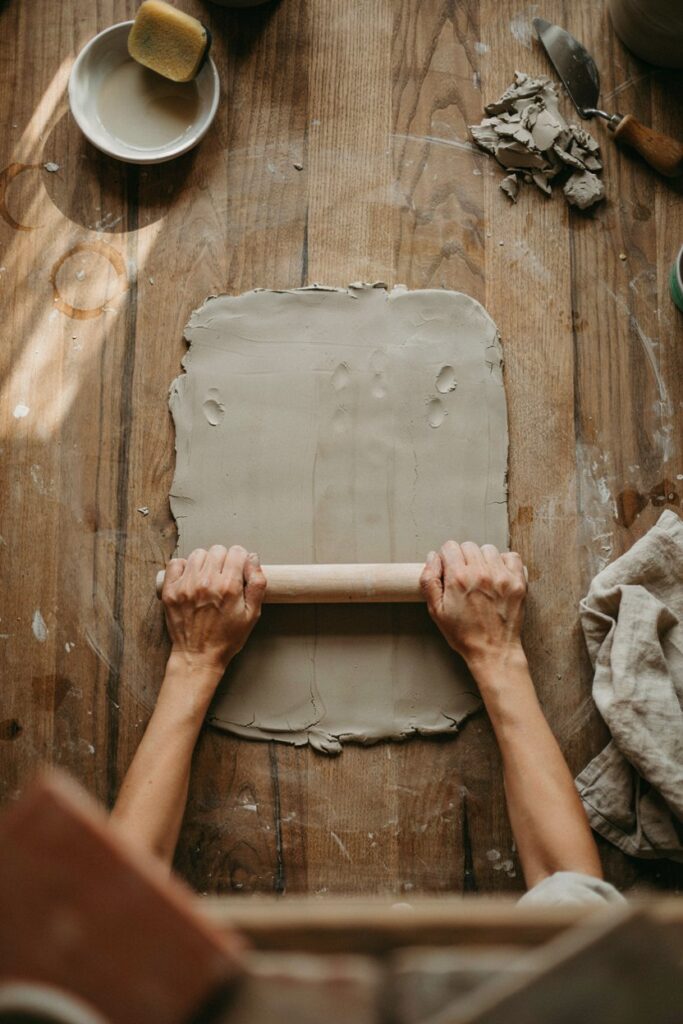
Roll the clay out to about ¼ inch thick, keeping the thickness as even as possible across the whole piece.
Uneven thickness is one of the most common causes of warping later in the drying process.
Step 4: Drape the Clay Over the Mold
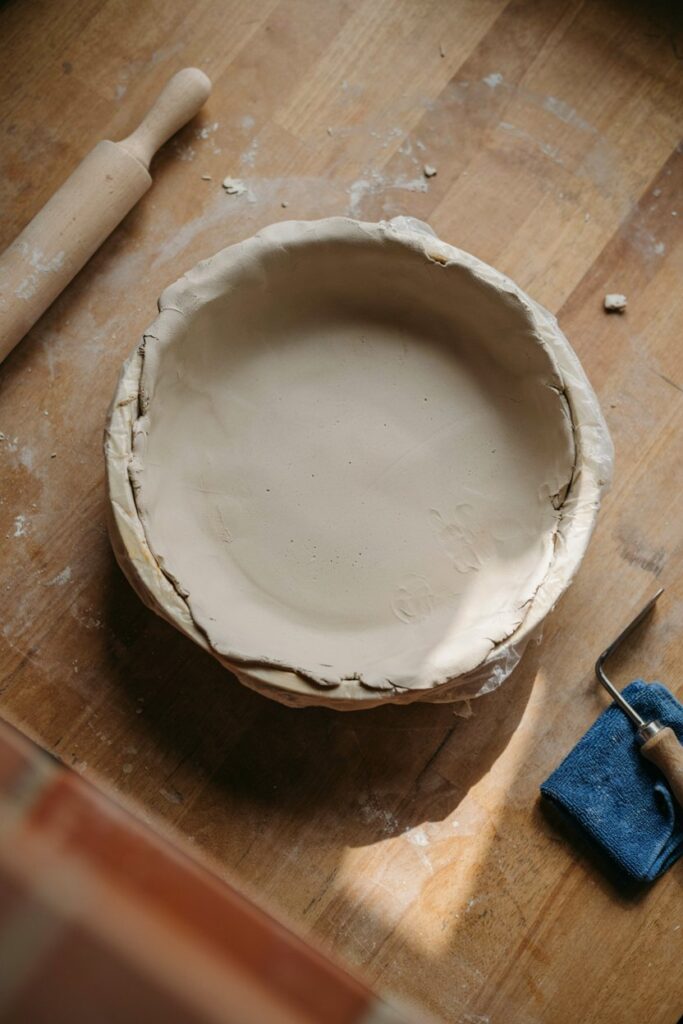
Gently lift the rolled clay and drape it over the plastic-wrap-lined bowl, easing it down into the curve rather than pressing hard in any one spot, which can thin out the clay unevenly. Let the excess hang over the edges of the bowl.
Step 5: Trim the Edges
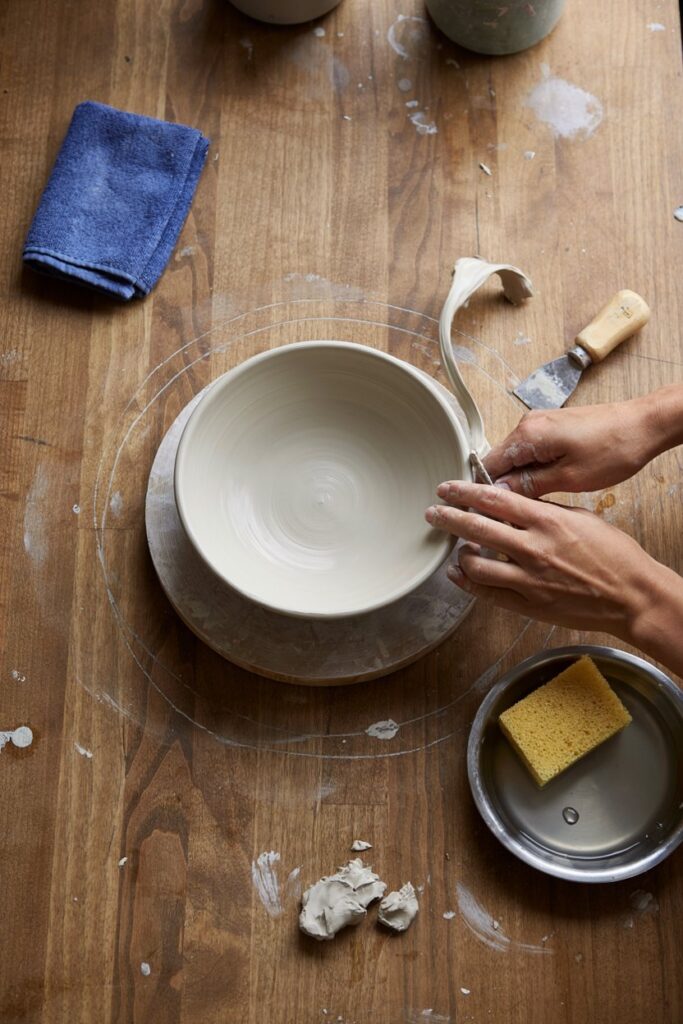
Use a clay tool or butter knife to trim the excess clay around the rim of the bowl, creating a clean edge.
You can leave it perfectly smooth, or create a slightly wavy, organic edge by trimming at a gentle angle instead of straight down.
Step 6: Add a Ring Cone (Optional)
If you want a small cone in the center for holding rings, roll a separate small piece of clay into a cone shape and gently press it onto the center of the draped dish while both pieces are still soft, smoothing the base where they connect so there’s no visible seam.
Step 7: Let It Dry on the Mold
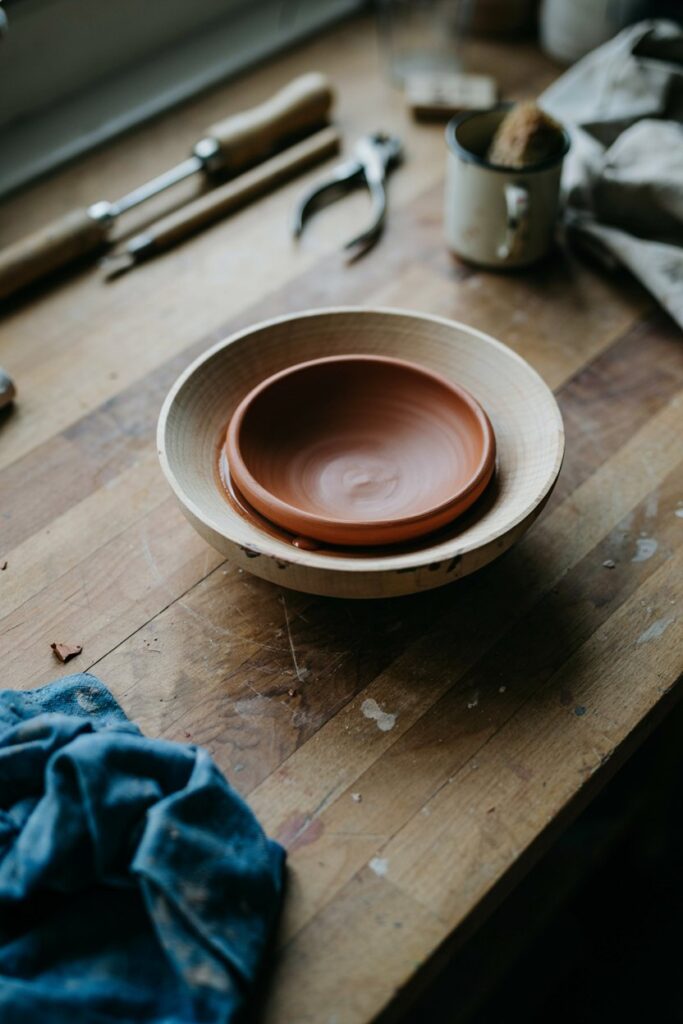
Leave the clay on the bowl mold for the first 12 to 24 hours of drying, which helps it hold its shape and dry evenly rather than warping.
Keep it away from direct sunlight, heating vents, or drafts.
Step 8: Remove from the Mold and Continue Drying
Once the piece feels firm enough to hold its shape on its own, gently remove it from the bowl and plastic wrap, and let it continue drying on a flat surface, flipping occasionally, for another 24 to 48 hours until fully dry throughout.
Step 9: Sand the Edges
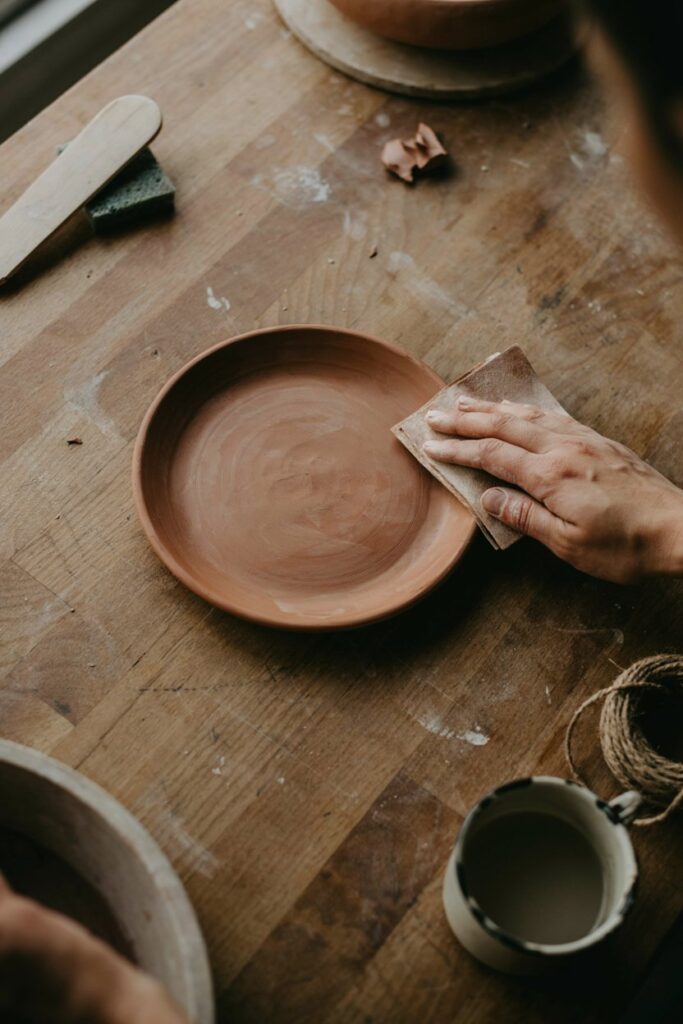
Once completely dry, use fine-grit sandpaper to smooth any rough spots or fingerprints left from handling.
Step 10: Paint (Optional)
If you’re painting, apply thin, even coats of acrylic paint, letting each coat dry fully before adding another. If you’re not sure which type of paint holds up best on this material, I cover that in detail in my post on the best paint for air dry clay.
Step 11: Seal the Piece
Apply a clear sealant spray or a few thin coats of Mod Podge to both the inside and outside of the dish, letting each coat dry before adding the next. If you want a deeper breakdown of sealant options and how to apply them well, I go into much more detail in my guide on how to seal air dry clay.
Tips From Making a Few of These Now
- Don’t remove the piece from the mold too early. This is the single biggest cause of warping, and it’s tempting to peek and check on it before it’s ready.
- Keep thickness even throughout. A thin spot dries faster than the rest and can crack or warp differently than the surrounding clay.
- Support the ring cone if you’re adding one. A small ball of scrap clay or foil underneath while it dries can help it hold its shape until it’s sturdy enough on its own.
- Sand before you decide it’s “good enough.” Rough edges are far more noticeable once you’ve already sealed the piece, so it’s worth a careful pass with sandpaper before that step.
- Seal the inside of the dish too, not just the outside. Items sitting in the dish, especially anything with a bit of moisture like lotion residue from rings, will affect unsealed clay over time.
Mistakes I’ve Made So You Don’t Have To
Removing my first dish from the bowl mold after only a couple hours. It warped noticeably as it continued drying unsupported, ending up with a slightly lopsided shape.
Rolling the clay unevenly, thicker in the middle than at the edges. The edges dried and started cracking while the center was still soft.
Not supporting the ring cone while it dried. It slumped slightly to one side before fully hardening.
Only sealing the outside of the dish. The inside picked up a slight dullness over time from items resting in it.
Troubleshooting
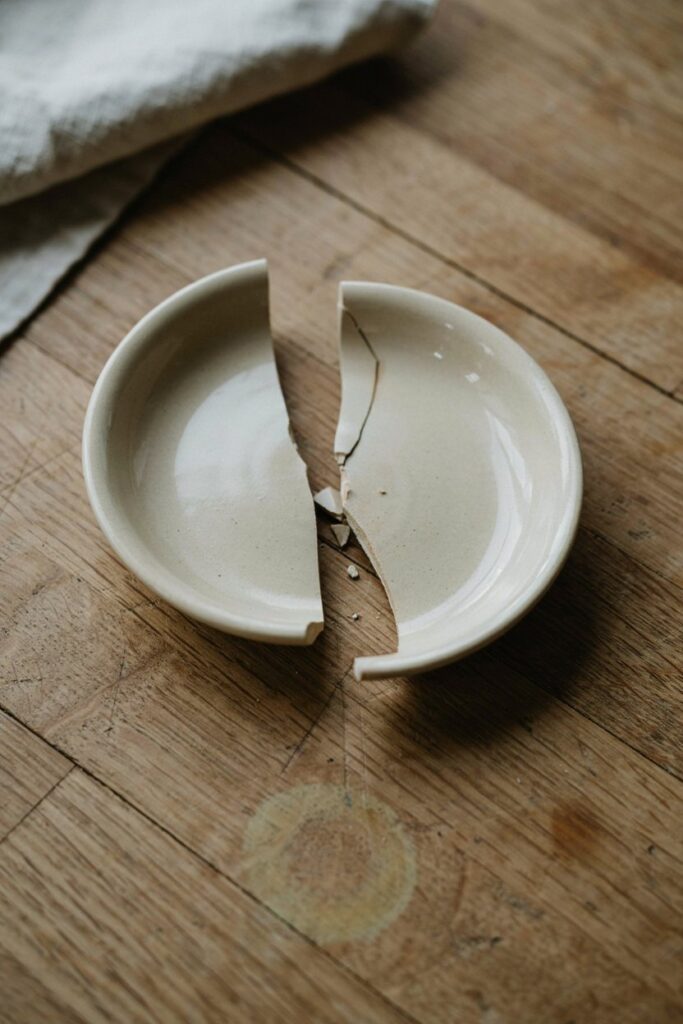
My dish warped during drying. This is almost always caused by removing the piece from its mold too early. Leave it on the bowl mold for at least the first 12 to 24 hours before removing it to finish drying unsupported.
My dish cracked around the edges. Check whether the clay was rolled to an even thickness throughout.
Thin spots dry faster than thicker areas and are more prone to cracking as the piece shrinks unevenly. If cracking keeps happening across different projects, my full guide on how to avoid cracks in air dry clay covers this in a lot more depth.
My ring cone slumped or leaned to one side. Support it with a small ball of scrap clay or foil while it dries, and avoid making the cone too tall and thin relative to its base, which makes it more prone to leaning before the clay hardens.
The surface felt rough even after the piece was fully dry. This is normal and expected. Sanding is a required finishing step, not an optional one, for a smooth final surface.
My finished dish feels fragile. Make sure it was completely dry all the way through before sealing, since sealing over clay that’s still slightly damp inside can trap moisture and weaken the piece. Also confirm both the inside and outside were sealed.
Variations and Design Ideas
Marbled Clay Dish. Swirl two colors of clay together loosely before rolling out for a natural marbled effect without needing paint.
Gold Rim Dish. Paint just the rim edge with metallic gold paint after the base coat for an elegant finishing detail.
Textured Dish. Press lace or a textured fabric into the clay before draping it over the mold for a raised pattern on the finished piece.
Two-Tier Version. Make two dishes in slightly different sizes to stack together for a small two-tier jewelry organizer.
Personalized Initial Dish. Add a small hand-shaped or cutter-cut initial to the center of the dish before it dries, for a personalized gift.
Storage and Care
Keep finished trinket dishes away from prolonged moisture or humidity, since even sealed air dry clay is less water-resistant than ceramic or ceramicware. Wipe clean with a slightly damp, not wet, cloth if needed, and avoid submerging it in water.
Frequently Asked Questions
Can I use this trinket dish for anything other than jewelry? Yes, these work well for keys, hair ties, small change, or any small items you want organized on a dresser or entryway table.
How long does the whole project take, start to finish? Active hands-on time is fairly short, maybe 20 to 30 minutes, but total drying time typically spans 2 to 3 days between the mold-supported stage and the final unsupported drying.
Can I make this dishwasher safe? No, air dry clay pieces should never go in the dishwasher, and are best kept away from water submersion entirely, even after sealing.
Why did my dish come out smaller than the bowl I used? Air dry clay shrinks somewhat as it dries and cures, typically by 10 to 20 percent depending on the brand, so the finished piece will always be a bit smaller than the mold it was shaped on.
Can kids help make these? Yes, this is a fairly kid-friendly project, especially the shaping and painting steps, though the trimming step with a knife or clay tool may need adult supervision.
Final Thoughts
This turned into one of my favorite small handmade gift ideas, since it’s genuinely useful rather than purely decorative, and it comes together with just a bowl and some basic tools.
The mold-drying detail is really the one thing that makes or breaks this project, so give that patience and the rest tends to fall into place.
If you haven’t already, my air dry clay ornaments beginner’s guide is a great starting point for getting comfortable with the material first, and if you want more bowl-shaped project ideas after this one, I’ve got a whole roundup of air dry clay bowl ideas worth browsing too.
If you make one, I’d love to see how you finished yours, whether you kept it simple or added a painted rim or ring cone.