
DIY Clay Diffuser Stones: A Beautiful, Natural Way to Scent Your Home
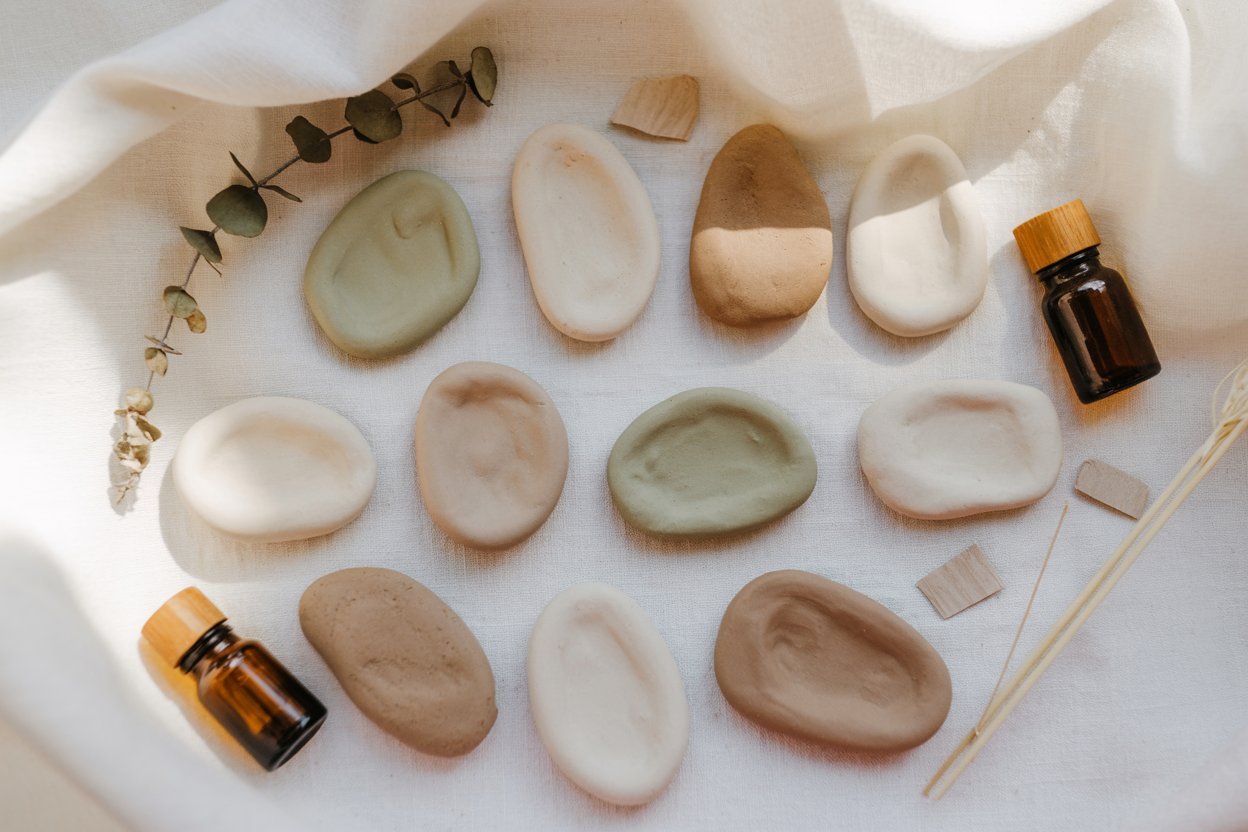
I have always loved how scent can completely change the feeling of a space. Walking into a room that smells softly of lavender, eucalyptus, or citrus instantly makes everything feel calmer and more intentional.
But after a while, constantly refilling diffusers or relying on plug-ins started to feel a bit unnecessary and cluttered.
That is what inspired me to try clay diffuser stones.
These little handmade pieces are both beautiful and practical.
They absorb essential oils and slowly release the scent into the air, creating a gentle, long-lasting fragrance without electricity or artificial ingredients.

I love placing them on my nightstand, tucking them into drawers, or keeping a few in my workspace for a subtle, calming aroma throughout the day.
What I love most about this DIY is how simple and creative it is. Using air-dry clay means there is no oven, no complicated tools, and no pressure to make everything perfect.
In this tutorial, I will walk you through exactly how I make my clay diffuser stones step by step, from shaping the clay to adding essential oils.
Read More – How to Make Coffee Clay at Home and How to Make Air Dry Clay at Home
What Are Clay Diffuser Stones?
Clay diffuser stones are small pieces of porous, unsealed clay that are designed to absorb essential oils.
Unlike an electric diffuser, they do not need water, electricity, batteries, or heat. You simply add a few drops of essential oil to the dry clay and allow the fragrance to gradually disperse.
They are especially useful for small spaces such as:
- Nightstands
- Desks
- Drawers
- Closets
- Bathrooms
- Entryway tables
- Small decorative trays
- Cars
Because the stones are handmade, you can make them in practically any shape or size you like.
Supplies You’ll Need (Available on Amazon)
Here’s everything you’ll need to get started. Keep it simple — these are affordable, easy-to-find materials:
- Air Dry Clay (white or natural tone)
- Rolling Pin or Smooth Bottle
- Clay Cutter or Butter Knife
- Essential Oils (lavender, eucalyptus, orange, or peppermint)
- Fine Sandpaper (optional, for smoothing)
- Parchment Paper or Wax Paper (to dry the stones on)
- Acrylic Paint or Natural Pigments
- Soft Brush or Dropper Bottle (for applying oils later)
Want To Level Up Your Air-Dry Clay?
If you’ve been wanting to make more beautiful air-dry clay pieces but aren’t sure what to create next, I made this guide for you.
Air Dry Clay For Beginners – Beginner To Expert Fast gives you 30 fun projects with easy-to-follow instructions and step-by-step photos, so you can create with more confidence.
Instant digital download • $9.99 • Create at your own pace
How to Make Clay Diffuser Stones
1. Prepare the Workspace
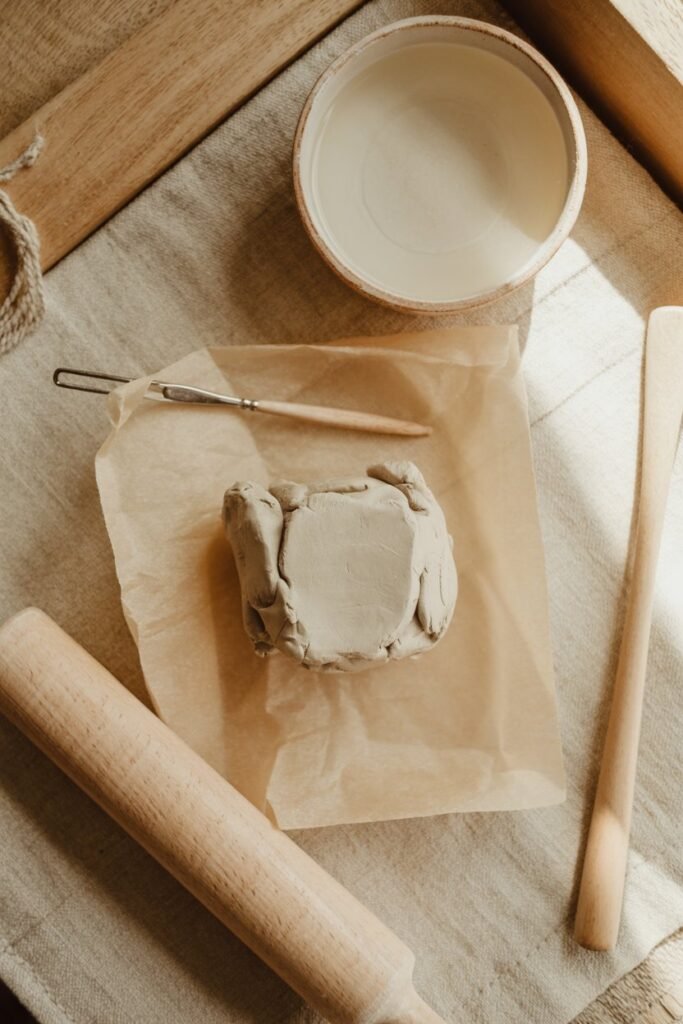
Start by covering your work surface with parchment paper or another non-stick protective surface.
Gather your clay and tools before you begin. This makes the process much easier, especially if you are making several stones at once.
I like keeping a small amount of water nearby for smoothing the clay, but try not to add too much. Excess water can make air dry clay soft and difficult to handle.
2. Soften and Shape the Clay
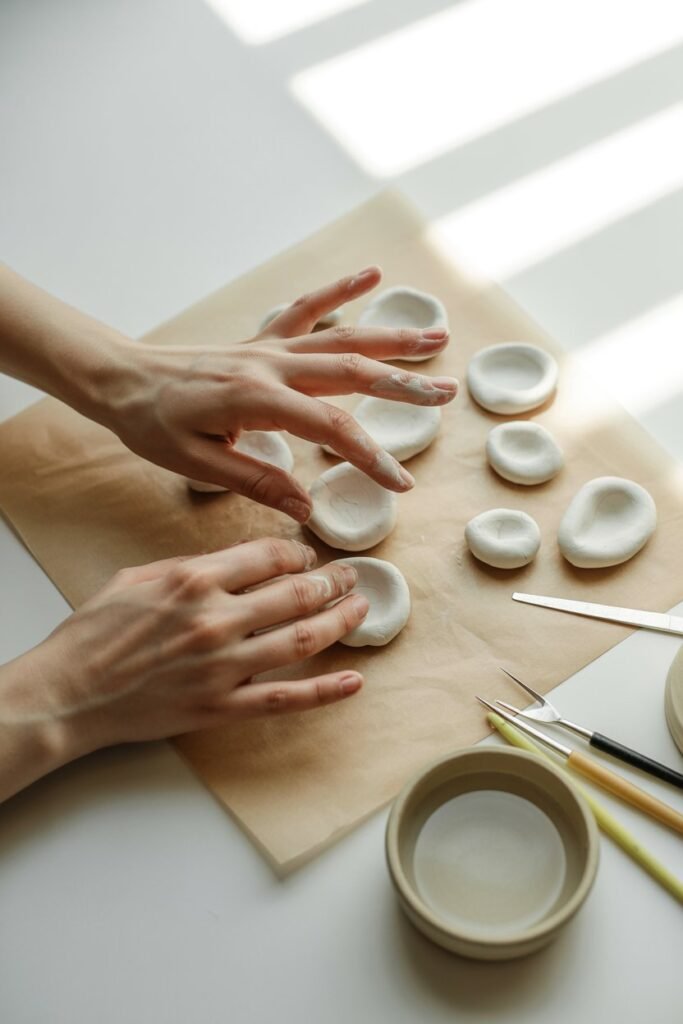
Take a small amount of air dry clay and knead it gently between your hands.
Work the clay until it feels soft and flexible without being sticky.
If you notice cracks while kneading, smooth them with your fingers rather than adding a lot of water.
Once the clay is ready, roll it into a ball and flatten it slightly.
For most diffuser stones, a thickness of around 1/4 to 1/2 inch works well. Very thick pieces will naturally take longer to dry.
3. Shape Your Diffuser Stones
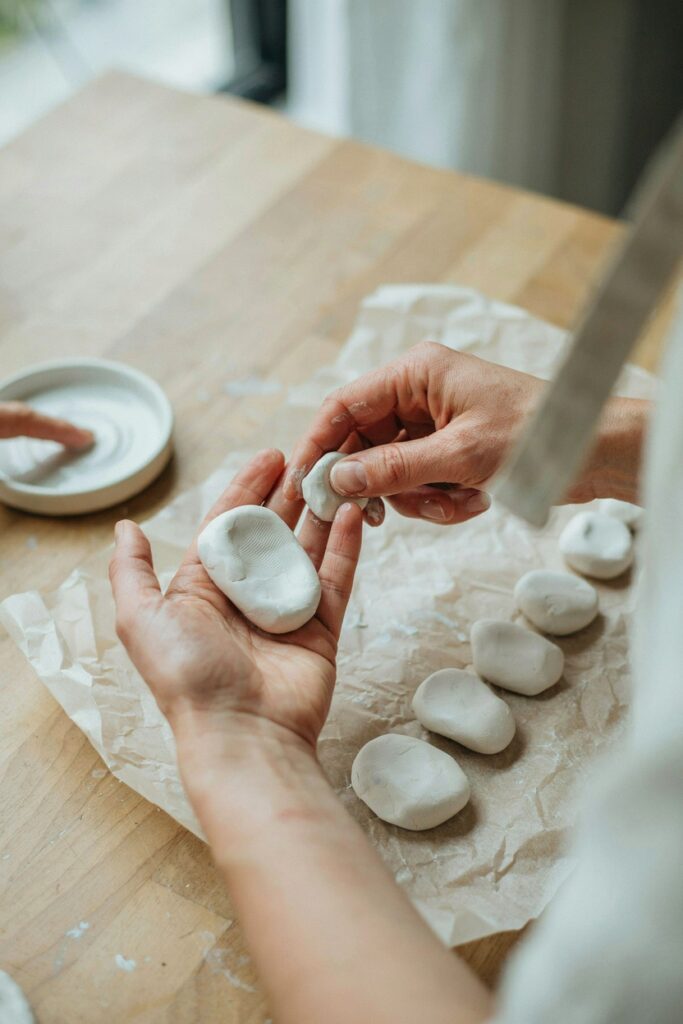
Now you can decide what you want your stones to look like.
For a natural appearance, simply shape the clay into small irregular pebbles using your hands.
For a more polished look, roll the clay flat and cut it with a cookie cutter.
Some easy shapes include:
- Circles
- Ovals
- Hearts
- Stars
- Flowers
- Leaves
- Small squares
You can also create several different shapes in one batch.
Do not worry about making every piece identical. Small differences are part of the charm of handmade clay projects.
4. Add Texture
Adding texture is completely optional, but it is one of my favorite parts of making clay diffuser stones.
Before the clay dries, gently press a piece of lace, textured fabric, a leaf, or a rubber stamp into the surface.
You can also use a toothpick or clay tool to draw simple lines and patterns.
Try not to press too deeply. You want the design to remain visible without making the clay extremely thin.
A lightly textured surface can also give your stones a more interesting handmade appearance.
5. Make Hanging Diffuser Stones
If you want to use your clay diffuser stones in a closet, car, or other hanging space, make a small hole near the top before the clay dries.
A drinking straw, skewer, or small clay tool can work for this.
Make sure the hole is large enough for your chosen piece of twine or ribbon.
This is also a great option if you want to turn your handmade diffuser stones into gifts.
6. Let the Clay Dry Completely
Place your finished pieces on parchment paper in a dry, well-ventilated area.
Allow them to dry according to the instructions for your specific air dry clay.
Many projects take roughly 24 to 48 hours, but thicker pieces can take longer.
Turn the pieces carefully during the drying process if the manufacturer’s instructions recommend it. This can help them dry more evenly.
Do not rush this step.
The clay needs to be completely dry before you add essential oils. If there is still moisture inside the piece, the oil may not absorb evenly.
How Do You Know When Air Dry Clay Is Fully Dry?
A completely dry piece should feel firm and hard rather than cool, soft, or flexible.
If you are unsure, give it additional drying time. It is much better to wait another day than to add oil to clay that has not finished drying.
7. Sand the Edges
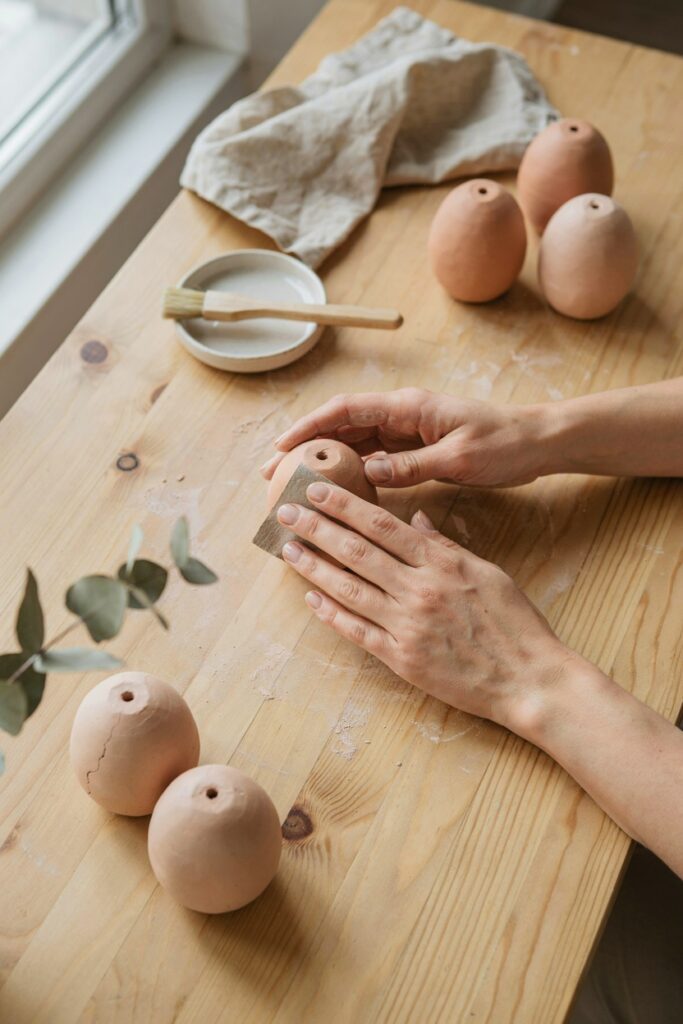
Once your clay diffuser stones are completely dry, inspect them for rough edges or small imperfections.
Use fine-grit sandpaper to gently smooth the surface.
You do not need to sand the entire piece aggressively. A few light passes are usually enough to remove rough spots.
After sanding, remove all of the clay dust before adding paint or essential oils.
8. Should You Paint Clay Diffuser Stones?
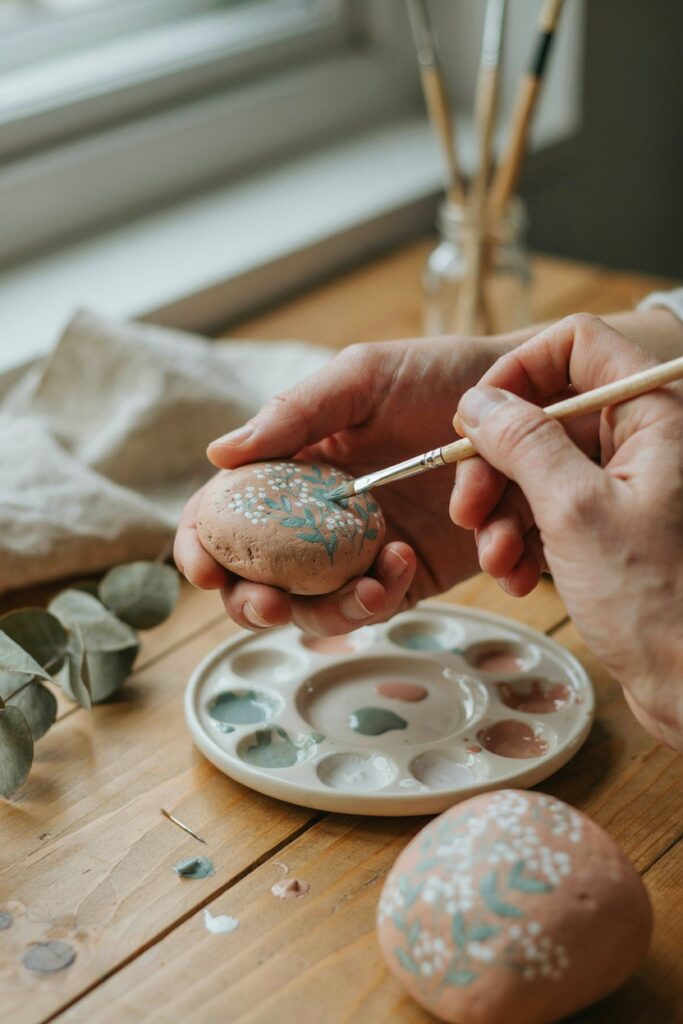
You can paint your diffuser stones if you want to add color.
Acrylic paint works well for decorative air dry clay projects, but remember that your diffuser stone needs to remain porous.
Avoid covering the entire piece with a thick layer of paint or a waterproof sealer if your goal is to have the clay absorb essential oils.
For this reason, I prefer simple designs rather than completely coating the stones.
You can paint:
- Small flowers
- Dots
- Leaves
- Initials
- Borders
- Simple geometric patterns
You can also leave the clay completely natural for a soft, neutral look.
9. Let Any Paint Dry Completely
If you painted your clay diffuser stones, allow the paint to dry completely before adding essential oils.
Do not add oil while the paint is still tacky.
This gives you a cleaner finished piece and reduces the chance of transferring wet paint onto your hands or surrounding surfaces.
10. Add Your Essential Oil
Once the clay is completely dry, it is time to add fragrance.
Start with just a few drops of essential oil.
Place the drops directly onto the unsealed clay surface and allow the oil to absorb before moving the piece.
You can always add more later if you want a stronger scent, so there is no need to saturate the clay immediately.
Some essential oils you might enjoy include:
Lavender
A classic choice for bedrooms and quiet spaces.
Peppermint
A crisp, refreshing option for a desk or workspace.
Sweet Orange
Bright and citrusy, making it a lovely choice for common areas.
Eucalyptus
Fresh and herbal, especially nice in bathrooms or entryways.
Lemon
A clean citrus scent that works well in kitchens and other small spaces.
You can also experiment with blends to create a scent you personally enjoy.
More Helpful Posts
How to Fix Cracked Air Dry Clay
12 Air-Dry Clay Projects That Start Simple and Look Stunning
How to Make Air Dry Clay at Home
How I Use My Clay Diffuser Stones
Clay diffuser stones are one of those simple things I reach for again and again.
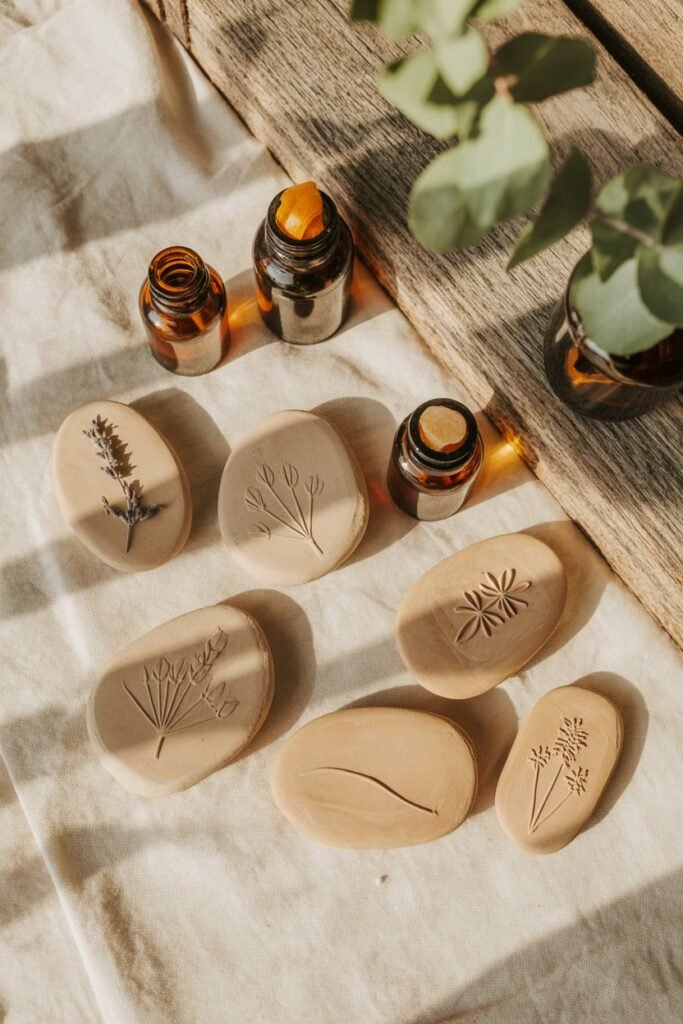
I love how easily they fit into different spaces around my home while adding a soft, natural scent.
I keep one on my nightstand with lavender or chamomile to help me relax at night.
On my desk, I use peppermint or citrus for a gentle boost of energy during the day.
A few stones in the closet with eucalyptus keep everything smelling fresh, and a small one in the car works perfectly for a clean, subtle scent.
They also make lovely handmade gifts. Packaged in a linen bag with a favorite essential oil, they feel thoughtful, practical, and beautifully simple.
Creative Variations
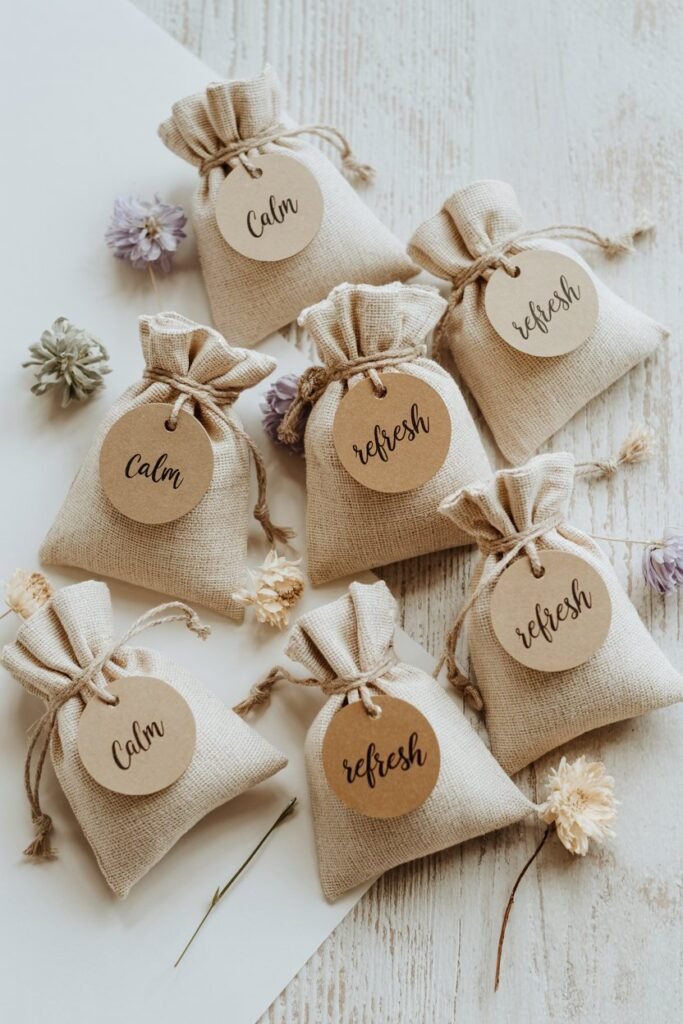
Once you feel confident with the basics, it’s fun to get creative and make your clay diffuser stones truly your own:
Colored Clay Stones: Add a few drops of natural pigment or acrylic paint to your clay before shaping. This gives soft pastel or earthy tones that complement your home décor.
Stamped Words & Patterns: Press alphabet stamps or small shapes into the clay. Words like “calm,” “breathe,” or “love” add a personal, mindful touch.
Marbled Clay Effect: Combine two different clay colors and gently twist them together. Each stone ends up with a one-of-a-kind, swirled design that’s naturally artistic.
Hanging Diffusers: Create a small hole through the top and thread twine or ribbon. These can hang in your car, closet, or even near a window to gently scent the air.
Tray Diffusers: Group several small stones in a decorative dish. Refresh them with essential oils whenever you want a subtle, long-lasting aroma in a room.
These twists make your diffuser stones functional pieces of art that fit your style while filling your space with your favorite scents.
Tips for Long-Lasting Scent
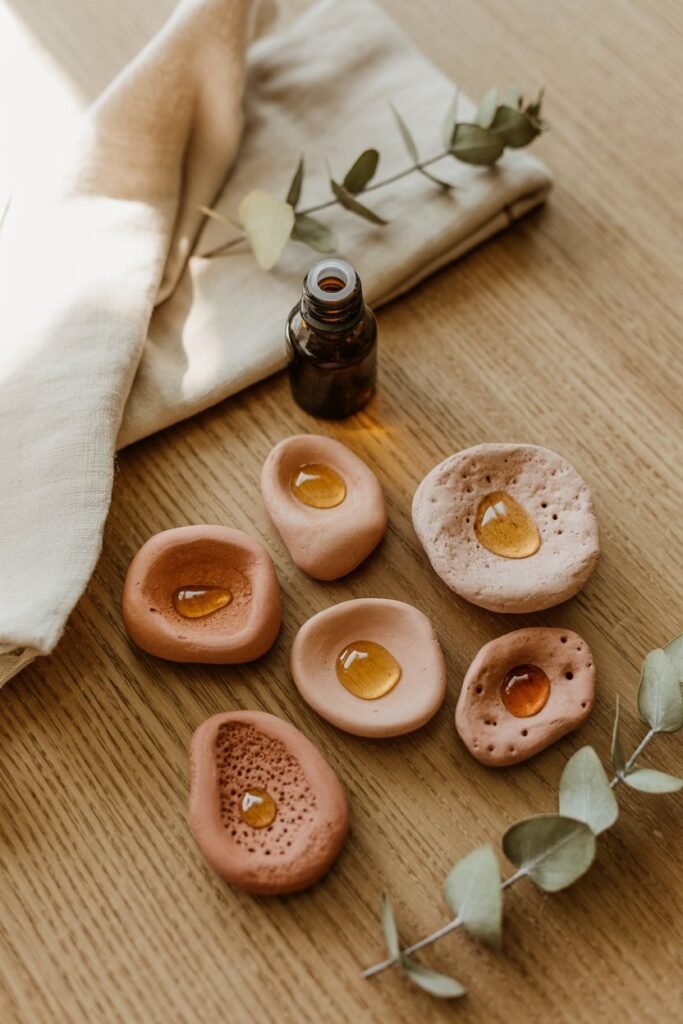
- Keep it porous: Avoid sealing the clay. The stones need to stay absorbent so they can hold and release essential oils effectively.
- Refresh regularly: Reapply your favorite oils every few days or whenever the scent fades. A few drops go a long way.
- Store carefully: Keep unscented stones in an airtight container until you’re ready to use them. This preserves their absorbency.
- Choose quality oils: High-quality essential oils not only smell better but last longer on your stones.
- Switching scents: Want a new aroma? Let the stones air out for a few days to release the old scent before adding a new oil.
With a little care, these handmade stones can be a lasting, beautiful addition to your home both functional and decorative.
Final Thoughts
Making clay diffuser stones is one of those DIY projects that looks much more complicated than it actually is.
With a little air dry clay and a few basic supplies, you can create beautiful handmade pieces for your bedroom, office, bathroom, closet, or car.
What I love most is that the project can be completely customized. You can keep your stones simple and natural, add botanical textures, stamp meaningful words into them, or create a collection of different shapes for different areas of your home.
The key is to remember one simple rule: keep the finished clay porous and unsealed so it can absorb your essential oils.
Start with a small batch, experiment with different shapes and scents, and see which combination you enjoy most.
Once you make your first few, you may find yourself looking around your home for more places to put them.




This guide is really helpful. Thanks dear Amelia Hart