
DIY Polymer Clay Bead Bracelet (Beginner-Friendly, No Special Tools Required)
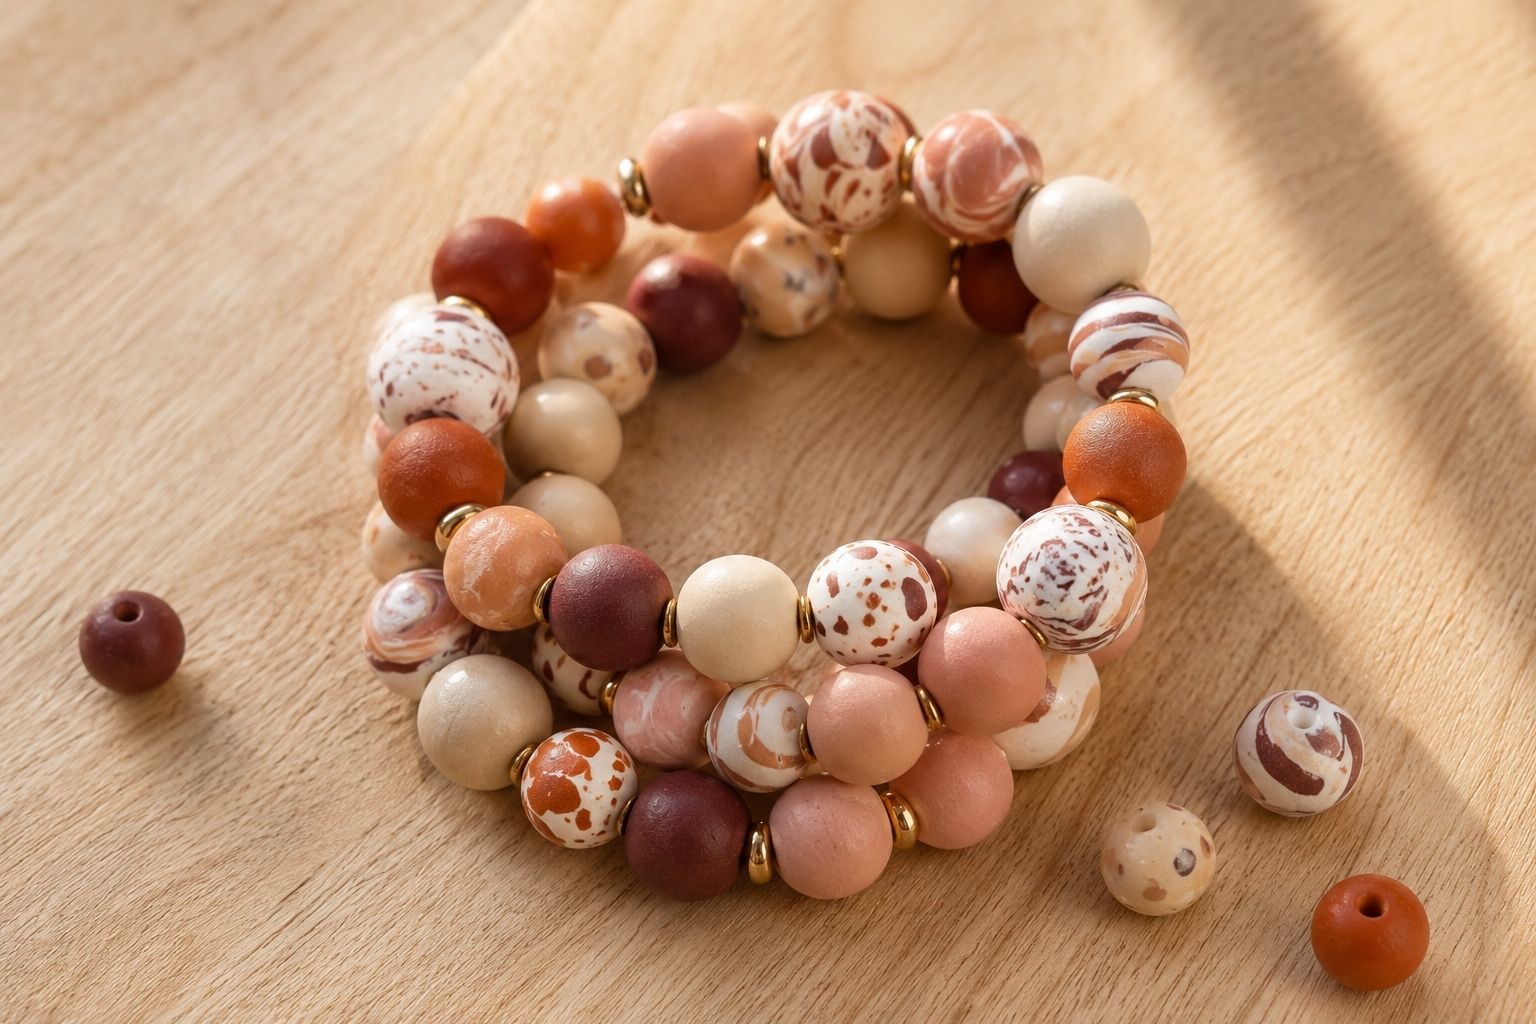
I got pulled into the clay bead bracelet trend later than most, mostly because I assumed it required tools and a level of precision I didn’t have. It doesn’t. Once I actually sat down and rolled my first batch of beads, I realized this is genuinely one of the most approachable clay projects out there, and one of the most satisfying to see come together as a finished piece you can actually wear.
What surprised me most was how quickly it went from “a few scattered clay balls on a tile” to something that actually looked intentional and finished.
There’s a real learning curve with a lot of clay projects, sealing and glazing especially take some trial and error to get right, but beads are forgiving in a way that made this one of the fastest wins I’ve had with polymer clay.
I had a wearable bracelet within a single afternoon, start to finish, including bake time.
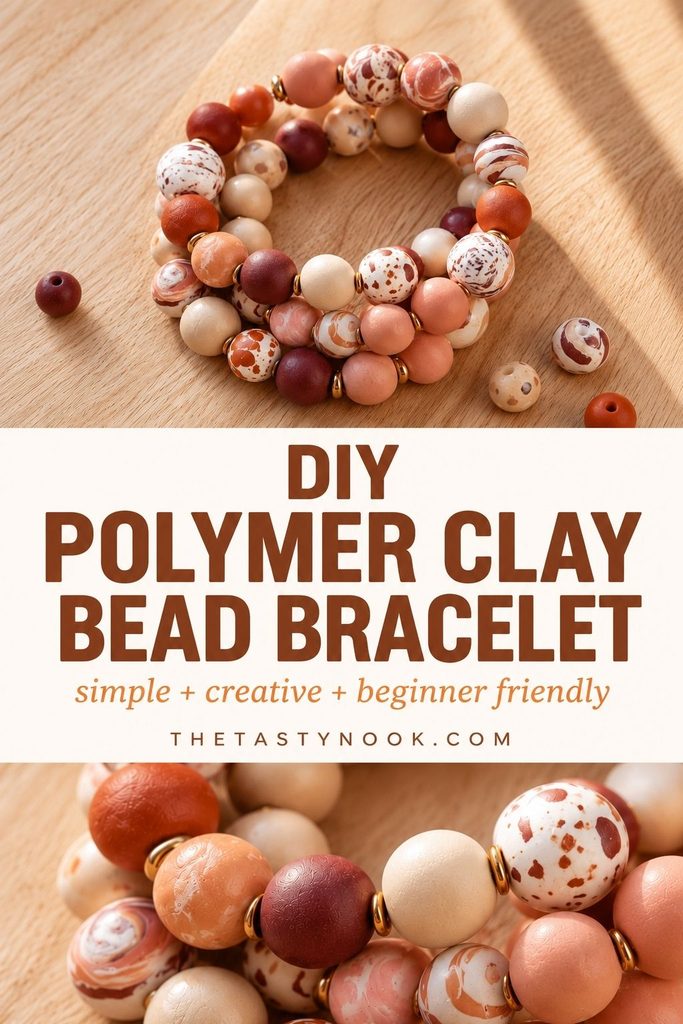
If you’ve made my polymer clay lighter case, you already have every skill this project needs. It’s really just that same conditioning and shaping technique, applied to something smaller and strung on elastic cord instead of wrapped around an object.
And if you’ve spent more time with my air dry clay projects than with polymer clay so far, this is a genuinely good, low-stakes way to get comfortable with an oven-cure material for the first time, since a bead that doesn’t turn out perfectly is a much smaller loss than a larger project gone wrong.
Why This Project Is Worth Trying
- Genuinely beginner-friendly, no sculpting skill required
- Minimal tools, most of what you need is likely already in a junk drawer
- Highly customizable in color, pattern, and bead size
- Cures hard and holds up well to everyday wear
- A satisfying, quick project that doesn’t demand a full afternoon
The Science Behind Why Polymer Clay Beads Hold Up
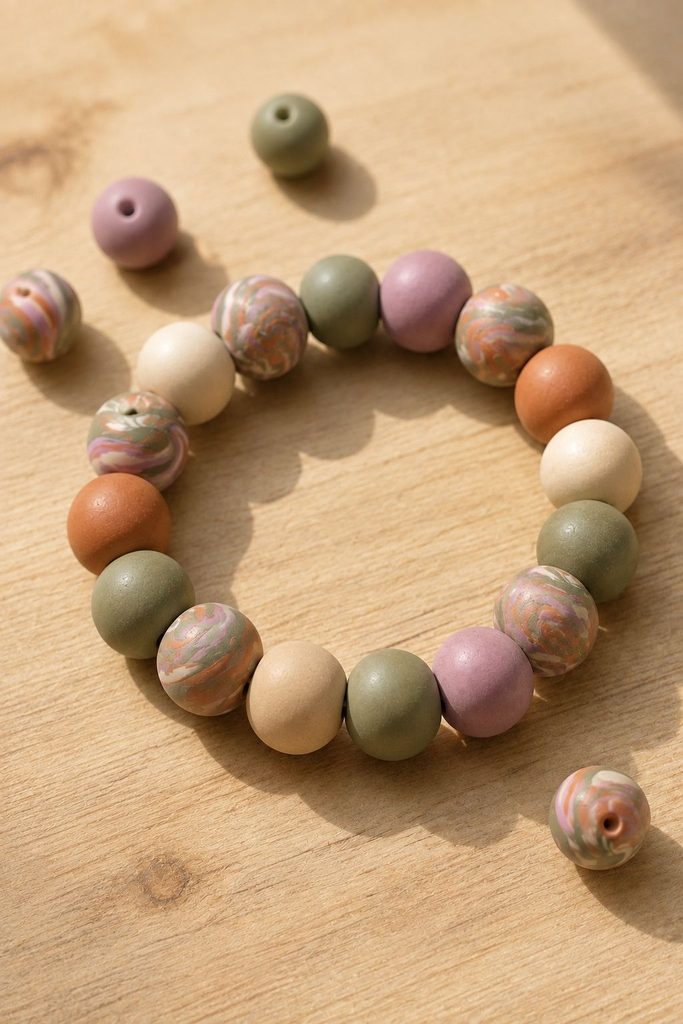
Polymer clay cures through a chemical process called plasticization, not simple drying. As it heats in the oven, the PVC particles suspended in the clay soften and fuse together permanently, which is why a properly cured piece stays hard and stable instead of eventually crumbling or softening again the way an under-baked piece might.
This matters specifically for beads because they get more repeated stress than something like a trinket dish, they’re strung under tension, they knock against each other, they rub against skin and clothing throughout the day. Fully cured beads hold up to that; under-cured ones are more likely to crack or flatten over time, even if they feel solid right out of the oven.
Choosing the Right Clay and Cord
Clay firmness. A firmer, oven-bake clay holds a round bead shape better than a very soft clay, which can flatten slightly under its own weight before it’s baked. If your beads are coming out slightly oval instead of round, firmness is often the reason.
Elastic cord vs. stringing wire. Elastic cord is the easiest option for beginners, it stretches to slide over your hand and needs no clasp. Stringing wire with a clasp gives a more structured, adjustable fit but requires crimp beads and a small set of jewelry pliers.
Cord thickness. Match your cord thickness to your bead hole size. A cord that’s too thin will let beads slide and bunch unevenly; too thick and it won’t pass through the holes at all.
Planning Your Bead Count and Layout
Before you start rolling, it helps to know roughly how many beads you’ll need, so you’re not stopping mid-project to make more and dealing with a slightly different clay batch or bake session.
For a standard adult wrist, plan on somewhere between 15 and 22 beads depending on how large you roll them, smaller beads (around 8mm) tend to land closer to 20-22, while larger beads (12-14mm) usually land closer to 15-18. Rolling a couple of extra beads beyond what you think you need is worth doing, it’s much easier to leave a couple out than to stop and mix a fresh batch to match an existing one exactly.
Simple color layout ideas:
- Solid rotation: 2-3 colors repeating in a consistent pattern all the way around
- Focal bead: one standout patterned or larger bead placed off-center among simpler solid beads
- Gradient: beads arranged from lightest to darkest around the wrist
- Random scatter: colors mixed with no repeating pattern, for a more casual, layered look
Laying your beads out in your intended order on a flat surface before stringing anything is worth the extra minute, it’s much easier to rearrange loose beads than to restring a finished bracelet you’re unhappy with.
A Quick Note on Color Mixing
If you want a custom shade rather than sticking to colors straight from the package, polymer clay blends the same way paint does. Two primary colors combine to make a secondary color, and adding small amounts of white lightens a shade while black deepens and mutes it.
Keep a small notebook or note on your phone of ratios you liked, “2 parts blue, 1 part white” for example, so a favorite custom color is repeatable the next time you want to match it, rather than guessing again from scratch.
A Note on Sensitive Skin
Most people wear cured polymer clay jewelry without any issue, but if you know you have sensitive skin or metal allergies, it’s worth a little extra care here.
If you’re using a clasp and crimp beads, look for ones labeled nickel-free, standard nickel-plated findings are a common cause of skin irritation for people with metal sensitivities.
Fully cured polymer clay itself is inert and generally well tolerated, but if you notice any irritation after wearing a piece, it’s more likely coming from metal findings or the elastic cord material than from the clay beads themselves.
If you’re making bracelets as gifts, it’s a thoughtful touch to ask whether the recipient has any known sensitivities before choosing your clasp and cord materials.
Storing Leftover Clay
It’s rare to use an entire block of clay in one sitting, and leftover clay stores well if you keep a few things in mind.
Wrap unused clay tightly in plastic wrap or wax paper rather than leaving it exposed to air, and keep different colors separated to avoid accidental color transfer between wrapped pieces sitting next to each other.
Stored this way, in a cool spot away from direct sunlight, most polymer clay stays workable for months, sometimes years, since it doesn’t dry out the way air dry clay does.
Avoid storing polymer clay against certain plastics, like some vinyl storage bags or PVC-based containers, since a chemical reaction between the two can cause the clay to become permanently sticky or degrade the container itself. A simple plastic zip-top bag or a dedicated craft storage box is the safer choice.
How Climate Affects Working With Polymer Clay
Unlike air dry clay recipes, polymer clay doesn’t dry out from air exposure, it only cures with heat. That said, climate still plays a role in how it behaves while you’re working with it.
In warmer environments, clay softens faster and can become slightly sticky or difficult to hold a clean shape, especially bead shapes that rely on being rolled firm and round. If your kitchen or craft space runs warm, working in shorter sessions and popping the clay in the fridge for a few minutes if it starts feeling too soft can help.
In cooler environments, clay can feel stiff and take more effort to condition initially, but it generally holds detail and shape more easily once conditioned. If your clay feels difficult to knead straight out of the package, warming it slightly in your hands before you start, rather than trying to force it while cold and firm, makes conditioning much easier.
Baking Multiple Bracelets at Once
If you’re making several bracelets in one session, a few small adjustments help everything bake evenly.
Group beads of similar size together on the same baking tile rather than mixing small and large beads on one tray, since larger beads may need a few extra minutes that smaller ones don’t. Leave a small gap between beads rather than letting them touch, beads that bake while pressed against each other can develop small flat spots where they were in contact.
If you’re working with multiple colors, especially very light or white clay next to strongly pigmented colors, keep them a little further apart on the tray. While true color bleeding during baking is uncommon, keeping some distance is an easy, low-effort precaution.
Supplies You Will Need
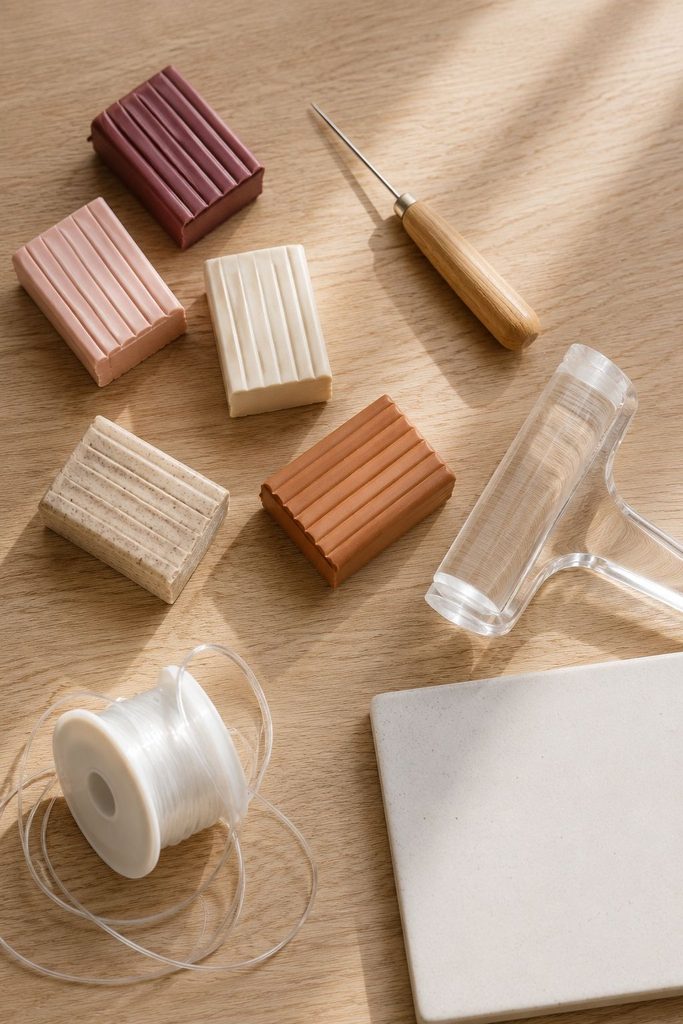
- Polymer clay in your choice of colors
- A rolling pin or acrylic roller
- A craft knife or clay blade
- A needle tool or thin skewer, for the bead holes
- A ceramic tile or oven-safe glass surface for baking
- Elastic cord or stringing wire with clasp and crimp beads
- Optional: sandpaper and a clear polymer glaze for a glossy finish
Step 1: Condition Your Clay
Knead each color of clay in your hands for a few minutes until it’s soft, warm, and free of cracks. This step matters just as much for small beads as it does for larger projects, unconditioned clay is more prone to cracking both before and after baking.
Step 2: Roll Your Beads
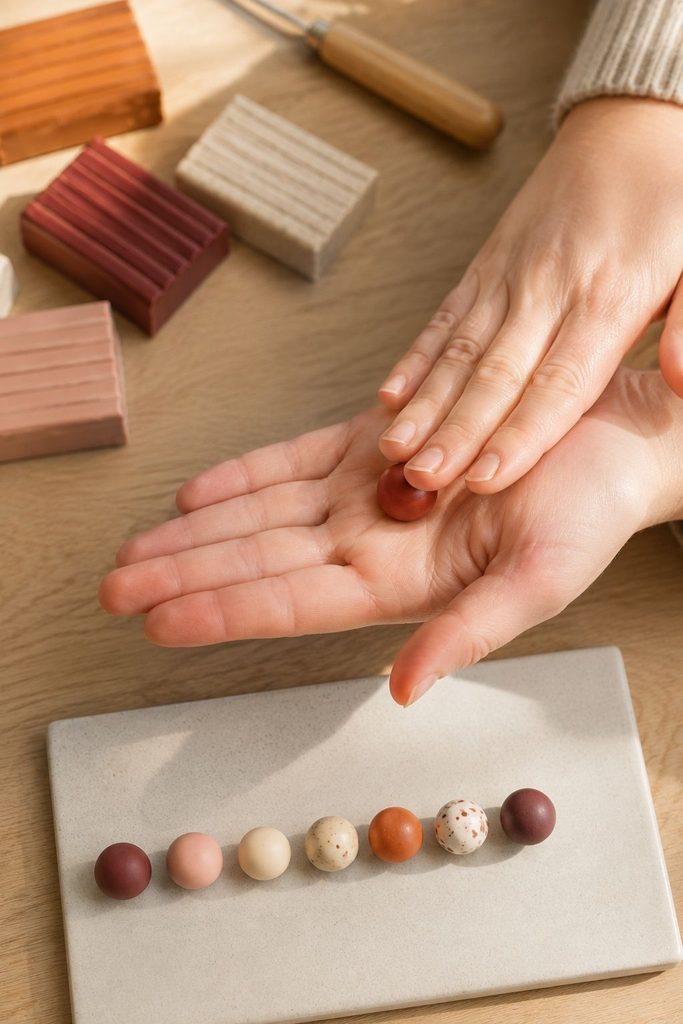
Break off small, evenly sized pieces of clay and roll each one between your palms into a smooth ball. Consistency in size matters here more than in a lot of clay projects, since uneven beads will make a finished bracelet look lopsided once strung.
A helpful trick: roll a small test batch first and lay them side by side before committing to a full set, it’s much easier to spot size inconsistencies this way than by eye alone while rolling.
Step 3: Pierce the Holes
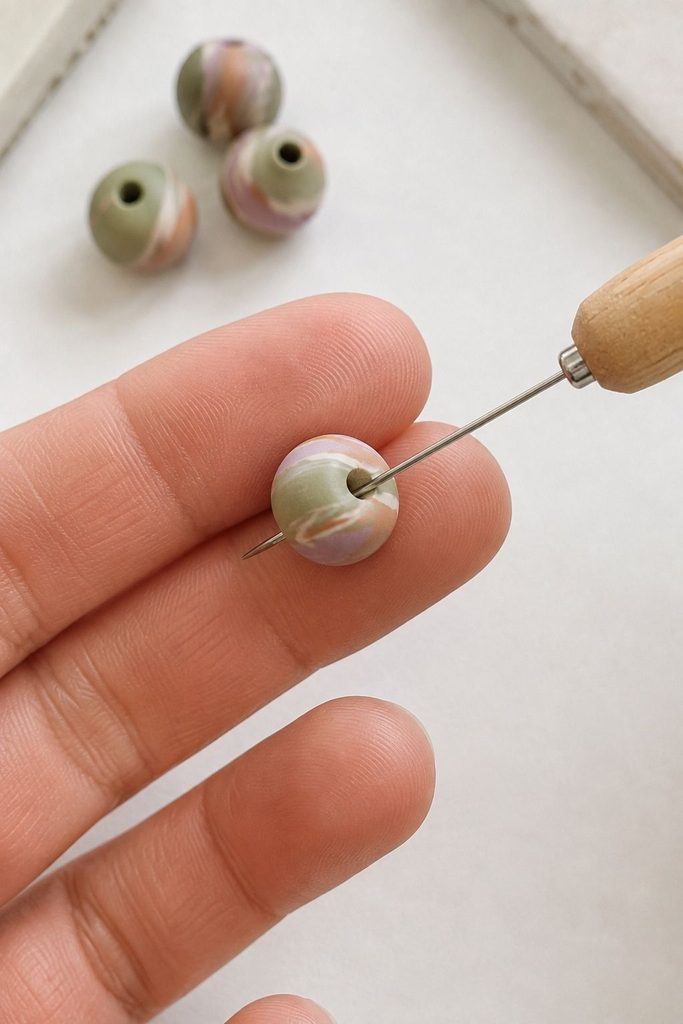
Once each bead is rolled, use a needle tool or thin skewer to pierce straight through the center. Push the tool in from one side until it just starts to emerge from the other, then remove it and finish piercing from the opposite side to keep the hole centered and clean.
Twist the tool gently as you remove it rather than pulling straight out, this helps prevent the hole from dragging or distorting the bead’s round shape.
Step 4: Add Pattern or Texture (Optional)
This is where you can make your bracelet genuinely your own.
- Marbling: partially blend two or three colors before rolling into beads for a swirled effect
- Polka dot inlay: press tiny dots of a contrasting color onto the surface of a rolled bead before baking
- Textured beads: roll a bead across a textured surface, like lace or a fine-grit sandpaper, for a subtle pattern
- Ombre set: blend a gradient across several beads so the bracelet transitions from light to dark
Step 5: Let Beads Rest Before Baking
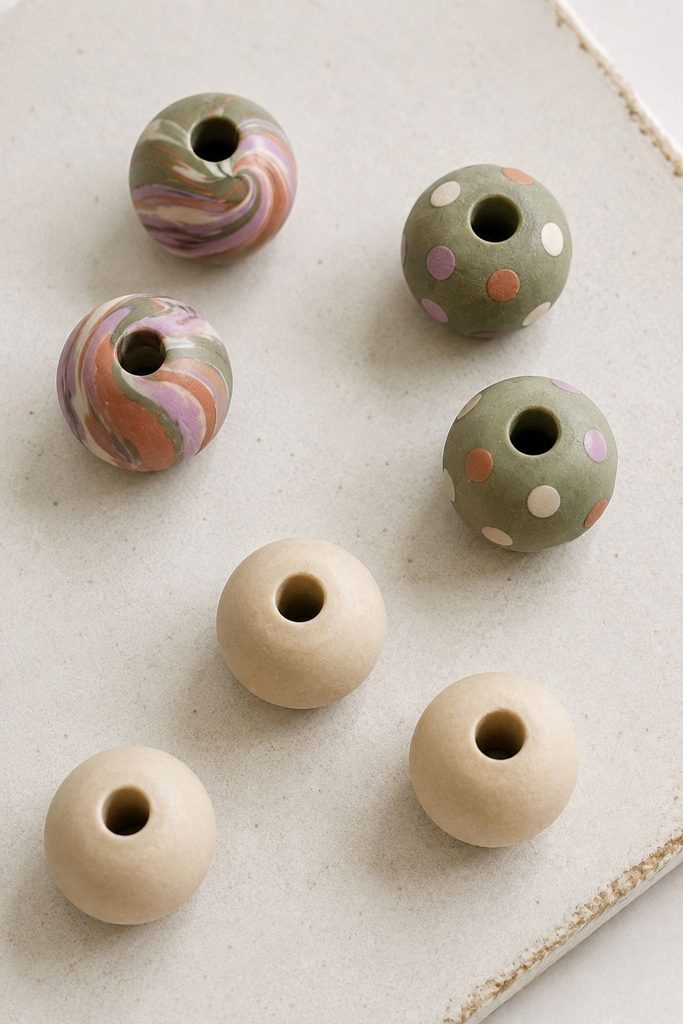
Set your pierced beads on a ceramic tile or baking surface and let them sit undisturbed for 15 to 20 minutes before baking. This firms them up slightly and reduces fingerprints or shape distortion from handling.
Step 6: Bake According to Your Clay’s Instructions
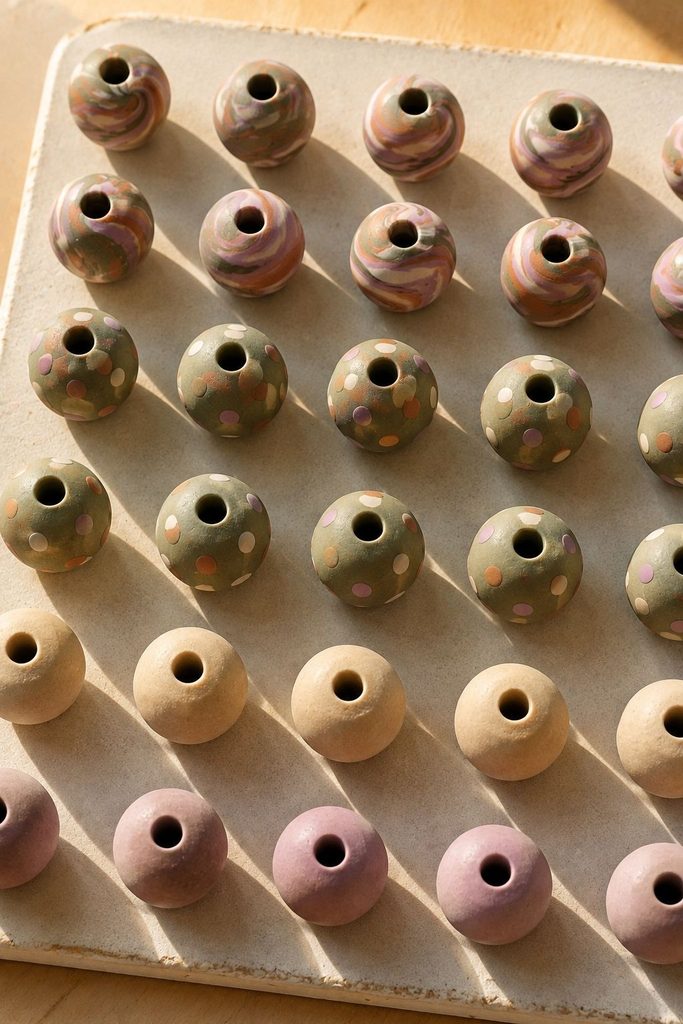
Bake on your ceramic tile following the temperature and time listed on your specific clay’s packaging, most oven-bake polymer clays cure somewhere in the 265-275°F range for roughly 15-30 minutes depending on bead size, but always defer to your brand’s instructions over a general estimate.
Let the beads cool completely on the baking surface before handling them.
Step 7: Sand and Seal (Optional)
Once cooled, a light pass with fine sandpaper smooths any rough edges left from the piercing step. A thin coat of clear polymer-safe glaze adds shine and a bit of extra durability against everyday wear.
Step 8: String Your Bracelet
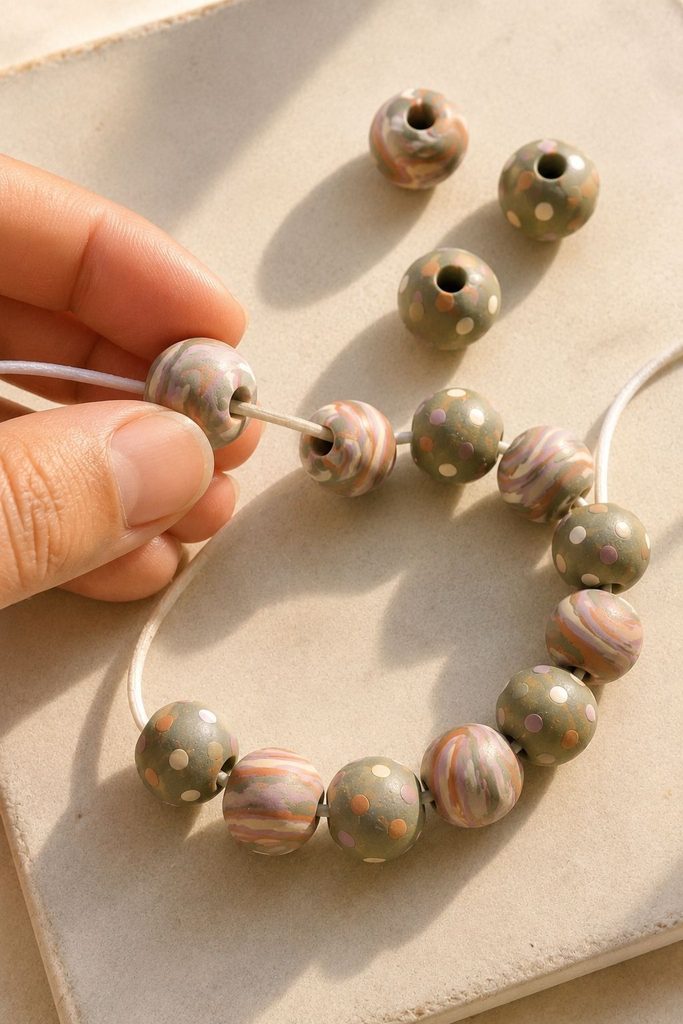
Thread your cooled beads onto elastic cord or stringing wire, arranging colors and patterns in whatever order you like before securing the ends. For elastic cord, tie a secure double or triple knot and trim the excess, tucking the knot inside the nearest bead hole if possible so it doesn’t sit exposed against your skin.
Two Ways to Finish the Ends
Elastic cord (beginner-friendly, no clasp needed). Tie a surgeon’s knot, essentially a double overhand knot pulled tight, rather than a single knot, which is far more likely to slip loose with wear.
Add a small dot of clear jewelry glue on the knot for extra security, then trim the tails once dry and tuck the knot into the nearest bead hole.
Stringing wire with a clasp (more structured, adjustable). Thread a crimp bead onto the wire, pass the wire through one half of your clasp, then back through the crimp bead, and squeeze the crimp bead flat with jewelry pliers to lock it in place.
Repeat on the other end with the second half of the clasp once all your beads are strung. This method takes a bit more practice but gives a cleaner, more jewelry-store finish and makes the bracelet size adjustable rather than fixed.
If this is your first bracelet, I’d genuinely start with elastic cord. It’s far more forgiving, and you can always restring finished beads onto wire with a clasp later once you’re comfortable with the beads themselves.
Troubleshooting Common Problems
Beads came out oval instead of round. This usually means the clay was too soft, or the beads sat on a flat surface too long before baking and settled under their own weight. Use a firmer clay and bake sooner after piercing next time.
The hole is off-center. Piercing from both sides, rather than pushing the tool all the way through from one side, helps keep the hole straight. A slow, steady hand matters more here than speed.
Beads cracked after baking. Often a sign of under-conditioned clay, or beads that cooled too quickly right out of the oven. Let pieces cool gradually on the baking surface rather than moving them to a cold countertop immediately.
Colors muddied when marbling. Over-blending is the usual cause. Stop mixing earlier than feels natural, colors continue to soften into each other slightly during rolling and handling even after you stop actively blending.
The elastic cord keeps breaking. This is often a sign the cord is too thin for the bead holes, or the knot wasn’t secured tightly enough. Size up your cord thickness and always double-knot elastic cord specifically.
Caring for Your Finished Bracelet
- Avoid leaving it in a hot car or direct sun for extended periods, prolonged heat can soften cured polymer clay
- Remove before swimming or showering to protect both the clay finish and the elastic cord
- Wipe down with a soft, slightly damp cloth rather than harsh cleaners
- Restring onto fresh elastic cord if it starts to look stretched or worn, the beads themselves will usually outlast the cord
Variations and Gift Ideas
- Matching sets for friends or a small group, coordinated colors strung the same way
- Initial or charm beads carved with a needle tool before baking for a personal touch
- Layered stacks, several thin bracelets in complementary colors worn together
- Seasonal color palettes, easy to switch out for holidays or specific outfits
Once you’ve made one bracelet, the process goes quickly. This is an easy one to batch, several bracelets in an evening, if you’re making gifts for more than one person.
Frequently Asked Questions
Is polymer clay safe to wear against skin?
Fully cured polymer clay is generally considered safe for everyday wear as jewelry. Make sure beads are baked according to your clay brand’s full recommended time before wearing them, under-cured clay is more likely to break down with regular skin contact.
Can I mix different brands of polymer clay in the same bracelet?
Yes, as long as each color is fully conditioned and cured according to its own package instructions before combining them into a finished piece.
How do I keep bead sizes consistent?
Weighing small, equal portions of clay on a kitchen scale before rolling is the most reliable method if visual consistency alone feels difficult to judge.
Can kids help make these?
Rolling and stringing are great steps for kids to help with. The baking step should be handled by an adult.
How long do polymer clay beads last?
Fully cured, well-cared-for beads can last for years. The elastic cord will typically wear out well before the beads themselves do.
Final Thoughts
A polymer clay bead bracelet is a small project with a genuinely satisfying payoff, you go from a lump of clay to something colorful and wearable in an afternoon.
Take your time on bead consistency and the piercing step, always let pieces cool fully before handling, and you’ll likely find yourself making a few more the moment the first one is finished.


One Comment