How to Marble Polymer Clay for Beautiful Swirls: Easy Beginner’s Guide
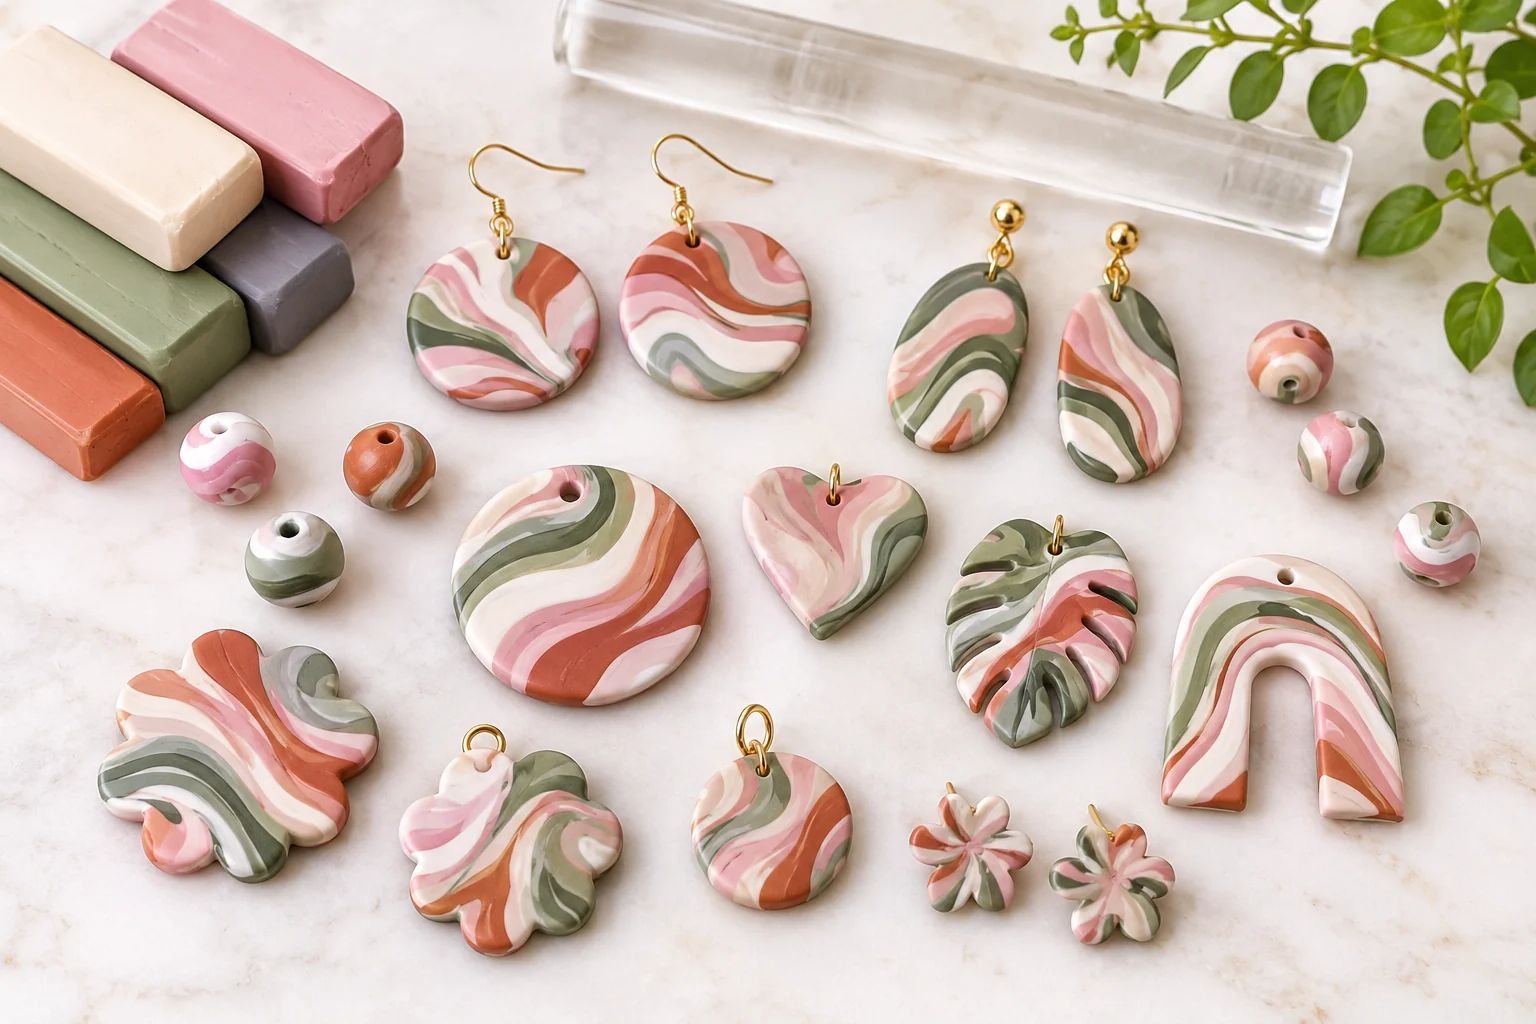
There is something so beautiful about marbled polymer clay. Those soft swirls of color, delicate patterns, and little variations in every piece make even the simplest handmade project look special. And the best part? You don’t need expensive tools or years of experience to create them.
When I first started experimenting with clay crafts, I loved how much difference a little color could make.
You can take two or three ordinary blocks of clay, combine them gently, and create something that looks completely different from the original colors.
The trick is knowing when to keep twisting and folding and, more importantly, when to stop.
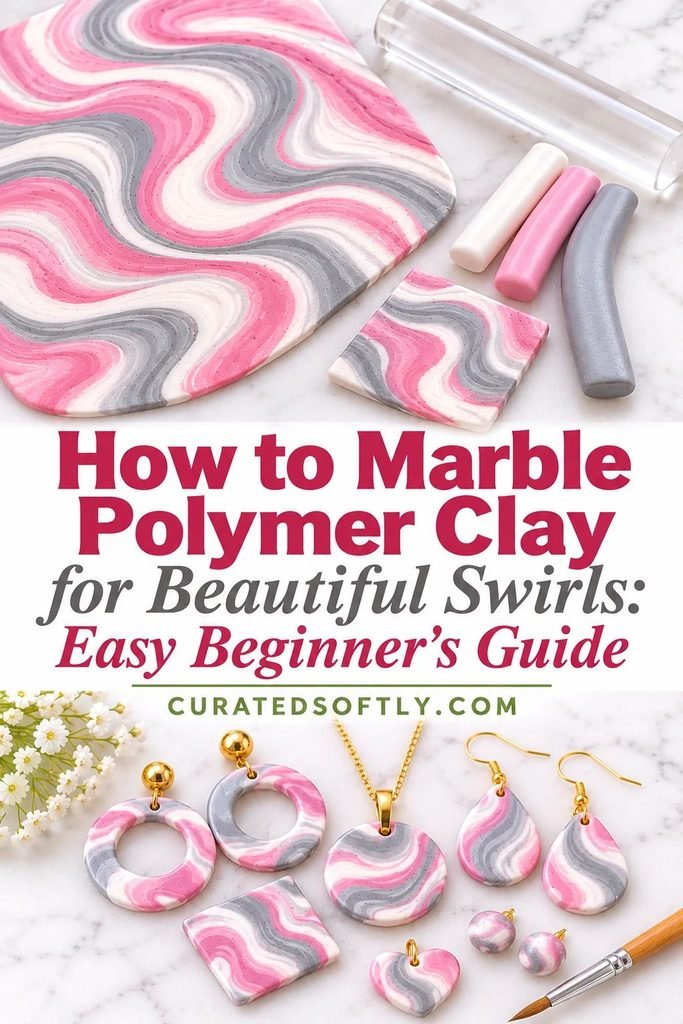
In this tutorial, I’ll show you how to marble polymer clay at home, even if you’ve never worked with it before. We’ll go through conditioning the clay, combining colors, creating different swirl effects, and preparing your finished pieces for baking.
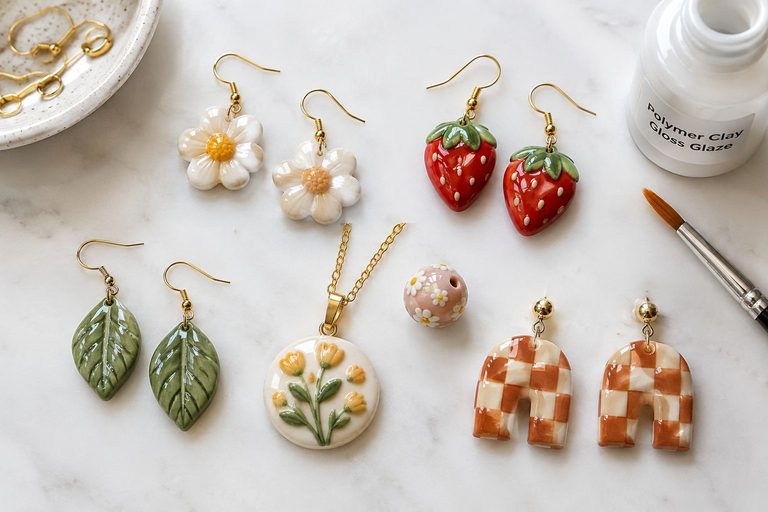
You can use marbled polymer clay to make earrings, pendants, beads, keychains, decorative charms, and plenty of other handmade accessories.
If you enjoy making your own jewelry, you might also like my tutorial on DIY air-dry clay necklace charms, which offers another lovely way to create personalized handmade pieces.
What Is Marbled Polymer Clay?
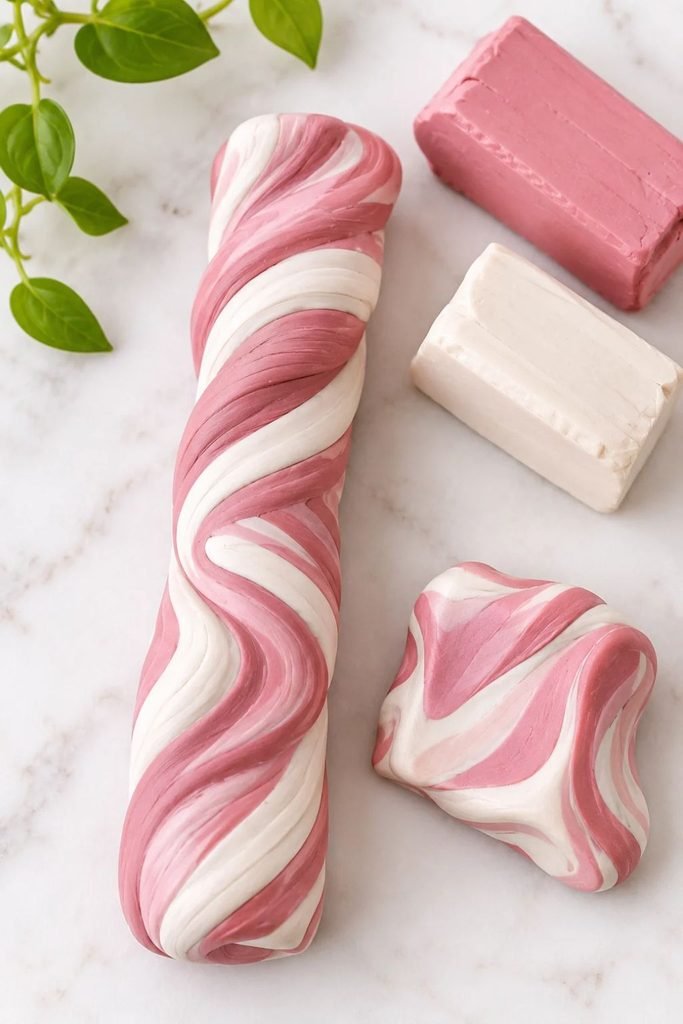
Marbling polymer clay is a technique that involves combining two or more clay colors without blending them completely. Instead of creating one solid new color, you keep some of the original shades visible so they form swirls, veins, ribbons, and flowing patterns.
For example, combining white and pink can create a soft marble effect, while black and white produce a classic contrast. You can also experiment with terracotta, cream, sage green, dusty rose, and other colors for a more natural look.
The important thing to remember is that marbling is about controlled mixing. If you knead the colors together for too long, they will eventually blend into one shade and the marble pattern will disappear.
Supplies You’ll Need
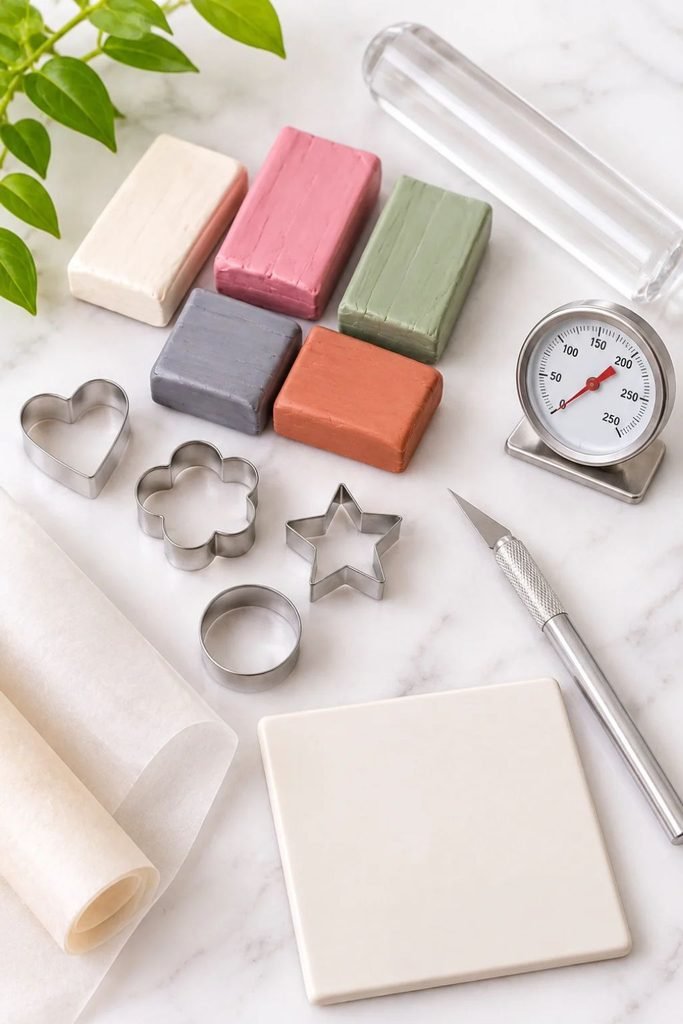
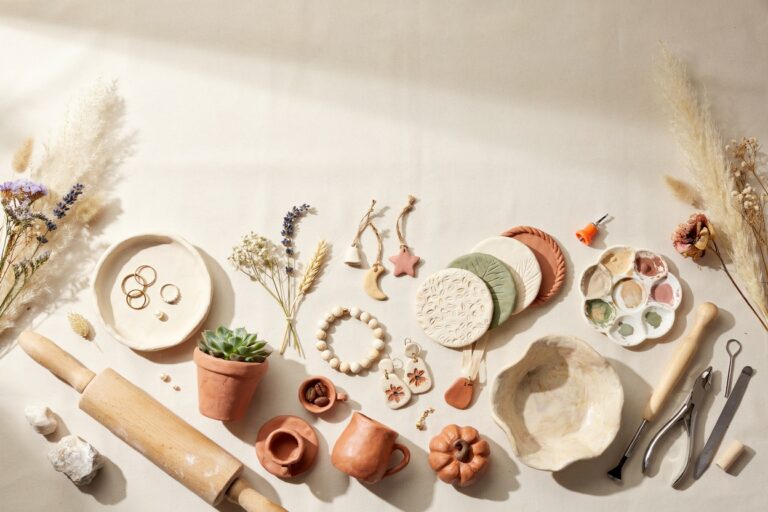
You don’t need a large collection of supplies to get started. A few basic tools are enough to create beautiful marbled polymer clay.
- Polymer clay: Choose two or three colors that work well together. You can use solid colors or mix a neutral shade with a brighter one.
- Clay roller or acrylic rolling pin: This helps flatten the clay evenly. Avoid using kitchen tools that you also use for food.
- Craft knife or clay blade: Useful for cutting the clay into smaller pieces and trimming your finished shapes.
- Smooth work surface: A clean, nonporous surface such as a dedicated craft tile or acrylic work surface is ideal.
- Shape cutters: Optional, but helpful for making earrings, pendants, charms, and other consistent shapes.
- Baking tray and parchment paper: Use a dedicated tray or a suitable oven-safe surface for baking your clay.
- Oven thermometer: Helpful because polymer clay needs to bake at the correct temperature.
You may also want a small piece of scrap clay for testing your color combinations before making your final design.
How to Marble Polymer Clay Step by Step
Step 1: Condition Your Polymer Clay
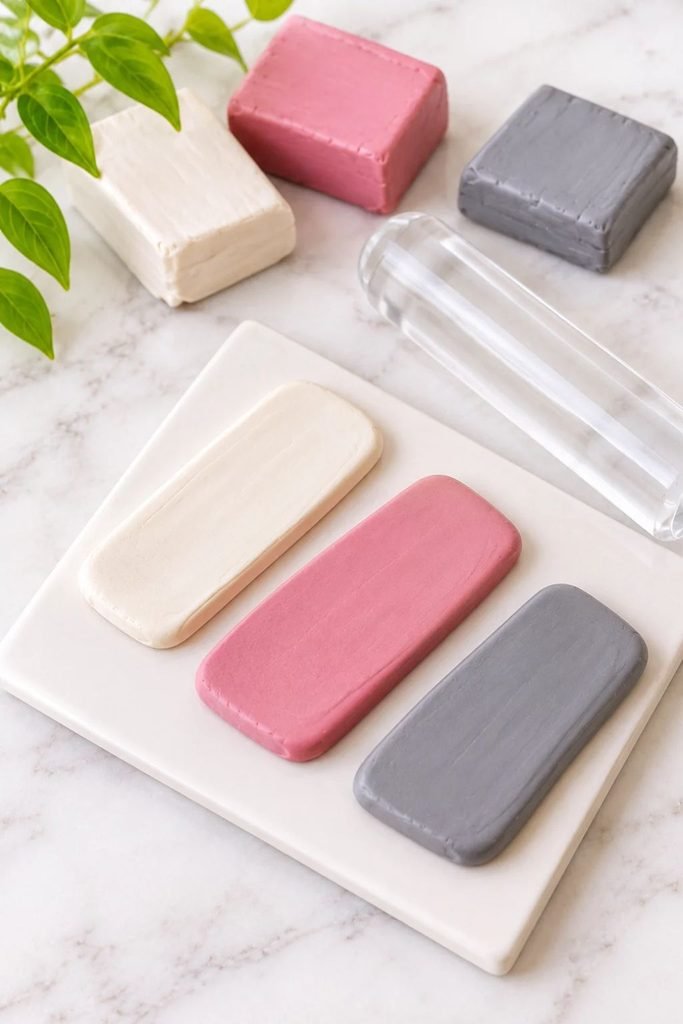
Before combining your colors, you need to condition the polymer clay. Conditioning means warming and softening the clay through kneading and rolling until it becomes smooth, flexible, and easy to work with.
Start by cutting off small portions of each color. Knead each piece separately, folding and pressing it until it feels pliable. You can also run the clay through a pasta machine if you have one.
If the clay feels stiff or cracks when you bend it, it probably needs more conditioning. Take your time rather than trying to force it into shape.
Keep the colors separate for now. You want each shade to be soft enough to work with before you start creating the marble effect.
Step 2: Roll Each Color Into Small Strips
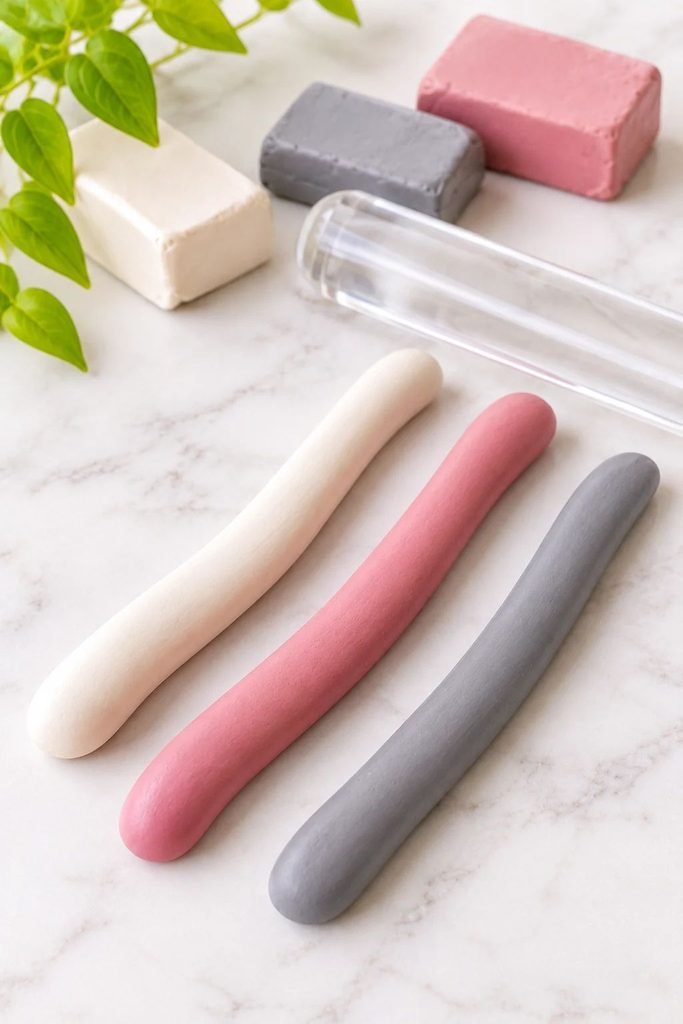
Once your clay is conditioned, roll each color into a small rope or strip.
You don’t have to make them perfectly even. In fact, slightly different thicknesses can create interesting variations in the finished pattern.
For a simple beginner combination, try:
- White and dusty pink
- Cream and terracotta
- Black and white
- Sage green and pale beige
- Lavender and white
Two colors are usually enough when you’re starting out. You can add a third shade once you’re comfortable controlling the pattern.
Step 3: Twist the Colors Together
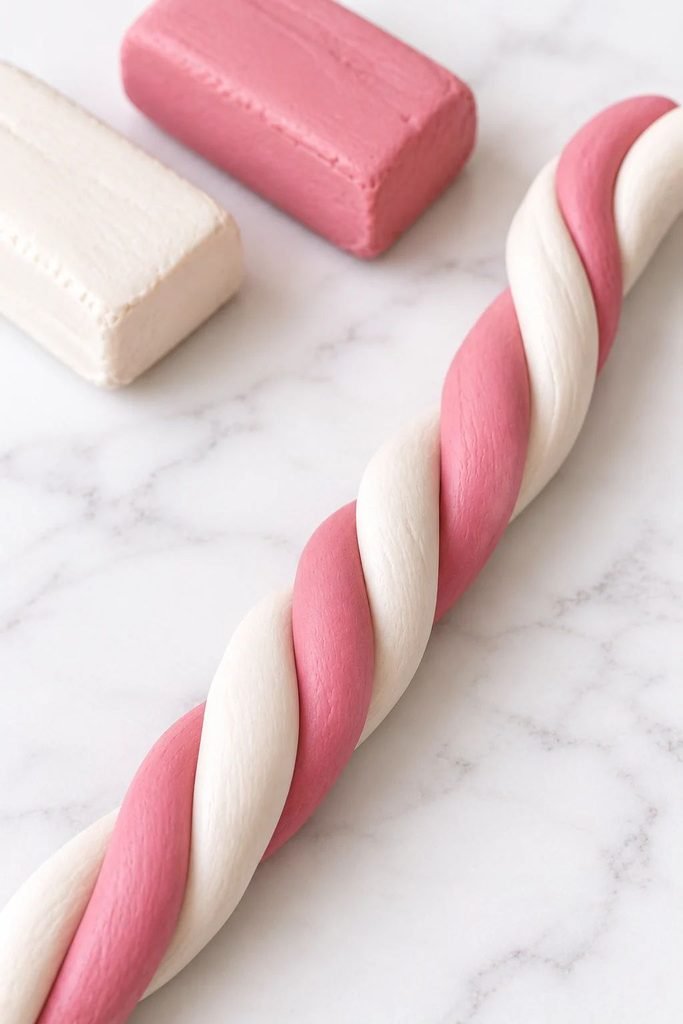
Place your clay ropes beside each other and gently twist them together.
You can twist in one direction to create long, flowing lines or fold the clay over itself to produce a more irregular pattern.
Don’t press too hard. You want the colors to stay distinct rather than disappear into each other.
If you want a more delicate marble effect, use fewer twists. For a busier pattern, you can twist and fold a little more, but keep checking the colors as you work.
Step 4: Fold and Roll to Create the Marble Pattern
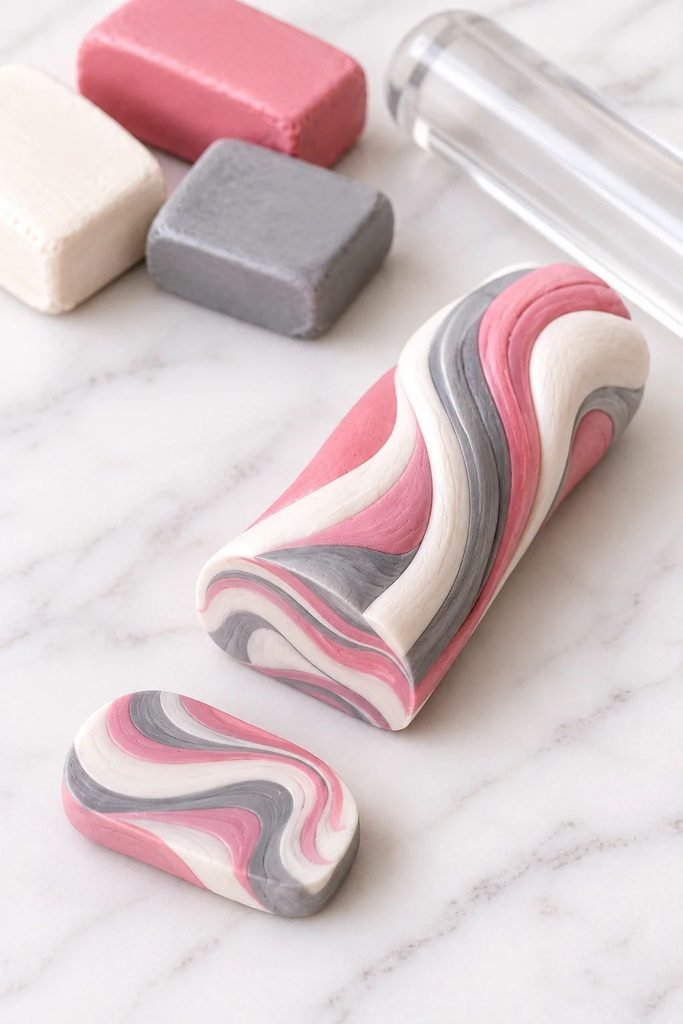
After twisting, fold the clay into a loose bundle and gently roll it into a short log.
You can repeat this process once or twice, depending on how blended you want the pattern to look.
The more you fold and roll, the more the colors will mix. Stop while you can still clearly see the individual shades.
A useful trick is to cut a small slice from the clay to check the pattern. If you like what you see, you can move on to flattening it. If the colors look too separate, give the clay another gentle fold.
Step 5: Flatten and Cut Your Finished Shapes
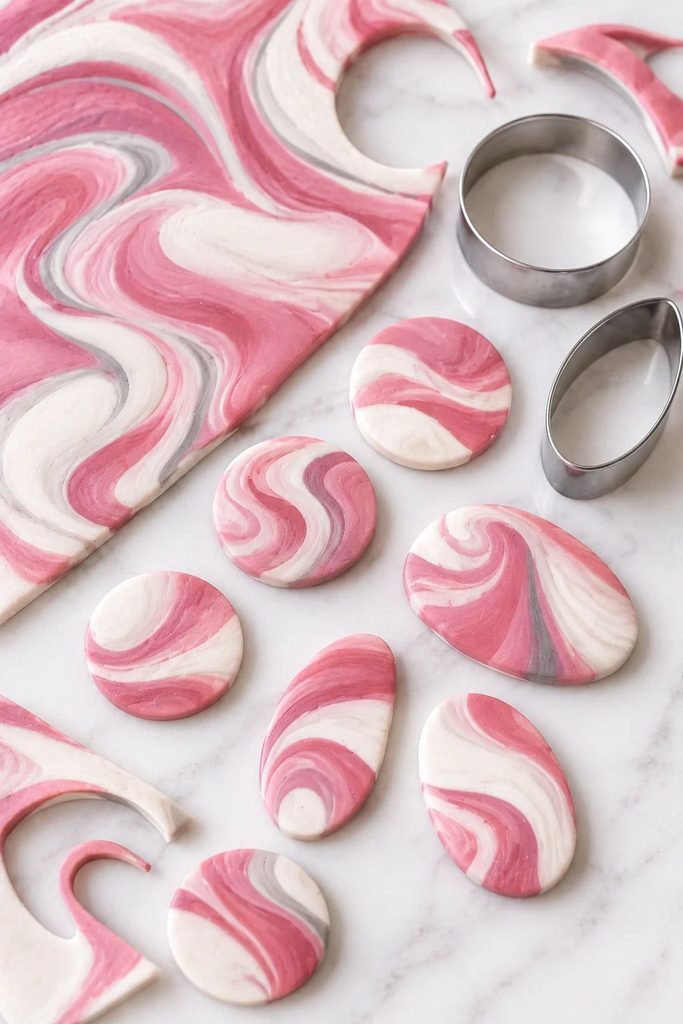
Once you’re happy with the marble pattern, flatten the clay using your acrylic roller or pasta machine.
Roll slowly and evenly so the surface stays smooth. Try not to press too hard, as this can distort the pattern.
Now you can cut the clay into your chosen shapes. Small round cutters work beautifully for earrings, while oval and organic shapes are lovely for pendants.
If you’re making jewelry, remember to create any holes needed for jump rings or earring findings before baking. You can use a small needle tool or a suitable clay tool to make clean holes.
Place your finished shapes on a baking surface according to the polymer clay manufacturer’s instructions.
Beautiful Polymer Clay Marble Effects to Try
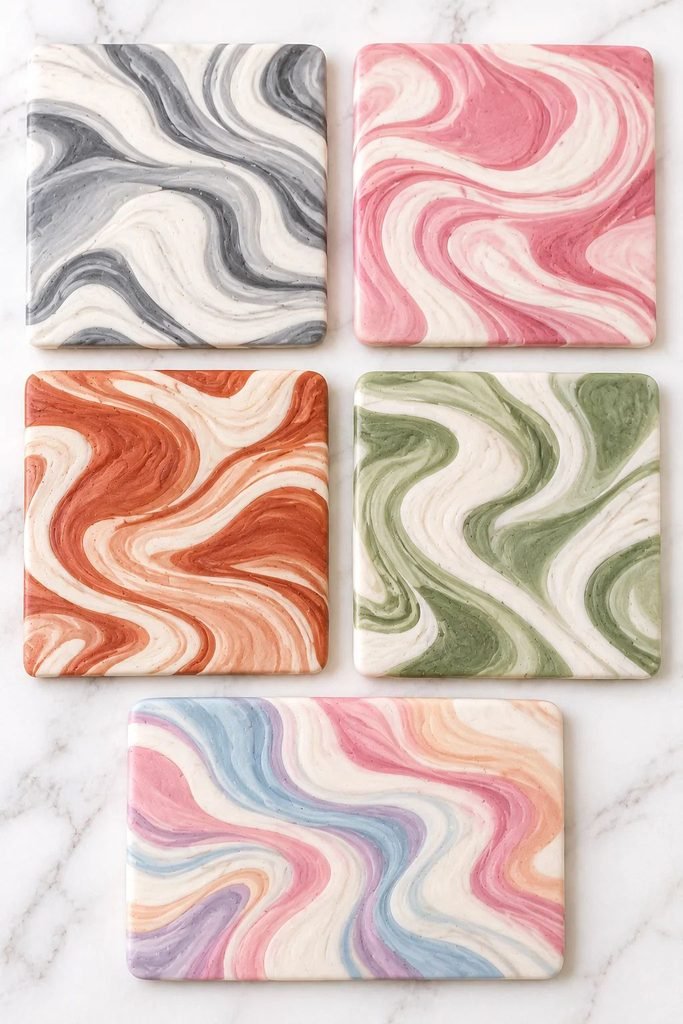
Once you’ve mastered the basic technique, you can experiment with different color combinations and patterns. Here are a few ideas worth trying.
1. Classic White and Grey Marble
White and grey create a timeless marble effect that looks beautiful on minimalist jewelry and home accessories.
Mix a little black clay into white clay to create delicate grey veins and soft, natural-looking swirls.
Keep the folds gentle so the pattern looks like natural stone rather than a blended grey color.
2. Pink and White Marble
For a softer, more feminine look, combine dusty pink and white. This combination is especially pretty for earrings, pendants, and small decorative charms.
Try using more white than pink to create a light background with delicate pink swirls.
3. Terracotta and Cream Marble
Terracotta and cream create a warm, earthy pattern that looks lovely in handmade accessories. This combination works particularly well if you enjoy neutral colors and natural-looking designs.
You can add a little beige or warm brown for extra depth.
4. Sage Green and White Marble
Sage green and white make a calm, understated color combination. The result can look soft and organic, especially when you avoid overmixing the clay.
This is a lovely choice for small earrings, beads, and decorative pieces.
5. Multicolored Marble
If you want something more playful, combine three or four complementary colors. Pink, lavender, cream, and pale blue can create a beautiful pastel effect.
When using several colors, keep the portions small. Too many shades can become muddy if you twist and fold them excessively.
6. Gold-Accented Marble
For a slightly more decorative finish, you can add small amounts of compatible metallic clay or suitable polymer-clay embellishments.
You can also apply an appropriate metallic finish after baking if the product instructions allow it. Test your materials on a small sample first to make sure they are compatible.
What Can You Make With Marbled Polymer Clay?
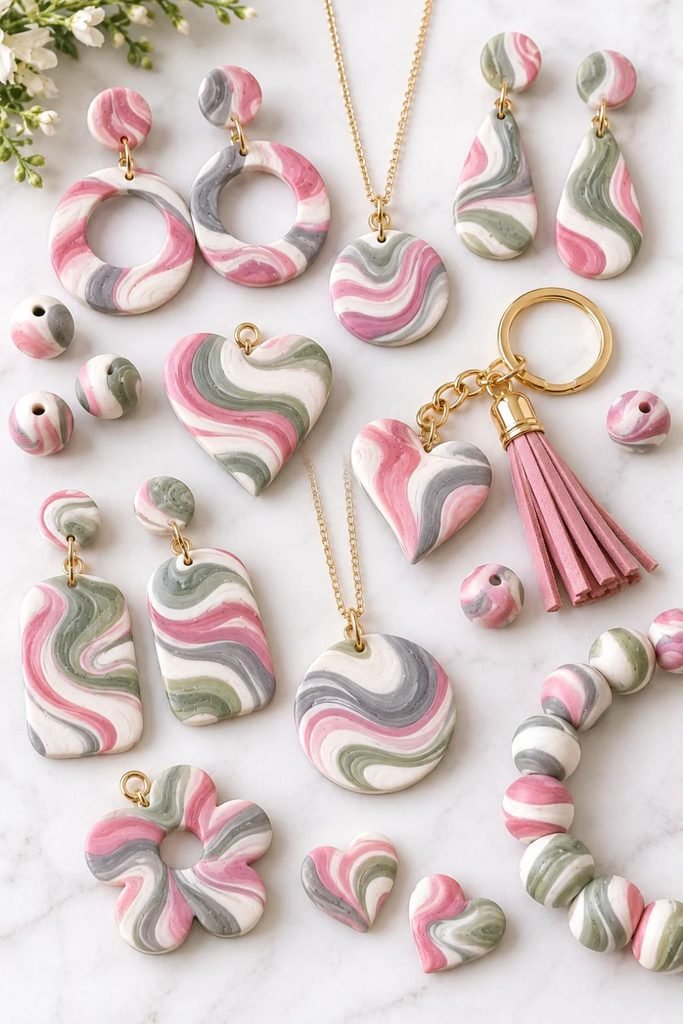
One of the best things about this technique is how many different projects you can create from the same batch of marbled clay.
Polymer clay earrings: Cut out circles, arches, teardrops, or abstract shapes. You can make matching pairs or use slightly different patterns for an asymmetrical design.
Pendants and necklaces: Marbled clay looks beautiful in simple pendant shapes. Add a hole before baking so you can attach a jump ring afterward.
Beads: Roll small portions into beads, then create holes before baking. These can be used for necklaces, bracelets, or keychains.
Keychains: Larger marbled shapes make lovely personalized keychains. If you enjoy making handmade accessories, you can also explore my DIY air-dry clay keychain tutorial. That project uses a different type of clay, but it offers more inspiration for creating custom accessories.
Decorative charms: Small stars, hearts, flowers, and abstract shapes are easy to make with leftover clay.
How to Bake Polymer Clay
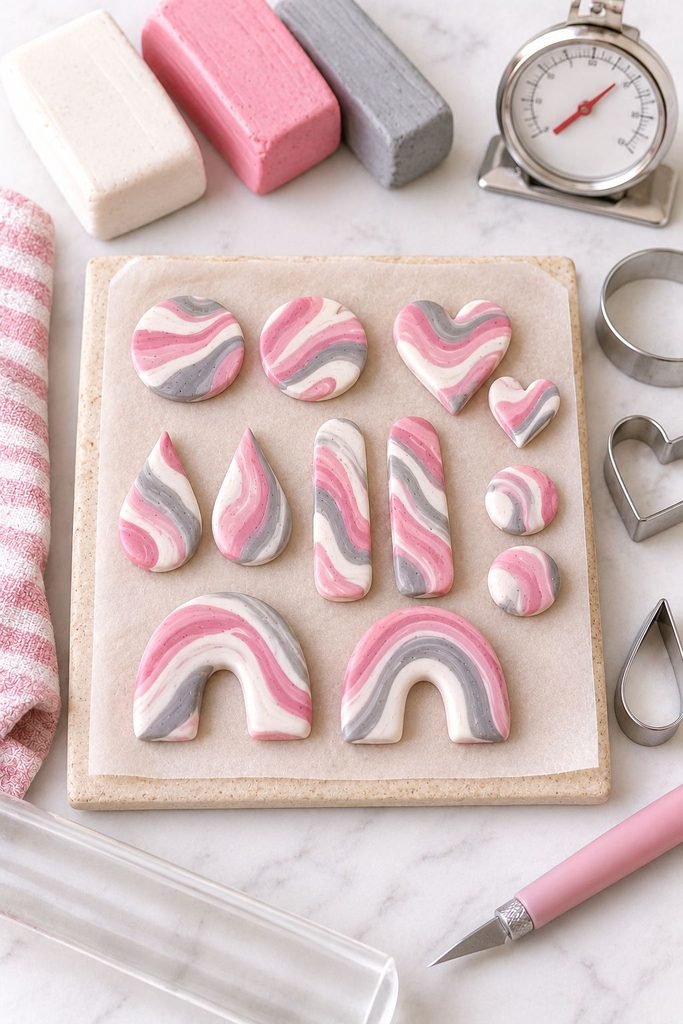
Baking is an important part of working with polymer clay because heat hardens the clay and makes the finished piece durable.
Always check the instructions on your specific polymer clay packaging. Different brands and product lines may have different temperature and baking-time requirements.
Here are a few important things to remember:
- Preheat your oven to the temperature recommended by the manufacturer.
- Use an oven thermometer to check that the temperature is accurate.
- Place your clay pieces on a suitable oven-safe surface.
- Bake for the full recommended time based on the thickness of your pieces.
- Allow the clay to cool completely before handling or assembling it.
Do not guess the baking temperature or shorten the recommended baking time. Underbaking can leave polymer clay weak, while excessive heat can cause scorching or discoloration.
Use a dedicated craft baking setup, follow the manufacturer’s safety instructions, and ventilate the area appropriately. Never microwave polymer clay.
How to Finish Your Marbled Polymer Clay Pieces
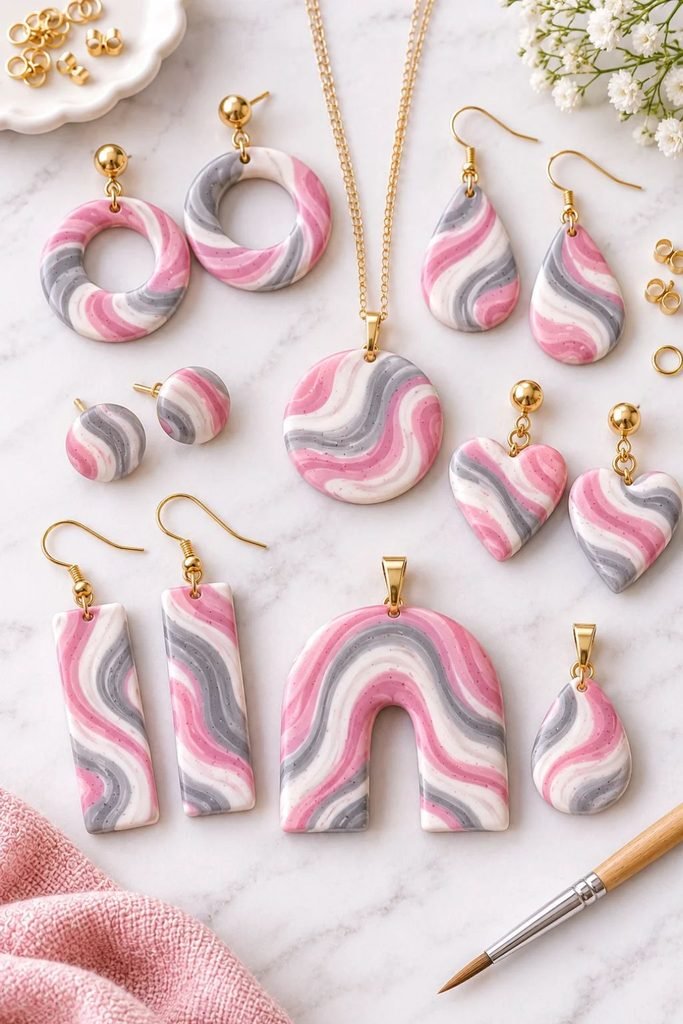
After your clay has cooled, you can finish your pieces depending on the look you want.
If you notice rough edges, carefully smooth them with suitable fine-grit sandpaper, following the manufacturer’s recommendations. Work gently so you don’t damage the pattern.
For jewelry, you can attach earring findings, jump rings, or necklace chains using appropriate jewelry-making supplies. Make sure the holes and attachments are secure before wearing your finished pieces.
Some polymer clay has a naturally attractive finish and doesn’t need a coating. If you want to add a glaze or varnish, choose one specifically compatible with polymer clay and follow its instructions. Not every varnish or sealer is suitable.
Tips for Getting a Beautiful Marble Pattern
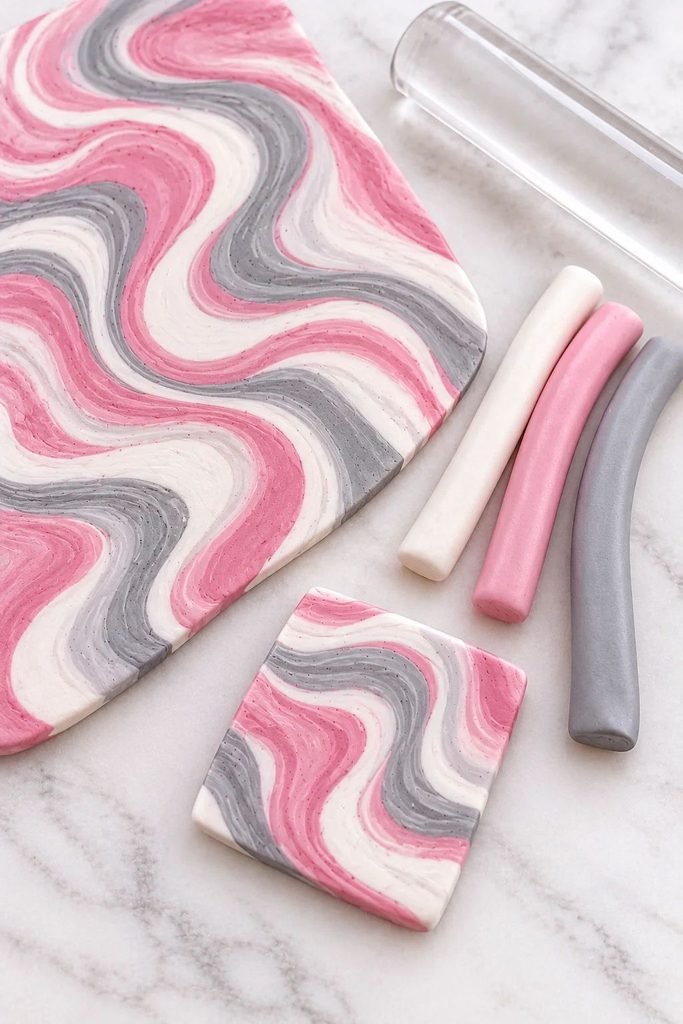
A little patience makes a big difference when working with polymer clay. These tips can help you avoid losing the pattern.
- Start with two colors: It’s easier to control the marble effect when you’re only combining two shades.
- Condition each color separately: This helps prevent uneven mixing and makes the clay easier to handle.
- Use gentle pressure: Pressing too hard can flatten the pattern before you’re ready.
- Avoid too much folding: Every fold blends the colors further, so stop when you like the design.
- Check the pattern as you work: Cut a small test slice to see how the colors look inside the clay.
- Keep your surface clean: Dust, crumbs, and leftover clay can become trapped in lighter colors.
- Save your scraps: Leftover pieces can be combined into another marbled design or used for small decorative charms.
Common Mistakes to Avoid
Overmixing the Colors
This is probably the easiest mistake to make. If you keep twisting and folding the clay, the colors will eventually blend together.
The solution is simple: stop earlier than you think you need to. You can always add another fold, but you cannot easily bring back a pattern once the colors have blended.
Using Too Many Colors
Several colors can look beautiful together, but too many shades can create a muddy result.
Start with two colors and experiment with three once you understand how the clay behaves.
Skipping Conditioning
Unconditioned clay can be stiff, uneven, and difficult to shape. Take the time to soften each color before combining them.
Rolling Too Aggressively
Applying too much pressure can distort your marble pattern. Use gentle, even movements and check the design regularly.
Guessing the Baking Time
Polymer clay needs to be baked according to the instructions for the specific product. Always check the packaging instead of relying on a general temperature or time.
More Clay Craft Ideas to Try
If you enjoy working with clay, there are plenty of other projects you can explore. My leaf imprint jewelry dish tutorial shows how to create a decorative dish with a beautiful natural pattern using air-dry clay.
You could also try making decorative lace-imprinted clay bowls or a DIY air-dry clay candle holder.
These projects use air-dry clay rather than polymer clay, so their drying and finishing methods are different. However, they’re lovely projects to try if you enjoy making handmade decorations.
Frequently Asked Questions
Can beginners marble polymer clay?
Yes! Marbling polymer clay is a beginner-friendly technique. You only need a few colors, a roller, and a clean work surface. Start with two shades and use gentle twists and folds until you achieve a pattern you like.
How many colors should I use for marbled polymer clay?
Two colors are ideal when you’re starting out. Once you’re comfortable with the technique, you can experiment with three or four complementary shades.
Why did my polymer clay marble pattern disappear?
The most common reason is overmixing. Repeated twisting, folding, and rolling cause the colors to blend together. Use fewer folds and stop as soon as you achieve the pattern you want.
Can I use air-dry clay instead of polymer clay for this technique?
You can experiment with combining colors in air-dry clay, but it behaves differently from polymer clay. The marbling process, drying time, and finishing methods may not produce exactly the same results. This tutorial is specifically for polymer clay.
Does marbled polymer clay need to be sealed?
Not necessarily. Many polymer clay pieces can be left unsealed. If you want a glossy or protective finish, use a product that is specifically compatible with polymer clay.
Can I make polymer clay earrings with this technique?
Absolutely. Marbled polymer clay is especially popular for earrings because the pattern looks beautiful in small shapes. Cut out matching circles, arches, flowers, or abstract designs, then bake according to the manufacturer’s instructions.
How do I keep polymer clay from becoming muddy?
Use colors that complement each other, condition them separately, and avoid excessive folding. Lighter colors can also become muddy if they pick up dust or scraps from your work surface, so keep everything clean.
Final Thoughts
Marbling polymer clay is one of those simple techniques that can make handmade projects look much more detailed and interesting. Once you understand how the colors move together, you can create endless combinations, from soft pastel swirls to bold contrasting patterns.
My biggest tip is to be patient and avoid overworking the clay. You don’t need a perfect pattern, and the little variations are part of what make each piece unique.
Start with two colors, experiment with a few twists and folds, and see what you can create. You might be surprised by how beautiful a simple piece of marbled clay can become.