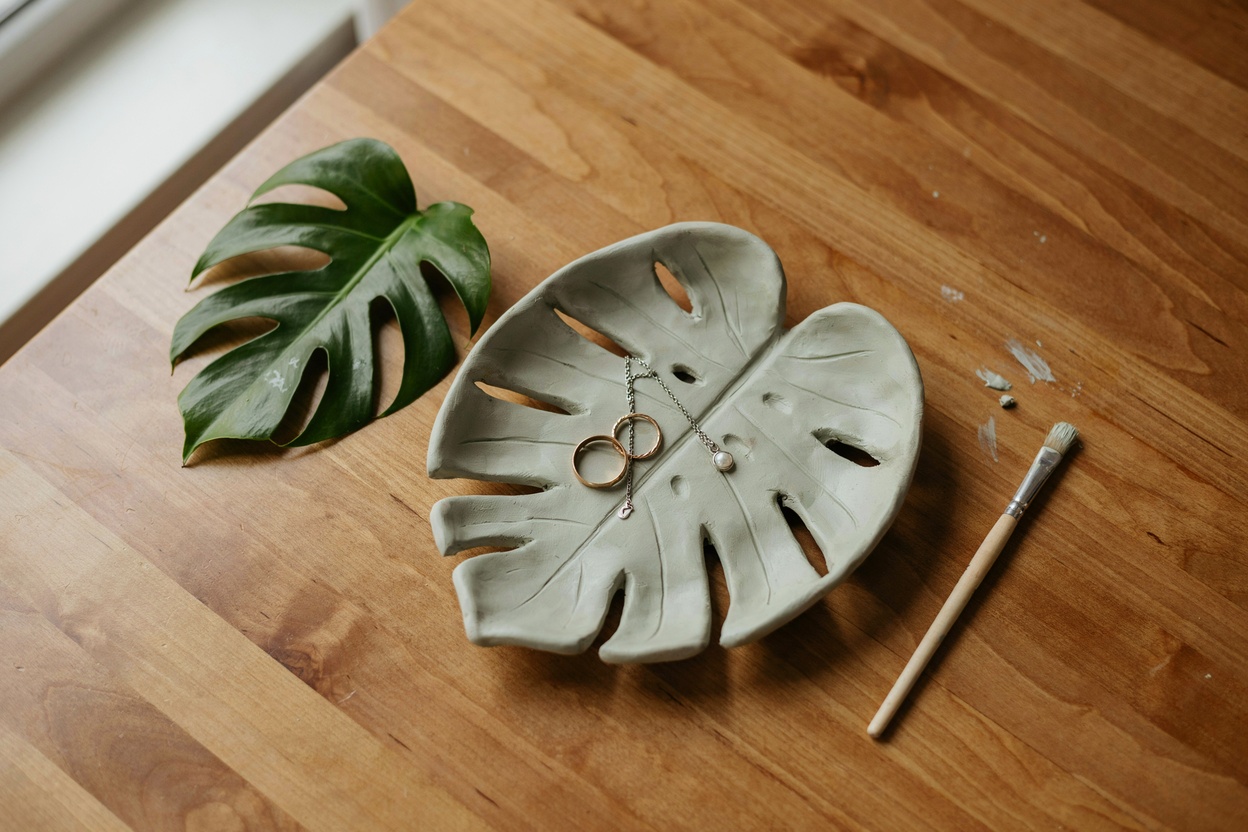
Monstera leaves have to be one of the most recognizable shapes in home decor right now, and it turns out that iconic silhouette translates beautifully into a small clay catch-all dish.
If you’re completely new to air dry clay, it’s worth starting with my beginner’s guide to air dry clay ornaments before jumping into this one, since it covers the basic handling and drying fundamentals this project builds on.
This project combines a few skills from earlier tutorials on this site, cutting a shape from a template, carving detail work, and shaping over a mold for a gentle curve, into one project that looks far more polished than the actual difficulty level.
Unlike a simple round trinket dish, the monstera shape adds a layer of precision to the cutting and carving steps, since the iconic split leaf edges and vein details are really what sell the final look.
Get those right and even a slightly imperfect curve or a beginner’s uneven paint job still reads as a charming, obviously handmade leaf dish.
I made mine to hold jewelry by the sink, but this size works just as well for a catch-all for keys, small change, or trinkets by the front door.
Why This Project Works So Well
The shape does most of the visual work. A recognizable leaf silhouette makes this project look intentional and polished even if your carving or curve isn’t perfectly even, which takes some of the pressure off compared to a project that relies entirely on flawless technique.
It combines skills from simpler projects into one piece. If you’ve made a flat cutter-shaped piece before, or shaped clay over a mold, this project builds directly on both of those techniques rather than introducing something entirely new.
It’s a genuinely useful, on-trend home decor piece. Between the popularity of monstera-inspired decor and the practical use as a small dish, this is the kind of handmade item people actually want, whether you’re keeping it or gifting it.
What Makes the Shaping Technique Different
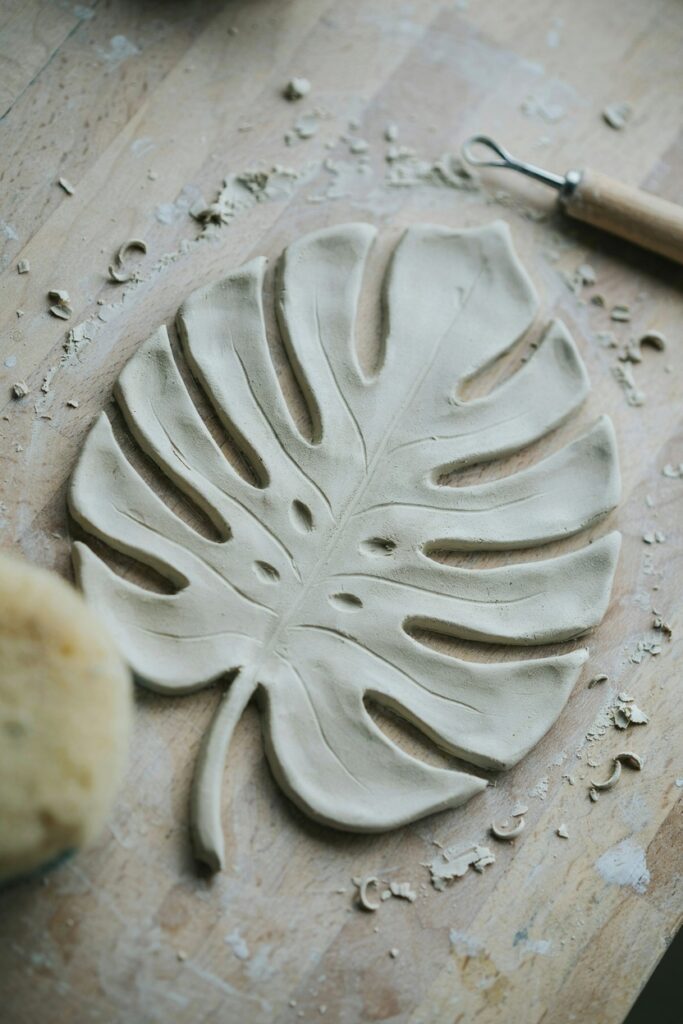
The main technical challenge here is working with a template rather than a symmetrical cutter shape.
A monstera leaf has an irregular outline with those distinctive split notches along the edges, so you’re tracing and cutting freehand along a printed or hand-drawn template rather than pressing a single cutter straight down.
This means the clay needs to stay soft and workable throughout the tracing and cutting process, so working relatively quickly, before the surface starts to firm up, matters more here than on a simple round shape.
The vein detail work is the other defining feature.
Carving a center vein with smaller veins branching outward, before the clay dries, is what makes the difference between a piece that reads as “leaf-shaped blob” and one that reads clearly as a monstera leaf specifically.
If you want a deeper look at detail carving technique in general, my post on air dry clay projects that start simple and look stunning covers a few other projects that rely on the same kind of surface detail work.
Materials You’ll Need
- Air dry clay. White or a soft sage green both work nicely here, sage if you want to skip painting entirely. If you’d rather make your own, I share a full recipe in how to make air dry clay at home.
- A monstera leaf template. You can print one from a simple online search, trace an actual monstera leaf if you have access to one, or hand-draw your own simplified version.
- A rolling pin.
- A small, sharp clay tool or craft knife. For cutting around the template and carving vein details.
- A shallow bowl, to drape the leaf over for a gentle curved dish shape.
- Plastic wrap, to line the bowl.
- Fine-grit sandpaper.
- Acrylic paint (optional).
- Paintbrushes (optional).
- Clear sealant spray or Mod Podge.
Substitutions and Alternatives I’ve Actually Tested
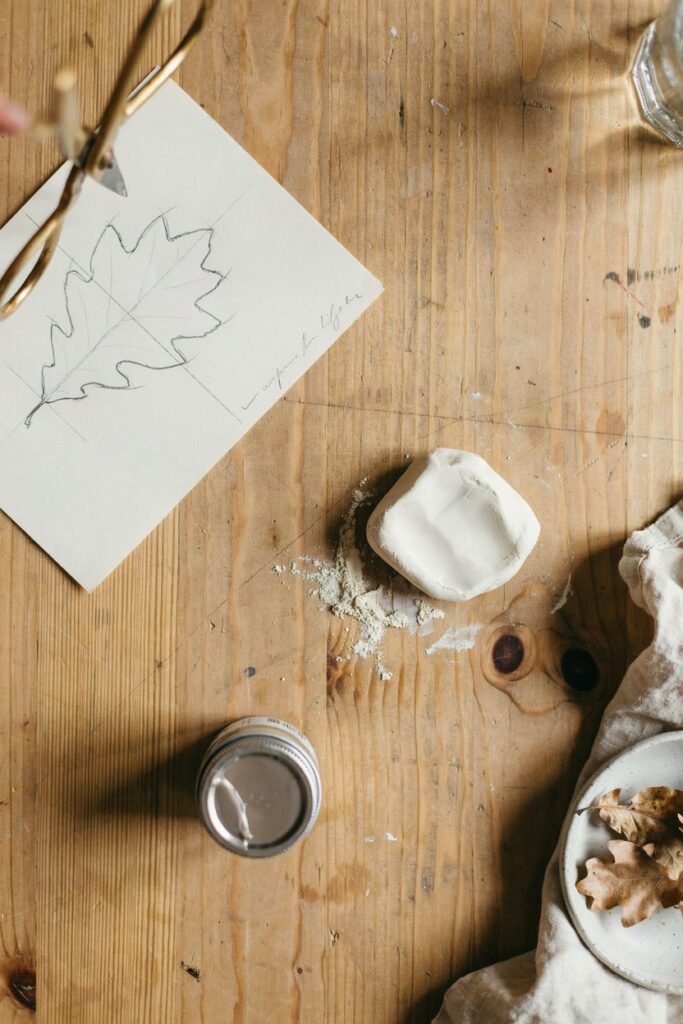
No printable template? A simplified hand-drawn leaf shape works completely fine, and honestly gives the piece a bit more individual character than a perfectly traced template would.
Want a completely flat dish instead of curved? Skip the bowl-draping step entirely and let the leaf dry flat on a level surface for a simpler, flatter design.
Want a faux-ceramic glazed look? A glossy sealant and the right paint approach can get you there, and I cover that technique in detail in how do you make air dry clay look like ceramic.
No sage or green clay available? White clay works perfectly well and gives you full control over the final color through paint instead.
Tools You’ll Need
- Rolling pin
- Printed or hand-drawn template
- Small sharp clay tool or craft knife
- A shallow bowl
- Plastic wrap
- Fine-grit sandpaper
- Paintbrushes, if painting
How to Make an Air Dry Clay Monstera Leaf Dish b
Step 1: Prepare Your Template and Mold
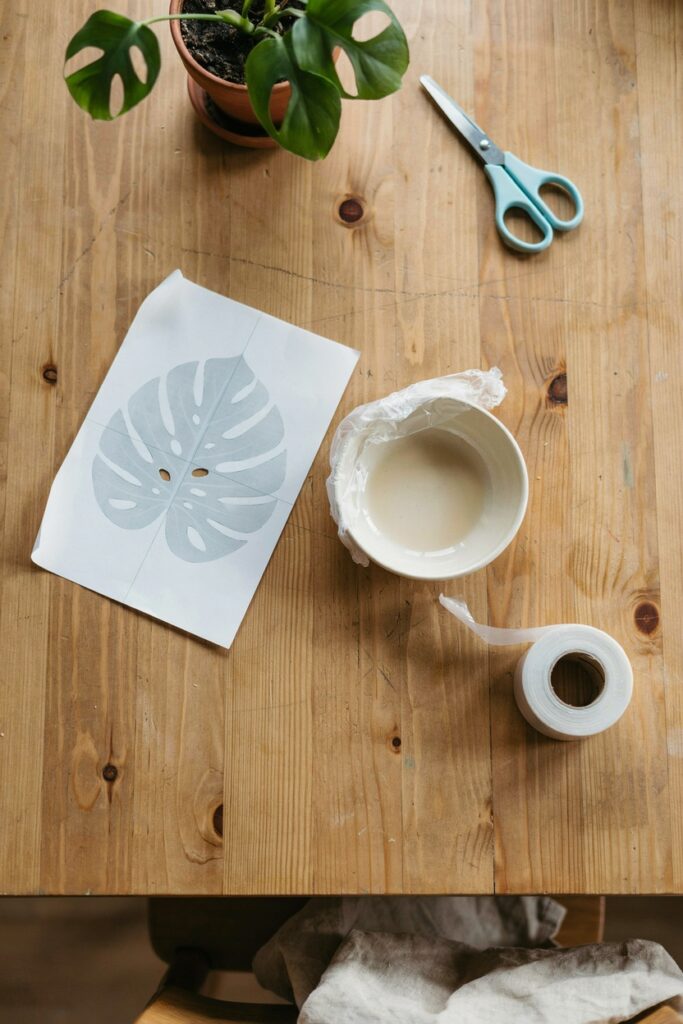
Print or draw your monstera leaf template at your desired size, and line a shallow bowl with plastic wrap for later in the project.
Step 2: Knead and Roll the Clay
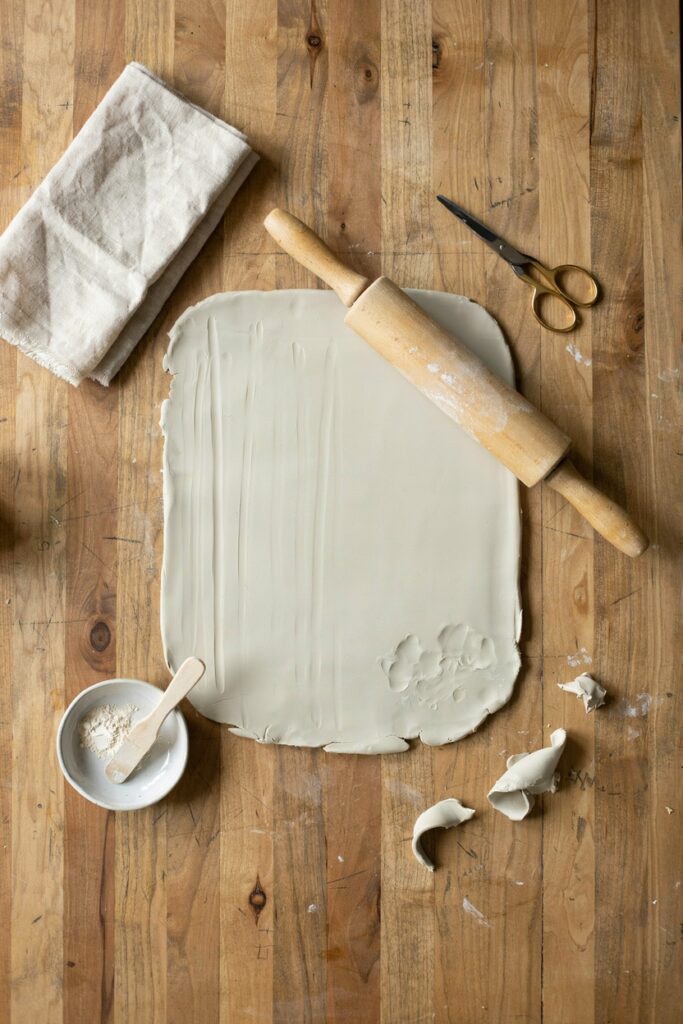
Knead your clay until soft and fully pliable, then roll it out to about ¼ inch thick on a smooth work surface.
Keep the thickness as even as possible across the whole piece, since uneven thickness is the most common cause of warping or cracking later.
Step 3: Trace and Cut the Leaf Shape
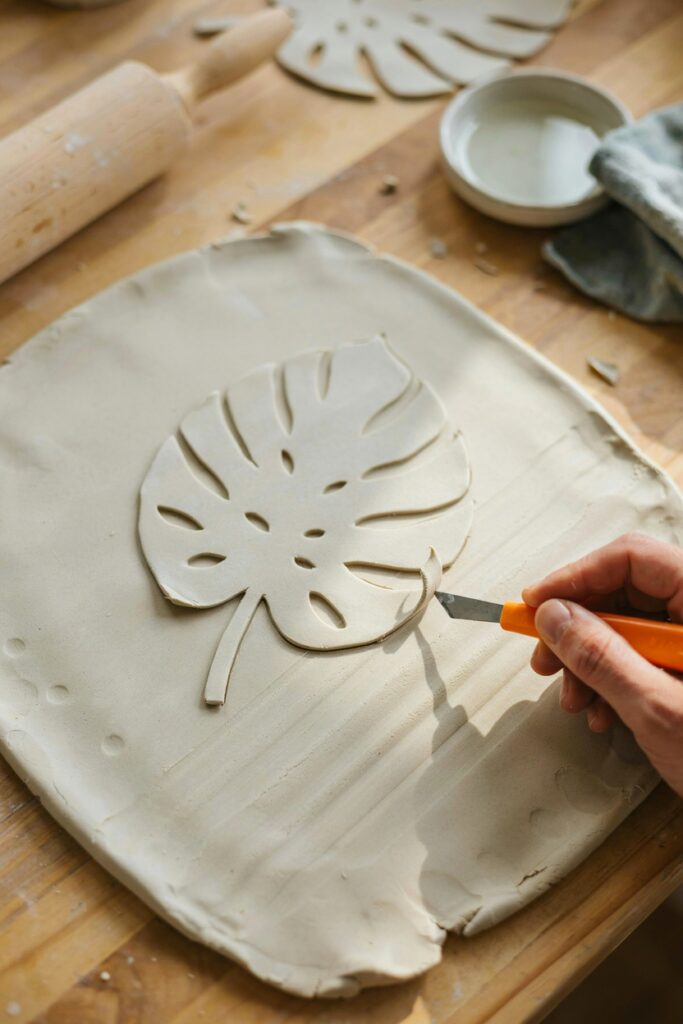
Lay your template over the rolled clay and trace around the outline with a clay tool or the tip of a craft knife, then carefully cut along that traced line, including the split notches along the leaf’s edges.
Work relatively quickly through this step, since the clay’s surface can start to firm up slightly the longer it’s exposed to air, making clean cuts progressively harder.
Step 4: Carve the Vein Details
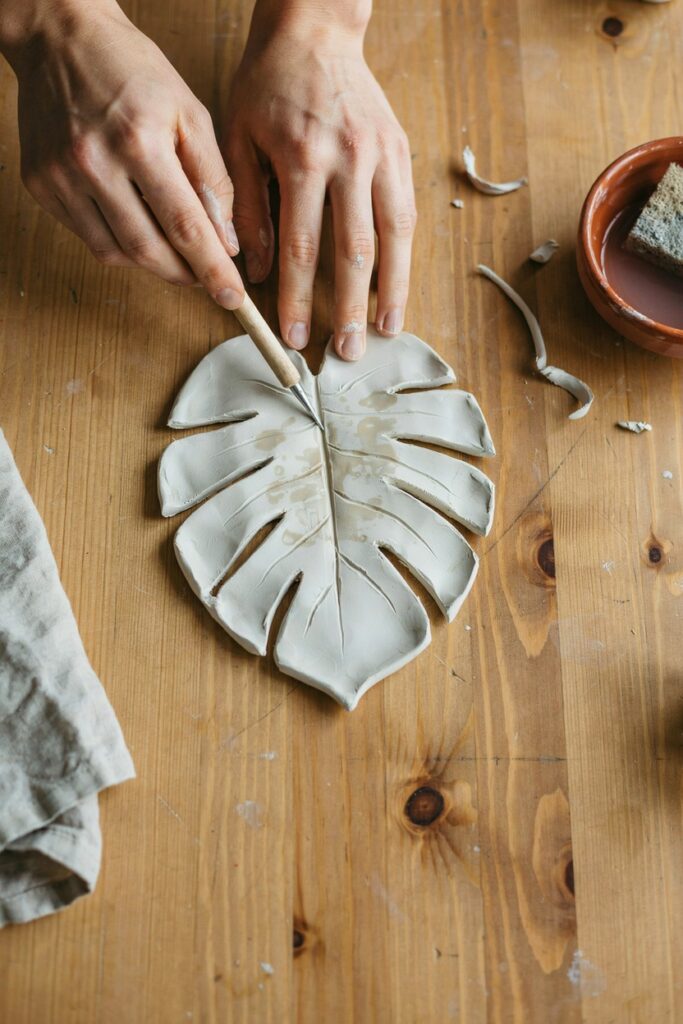
Using the tip of your clay tool, lightly carve a center vein line down the middle of the leaf, then add smaller branching veins angling outward from the center line toward the edges, following the natural pattern of a real monstera leaf.
Press firmly enough to leave a clear, visible groove, but not so hard that you cut all the way through the clay.
Step 5: Drape Over the Mold for a Curved Shape
Gently lift the cut and carved leaf and drape it over your plastic-wrap-lined bowl, easing it into a soft, natural curve rather than a sharp fold.
If you’d rather have a flat dish, skip this step and move straight to drying on a flat surface instead.
This same mold-draping technique is what I used for my trinket dish and ring holder tutorial, so if you want more detail on getting a clean, even curve, that post covers it from a slightly different angle.
Step 6: Let It Dry on the Mold
Leave the leaf on the bowl for the first 12 to 24 hours of drying, which helps it hold its curved shape as it firms up. Keep it away from direct sunlight or heating vents during this time.
My guide on how to avoid cracks in air dry clay covers drying conditions in more depth if you want to fully understand what causes cracking at this stage.
Step 7: Remove From the Mold and Continue Drying
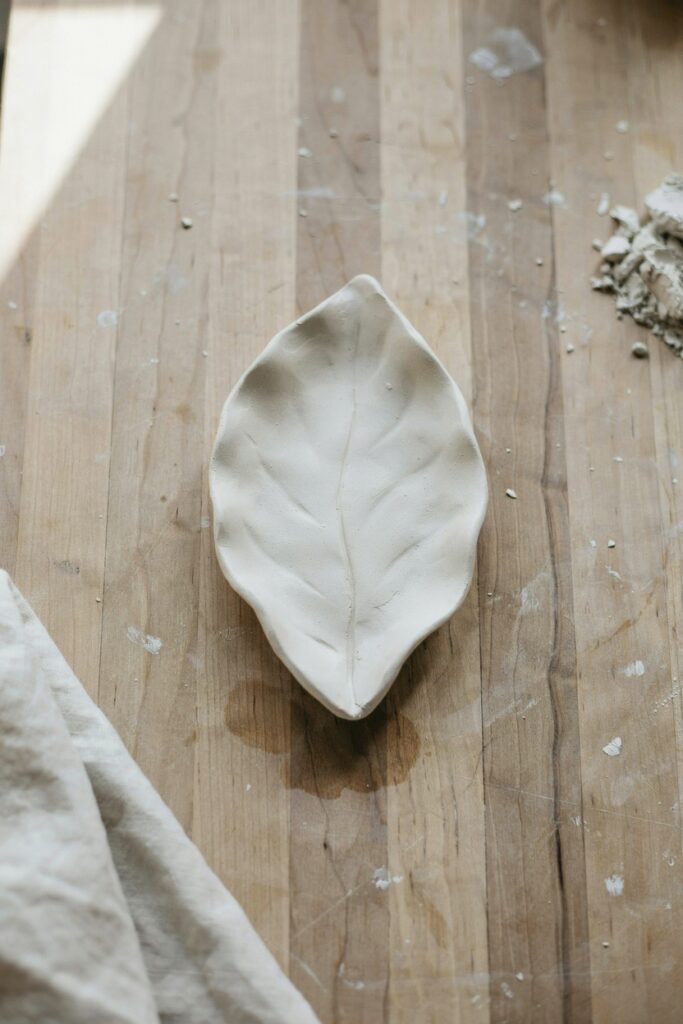
Once the piece feels firm enough to hold its curve unsupported, gently remove it from the bowl and let it continue drying on a flat surface for another 24 to 48 hours, until fully dry throughout.
Step 8: Sand
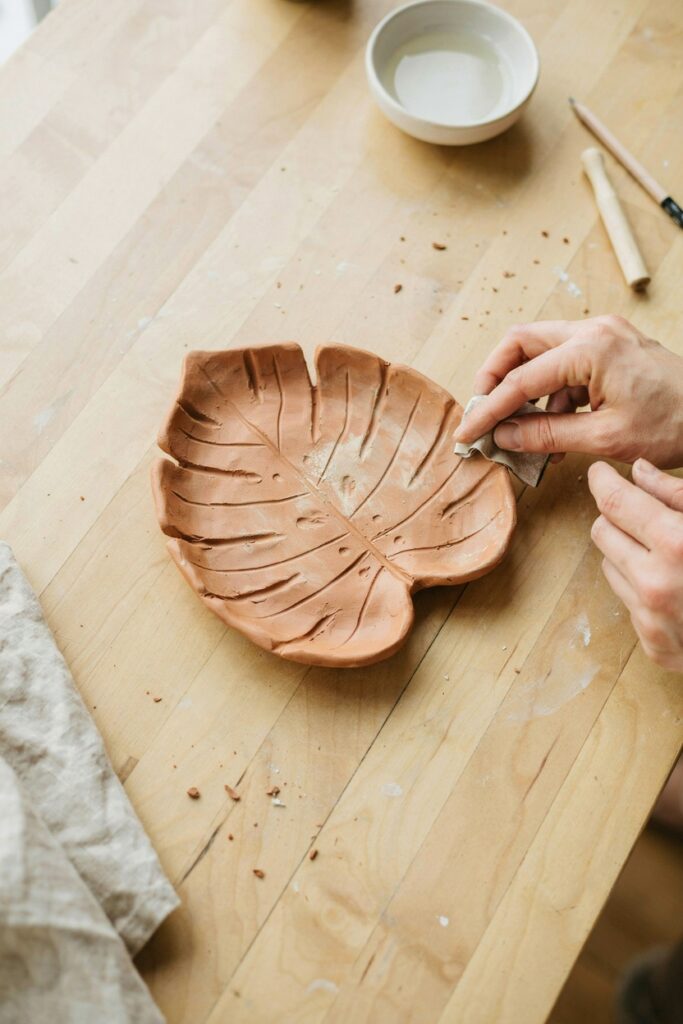
Once completely dry, gently sand the edges and any rough spots with fine-grit sandpaper, being careful not to sand away your carved vein details.
Step 9: Paint (Optional)
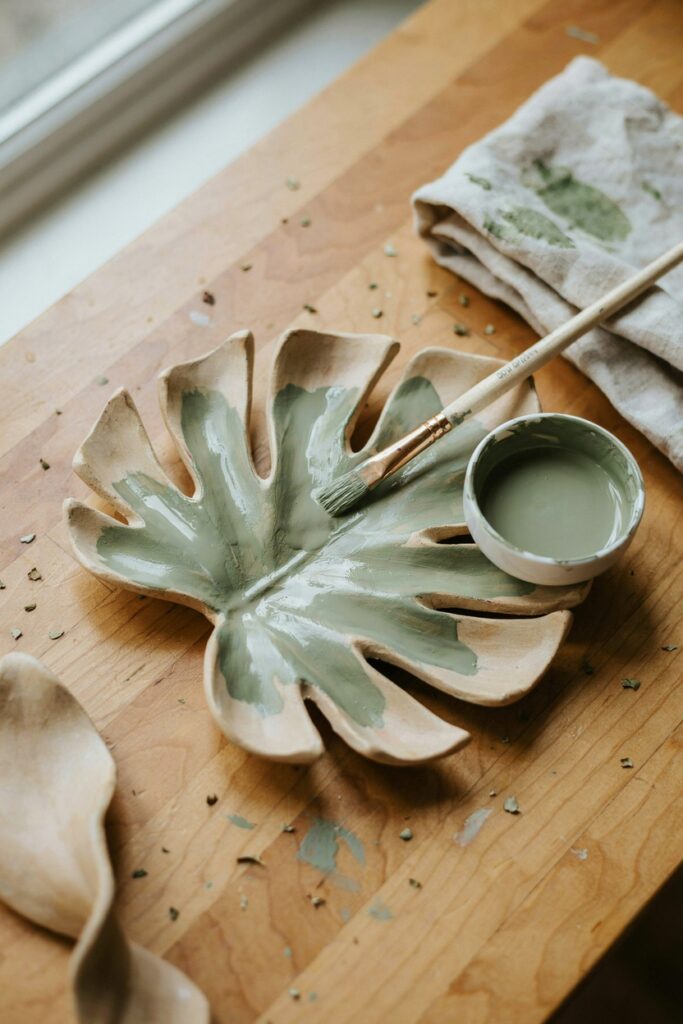
If you’re painting, apply thin, even coats of acrylic paint, letting each coat dry fully before adding the next.
A slightly darker wash rubbed into the carved veins and then wiped back from the raised surface can help the detail work stand out even more clearly once painted.
If you’re not sure which paint type holds up best on this material, I break it down in best paint for air dry clay.
Step 10: Seal
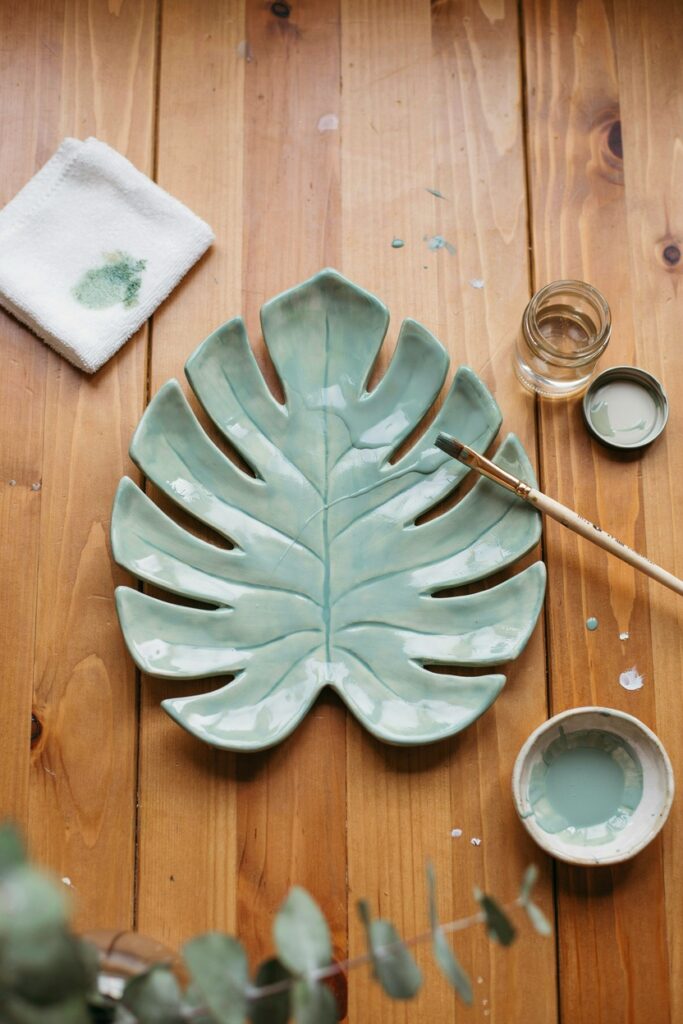
Apply a clear sealant spray or a few thin coats of Mod Podge to both sides of the finished dish, letting each coat dry before adding the next.
My full guide on how to seal air dry clay covers sealant options in more depth if you want to compare choices before committing.
Tips From Making a Few of These Now
- Work quickly through the tracing and cutting step. The clay firms up faster than you’d expect once it’s rolled thin and exposed to air.
- Don’t rush the vein carving. This detail is really what sells the monstera look, so take your time and reference an actual photo of a monstera leaf if you have one handy.
- Leave it on the mold longer than feels necessary. Removing it too early is the most common reason the curve doesn’t hold properly.
- Sand carefully around carved details. Overly aggressive sanding can soften or erase the vein work you spent time carving in.
- Consider the dish’s final use when choosing curve depth. A deeper curve holds small items like rings more securely, while a shallower curve looks more like a decorative catch-all tray.
Mistakes I’ve Made So You Don’t Have To
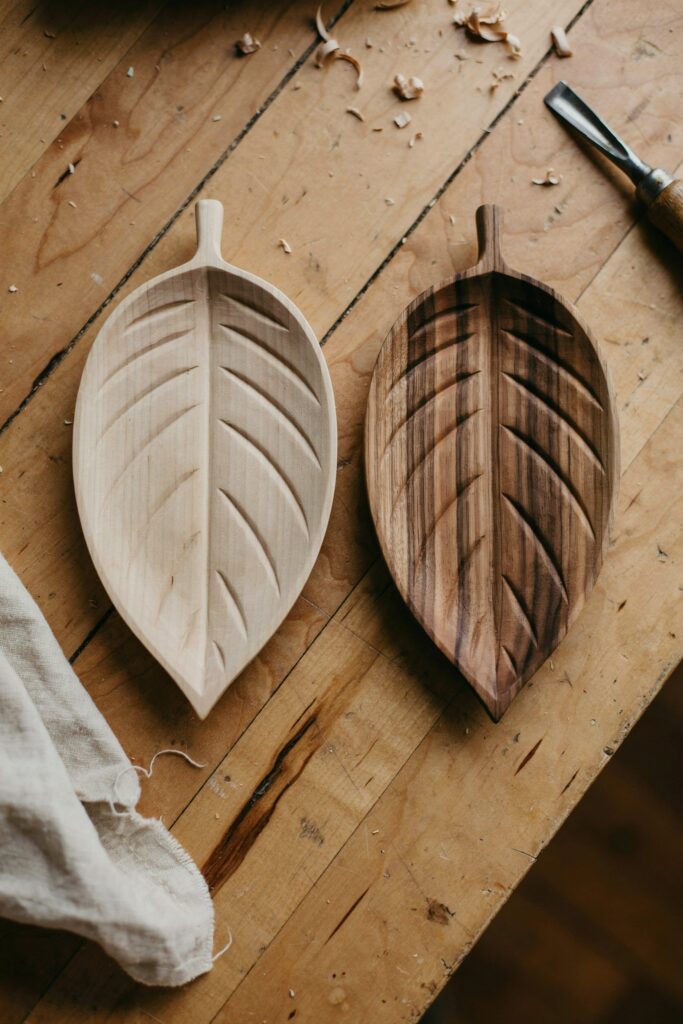
Taking too long to cut my first template trace. The clay had started to firm up slightly at the edges by the time I finished cutting, and the notches came out a bit rougher than I wanted.
Carving the veins too lightly the first time. They barely showed at all once the piece was painted, and I had to go back with a craft knife to deepen them after the fact, which is trickier on dry clay than soft.
Removing my first leaf from the bowl mold too early. It lost some of its curve and ended up flatter than I intended before it fully dried.
Sanding too aggressively near the vein lines. Softened some of the detail work I’d carved in, and had to touch it up with paint alone instead.
Troubleshooting
My leaf cracked along one of the thin points near the split notches. Those narrow points are naturally more fragile than the broader parts of the leaf. Keep the clay a bit thicker in those specific areas, and handle the piece gently until it’s fully dry and cured.
My vein details disappeared after painting. This usually means they weren’t carved deeply enough to begin with. Try using a slightly darker wash rubbed into the grooves and wiped back from the surface to make shallow veins more visible even after paint.
My dish didn’t hold its curved shape. This is almost always caused by removing the piece from the mold too early. Leave it on the bowl for the full 24 hours before attempting to remove it.
I already have a crack in a finished piece. Small cracks are often fixable rather than a reason to start over. My post on how to fix cracked air dry clay walks through the repair options.
Variations and Design Ideas
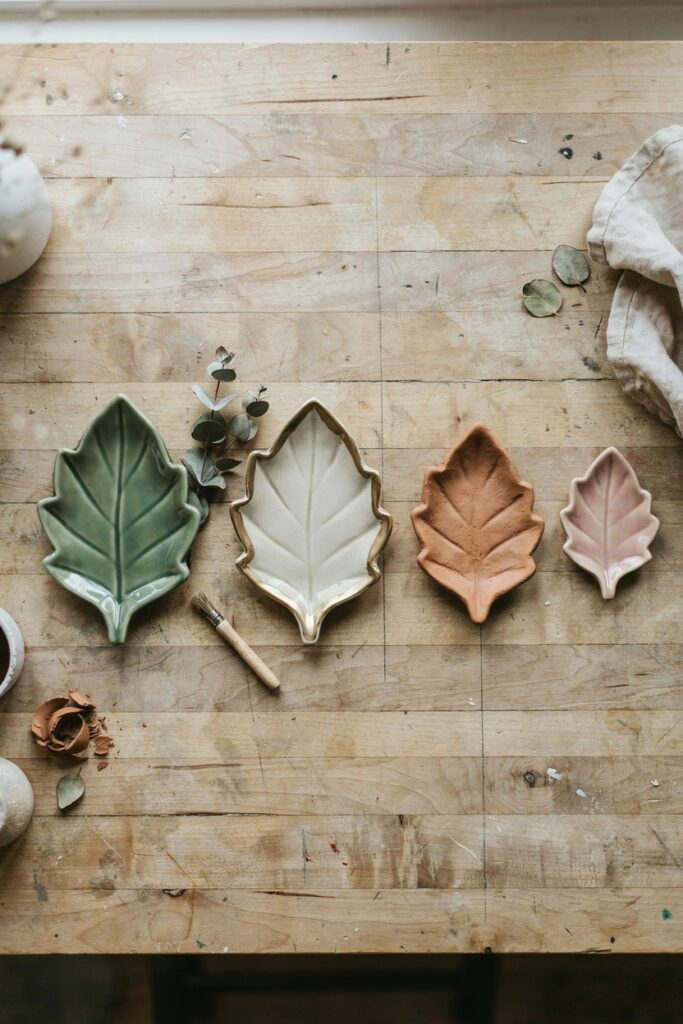
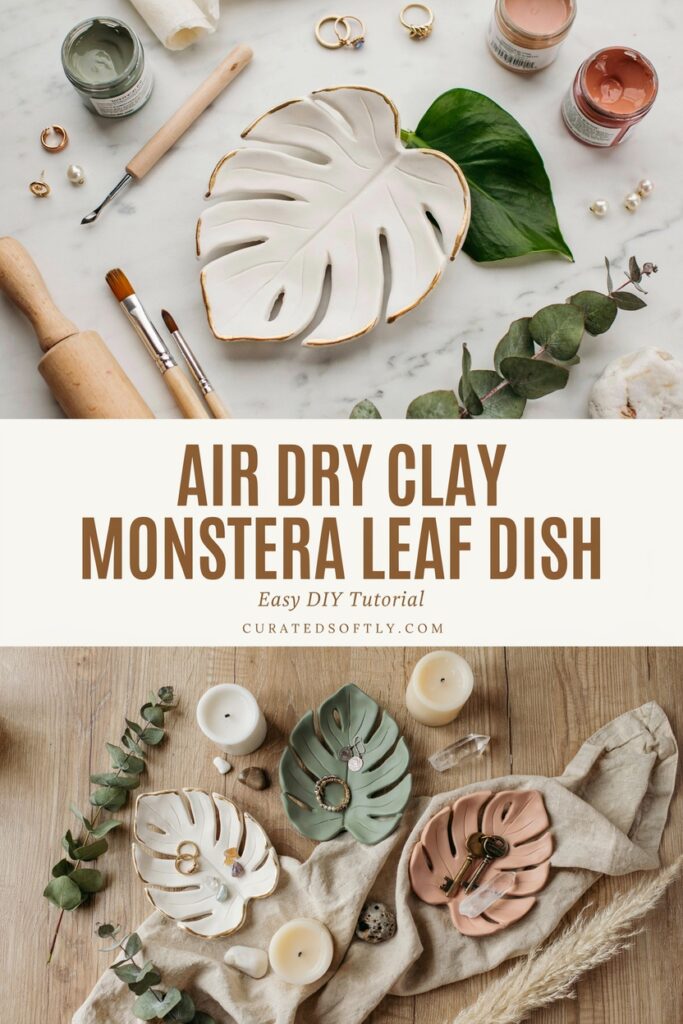
Faux-Ceramic Sage Green Finish. Paint in a muted sage green with a slightly darker wash in the veins for a look inspired by real monstera leaves.
Metallic Edge Detail. Paint just the outer edge of the leaf in a thin gold or copper line for an elevated, decorative finish.
Mini Leaf Set. Make a few smaller versions at different sizes to nest together or use individually as small jewelry dishes.
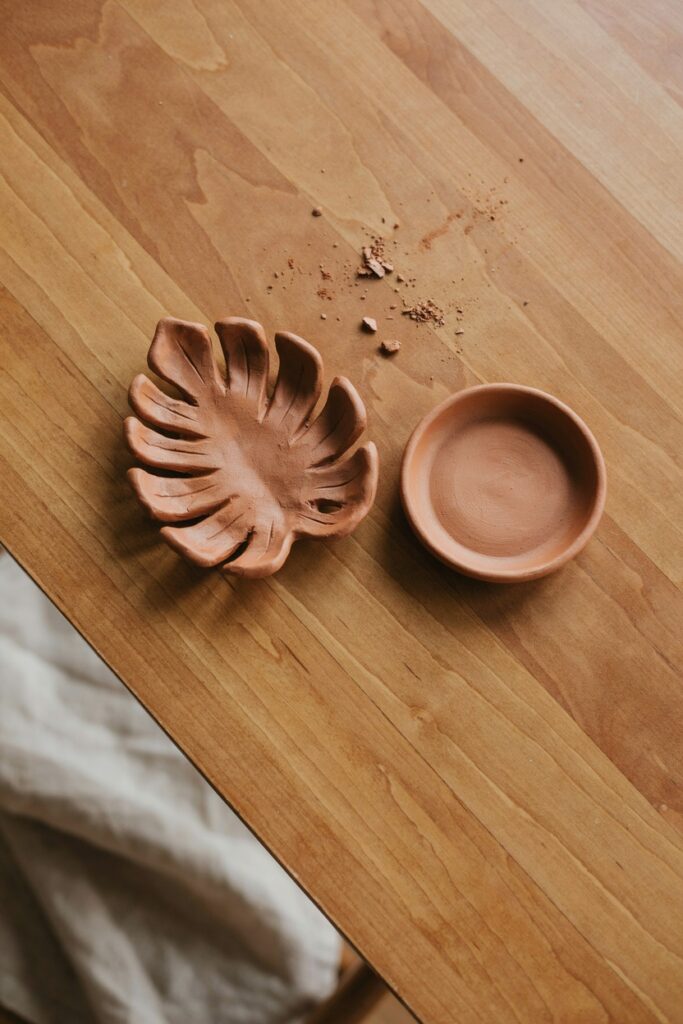
Natural Terracotta Finish. Skip paint entirely and leave a terracotta clay leaf unfinished except for a sealant coat, for an earthy, organic look.
Storage and Care
Keep the finished dish away from prolonged moisture, and avoid submerging it in water. Wipe clean with a barely damp cloth if needed, and handle gently given the more delicate, narrow points along the leaf’s split edges.
Frequently Asked Questions
Can I make this without a printed template? Yes, a simplified hand-drawn leaf shape works fine and can even give the piece more individual character than a precisely traced template.
Why did my leaf shape come out uneven? This usually comes down to working too slowly through the tracing and cutting step, letting the clay’s surface firm up before you finish, or an unevenly rolled base thickness to begin with.
How big should I make the leaf? This is really up to personal preference and intended use. A smaller size, around 5 to 6 inches, works well as a jewelry dish, while a larger version makes a nice decorative catch-all tray.
Can I use this same technique for other leaf shapes? Yes, the same core method, tracing a template, carving veins, and optionally draping over a mold, works for other leaf shapes too, like fiddle leaf fig or philodendron leaves.
Do I need to seal both sides of the dish? Yes, sealing the underside as well as the top gives the piece more durability and protects it from moisture over time.
Final Thoughts
This ended up being one of my favorite projects specifically because the shape carries so much visual interest on its own, the carving and shaping work is genuinely satisfying to do, and the finished piece looks like something you’d find in a home decor shop rather than something made at a kitchen table.
If you want more shape and texture-focused project ideas after this one, my roundup of 12 super cute air dry clay ideas has plenty of other directions worth exploring.
If you make one, I’d love to see how your vein carving turned out, and whether you went with a curved dish or a flat display piece.