How to Make Air Dry Clay Leaf Napkin Rings
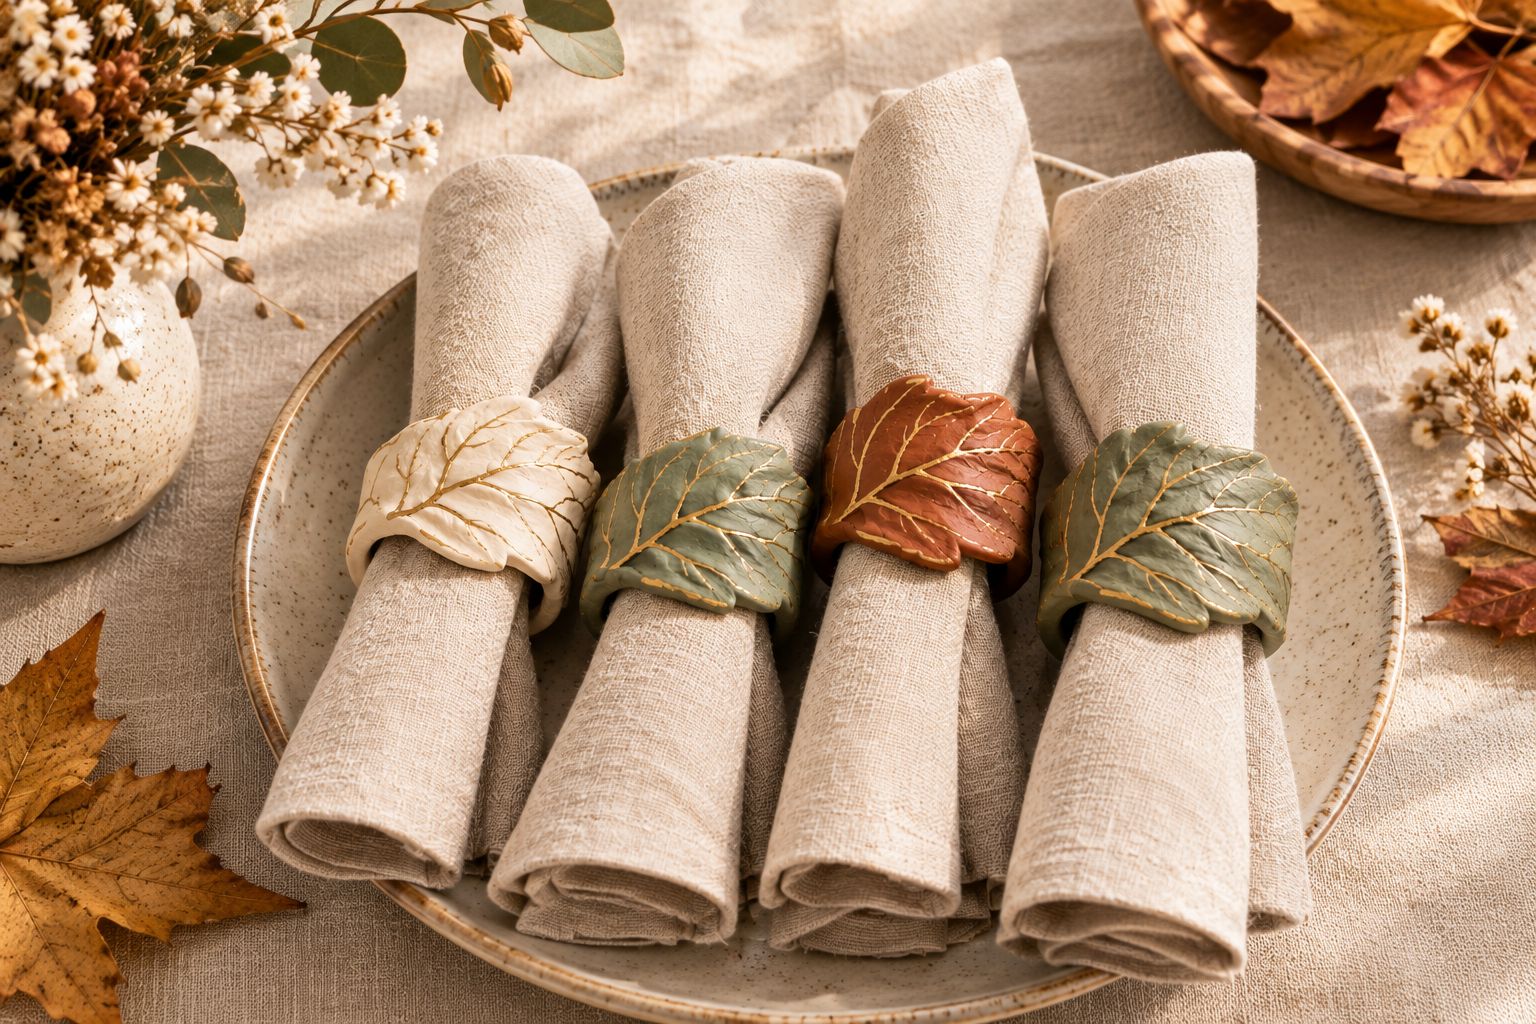
The first time I tried pressing a real leaf into clay, I was making a small dish, and I remember being surprised by how much detail the clay picked up. Every vein, every tiny ridge, all of it, from a leaf I’d grabbed off the sidewalk on my way home.
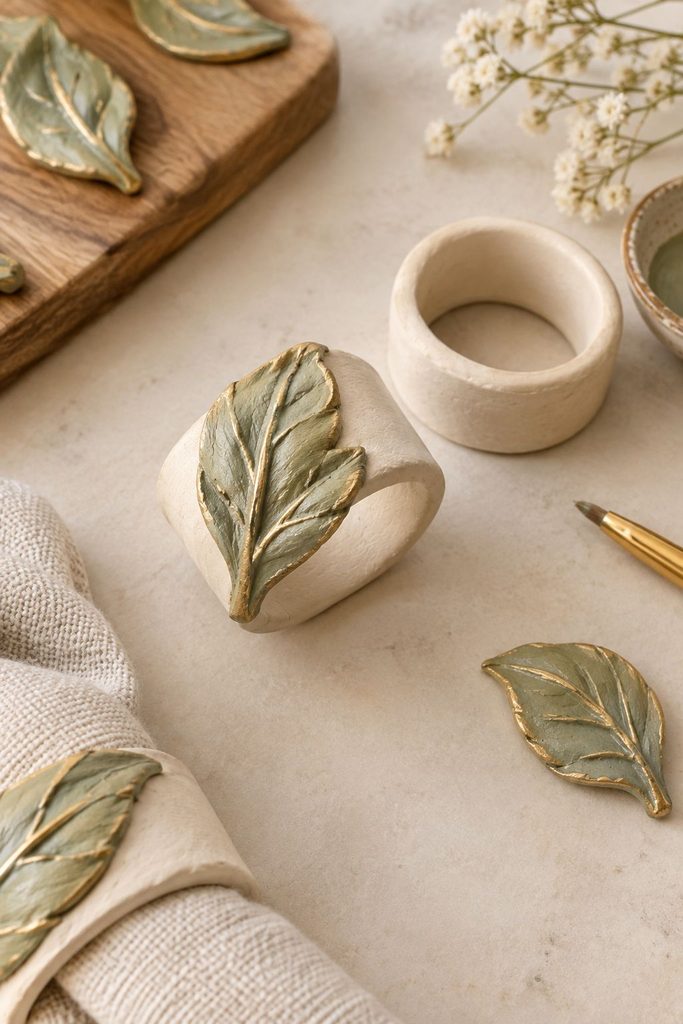
That detail is exactly why leaf imprints work so well on napkin rings. A flat band of clay is simple, but once a leaf is pressed into it, it looks like something from a boutique table setting.
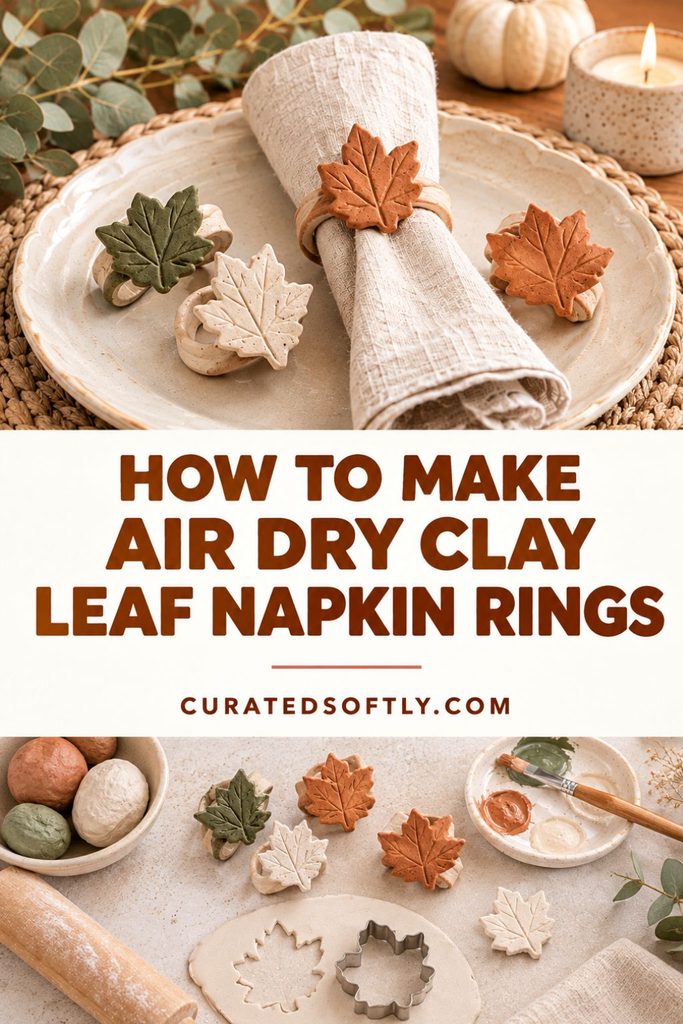
These napkin rings are one of my favorite fall projects because they do two jobs at once. They make a plain table look set and styled, and they cost almost nothing to make.
A set of four takes less than an hour of hands-on work, and the only real skill involved is wrapping a strip of clay around a tube without letting it crack, which is the part I’ll walk you through in detail.
If you’ve made my leaf imprint jewelry dish, you already know the leaf-pressing technique. The new part here is shaping the clay into a ring, and a few small details that stop it from splitting at the seam as it dries.
What Makes These Napkin Rings Work
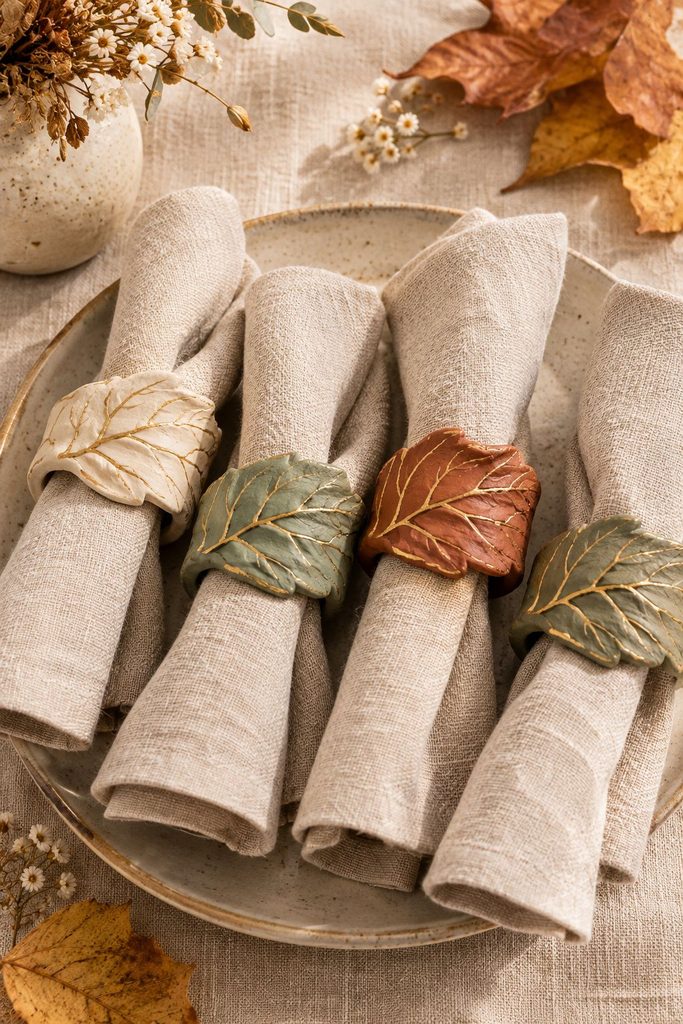
The leaf does the decorating. There’s nothing to sculpt or paint freehand. A real leaf gives you a pattern that no stamp can quite match.
They’re easy to make in a set. Every ring uses the same strip size, so once you’ve made one, the rest go quickly.
They suit any table. Painted cream or sage, they look at home on a fall dinner table. Painted terracotta or gold-highlighted, they work for Thanksgiving or the holidays.
They’re a good gift. A set of four tied with twine is an easy hostess gift, which I’ll come back to below.
If you’re new to the material, my 10 essential tips for getting started is worth a quick read before your first project.
What You’ll Need
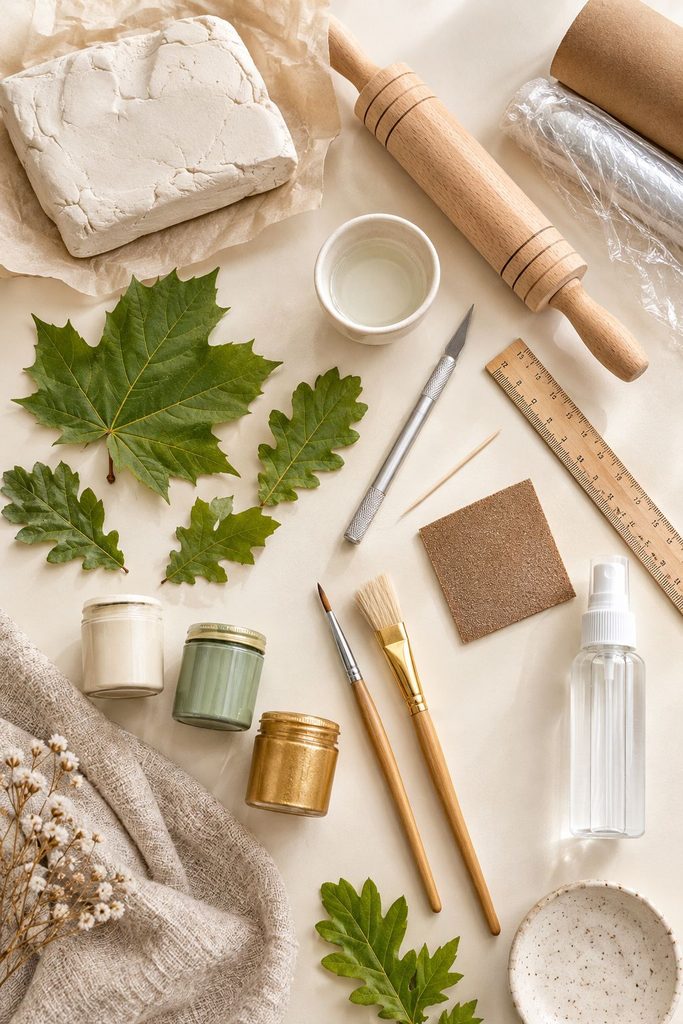
- Air dry clay (about half a standard block makes a set of four)
- A rolling pin, ideally with ¼ inch guide rings or two ¼ inch guide sticks
- A craft knife or clay knife
- A ruler
- Fresh leaves with prominent veins (maple, oak, ivy, and sage all work well)
- A cardboard tube, like a paper towel tube, to use as a form
- Plastic wrap or parchment paper, to wrap around the tube
- A toothpick or small scoring tool
- A small cup of water
- Fine sandpaper
- Acrylic paint in a base color and a metallic accent (gold works beautifully)
- A soft brush and a small flat brush for dry brushing
- A clear sealant spray
Supplies Worth Buying Ahead of Time
- Air dry clay: the WOODOVER Premium Air Dry Clay in white that I use across my other tutorials, since the 10 lb size covers many projects
- Rolling pin with guide rings: makes an even ¼ inch thickness almost automatic
- Acrylic paints: a cream, a sage or terracotta, and a metallic gold
- Clear acrylic spray sealer: see my sealing guide for how the options compare
- Craft knife or clay tool set
If you’re not sure which tools are worth having, my guide to the air dry clay essentials I actually reach for will help.
Sizing at a Glance
These measurements come from the size of the tube you wrap the clay around. A standard paper towel tube works for a typical folded cloth napkin.
| Part | Standard ring | Roomier ring |
|---|---|---|
| Form (tube) diameter | About 1.75 inches | About 2 inches |
| Clay thickness | ¼ inch | ¼ inch |
| Strip width | 1.5 inches | 1.5 to 2 inches |
| Strip length (before trimming) | About 6.5 inches | About 7.25 inches |
Cut the strip a little long, then trim the extra where the ends meet once it’s wrapped. A roomier ring is better for thick or bulky napkins. Because clay shrinks slightly as it dries, it’s worth testing one ring with your actual napkin before you make the whole set.
How to Make Them
Step 1: Prepare the Form
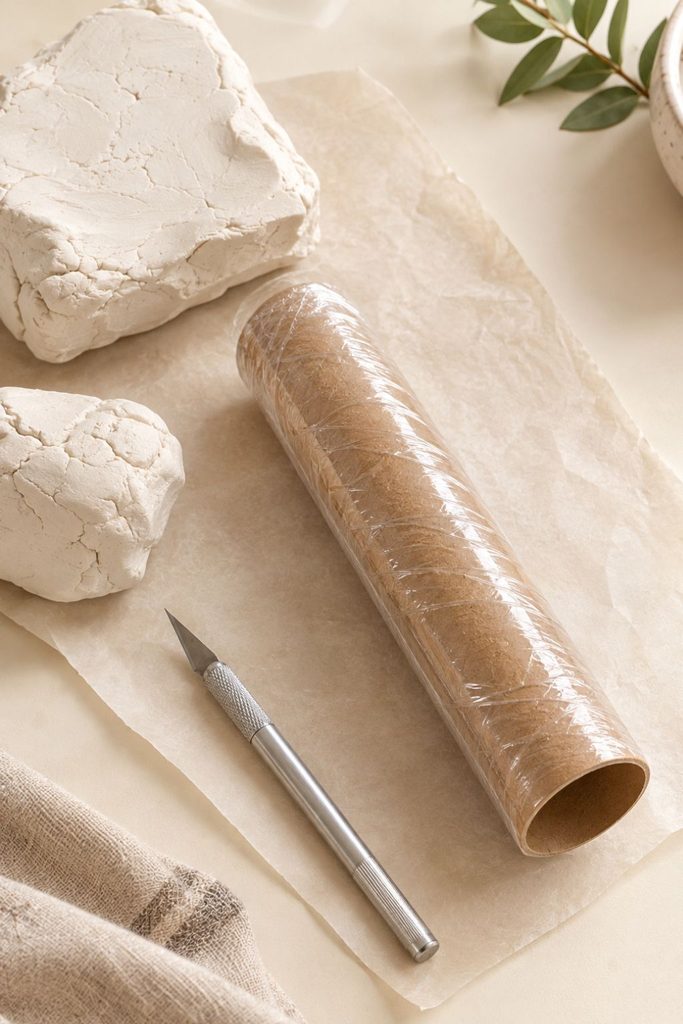
Cut your cardboard tube into sections about 2 inches wide, or simply use one long tube and make one ring at a time.
Wrap the tube tightly in plastic wrap or parchment paper so the clay won’t stick to it, and smooth any wrinkles flat, since they’ll show up in the clay.
Step 2: Roll the Clay
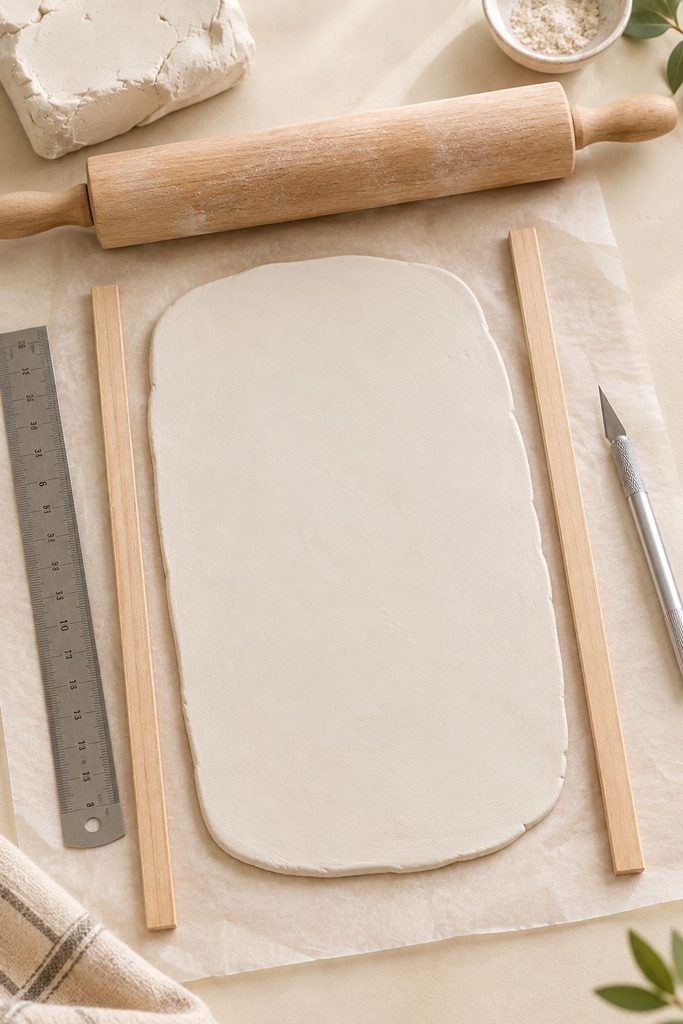
Knead the clay for about a minute until it’s smooth and pliable, then roll it into a slab about ¼ inch thick.
Use guide rings or guide sticks on either side of the rolling pin so the thickness is even all the way across. An uneven slab will dry unevenly and can warp or crack.
Step 3: Press in the Leaf
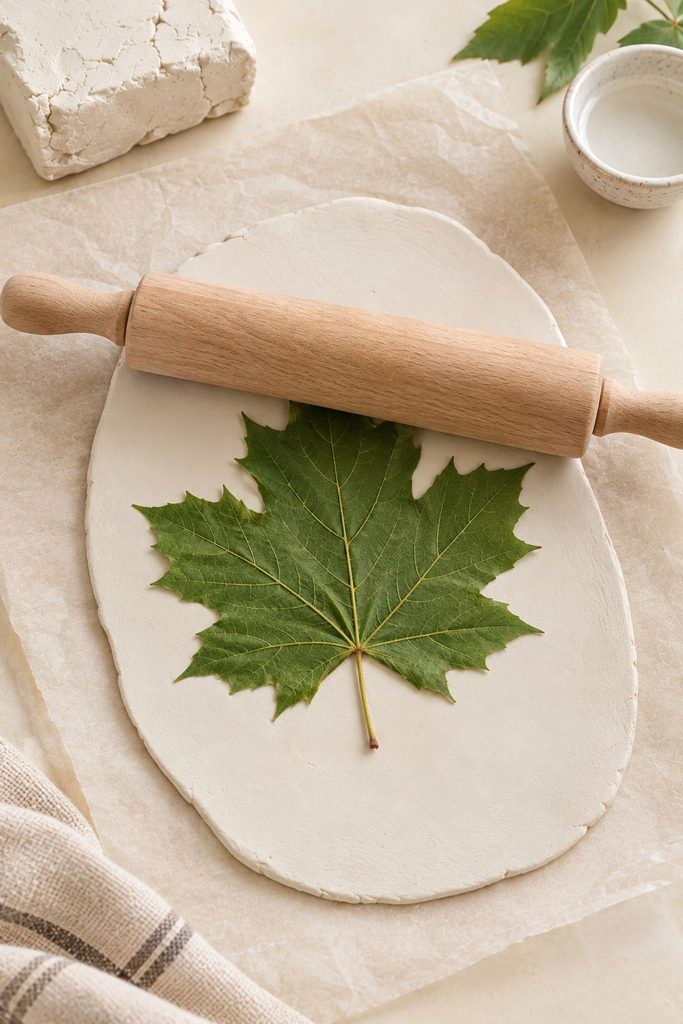
Choose a fresh, flexible leaf. Dry leaves tend to crumble. Lay the leaf vein side down on the clay, since the underside has the raised veins that make the best imprint, and press it in with one firm, even roll of the rolling pin.
Don’t roll back and forth, since that smears the pattern. If your leaf tends to stick, a light dusting of cornstarch on the leaf helps it release.
Peel the leaf up slowly by the stem. If a piece sticks, nudge it free with a toothpick.
A caution on leaves: only use leaves you can identify. Red autumn leaves can be poison ivy, and if you’re not sure, don’t touch it.
Step 4: Cut the Strips
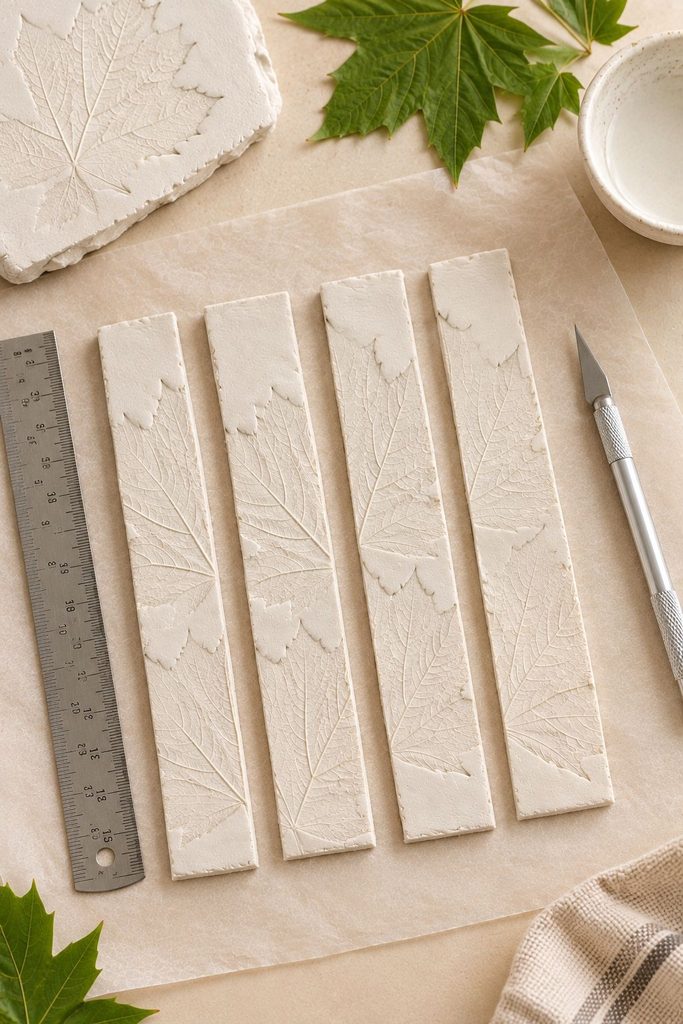
Use your ruler and craft knife to cut a strip about 1.5 inches wide and about 6.5 inches long, centered on the best part of the leaf imprint.
Cut straight, clean edges. If your slab is big enough, cut all four strips now and keep the extras covered with plastic wrap so they don’t dry out while you work.
Step 5: Wrap the Strip
Wrap the strip around the covered tube, with the leaf pattern facing outward. Where the two ends meet, trim off any extra so the ends meet cleanly without overlapping. Overlapping makes the seam thick, and thick seams crack.
Step 6: Join the Seam
This is the step that matters most. Use your toothpick to lightly scratch the two ends where they meet, which is called scoring.
Dab a little watery clay paste, sometimes called slip, onto the scored edges, then press the ends together firmly. To make slip, mix a small bit of clay with water until it’s a smooth paste.
Smooth the seam on the outside with a damp fingertip until it blends in. Then gently smooth the inside too.
For extra strength, press a thin, small piece of clay across the seam on the inside, and blend it in. The seam should sit on the back of the ring, so it faces the table or hides under the napkin.
Step 7: Slide It Off the Form Early
Here’s the tip that saves most rings from cracking. Clay shrinks as it dries, and if it’s still on a rigid tube, it can’t shrink freely, so it splits. After a few hours, when the clay feels firm and holds its shape, gently slide the ring off the tube.
I usually check at about three hours. If it sags or flexes too much, slide it back on and wait another hour.
Once it’s off, set the ring on its side on a sheet of parchment so air reaches both the inside and the outside.
Step 8: Let It Dry
Let the rings dry for 24 to 48 hours, turning them once or twice so every side dries evenly. The seam is the thickest part, so check it before you consider the ring dry.
If you want more detail on drying, my guides to drying clay without cracking and avoiding cracks cover why thick and thin parts dry at different speeds.
Step 9: Sand Smooth
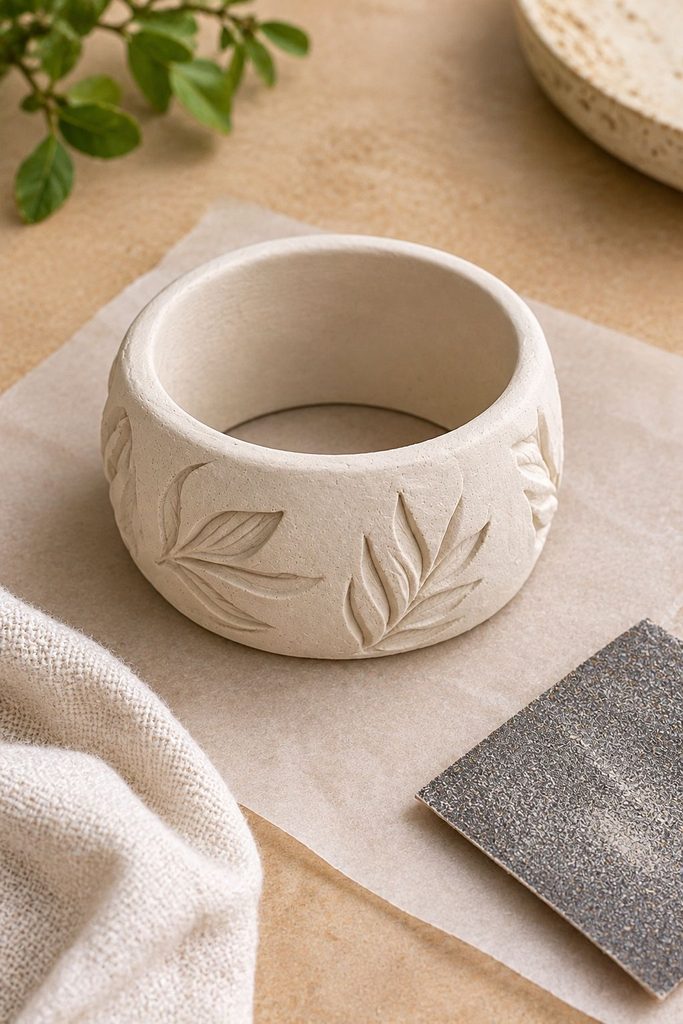
Once dry, lightly sand the edges and the inside of the ring. This matters more than it sounds, because a rough inside can snag a cloth napkin. Wipe off the dust with a dry cloth.
Step 10: Paint
Paint the ring in a base color, in thin, even coats, letting each dry. Cream, sage, and terracotta are all lovely for fall. My best paint for air dry clay and step-by-step painting guide cover the prep that helps the paint go on evenly.
Step 11: Highlight the Leaf Veins
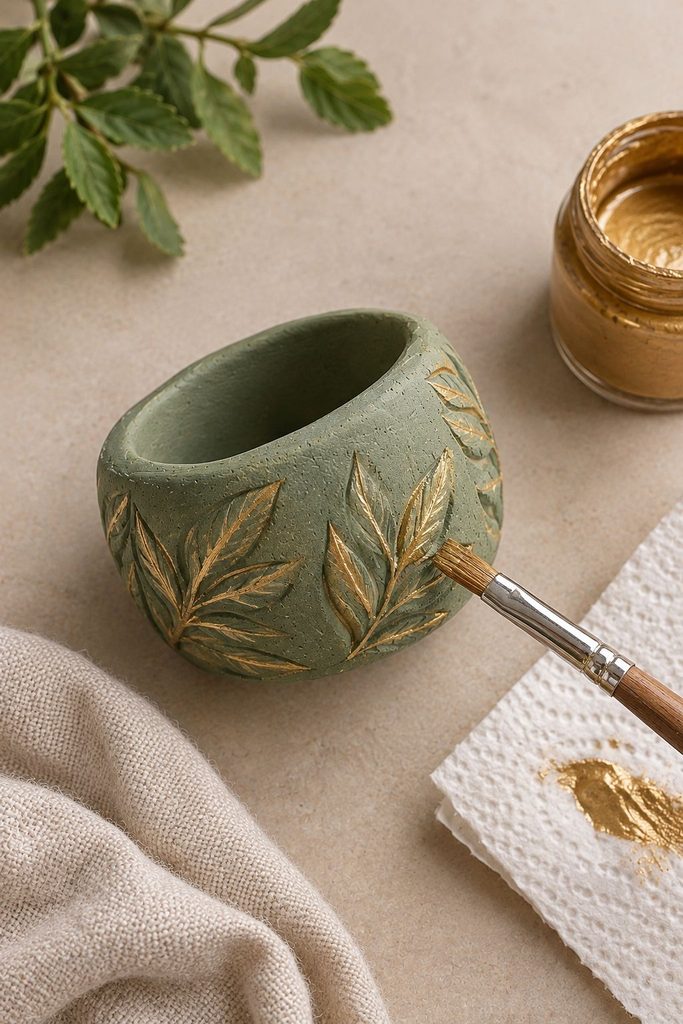
This is what makes the imprint pop. Dip a dry flat brush into gold paint, wipe most of it off on a paper towel, and then lightly drag the brush across the surface.
The paint catches only the raised veins and leaves the rest alone. This technique is called dry brushing, and it takes just a few seconds per ring.
Step 12: Seal
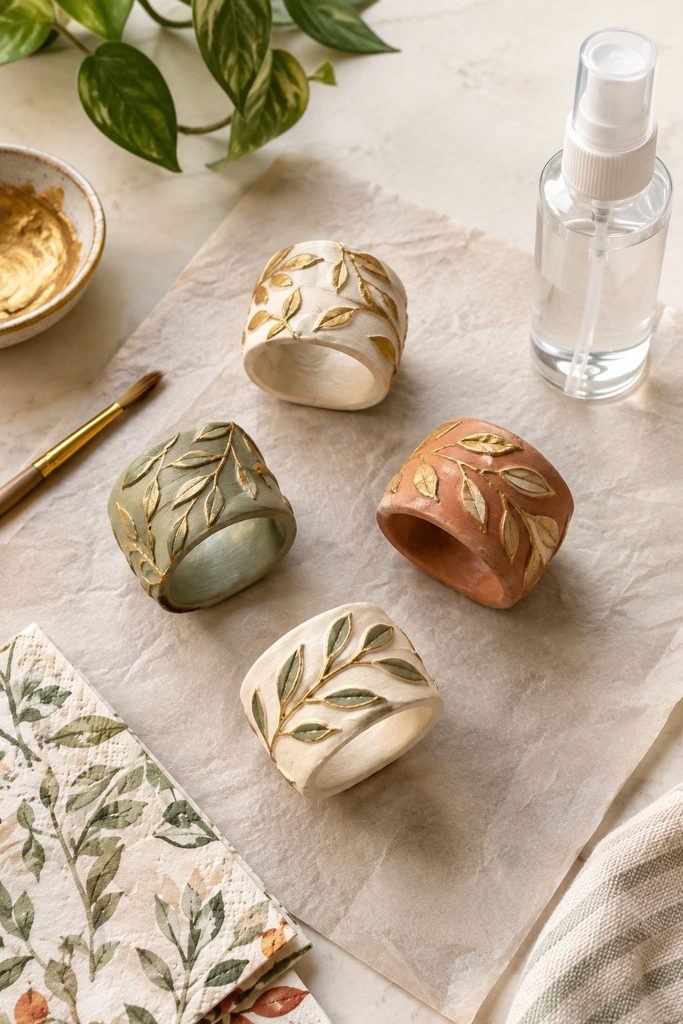
Finish with two light coats of clear sealant spray, on the outside and the inside, letting each coat dry in between. Let the rings cure for a full 24 hours before you use them.
My full guide to sealing air dry clay goes into why this step matters, and if you want a glossier finish, my glazing guide covers it.
Timeline: When to Start
You can make these over a long weekend, but the drying is the longest part.
- Day 1 (about 45 minutes): Roll, press leaves, cut, wrap, join seams. Slide the rings off their forms after a few hours.
- Days 2 and 3: Drying, with a turn or two.
- Day 4 (about 30 minutes): Sand, paint, and dry-brush.
- Day 5: Seal and let cure overnight.
If you’re making these for a holiday table like Thanksgiving, start at least a week ahead so there’s time for a slow dry and a full cure.
Tips for Rings That Last
Keep the clay an even ¼ inch. Thin spots break, and thick spots take much longer to dry and can crack.
Make the seam thoughtfully. Score, add slip, press firmly, and reinforce the inside. A strong seam is the difference between a ring that holds together and one that splits in a day.
Take it off the form early. This is the single most helpful tip in the whole project.
Use leaves with strong veins. Maple, oak, and ivy all print clearly. Thin, smooth leaves give a faint imprint.
Seal the inside. Napkins touch the inside of the ring, and a sealed, smooth surface keeps dust off the fabric.
Variations to Try
Leaf cutouts instead of imprints. Press a leaf into the clay and cut around its outline with a craft knife. Attach the leaf shape to a plain band using score and slip for a raised, three-dimensional look.
A single large leaf as a “tag.” Make a plain ring and attach one small leaf cutout on the front. You can write a guest’s name on it for a place card.
Different leaves in the same set. Press a maple leaf into one ring, oak into another, and ivy into a third for a collected, natural look.
Colors for different seasons. Soft white for winter, pale green for spring, and rust or burnt orange for fall.
Lace or fabric texture. Press a piece of lace into the clay instead of a leaf for a delicate, vintage pattern.
Styling Your Table
A set of napkin rings does its best work with a few simple companions.
Pair them with other clay pieces. An air dry clay candle holder at the center and a set of clay coasters at each place make a matching table with almost no cost. My 10 fall air dry clay projects has more ideas along those lines.
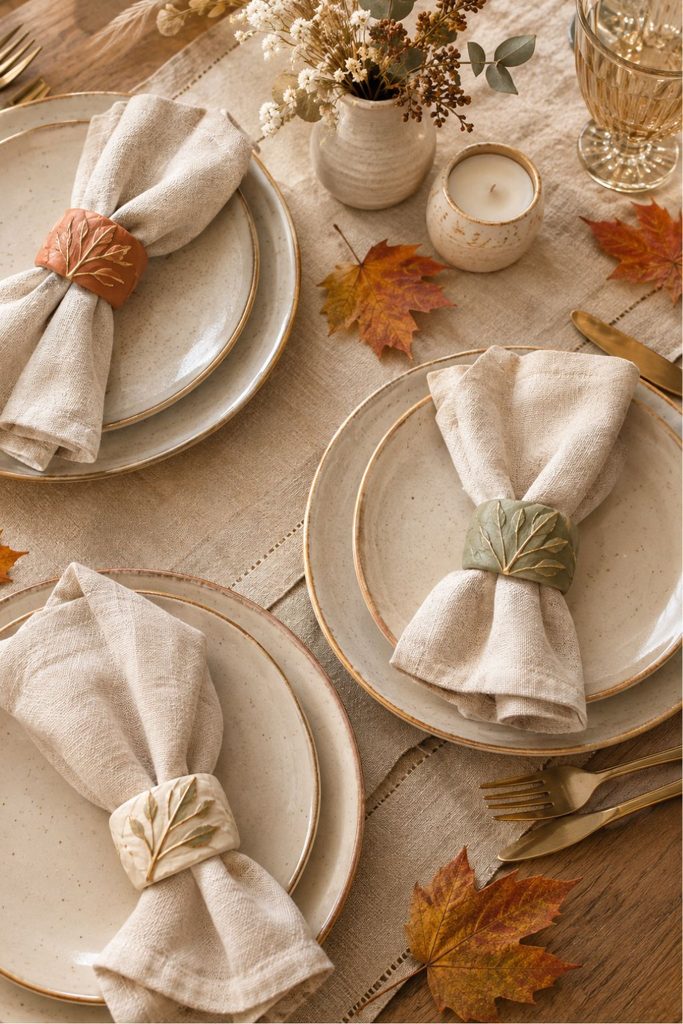
Add one natural element. A few leaves, a small gourd, or a sprig of dried grass tucked beside each napkin ties the leaf theme together.
Keep the palette small. Cream napkins, terracotta rings, and gold accents look far more elegant than a mix of many colors. For more on table styling, see my post on styling a fall coffee table without buying new decor and my fall home decor ideas. If you’re hosting something smaller, my tips for hosting a winter tea party has more table ideas.
Common Mistakes to Avoid
Leaving the ring on the tube until it’s dry. The clay shrinks, it can’t, and it splits. Slide it off early.
A thick, overlapping seam. Trim the ends so they meet, and join them with score and slip.
Using dry or crumbly leaves. They break apart in the clay. Use fresh, flexible ones.
Skipping the sanding. A rough inside catches on cloth napkins.
Painting before the clay is fully dry. The seam stays damp longest, so check it first.
Making the ring too small. A tight ring is hard to slide a napkin through. Test with your real napkin.
Washing them. Air dry clay isn’t waterproof, even when sealed. Wipe with a dry or very slightly damp cloth and keep rings out of the sink and dishwasher. If you want to know how far a seal can take it, my guide to making air dry clay waterproof explains it.
A Note on Using Them at the Table
These rings are decorative, and they’re meant to hold folded napkins. They aren’t food-safe, so keep them away from food, and use them on the napkin rather than the plate.
Gifting and Selling
A set of four or six rings tied with twine and a tag makes a lovely hostess gift. For more handmade gift ideas, see my 10 air dry clay gift ideas that actually feel thoughtful. If you’re thinking about selling pieces like these, my air dry clay business ideas post covers what moves and how to price it. Sets in seasonal colors do especially well in the weeks before Thanksgiving and Christmas.
Frequently Asked Questions
What size should a napkin ring be? For a standard folded cloth napkin, an inside diameter of about 1.75 inches works well. Use about 2 inches for thicker napkins.
Do I need a real leaf? You don’t. A leaf stamp or a piece of lace will work. But a real leaf gives a more natural, detailed imprint.
Why did my ring crack at the seam? This almost always comes from a thick or overlapping seam, or from leaving the ring on the tube while it dried. Score and slip the seam, and slide the ring off early.
Can I make these without a cardboard tube? Yes. A small jar, a rolling pin handle, or a rolled-up piece of cardboard wrapped in plastic wrap all work, as long as the diameter is right.
Can I use polymer clay instead? You can. It would be more durable, and you’d bake it according to the package instructions. If you’re deciding between the two, my guide to air dry clay vs polymer clay walks through the differences.
Can kids make these? Older kids can, with help on the seam and the knife. Pressing the leaf is a favorite step for younger ones. For more ideas to do together, see my 15 air dry clay projects kids will love.
Final Thoughts
Napkin rings are one of those projects where a tiny detail makes the whole thing look expensive. The leaf imprint is the detail, but what makes them last is the part nobody sees: a strong seam and taking the ring off its form at the right moment. Get those two right, and you’ll have a set that holds up for many seasons of dinners.
Make one first, test it with a napkin, and then make the rest. Before long you’ll be pressing every leaf you see on a walk into a piece of clay.
If You Want More Air Dry Clay Ideas to Try: