
How to Make Cornstarch Clay at Home (A Simple, Fail-Proof Recipe That Actually Works)
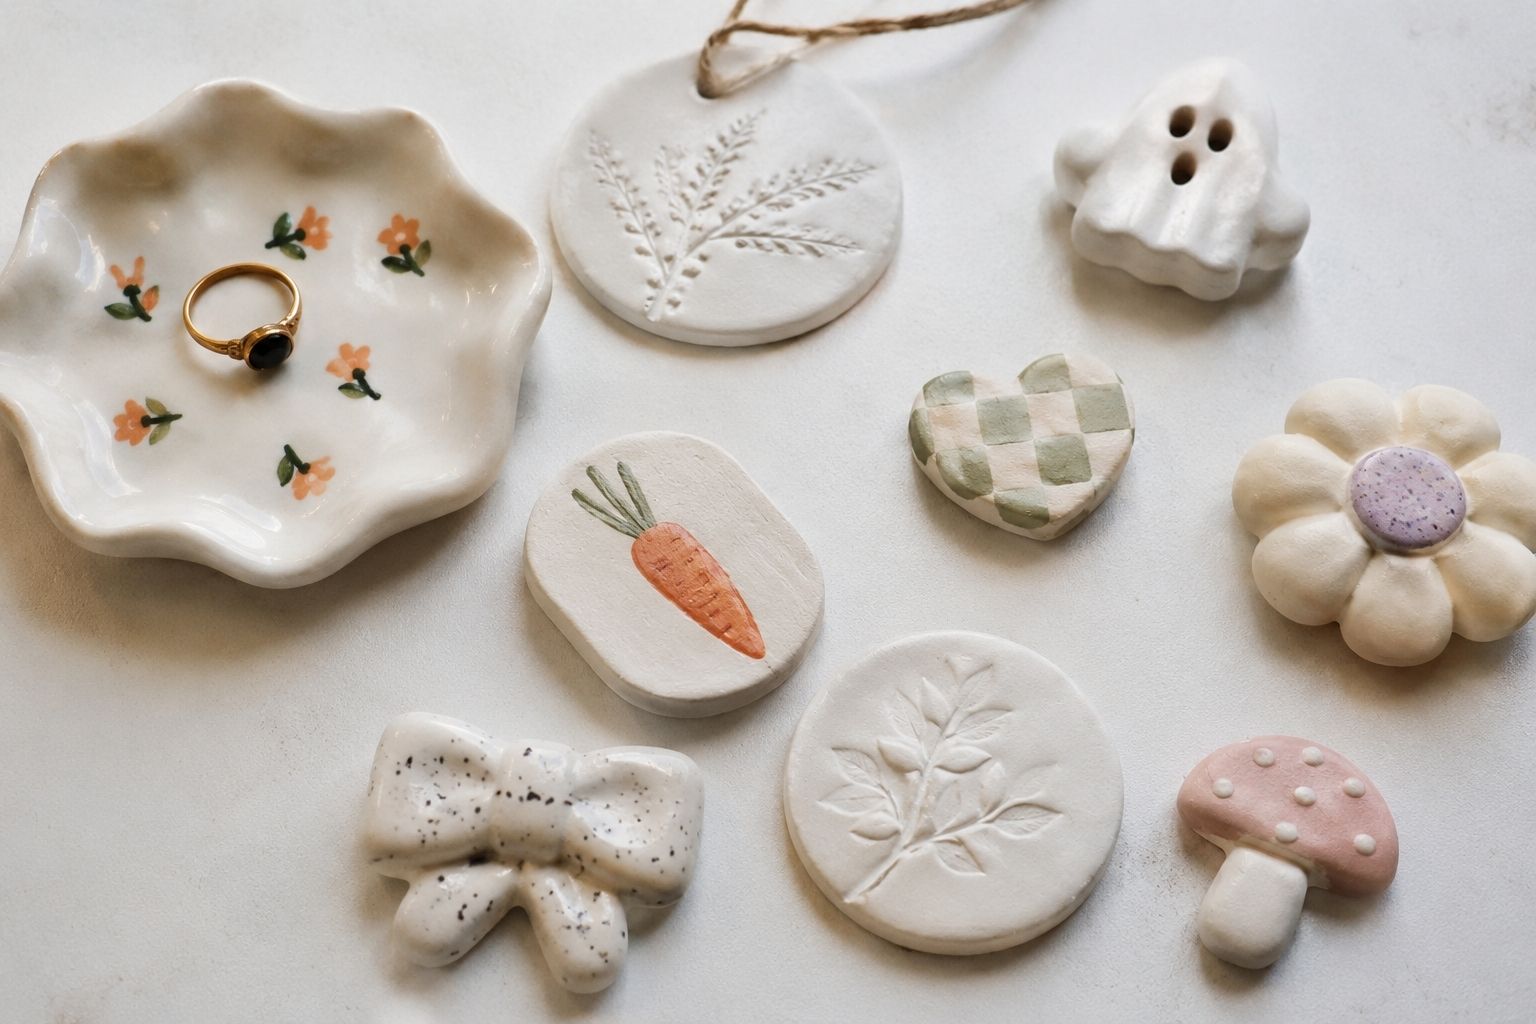
I’ve made a lot of clay in my kitchen at this point, and cornstarch clay is the one I keep coming back to when I want something that just works, no fuss, no waiting around for the right humidity, no watching a batch crack apart while I sleep.
If you’ve tried my Coffee Clay recipe already, this one is going to feel familiar in the best way. Same idea, pantry ingredients, cooked on the stove, air-dries into something sturdy and smooth.
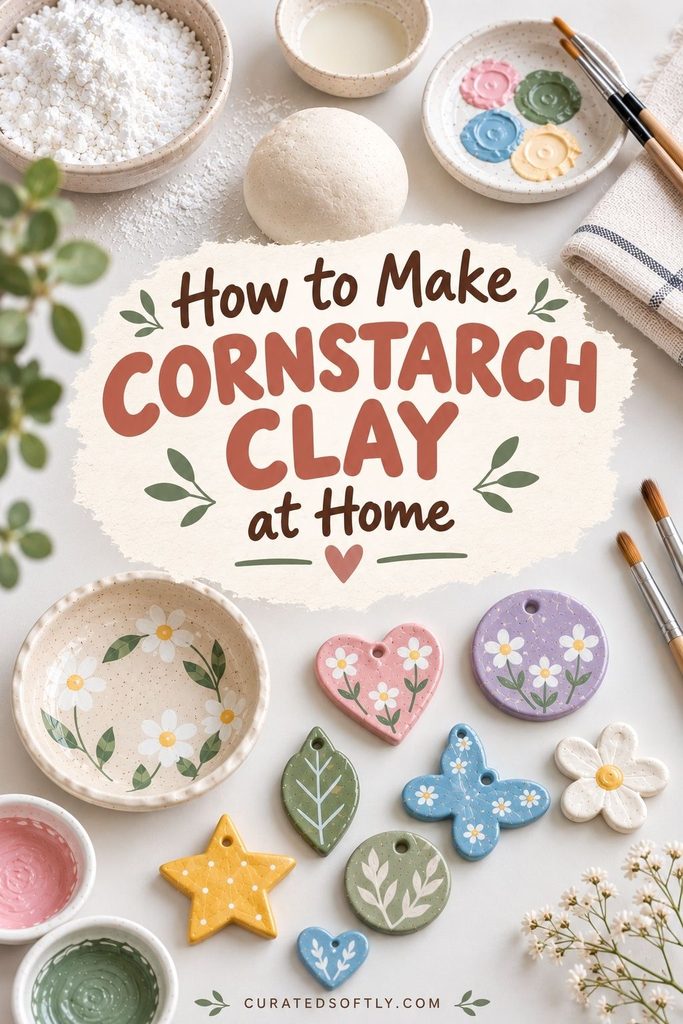
Cornstarch clay just leans a little different, cleaner and whiter, and honestly a bit more forgiving if you’re newer to homemade clay.
This is a real, tested recipe. I’ve made it more times than I can count, for ornaments, trinket dishes, and a small pile of fridge magnets that are still holding up months later. Here’s exactly how I make it.
Why Cornstarch Clay Is Worth Making
- It uses two main ingredients you almost certainly already have
- It cooks in about 5-10 minutes on the stove, no oven curing required
- It air-dries hard and smooth without the cracking issues salt dough sometimes has
- It takes color, paint, and sealant beautifully once it’s dry
- It costs next to nothing compared to store-bought air dry clay
Cornstarch Clay vs. My Coffee Clay Recipe
People ask me this a lot, so it’s worth addressing here directly.
Coffee clay gets its texture and color from used coffee grounds mixed into a dough base, and it comes out with a natural, earthy brown tone and a slightly gritty, organic texture. It’s lovely for rustic pieces, and it puts your leftover coffee grounds to good use.
Cornstarch clay is different. It’s smooth, pale, almost porcelain-like once dry, and it takes paint and dye more predictably since you’re starting from a neutral white base instead of a naturally brown one. If you want to color-match a specific project or paint fine detail, cornstarch clay is usually the easier starting point.
I’d genuinely recommend trying both. They’re not competing recipes, they’re just suited to different projects.
Choosing Your Ingredients
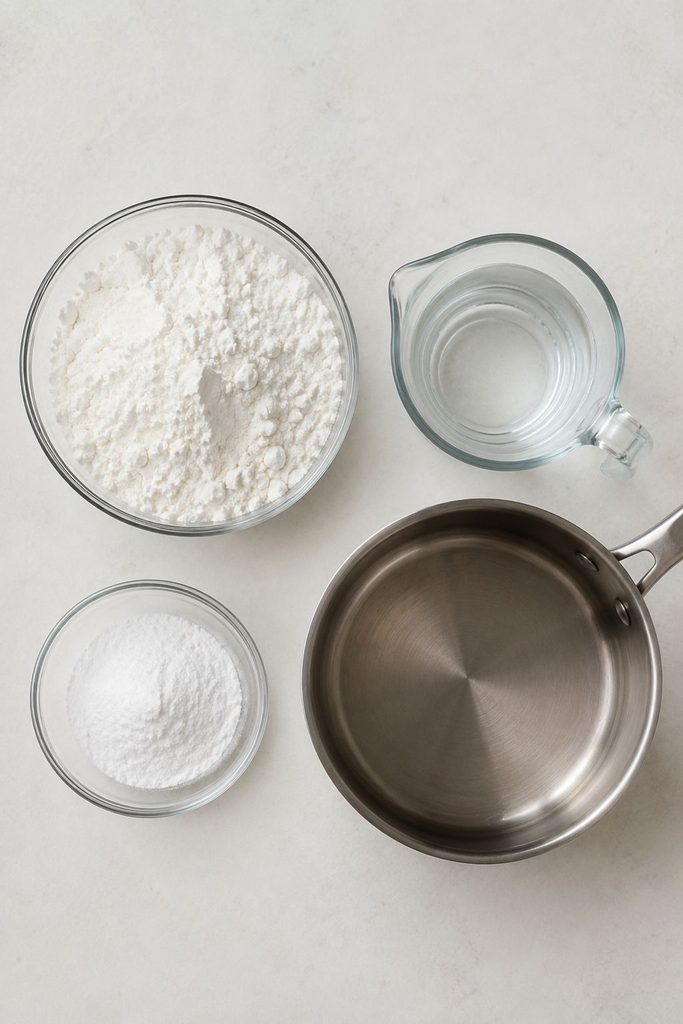
Cornstarch. Any standard grocery-store cornstarch works fine here, there’s no need for a specialty or “craft grade” version. Just make sure it’s fresh and free of clumps before you start, old cornstarch that’s absorbed moisture from the pantry can throw off your ratios slightly.
Baking soda. Regular baking soda is what gives this clay its smooth, slightly porcelain-like finish once dry. Baking powder is not a substitute here, it contains added acids and starches that will change how the mixture cooks and sets, so don’t swap it in even if it’s what you have on hand.
Water. Cold water straight from the tap is fine. Using warm or hot water can cause the mixture to start thickening unevenly before it’s fully combined, leading to lumps.
How Humidity and Climate Affect This Recipe
Where you live actually matters more for this recipe than people expect.
In humid climates, the dough can feel stickier than expected even after a full cook, and dried pieces may take longer to fully harden. If you’re somewhere humid, lean toward slightly less water than the recipe calls for, and extend your drying time rather than assuming a piece is done at the 24-hour mark.
In dry climates, the opposite problem shows up, the dough can dry out and crack faster than you’d like, both while you’re working with it and after shaping. Keep unused dough tightly wrapped in plastic between uses, and consider covering drying pieces loosely with a plastic bag for the first day to slow the process down and reduce cracking.
If you’ve made salt dough before and had cracking issues, this same humidity sensitivity likely applied there too, cornstarch clay is generally more forgiving, but it isn’t immune to climate effects entirely.
Scaling the Recipe Up or Down
This recipe scales cleanly using a simple ratio: equal parts cornstarch and baking soda, by volume, with roughly three-quarters that amount in water.
- Small batch (this recipe): 1 cup cornstarch, 1 cup baking soda, 3/4 cup water
- Double batch: 2 cups cornstarch, 2 cups baking soda, 1 1/2 cups water
- Small test batch: 1/4 cup cornstarch, 1/4 cup baking soda, 3 tablespoons water
If you’re scaling up significantly, cook it in batches rather than one giant pot. A larger volume takes longer to heat through evenly, which increases the chance of the bottom overcooking while the center is still underdone.
Storing Unused Dough
If you make more than you need for one sitting, cornstarch clay stores reasonably well before it’s shaped and dried.
Wrap unused dough tightly in plastic wrap, pressing out as much air as possible, then place it in an airtight container or zip-top bag. Stored this way in the refrigerator, it typically stays workable for about a week.
Before using refrigerated dough, let it sit at room temperature for 10 to 15 minutes and knead it briefly, it firms up while chilled and needs a little work to soften back to a workable texture. I don’t recommend freezing this particular clay, the texture tends to become grainy and doesn’t fully recover once thawed.
Supplies You Will Need
- 1 cup cornstarch
- 1 cup baking soda
- 3/4 cup cold water
- A medium saucepan (non-stick works best)
- A wooden spoon or silicone spatula
- A damp kitchen towel or plastic wrap
- A smooth work surface for kneading
- Optional: food coloring or acrylic paint, mixed in after cooking
That’s genuinely the full ingredient list. No glue, no oil, no special craft-store additives.
Step 1: Combine the Dry Ingredients
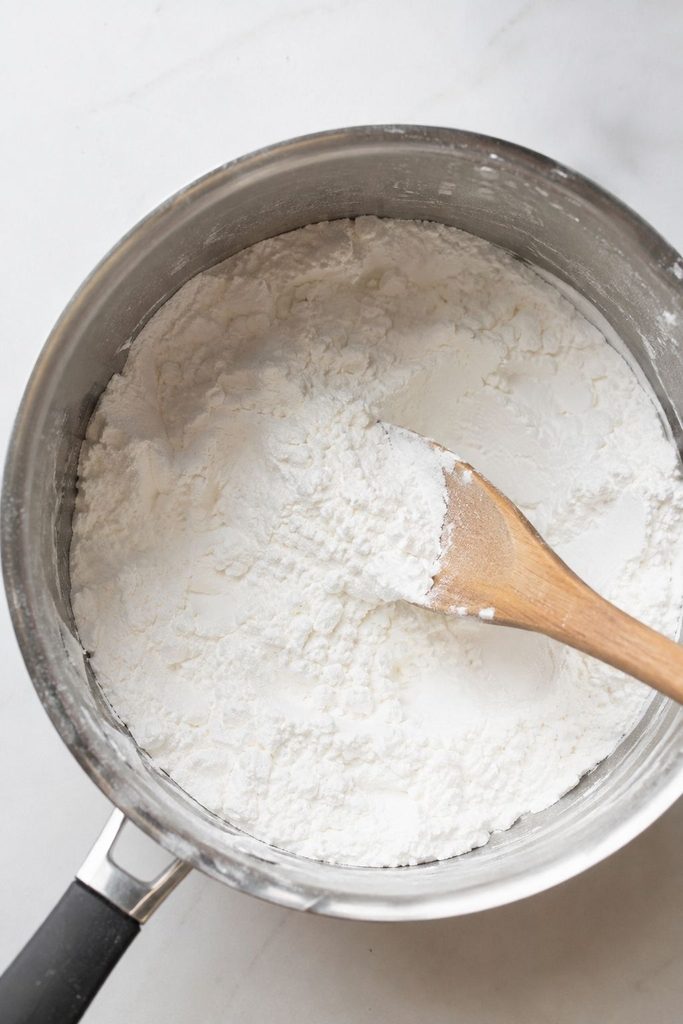
In your saucepan, whisk the cornstarch and baking soda together before adding any liquid. Getting these evenly mixed while dry helps prevent little pockets of pure baking soda from clumping once the water goes in, which can leave gritty spots in your finished clay.
Step 2: Add the Water Gradually
Pour in the cold water while stirring continuously. At first the mixture will look thin and cloudy, almost like a watery paste. That’s normal, don’t be tempted to add more cornstarch yet to thicken it early, it needs heat to transform properly.
Step 3: Cook Over Medium Heat
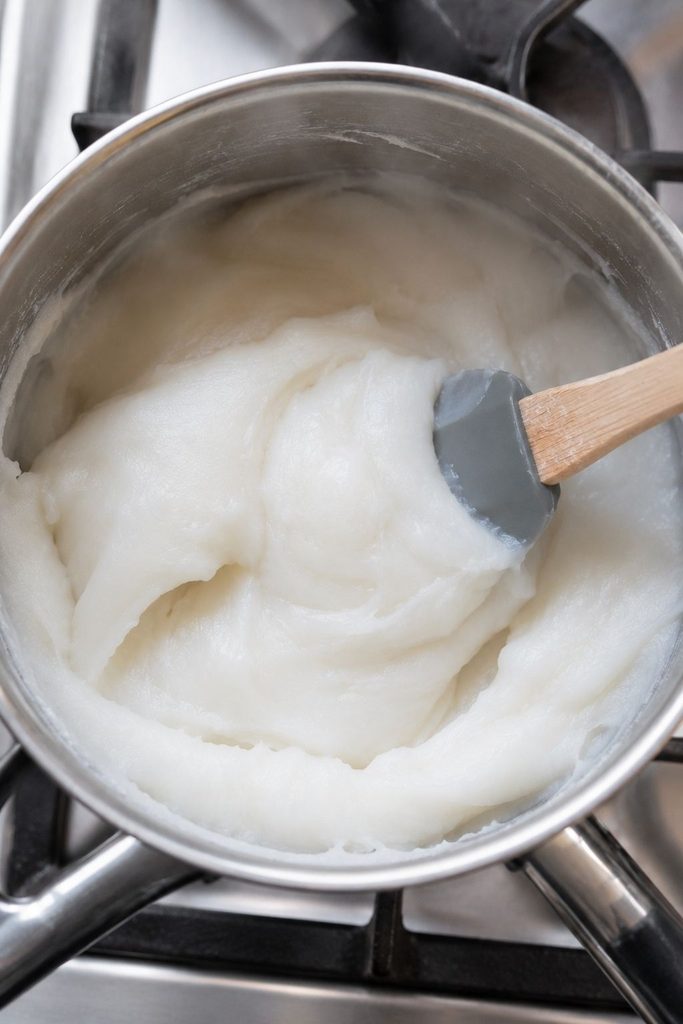
Place the saucepan over medium heat and keep stirring constantly. This isn’t a step you can walk away from, the mixture goes from thin to thick fairly quickly and can catch on the bottom of the pan if you stop stirring.
Watch the texture change in stages:
- First it will look like a thin, cloudy liquid
- Then it will thicken into something like pancake batter
- Finally it will pull together into a soft, sticky mass, similar to mashed potatoes
Once it reaches that mashed-potato stage and starts pulling cleanly away from the sides and bottom of the pan, it’s done cooking. This whole process usually takes somewhere between 5 and 10 minutes, depending on your stove.
Step 4: Cool the Dough
Transfer the cooked dough into a bowl and cover it immediately with a damp kitchen towel or plastic wrap pressed directly against the surface.
This step matters more than it seems like it should, cornstarch clay forms a dry, crusty skin very quickly if it’s left exposed to air while still warm, and that skin turns into frustrating little hard bits once you start kneading.
Let it sit until it’s cool enough to handle comfortably, usually 10 to 15 minutes.
Step 5: Knead Until Smooth
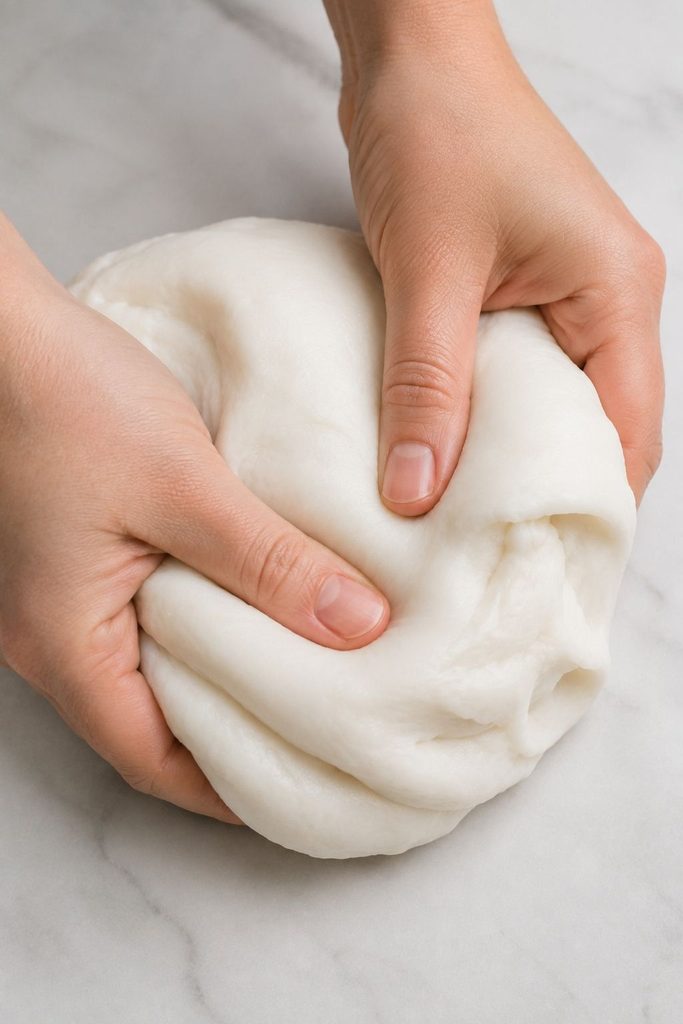
Once cooled, turn the dough out onto a clean, smooth surface and knead it with your hands for a few minutes, similar to kneading bread dough.
If it feels sticky, dust your hands and the surface lightly with extra cornstarch as you go. If it feels dry or slightly crumbly, work in a few drops of water at a time. You’re aiming for a smooth, soft, play-dough-like consistency that doesn’t stick heavily to your fingers or crack when you fold it.
Step 6: Add Color (Optional)
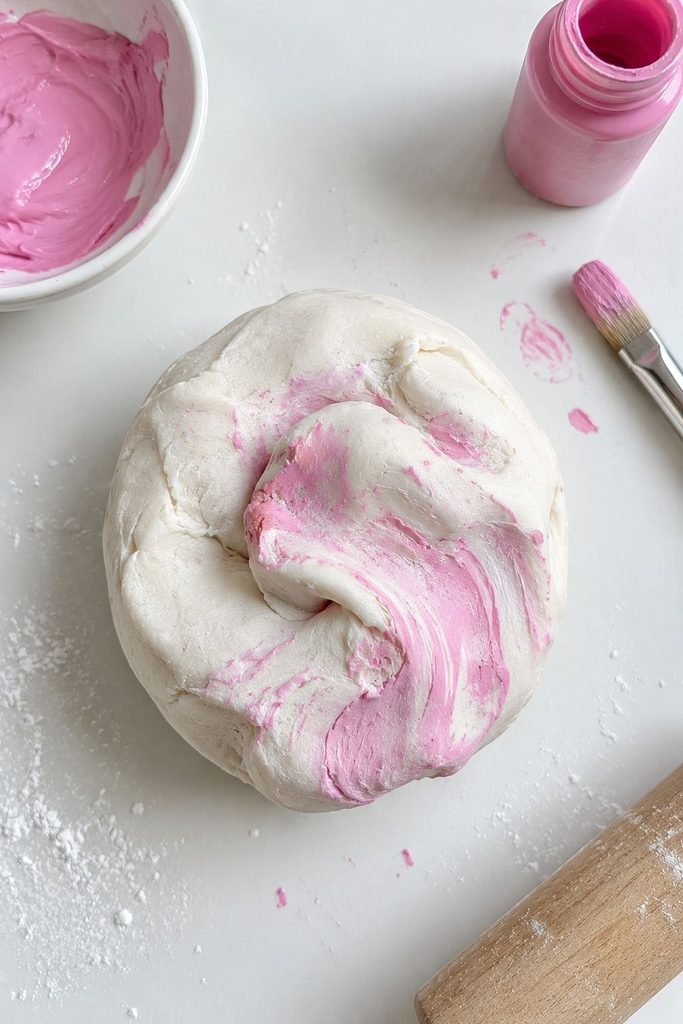
If you want colored clay rather than the natural pale white, this is the stage to do it. Add a small amount of food coloring or acrylic craft paint directly into the dough and knead it through until the color is even, with no streaks left.
Start with less color than you think you need. It’s much easier to knead in more than to correct an overly saturated batch.
Step 7: Shape Your Project
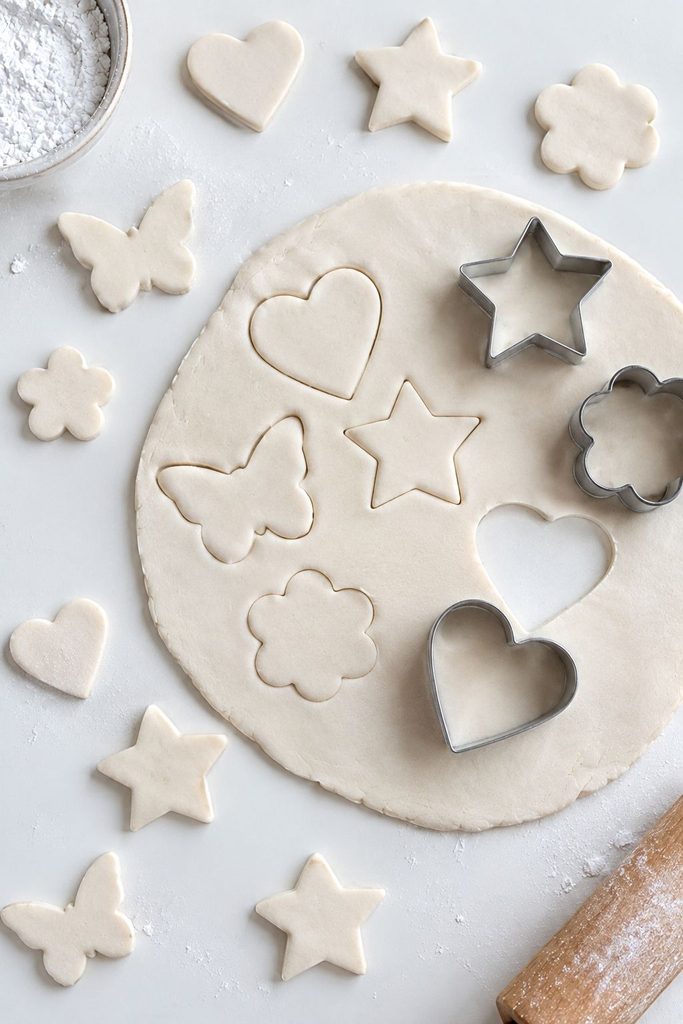
Roll the clay out with a rolling pin to your desired thickness, generally somewhere between 1/8 and 1/4 inch depending on the project. Thinner pieces dry faster and are less prone to cracking, while thicker pieces hold up better to handling once finished.
Use cookie cutters, hand-sculpt small shapes, or press it into a mold. If you’re making ornaments, this is also the point to poke a small hole for ribbon or twine using a straw or skewer, before it starts to firm up.
For fine detail work, my Easy Image Transfer on Clay tutorial works well on cornstarch clay too, once it’s fully cured.
Step 8: Dry Your Pieces
Cornstarch clay can air dry at room temperature, though it takes patience:
- Air drying: lay pieces flat on parchment paper, flipping every several hours to encourage even drying on both sides. Depending on thickness, this typically takes 24 to 48 hours.
- Low oven drying (faster): if you want to speed things up, a low oven around 175-200°F can dry pieces in an hour or two, flipping halfway through. Watch closely, since cornstarch clay can brown slightly if the temperature runs too hot.
Either way, resist the urge to rush this step. Pieces that feel dry on the outside can still be soft in the middle, and handling them too soon is the most common cause of warping and cracking.
Step 9: Sand, Paint, and Seal
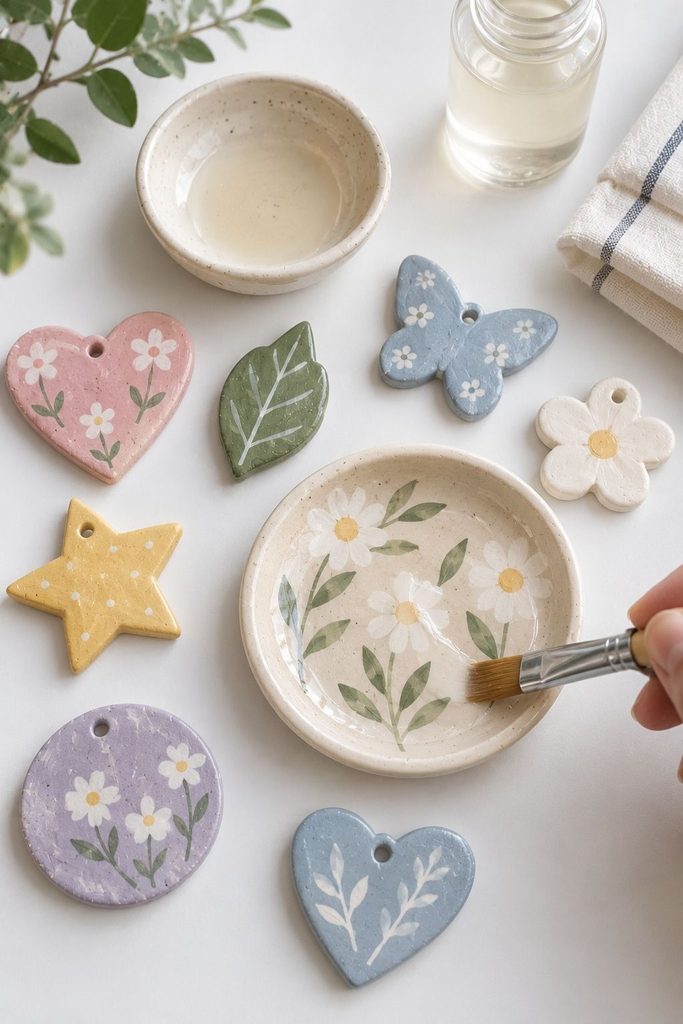
Once fully dry, lightly sand any rough edges with fine grit sandpaper for a cleaner finished look.
If you left the clay its natural pale color, this is a great stage to paint it. My guide to painting air dry clay covers technique and paint types in detail and applies just as well here.
Once painted (or if you’re leaving it natural), sealing protects the surface and gives it a bit more durability. My glazing guide and sealing guide both walk through options depending on the finish you want, matte, glossy, or something in between.
Troubleshooting Common Problems
The clay is sticky and won’t stop clinging to my hands. It’s likely slightly undercooked or has a touch too much water. Knead in small amounts of cornstarch until the texture firms up.
The dough feels dry and crumbly right after cooking. This usually happens if it cooked a bit too long and lost extra moisture. Knead in water a few drops at a time until it comes back together.
A crusty skin formed while it cooled. This is from leaving it uncovered too long after cooking. Knead the crusty bits back in as best you can, or pick them out if they won’t smooth back in, and cover it more promptly next time.
Pieces cracked while drying. Usually a sign they were rolled too thick, dried too quickly in a hot spot, or weren’t flipped regularly. Roll thinner next time and dry somewhere out of direct sun or heating vents.
The color came out patchy or streaky. This means the coloring wasn’t fully kneaded through. Keep working it in longer, folding and turning the dough repeatedly until the color is completely even.
Ways to Use Your Finished Cornstarch Clay
Once you’ve got the basic recipe down, there’s a lot you can do with it:
- Ornaments, using small cookie cutters and a hole for hanging
- Fridge magnets, gluing a small magnet to the back once dry
- A trinket dish, shaped over a small bowl for a curved edge
- Diffuser stones, since the porous dried texture holds scented oil nicely
- Simple jewelry, like pendants or earring blanks, once fully cured and sealed
If you’re brand new to working with homemade or air dry clay in general, my 10 Essential Tips for Beginners post is a good companion to this one, it covers a lot of the small handling habits that make every clay project go more smoothly, cornstarch clay included.
Texture Variations to Try
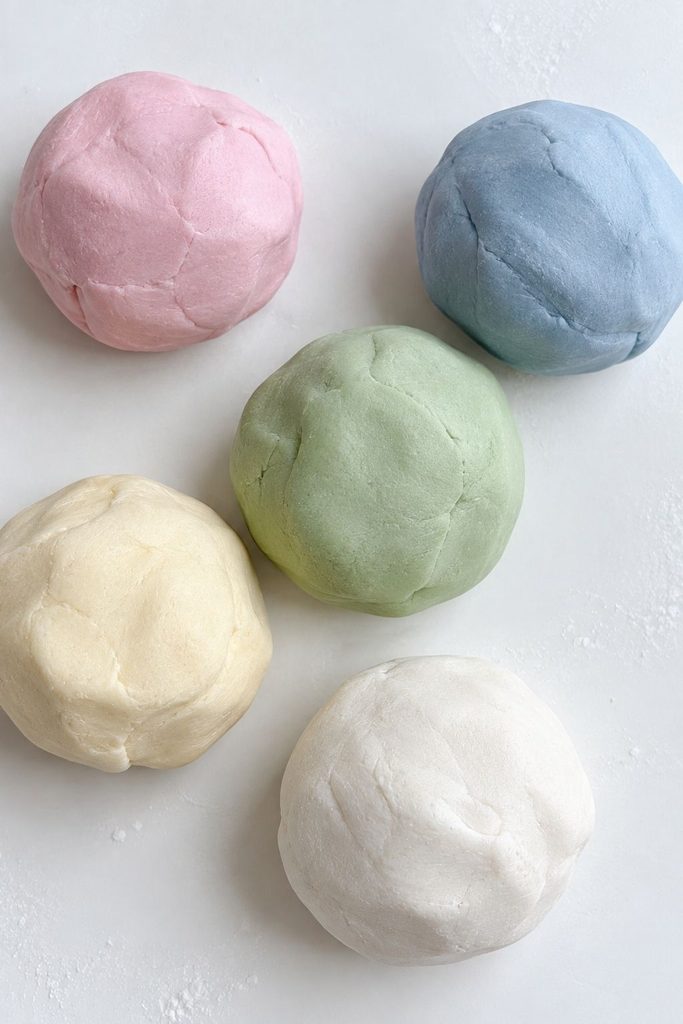
Once you’re comfortable with the base recipe, a few small changes can shift the finished texture and look quite a bit:
- Extra-smooth finish: knead the cooled dough a minute or two longer than feels necessary. The extra kneading works out tiny air pockets and gives a noticeably smoother surface once dry.
- Slightly textured, more rustic finish: knead less and work faster, this leaves a bit more visible texture, which can look nice for pieces meant to feel handmade and organic rather than polished.
- Marbled color: partially knead two colors together, stopping before they fully blend, similar to the marbling technique I use in my polymer clay lighter case tutorial. It works just as well on cornstarch clay.
- Sparkle or shimmer: knead in a very small amount of fine cosmetic-grade mica powder along with your color for a subtle shimmer, particularly nice on ornaments meant to catch light.
Caring for Finished Cornstarch Clay Pieces
Finished, sealed pieces hold up well, but a few habits extend their life:
- Keep pieces away from prolonged direct sun, which can cause slight yellowing over time even on sealed pieces
- Avoid leaving pieces somewhere consistently damp or humid, since cornstarch clay is more moisture-sensitive than kiln-fired ceramics
- Dust gently with a soft, dry cloth rather than washing under water
- If a piece chips or cracks after drying, a small amount of craft glue can often repair hairline cracks cleanly
Frequently Asked Questions
Is cornstarch clay the same as salt dough?
No. Salt dough is made from flour, salt, and water and has a slightly rougher, more textured finish. Cornstarch clay is smoother, whiter, and generally considered less prone to cracking.
Do I need to bake cornstarch clay?
No baking is required. It air dries at room temperature, though a low oven can speed up drying time if you’re in a hurry.
How long does cornstarch clay last once dried?
Fully dried and sealed pieces can last for years with normal care, similar to other air dry clay crafts. Keep finished pieces away from prolonged moisture or high heat.
Can kids help make this recipe?
The stovetop cooking step should be handled by an adult, but kneading, shaping, and decorating are great hands-on steps for kids once the dough has cooled.
Why did my clay turn slightly yellow or brown?
This usually happens if it was dried in an oven that ran a little too hot. Lower the temperature next time and keep a closer eye on it.
Can I make the dough ahead of time?
Yes. Wrapped tightly and refrigerated, unused dough generally stays workable for about a week. Let it come to room temperature and knead briefly before shaping.
Does humidity really make a difference?
It can. Humid environments may need slightly less water and longer drying times, while dry climates can cause faster cracking if pieces aren’t protected while drying. Adjust based on your own climate rather than following the timing exactly as written.
Final Thoughts
Cornstarch clay earns its reputation as one of the most reliable homemade clay recipes out there. It’s inexpensive, quick to make, and forgiving enough for a first attempt to actually turn out well.
If you enjoyed this one, my Coffee Clay recipe is worth trying next for a completely different look and texture using ingredients you’re probably already tossing in the trash.
And once you’ve got a few pieces dried, my guides on painting, glazing, and sealing will help you take them from plain to finished.





One Comment